

POV: Assembling a Protective Case
Watching a case come together tells you more than any drawing does. The gasket drops into the groove first, the insert gets pressed home, the hardware goes on last. That order is not tradition, it is error proofing. Fit the latch before the gasket and the seal can never be pressed around the full perimeter. Fit the trim before the insert and the liner sits on screw heads, 2 mm proud however hard you push. One case takes 120 to 300 seconds and turns over in your hands three times.
01Order: gasket before hardware, insert before trim
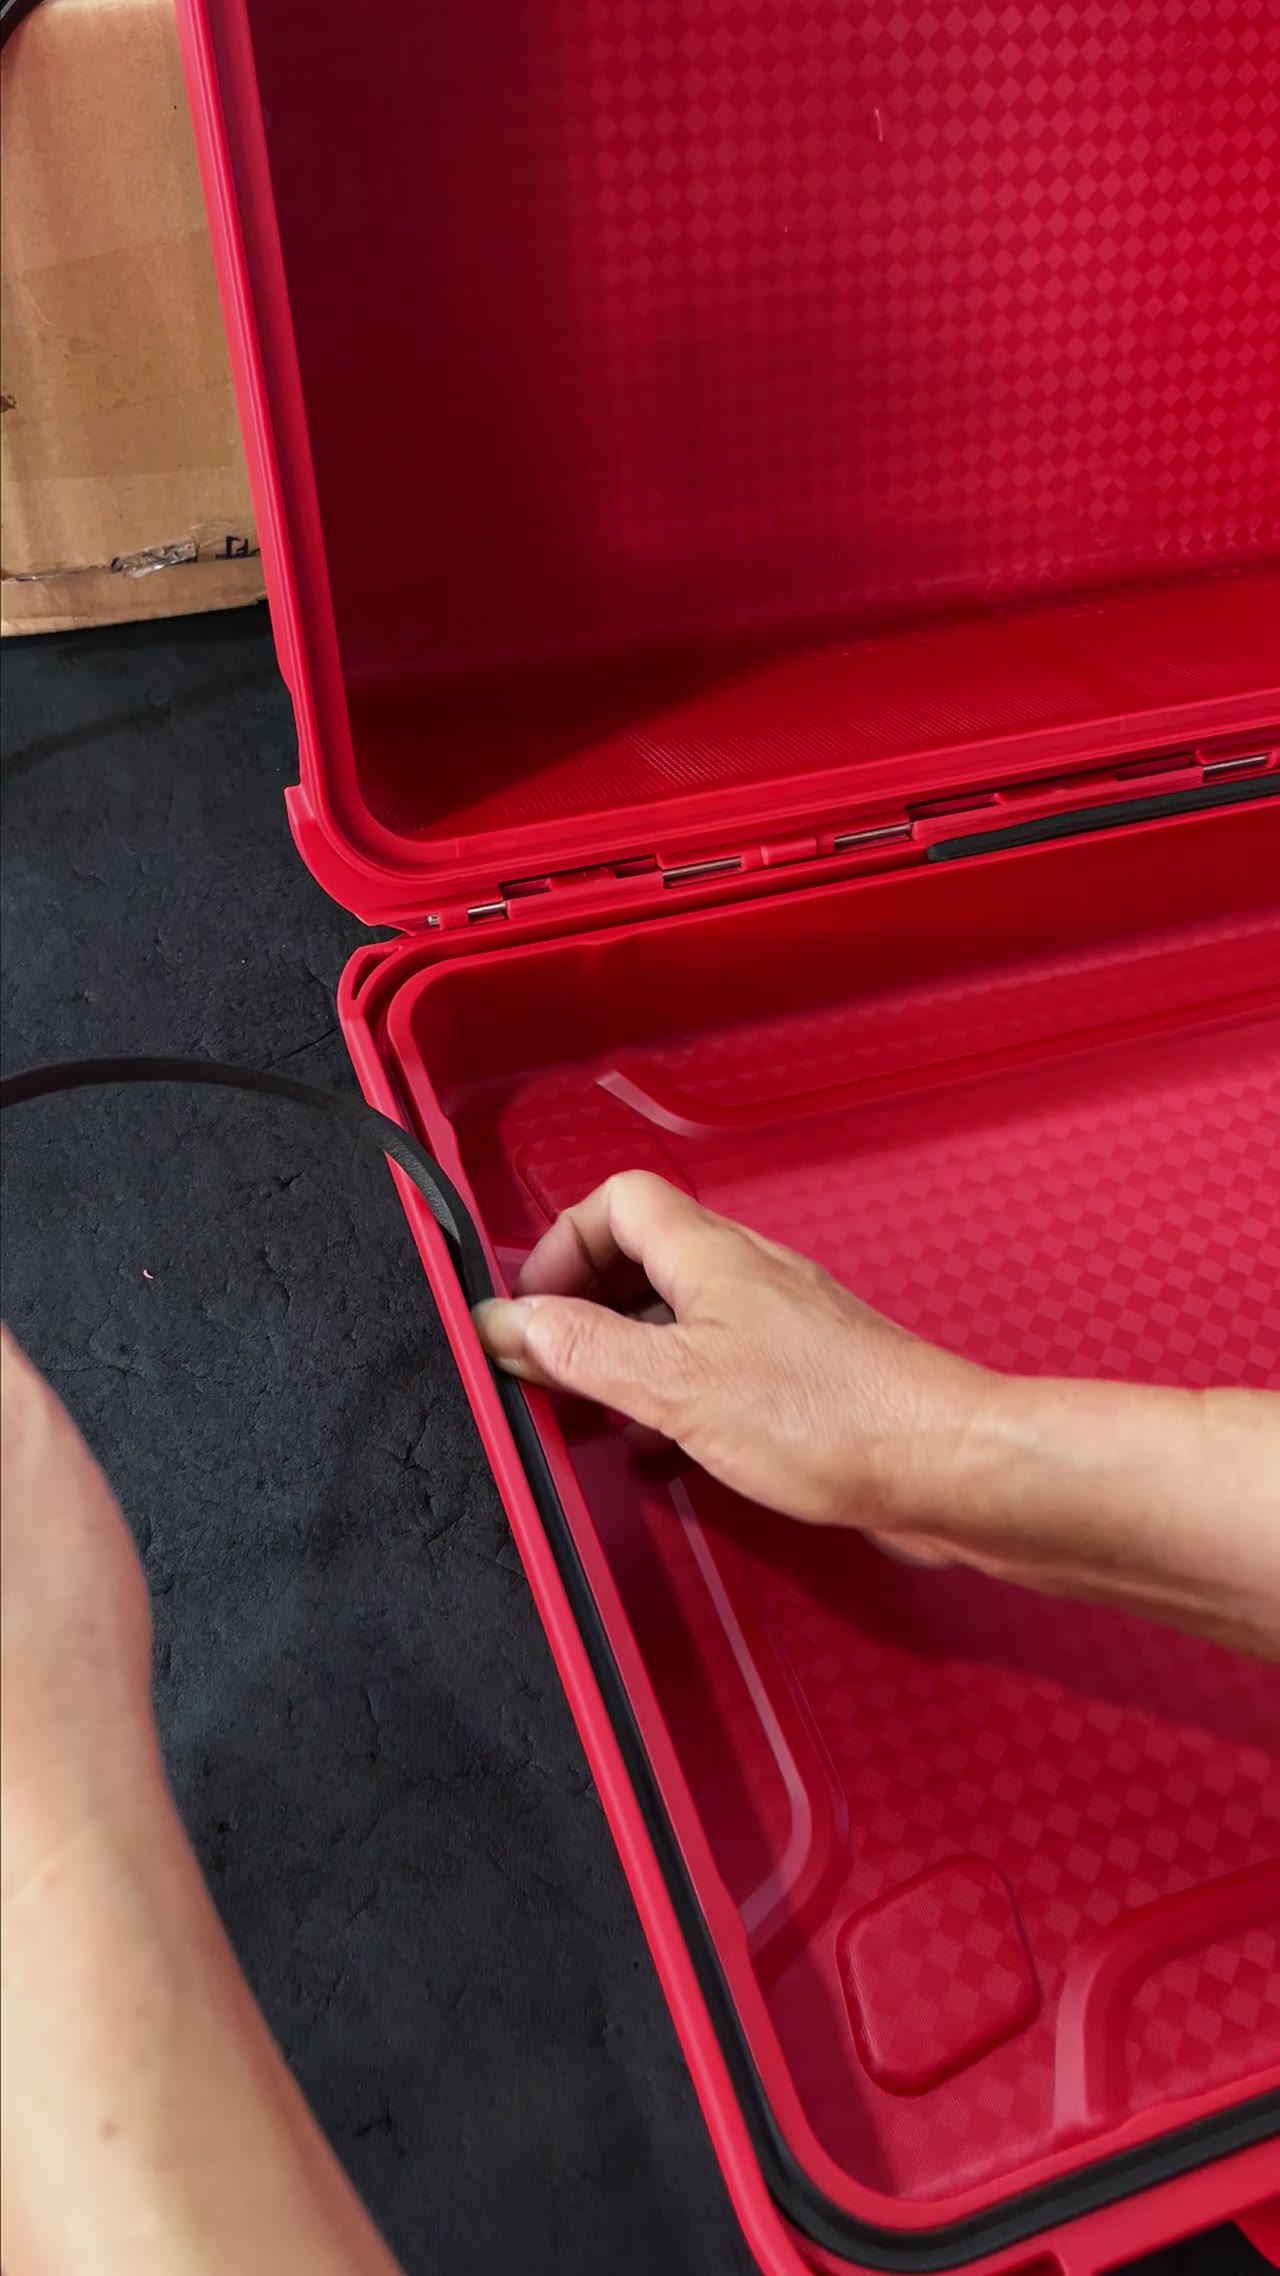
The gasket always goes first. Wipe the groove, blow out the swarf, then press from one corner along the long edge and never stretch the cord at a corner. Stretch it 5% on the line and it creeps back within days, opening a 2 mm to 3 mm gap at that corner. Once the loop is in, run a finger around the groove and confirm the cord is seated, not riding up.
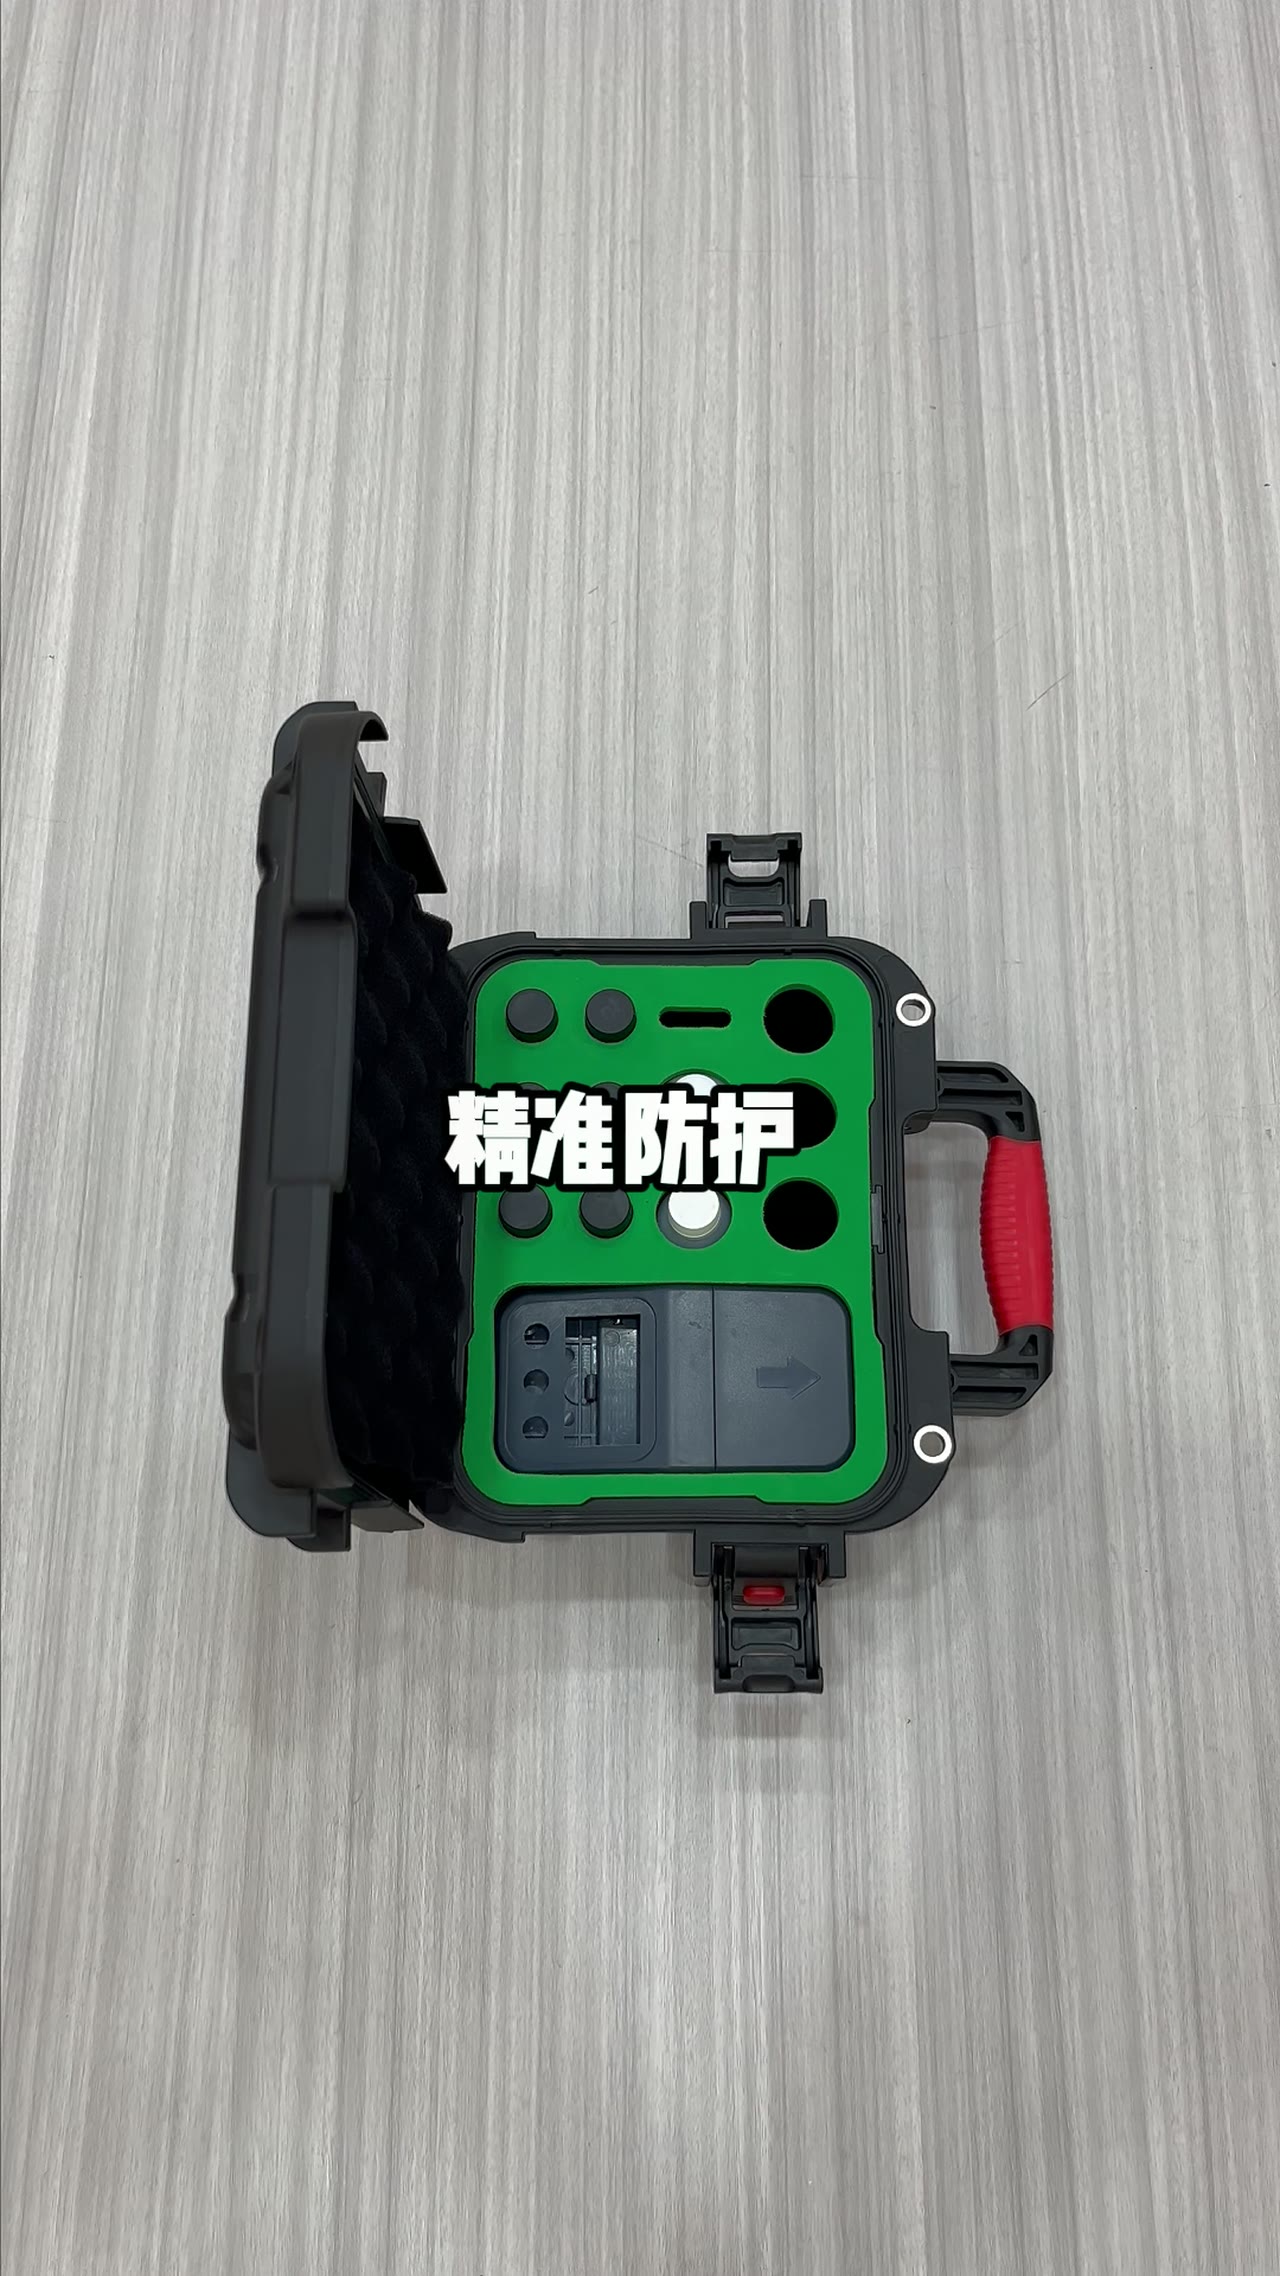
Insert second, hardware third. The insert goes in first because screws pass from inside out; fit the hardware early and you have blocked your own holes. Trim, corners, handle and latch bases come last, with screws biting into moulded-in nuts while the insert is already located, so tightening cannot drag the liner sideways. Reverse that and rework climbs from 1% to 4%, all of it spent undoing.
02Eight to sixteen screws, three passes, diagonal order
A case carries 8 to 16 screws spread around the perimeter. Tightening runs in three passes: hand-tight to contact with no load, then a diagonal pass to half torque, then the final pass. One continuous pass leaves the first screw fully loaded while the rest are still loose, and the wall bows into a wave you can see from two metres away.
The diagonal order is not optional. Four screws go 1-3-2-4, six screws go 1-4-2-5-3-6, so clamping force climbs evenly around the loop. Two adjacent screws on the same side pull that edge down first and lever the opposite edge up by 0.3 mm to 0.8 mm. Gasket compression then varies by more than 10%, and water enters where it is least compressed.
03Seal pressing: 150 to 400 N, compressed 20% to 30%
Press with a roller or a seating tool, never with a thumb. The force needed sits between 150 N and 400 N, which the tool's own weight plus a firm wrist already delivers. Aim for 20% to 30% of cord height, easiest with a depth-limited roller. Under 15% the cord never reaches the groove floor and water travels underneath; past 40% it flattens, loses rebound, and stays deformed after a few closings.
Corners deserve their own attention. Preform the cord, cut a 45° scarf joint, and point the seam down and inward, never up. A joint misaligned by 1 mm is a capillary channel straight into the interior. After pressing, look along the cord: even height, no twist, no trapped debris. One 0.5 mm chip under the seal means that stretch is not sealed at all.
04Latch tuning: 30 to 80 N is feel and specification
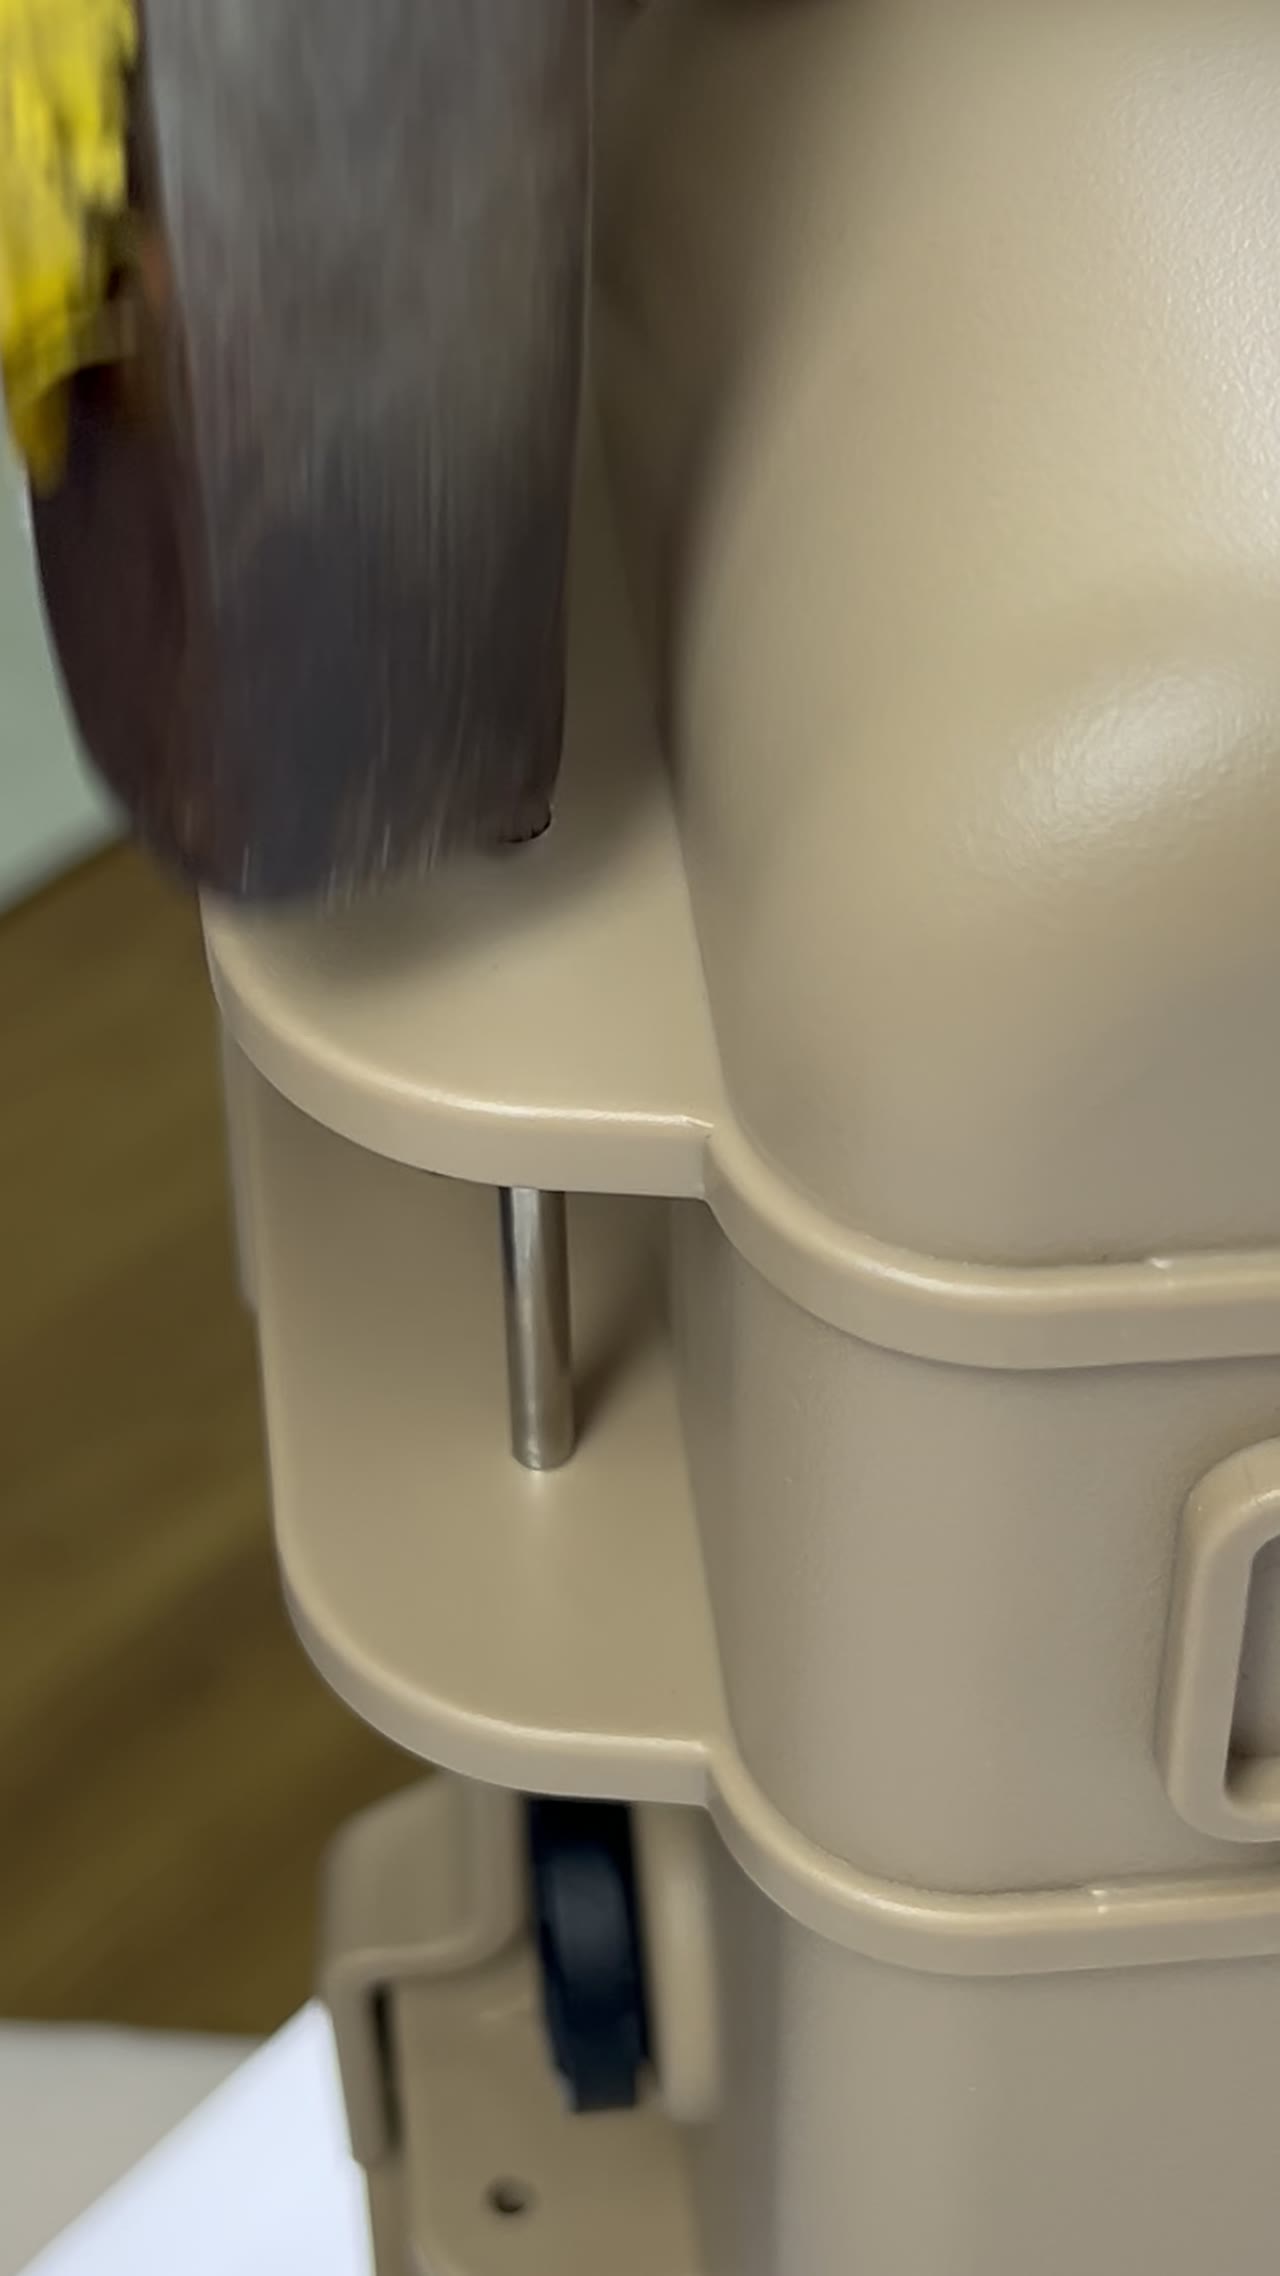
Mount the latch, then snap it three times dry before closing the case. Closing force should read 30 N to 80 N. Under 30 N the latch is too loose and pops open in a drop; over 80 N the interference is too high, a user cannot open it one-handed, and wrists and latch bases pay for it. Two adjustments exist: shift the base 0.5 mm, or add or remove a 0.2 mm shim.
Finish with a full-travel open and close, and listen. One clean click at the end is right. Two clicks, a dull thud, or a second push to engage all mean the tongue and the base are not concentric. Past 0.5 mm of offset the tongue loads on one flank, wears a ramp in 2000 cycles, and gets looser from there. Threadlocker goes on here, curing 4 h to 12 h before load.
05Five checks, three kinds of rework
Five self-checks: gasket seated all round, no missing or stripped screws, latch smooth through full travel, even gap around the lid, insert not loose. Run them in that order and tag the case red at the first failure rather than passing it down the line. The whole sequence takes 25 to 40 seconds, against 300 seconds to rework a case or a complaint from the customer.
Rework falls into three buckets. Gasket lifting or a split corner accounts for more than half, stripped or missing screws for about a third, and off-centre latches for the rest. All three can be caught in the first three stations, and only what slips through reaches final inspection. A 1% to 4% rework rate is normal; getting under 1% comes from tooling limits, not extra hands.
| Assembly cycle | 120–300 s |
|---|---|
| Screws per case | 8–16 |
| Tightening passes | 3 |
| Seal compression | 20–30% |
| Press force | 150–400 N |
| Self-checks | 5 |
| Rework rate | 1–4% |
| Lid closing force | 30–80 N |
FAQ
Why must the gasket go in before the hardware?
Hardware takes up the space above the groove, so the cord can never reach the floor of it. Press the seal afterwards and every corner lifts 1 mm or 2 mm, invisible to the eye and obvious under water. Fixing the order costs a full teardown, 200 seconds and up.
Why tighten screws in three passes?
One pass loads the first screw hard while the others sit loose, and the wall dips into a wave. Three passes let clamping force climb evenly: contact, half, then final. You save a few seconds by skipping passes and pay for it in a lid that does not seat.
Doesn't a stiffer latch seal better?
No. Past 80 N the interference is so high that a user cannot open the case one-handed, and wrists and latch bases suffer while the gasket is crushed past its rebound. The 30 N to 80 N window holds the lid and still opens. Outside it, move the base or change the shim.
Where does rework actually come from?
More than half is a lifted gasket or a split corner, usually from an unlimited press tool or a misaligned scarf joint. About a third is stripped or missing screws, and the rest is an off-centre latch. All three show up in the first three stations.