

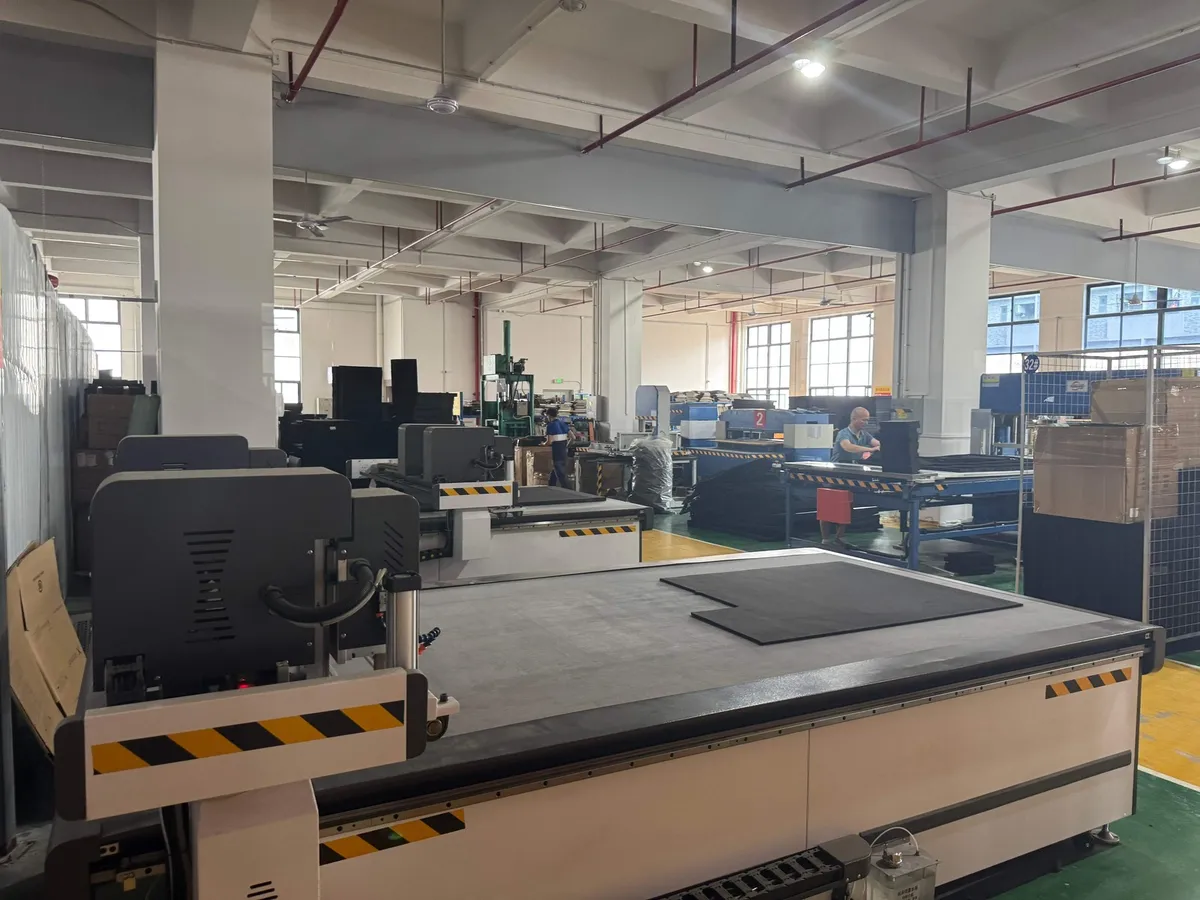
The shell of a protective case stops the outside world; the foam insert stops your equipment from moving. Choosing the insert means two decisions — the foam material (EVA, EPE, or PU) and the cutting method (CNC routing, die-cutting, thermoforming, or pick-and-pluck). Get both right and the case becomes a fitted protective system rather than a padded box.
EVA vs EPE vs PU at a Glance
| Foam | Cell structure | Character | Best use |
|---|---|---|---|
| EVA | Closed-cell | Dense, durable, premium feel, holds sharp edges | Professional kits, tool shadow boards, OEM product packaging |
| EPE (polyethylene) | Closed-cell | Lightweight, economical, recyclable, good cushioning | Shipping protection, general cushioning, budget-conscious volume |
| PU (polyurethane) | Open-cell | Soft, highly compressible, gentle | Light delicate items, optics, lid convoluted (egg-crate) foam |
When Each Foam Earns Its Place
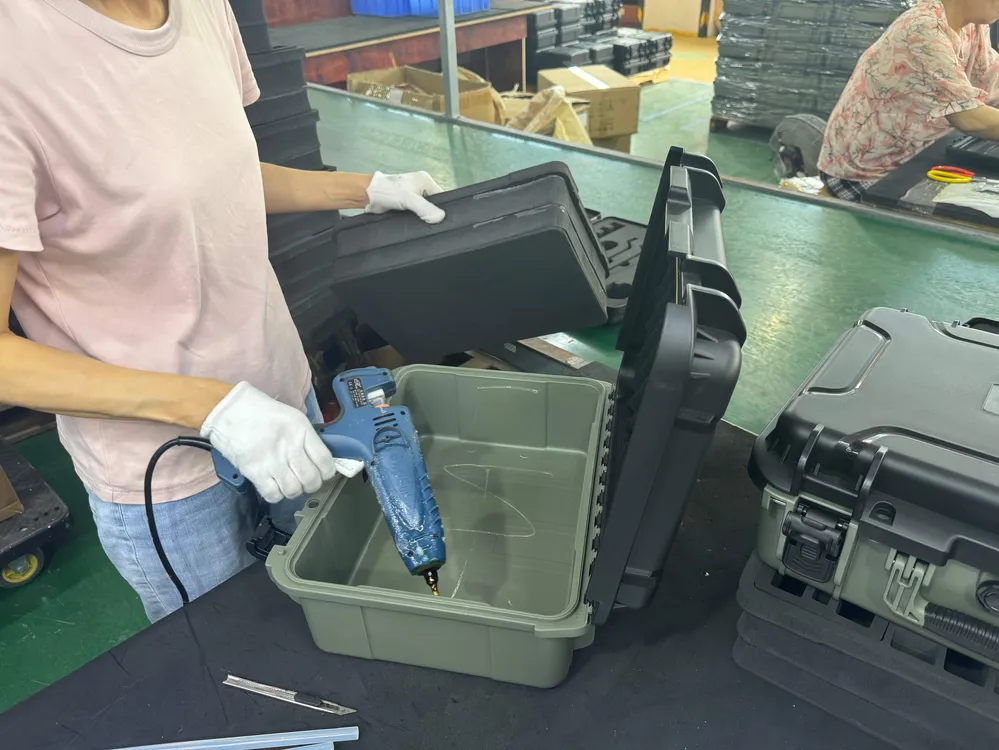
EVA is the workhorse for cases that open daily: it resists tearing, keeps crisp cavity walls, and can be layered in contrasting colors so a missing tool shows instantly. EPE wins on weight and cost — it is the default for transport packaging and for large cavities where EVA would be overkill. PU is the specialist: its softness cradles items that EVA would mark, and its convoluted form is the standard lid foam that presses contents gently into place.
How the Cavity Gets Made
- CNC routing — a computer-controlled cutter carves each cavity from a foam block; perfect for prototypes and complex 3D shapes, no tooling cost
- Die-cutting — a steel rule die stamps the shape; fastest and cheapest per piece at volume, best for flat 2D profiles
- Thermoforming — heated foam is pressed over a mold; used for high-volume, precisely contoured interiors
- Pick-and-pluck — pre-scored cubes you tear by hand; zero tooling, instant, but rough edges and shorter life
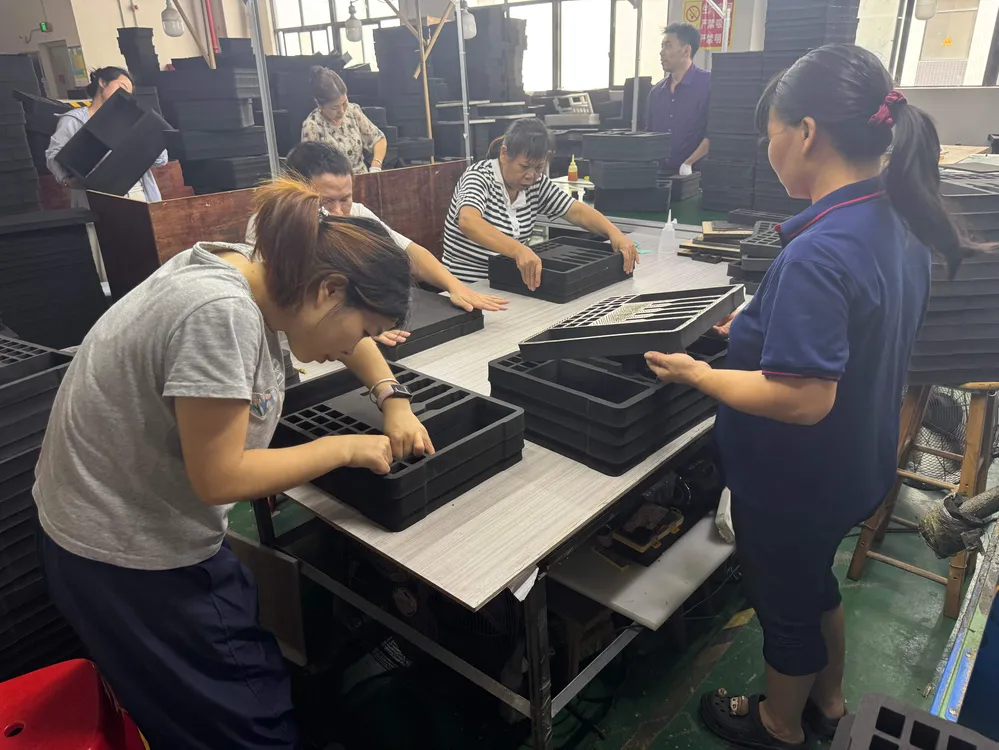
How to Spec a Custom Insert: Five Steps
- Fix the case first — interior length, width, and depth define the foam block
- List every item with dimensions, weight, and fragility; flag anything with a display, lens, or calibration surface
- Sketch the layout: heaviest items low and centered, frequently used items near the lid, nothing touching
- Choose foam and method from the tables above — EVA + CNC for a pro kit, EPE + die-cut for volume shipping
- Approve a sample or drawing before production; a paper layout check catches 90% of mistakes for free
One-Stop Foam and Case, Under One Roof
Because JUNZHIJIA molds cases and fabricates foam inserts in the same facility, the insert is designed against the real interior geometry of the case — ribs, latch recesses, and all — rather than a nominal rectangle. That is how OEM customers get retail-ready packaging: case, molded-in or printed logo, and fitted foam from a single supplier. Start the conversation on our contact page, or read how the OEM/ODM process works.
Related Products
- 8 Series — Gun Cases; Military Equipment Cases; Camera Equipment Cases; Drone Cases; Watch Cases; Knife Cases; First Aid Cases; Electronics Equipment Cases
- WL8-2812 PP Gun Case — model WL8-2812
- All protective cases and toolboxes: 7 series, 158 models