

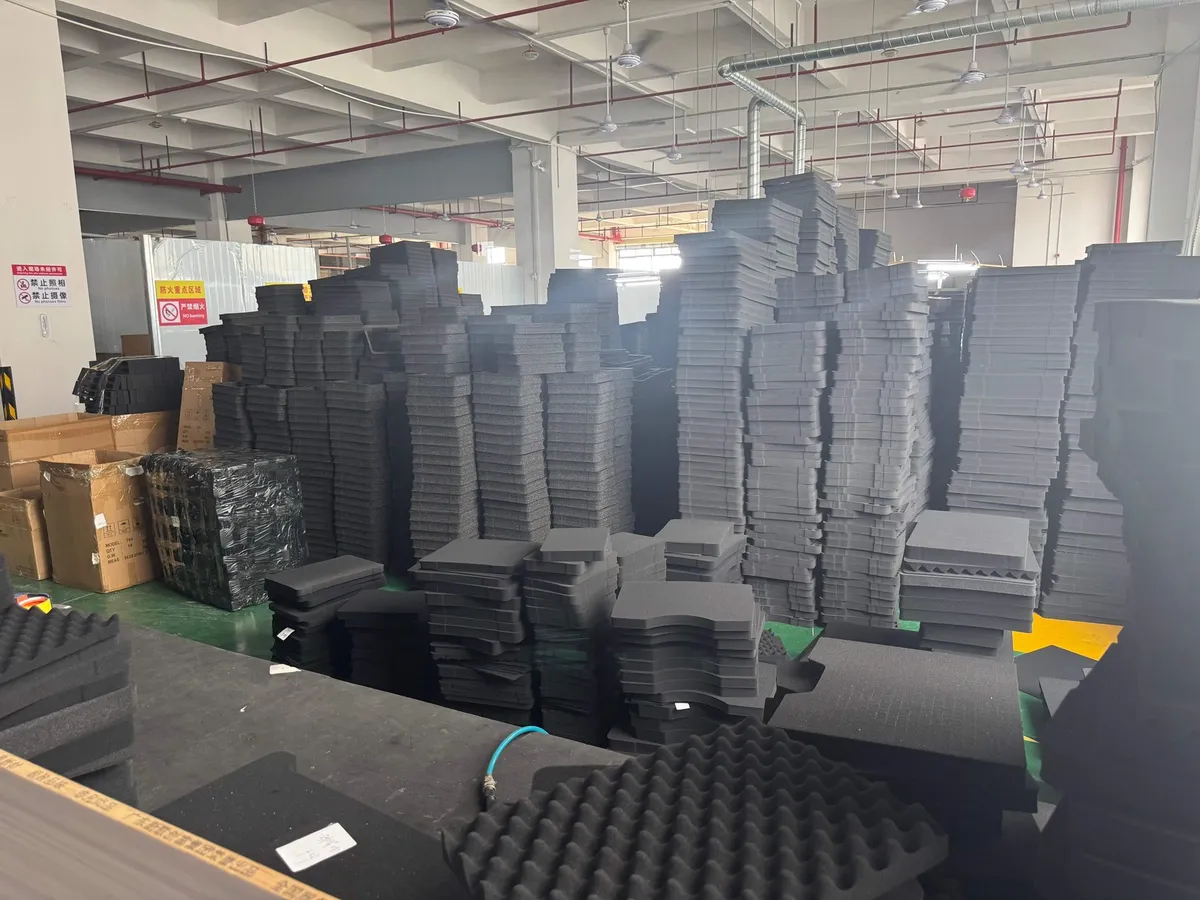
Pick-and-pluck foam trades resolution for speed and cost. You get a custom cavity in minutes with no tooling, in exchange for a grid-sized minimum feature and a finish that will not survive heavy daily use. Used knowingly it is excellent; used as a permanent substitute for a routed insert it disappoints.
How the sheet is built
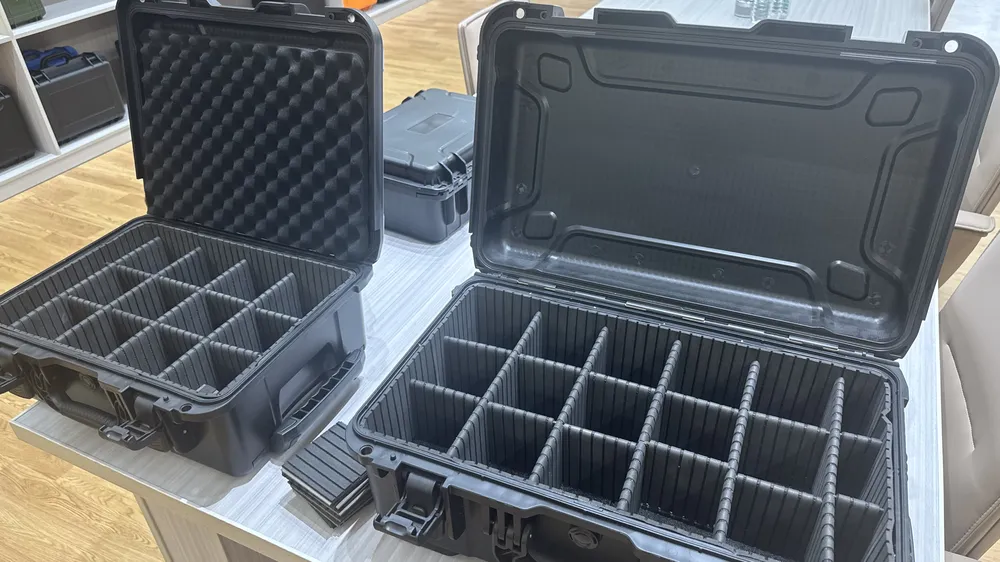
- Pre-scored cubes. The sheet is cut most of the way through on a grid. Cubes stay attached at the base, so removing them leaves a floor at the depth of the cut.
- Cube size sets resolution. Your cavity can only be as fine as the grid - typically roughly half an inch to an inch. Curves become staircases.
- Layers. Thick kits are built from more than one sheet. If you need a deeper cavity than one sheet provides, the sheets must be bonded, or you cut through and accept the loss of the base layer.
- Lid foam. Many cases add convoluted - egg-box profile - foam in the lid. It holds the contents down from above but should not compress them; if the lid foam is doing structural work, the cavity is too shallow.
The three failures, and how to avoid each
| Failure | Symptom | Cause | Fix |
|---|---|---|---|
| Too large | Item rattles when the case is tilted | Cut to the outline rather than traced; grid tolerance plus a gap | Trace the item on the foam and cut just inside the line; add a finger notch |
| Too shallow | Item tips out or lifts under the lid | Only one or two cube layers removed | Bury at least half the item depth; keep a base layer underneath |
| Cut through to the floor | Item sits on the hard case base and is free to slide | All layers removed in the cavity footprint | Leave one layer at the bottom; let the walls do the holding |
A method that works
- Plan the layout on paper first. Decide what goes where before you remove a single cube. Consider frequency of use - the item needed most often goes where it is easiest to reach, not where it fits best.
- Leave a perimeter margin. Do not cut to the edge of the sheet. Foam at the perimeter absorbs impact from the case wall; removing it transfers that impact to the contents.
- Trace, do not estimate. Place the item on the foam, draw around it with a marker, then remove cubes just inside the line. A cavity cut to the line will be loose, because the grid cannot follow it exactly.
- Cut the depth in stages. Remove one layer, test the fit, then go deeper. You can always remove more; you cannot put it back.
- Test with the actual item, with its accessories. Cables, chargers and spare parts all need homes, and a forgotten cable will end up loose in the case.
- Add finger notches. Leave a small recess at the side of each cavity so items can be lifted out. A cavity you cannot get a finger into is a cavity nobody uses.
- Close the lid and check. With everything loaded, close the case. If the lid is being forced, the contents are too tall or the lid foam is over-compressed.
Work from the outside in, and remove cubes in a deliberate order rather than grabbing handfuls. Tearing across a wide area pulls at the walls of cavities you have already finished, and the edge quality suffers.
Making it last
- Bond layers if the kit is thick and the case is opened often - unbonded sheets shift and the cavity loses registration.
- Avoid tearing cubes at the very edge of a finished cavity; a ragged wall wears faster and sheds crumbs.
- Keep foam away from oils, solvents and prolonged direct sunlight, all of which degrade it.
- Expect pluck foam to be a consumable in daily service. Plan to replace it, and keep a layout record - a photograph with a scale - so the replacement can be cut the same way.
When to move on
- The layout is proven and the volume justifies tooling - cut foam costs less per unit and fits better.
- You need tight tolerances, for tool control or for a visual missing-item check.
- The item has curves, fine detail or protruding features the grid cannot resolve.
- The case is opened many times a day, in which case the durability of a routed insert pays back quickly.
- You need two-colour shadow foam so a missing item is visible at a glance.
The honest summary: pluck foam is how you find out what the right cavity is, and a routed insert is how you repeat it reliably. Doing the first well makes the second accurate, because you will be handing the converter a layout you have already tested against the real equipment. JUNZHIJIA cases can be supplied with pick-and-pluck foam for you to shape, or with a die-cut or routed insert cut to a layout you supply - send a photograph or a drawing of a layout you have already proven, and that is the most reliable starting point for tooling.
Related Products
- 8 Series — Gun Cases; Military Equipment Cases; Camera Equipment Cases; Drone Cases; Watch Cases; Knife Cases; First Aid Cases; Electronics Equipment Cases
- WL8-2812 PP Gun Case — model WL8-2812
- All protective cases and toolboxes: 7 series, 158 models