

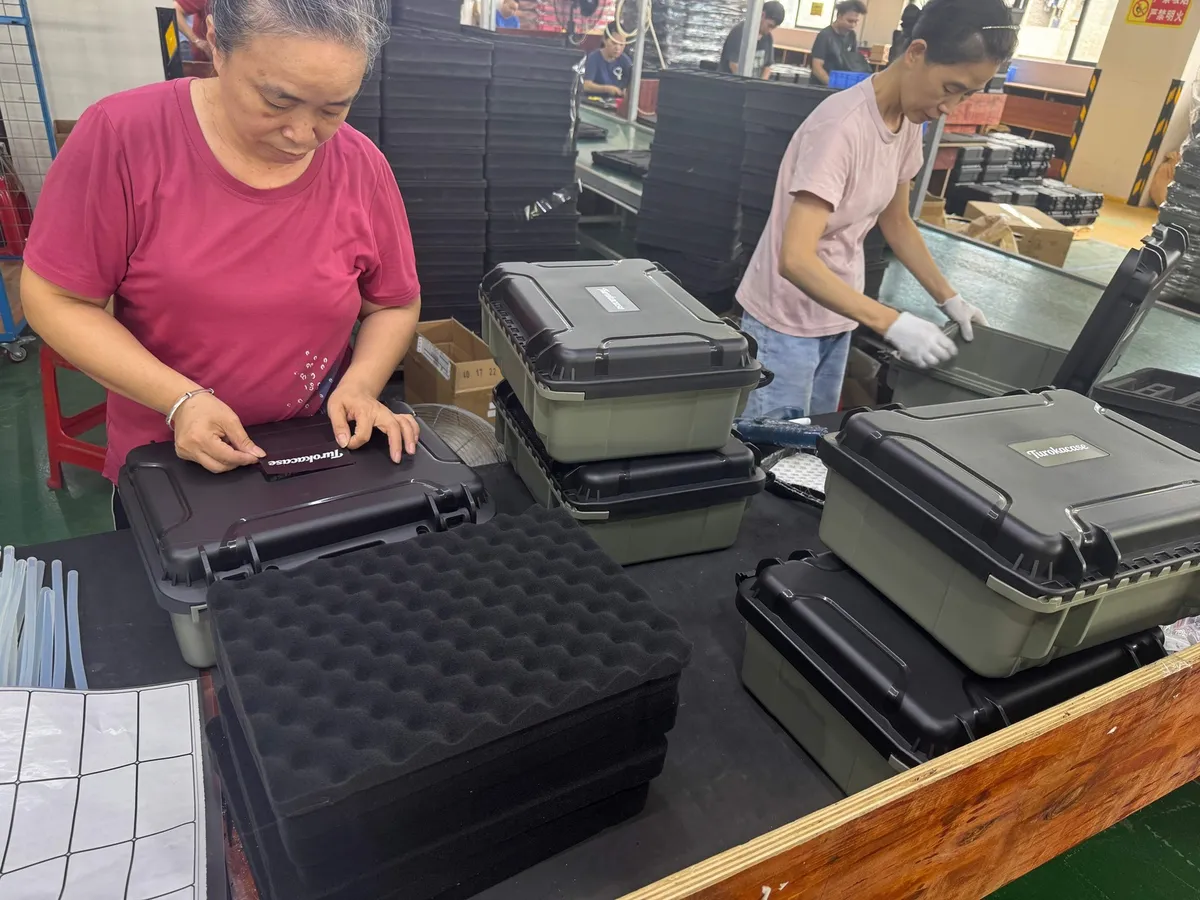
Sampling is where a case specification stops being a drawing and becomes an object. It is also the last stage at which changing your mind is cheap, which makes it the stage worth the most attention per hour spent.
The stages, and what each one is for
| Stage | What it produces | What it is actually testing |
|---|---|---|
| 3D data review | Agreed geometry and tolerances | Whether the design can be made at all, and at what tooling cost |
| Prototype shell | Machined or printed part | Fit against real equipment, ergonomics, stacking |
| First shot from tool | Parts in production material | Mould correctness - fill, warp, sink, latch engagement |
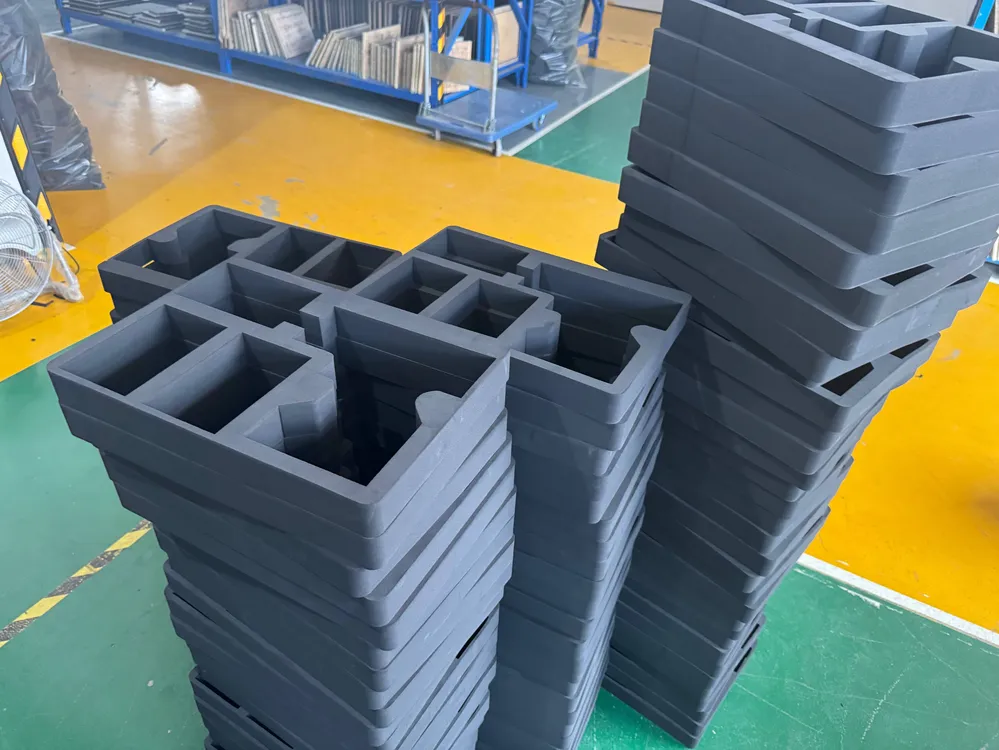
| Foam fit trial | Cavity in production foam | Whether the cavity holds the equipment under shake and drop |
| Approval sample | Signed reference part | Full specification compliance, including colour and print |
| Production validation | Parts from a normal production run | Whether the process repeats the approval sample at speed |
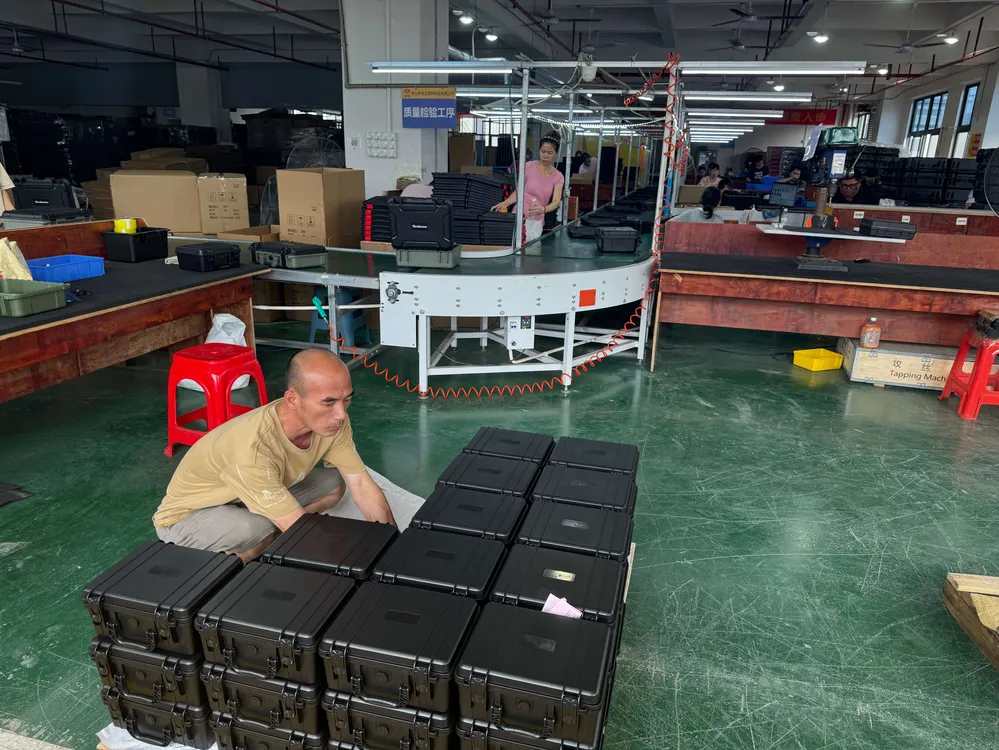
Each stage exists because the next one is more expensive to iterate. A geometry problem found at 3D review costs an edit; the same problem found at first shot costs a tool modification.
What to check on a first-shot sample
Work through the sample in a fixed order so that nothing depends on memory. The order below runs from the things that are hardest to change to the things that are easiest.
- Structure and geometry. Wall thickness consistency, absence of sink marks on visible surfaces, warp when the lid rests on a flat surface, and flushness of the lid-to-base seam.
- Seal and closure. Gasket seated evenly in its groove with no twist or gap, latches engaging fully, and the lid not rocking when closed.
- Latch cycling. Open and close every latch at least twenty times. Latches that feel stiff or gritty now will not improve in production.
- Foam fit. Insert the real equipment with its real cables. Shake the closed case gently and listen. The equipment should not move.
- Hardware and fittings. Handle return, wheel rotation if fitted, hinge smoothness, and the security of every fastener.
- Finish and colour. Under agreed lighting, against the reference chip, checking both shell and any painted or printed area.
- Print and marking. Position, size and adhesion against the drawing. Tape-test adhesion on a sample you are willing to sacrifice.
- Documentation. Dimensional report, and where applicable, the test report that corresponds to this specific sample.
Test the sample you intend to keep, and keep the sample you tested. A golden sample that has never been opened, dropped or cycled is not a reference - it is a display piece.
Running a foam fit test properly
Foam fit is the most common cause of a second sampling round, and the reason is almost always that the test used a stand-in rather than the real thing. A foam cavity cut to a drawing will hold a drawing; it may not hold the actual device with its cable, its protruding connector or its aftermarket accessory.
- Supply the real equipment, or a mass-and-dimension-accurate dummy, before foam is cut.
- Include every item that ships in the case - cables, chargers, spare parts, documents.
- Specify the orientation the user will actually open the case in, and confirm nothing falls out when it is opened.
- Shake test: hold the closed case and shake in all three axes. Movement means the cavity is too large or too shallow.
- If the contents are heavy, check that the foam is not bottoming out - the cavity base must not be the load path.
Writing a sign-off that protects both sides
A good approval record is not a formality; it is the document that ends arguments before they start. It should be short, specific and photographic.
- Identify the sample precisely - part number, revision, date, and the drawing revision it was built to.
- Photograph the approved part from fixed angles, including close-ups of texture, print and hardware.
- State the tolerances and colour limit in numbers, not adjectives.
- List any accepted imperfection explicitly, with a photograph, so it cannot later be raised as a defect.
- List anything explicitly not approved, with the required correction.
- Record where retained samples are held by each party, and for how long.
- Name the approver and the date.
None of this requires the buyer and factory to distrust each other. It requires them to have the same memory, which no one does after six months and three production runs. For a JUNZHIJIA programme the sampling sequence, the number of rounds, and the tests performed on each round are agreed at the start of the project, because they depend on whether the shell is a stock size, a modified stock size, or a new tool.
Related Products
- 8 Series — Gun Cases; Military Equipment Cases; Camera Equipment Cases; Drone Cases; Watch Cases; Knife Cases; First Aid Cases; Electronics Equipment Cases
- WL8-2812 PP Gun Case — model WL8-2812
- All protective cases and toolboxes: 7 series, 158 models