

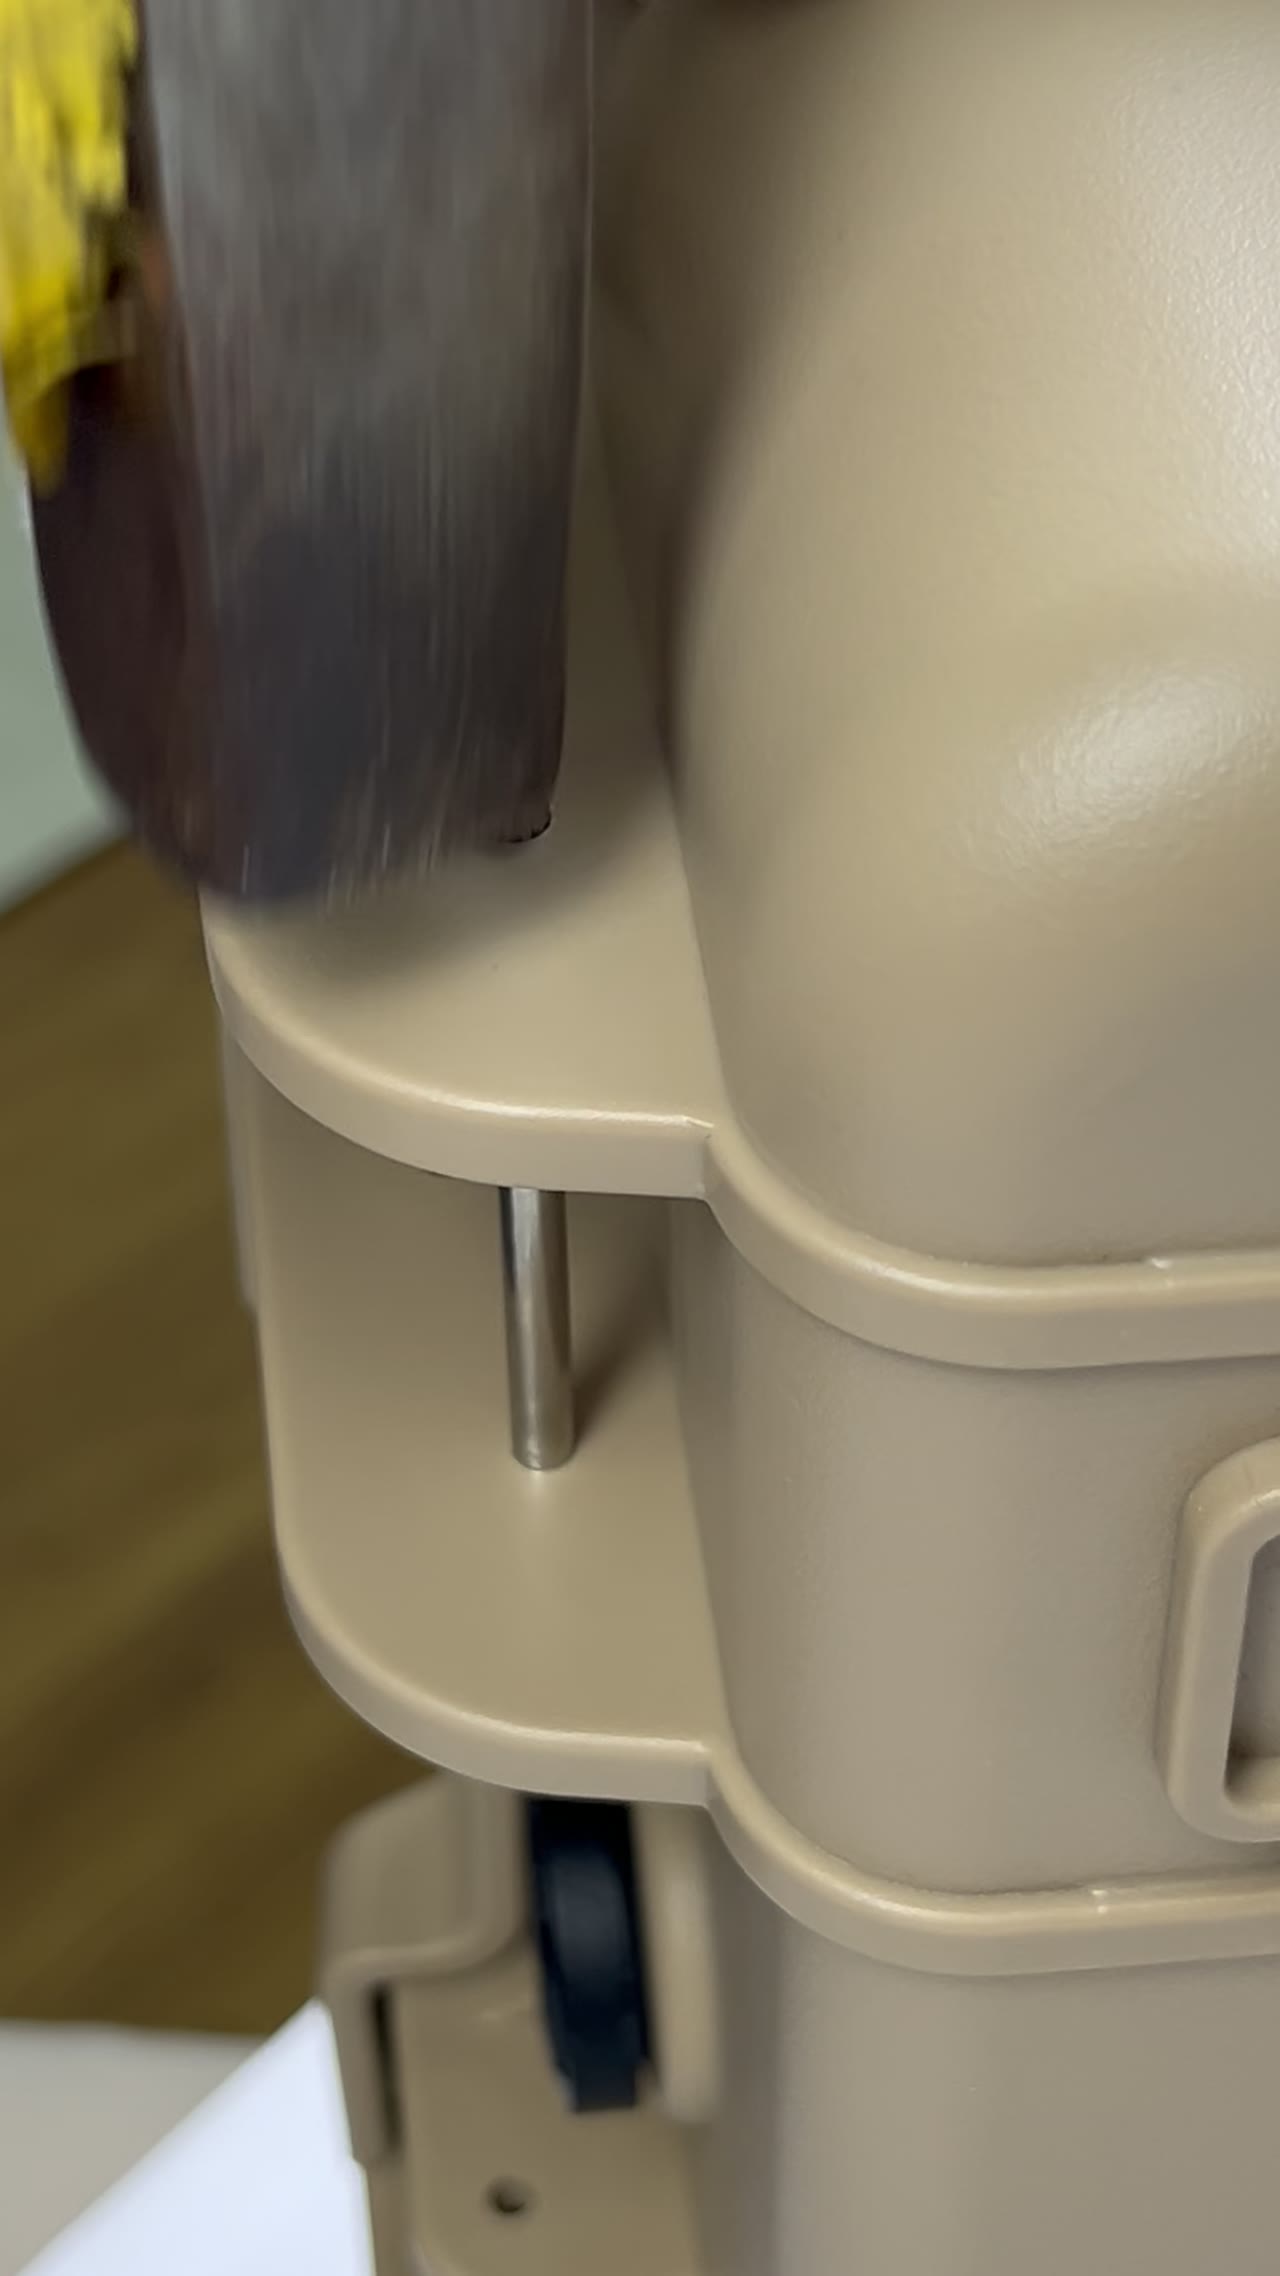
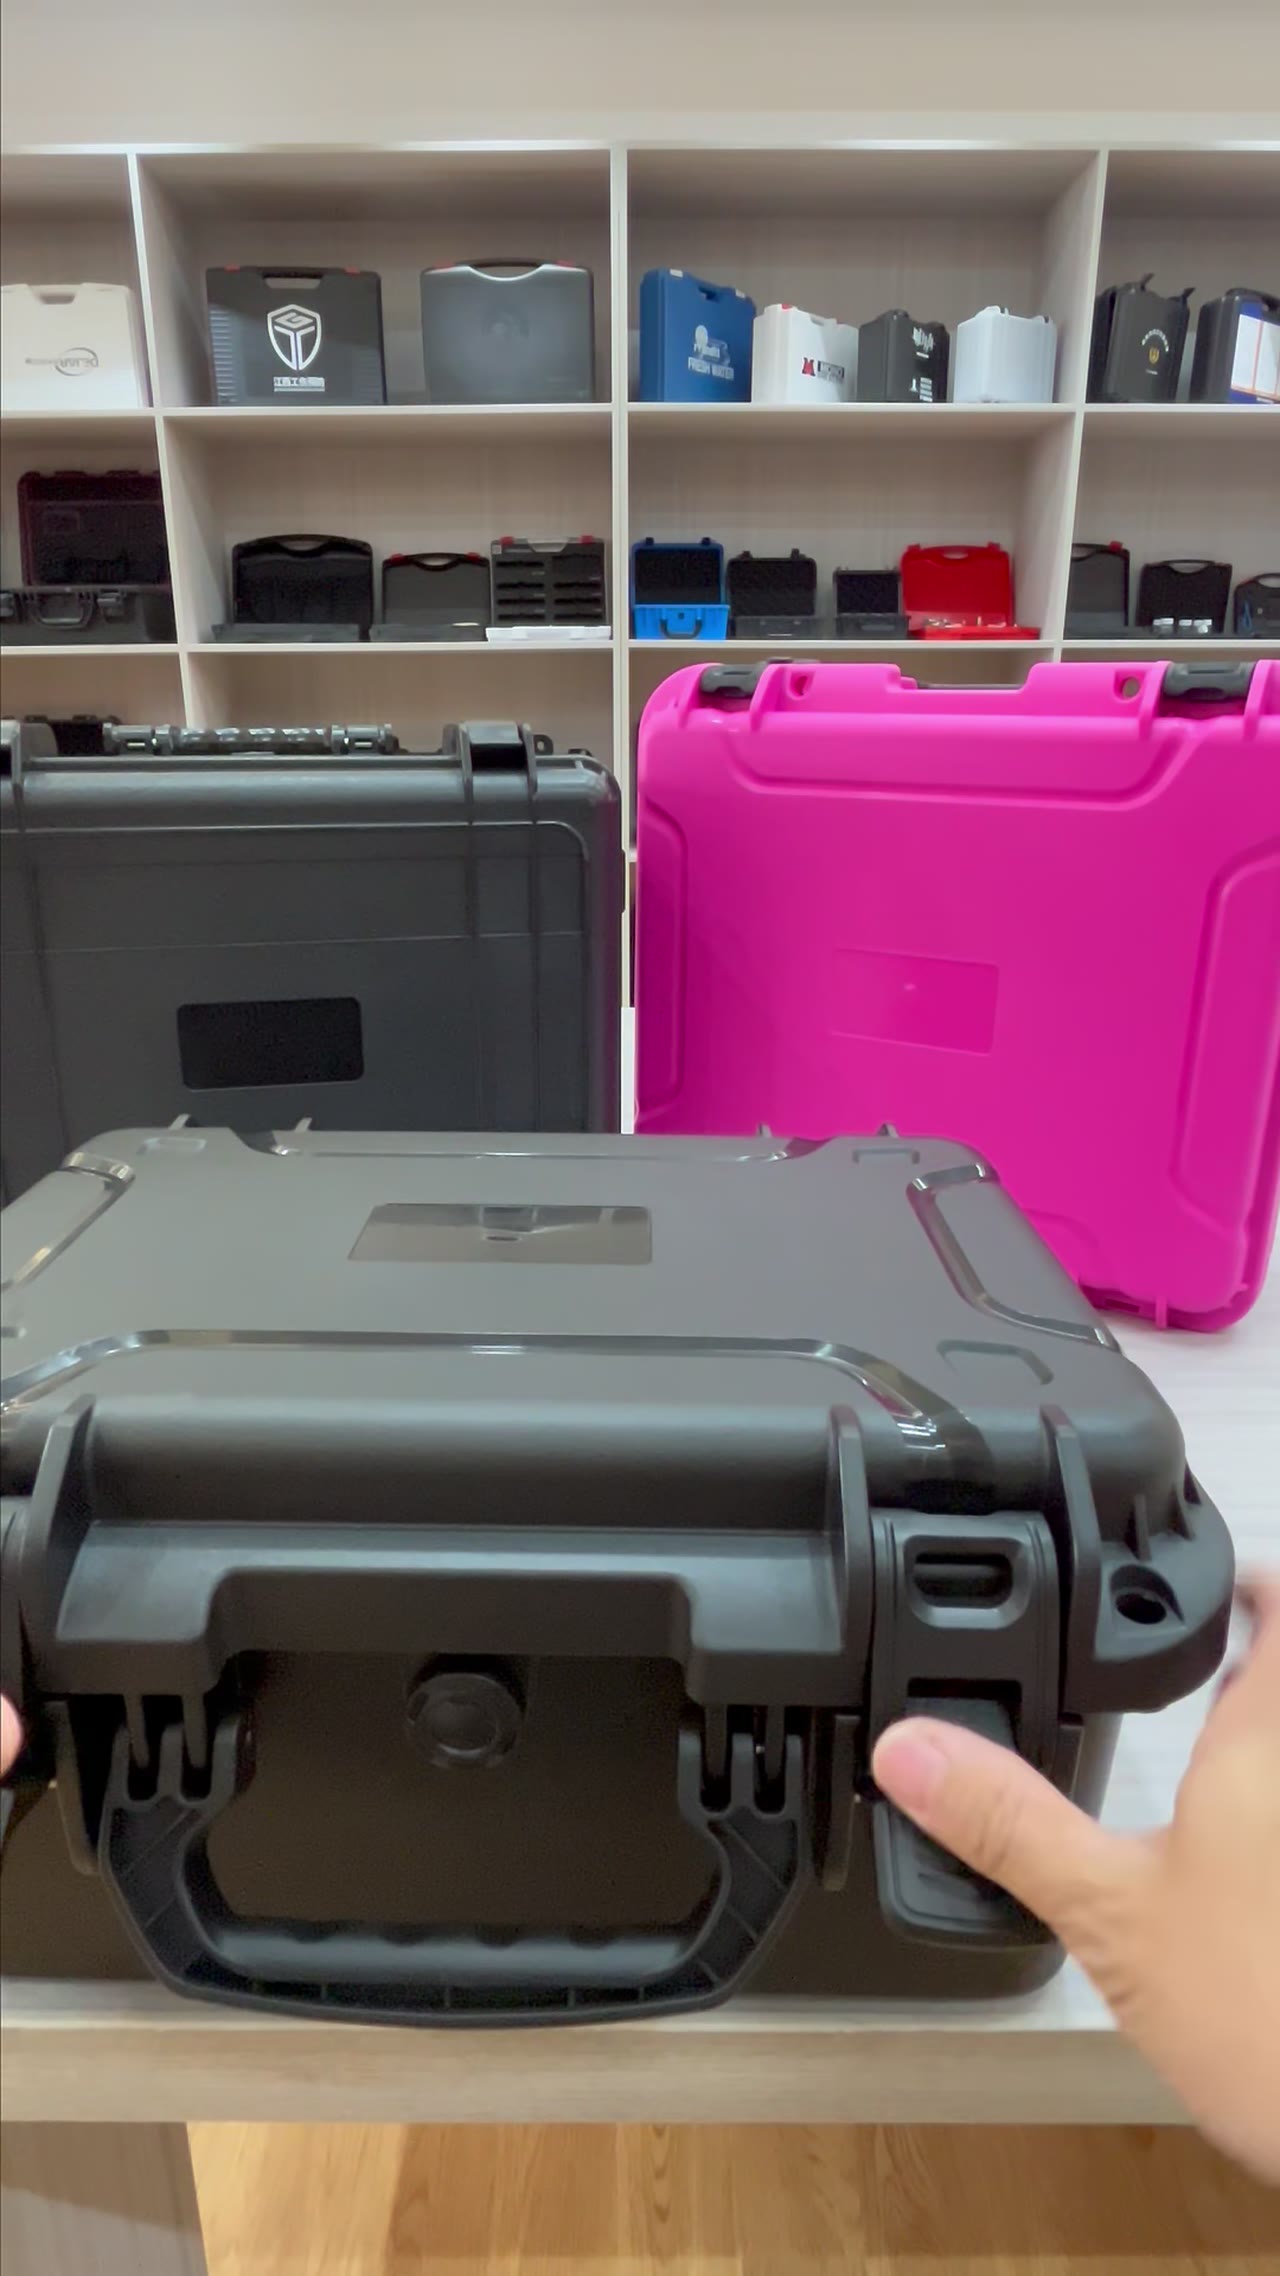
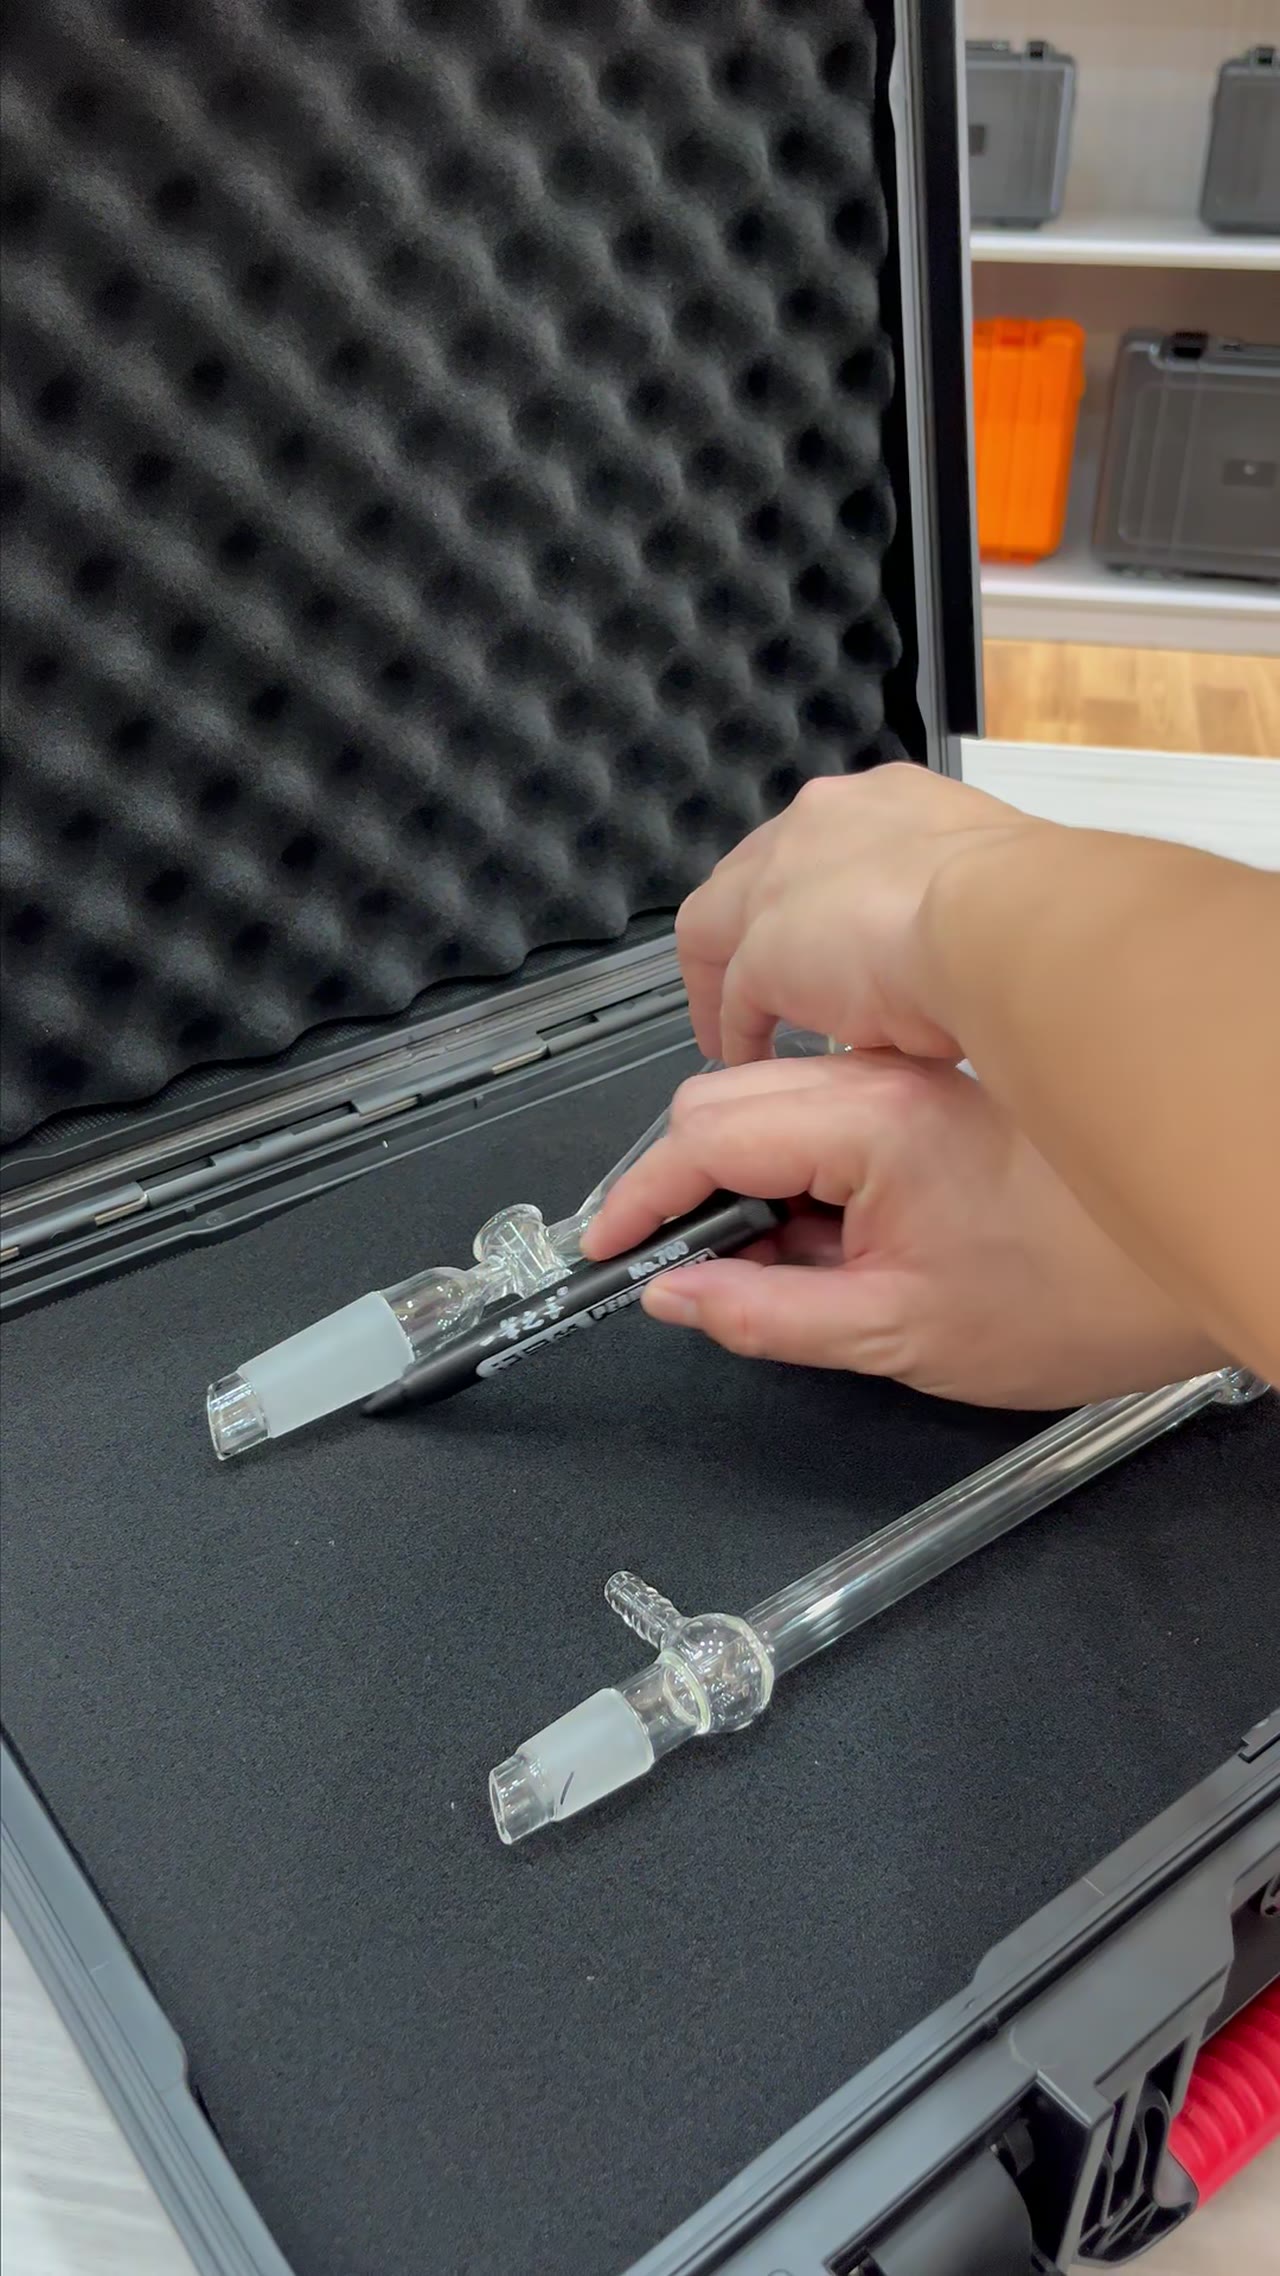
Shape Shift: Scene Into Case
A shape-match cut is a swap, not an effect. The eye buys it when three measurements agree: two silhouettes sit within a few percent of each other, the subject keeps travelling in the same direction at a similar rate, and both shots read as lit by one lamp. Break any one of the three and the transition looks pasted on, however much effort went into the edit. What follows are the tolerances we check before a single frame is cut, and the ones that tell us a shot should never reach the timeline.
01Measure the Outline Before Choosing the Move
Underneath every shape match is a plain geometric substitution. The outgoing frame shows an outline; the incoming frame puts a similar outline in roughly the same place, heading the same way, and the brain reads continuous transformation rather than a cut. That is why the first job is not picking a preset. Trace the subject in both shots, overlay them, and write down three numbers: bounding-box difference, main axis angle, and how far the centre of mass drifted over a 2 s window.
Our working limit is 5% of the subject's long edge. On a case that fills 1200 pixels of frame width, that allows 60 pixels of drift; when it fills 400, the budget drops to 20. The same template that works on a close-up fails on a wide shot for exactly this reason, and no amount of feathering will hide it.
02Direction and Speed Have to Survive the Cut
Speed is the second measurement. If the subject exits toward the lower right, it has to enter from the lower right. Anything past 15 degrees of direction change reads as a tug on the object. Rate matters as much: a subject crossing 80 pixels per second in one shot and 300 in the next, with nothing accelerating in between, feels like a slam rather than one continuous move.
Shoot both shots overcranked and slow them down. Recording at 2x and playing back at normal speed doubles the usable duration, which gives the timeline room to line up entry and exit. 50 frames per second captured and 25 played back is a workable baseline; fast action wants 60 captured. Footage already at 25 cannot be slowed without dropping frames, and the cut stutters.
03Hue and Contrast: One Lamp, Two Setups
Colour gives the trick away faster than geometry. Push hue more than 8 degrees apart and attention leaves the action and lands on the colour block. Sample a neutral grey patch in the same spot on both shots, convert the RGB values to a hue angle, and hold the difference inside 8 degrees. Keep saturation within 5% and lightness within 3%.
Read contrast at the same time. A 1:3 key-to-fill ratio has to match on both sides; pair a 1:3 with a 1:8 and the cut looks like a change of room. Shoot a 5 s reference strip first, lock white balance, ISO and shutter, then copy those settings to the second setup and correct in the grade rather than rebuilding the light from scratch.
04Feather the Mask, Then Hide the Seam
The mask edge decides whether the cut reads as real. Feathering between 2 and 4 pixels is the usual window: at zero the edge is a knife line the eye can find, past 6 the subject's outline goes soft. That span is roughly 0.2–0.4% of frame width. Scale it to resolution — 2 to 3 pixels on a 1080-wide frame, 4 to 6 on a 4K frame.
Put the seam where things move. A mask edge riding on a travelling subject is invisible, because the viewer tracks the subject. The same edge sitting on a static background boundary shows every irregularity, and a 2–4 px feather cannot rescue it. Start and end the transition on the frames of largest displacement, never on the frame where the action settles and holds for half a second.
05How Many Transitions Fit in 15 to 30 Seconds
A 15–30 s film carries 3 to 5 transitions, each lasting 0.3–0.6 s. Past 6, people watch the technique instead of the content. The test is crude and reliable: mute the audio, watch once, and if you notice the transition itself there is one too many. Cut it and use a straight join; the sequence usually gets tighter, not looser.
Negative space of 25–35% is what makes the move possible at all. A subject pinned to the frame edge leaves the mask nowhere to travel and forces a hard cut. That 30% of empty frame lets an outline slide in from outside. Shoot to that framing and the edit needs no reframe, so nothing loses resolution to a 1.2x punch-in.
| Single transition length | 0.3–0.6 s |
|---|---|
| Outline match error (max) | ≤5% |
| Overcrank rate | 2x, 50–60 fps |
| Key-to-fill ratio | 1:3 |
| Hue shift tolerance | ≤8° |
| Mask feather at 1080 wide | 2–4 px |
| Finished runtime | 15–30 s |
| Negative space | 25–35% |
FAQ
How is the 5 percent outline error measured?
Trace the subject's edge in both shots, overlay the paths, measure the largest gap along the long edge and divide by that edge's pixel length. Above 5 percent, do not fix it with a longer dissolve or heavier feather. Move the camera and shoot again.
Can this work without overcranking?
Yes, with very little room. At 25 fps a gesture offers two or three frames to align, and one frame off breaks the motion. Overcranking buys frames to cut against, not slow motion for its own sake. Without it, shorten the transition to 0.3 seconds.
Why is 8 degrees the hue limit?
Inside 8 degrees the eye reads one colour under different light; past it, two colours. Sample a neutral grey in both shots and subtract the hue angles. If the setups differ, match white balance and lamp temperature on set first and grade second.
How many transitions belong in 15 seconds?
Two or three, each 0.3 to 0.6 seconds. Five or more in 15 seconds and people remember the technique, not the content. Mute the audio, watch once, and if the transition draws your eye, replace it with a straight cut.