

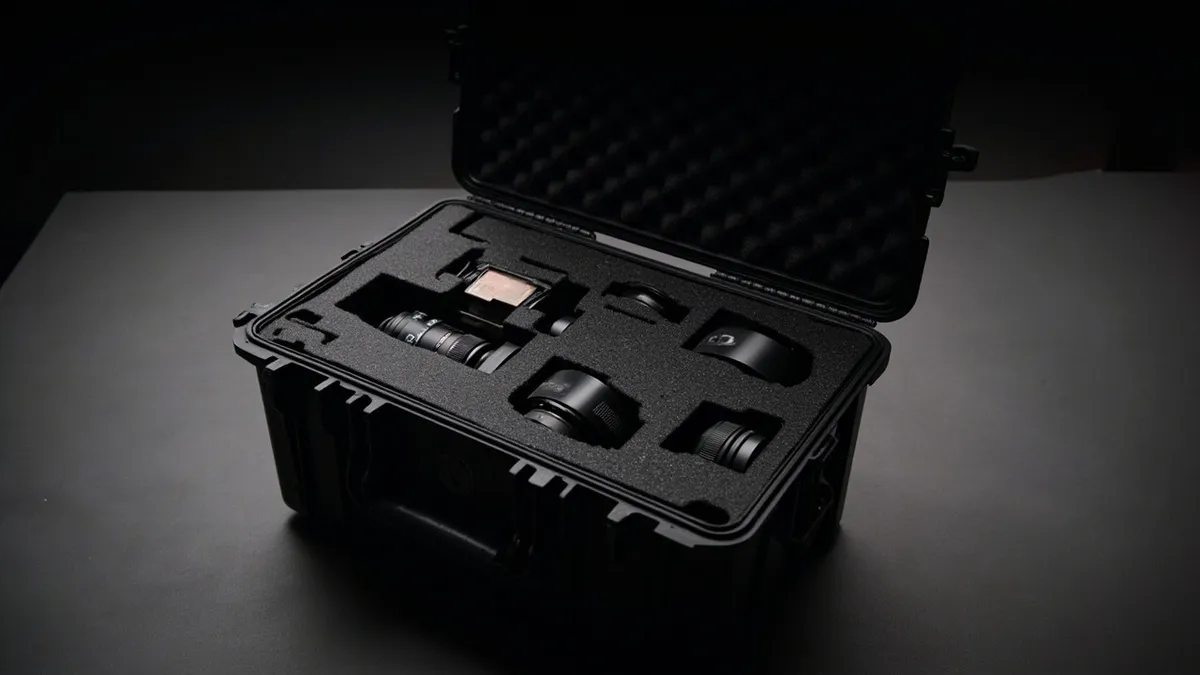
For aircraft holds, vehicle transport and wet or dusty locations, a sealed hard case outperforms a soft camera bag. The rule of thumb that matters most is not the shell but the layout: leave at least one inch of foam between every item and the nearest case wall, keep heavy bodies low and delicate optics toward the centre, and carry two to three fresh silica gel packets inside the sealed volume.
Hard Case vs Soft Bag: Decide by Trip Phase
Photographers rarely need one bag for everything. The honest split is by phase: hard cases win where the kit is out of your hands, soft bags win where the kit is on your back.
| Situation | Better choice | Reason |
|---|---|---|
| Checked aircraft hold | Hard case | Crush resistance, airtight seal, published IP rating |
| Vehicle or boat transport | Hard case | Impact, spray and dust protection with a sealed gasket |
| Long hike or street shooting | Soft padded insert | Weight and speed of access matter more than crush strength |
| Long-term storage between jobs | Hard case with desiccant | Stable sealed environment you can monitor |
Sizing and the One-Inch Foam Buffer
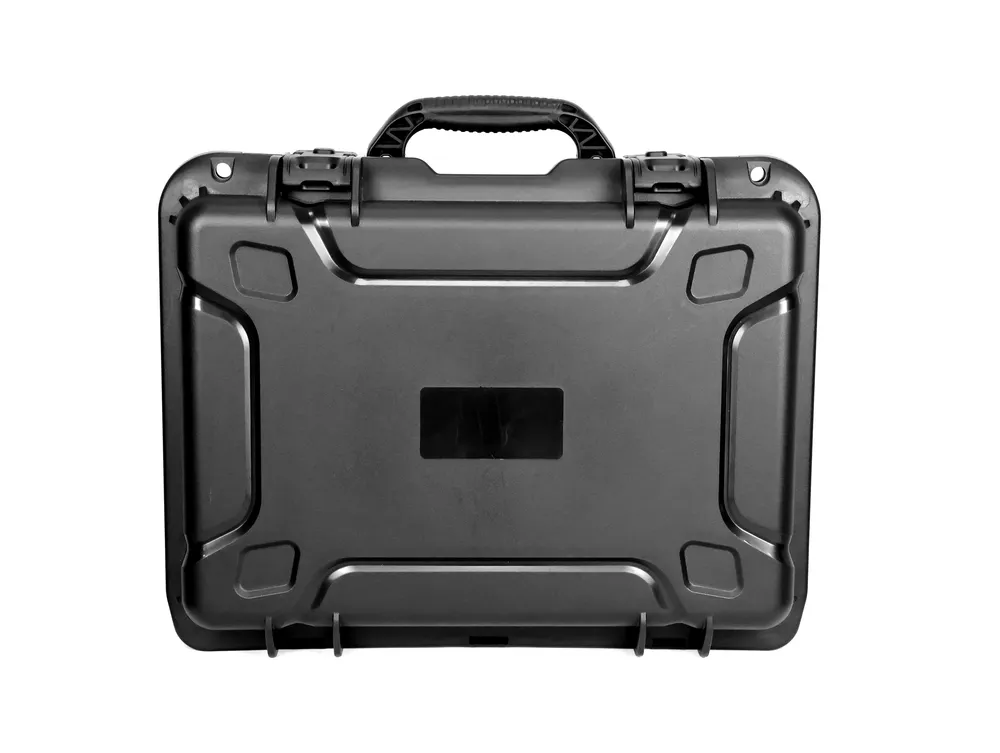
Measure the kit laid out at its widest, then add the buffer. Pick-and-pluck foam gives you a grid you can tune in minutes; a divider system is faster to reconfigure but holds odd shapes less precisely. Whichever you use, the acceptance test is simple: close the case, shake it, and listen. Any rattle means the layout is too loose and the gear will collide in transit.
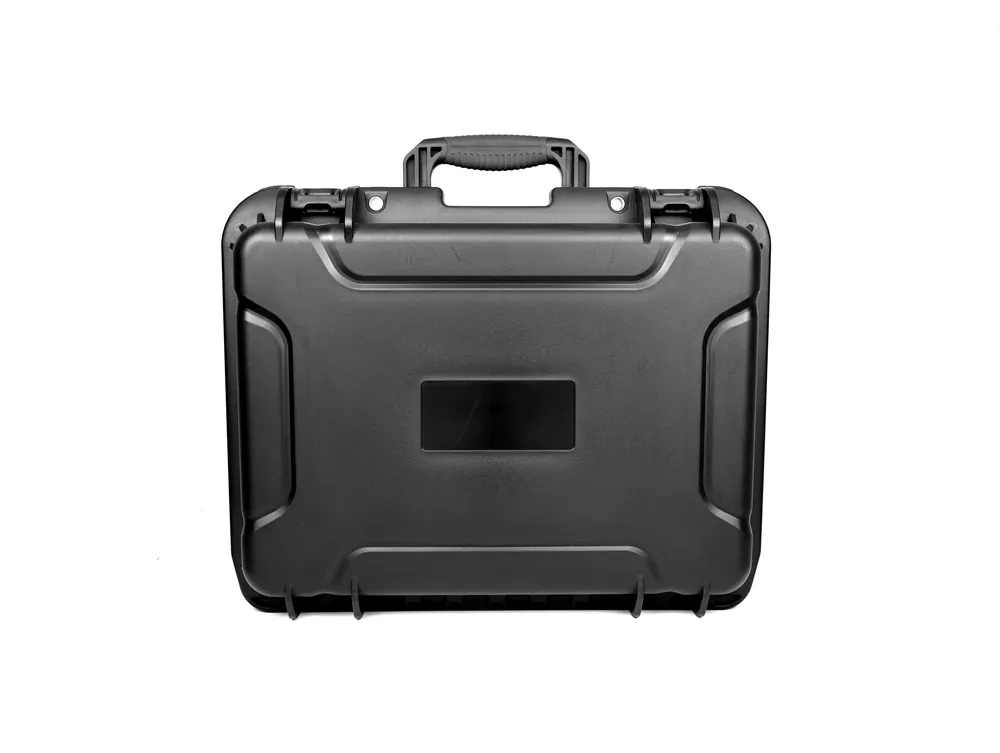
- At least 1 inch (about 25 mm) of foam between each item and the nearest wall
- Enough foam between items that glass and metal cannot touch
- Front and rear caps on every lens before it goes in
- Batteries and memory cards in their own pockets or pouches
Moisture: The Problem a Sealed Case Does Not Solve
A sealed case keeps external water out, which also means any humidity sealed in with the gear stays in. Trapped moisture is what causes internal fogging and, over long storage, fungus growth on optical surfaces. Put two to three silica gel packets in the case, treat them as consumables that must be recharged or replaced, and avoid leaving the case open in humid air before a trip — that saturates the desiccant before you even leave.
Flying With Camera Gear
Carry-on dimensions are typically around 22 × 14 × 9 in, so only the smaller hard cases qualify; larger ones are checked. Lithium batteries belong in the cabin rather than in checked baggage. Precision optics are safer with you than in a cargo hold exposed to rough handling and temperature changes. If the case is sealed, an automatic pressure equalization valve makes it easy to open after the flight.
Packing Order
- Wipe bodies and lenses with a microfibre cloth so grit does not become an abrasive inside the case
- Cap every lens front and rear, and remove or protect protruding hoods
- Place the heaviest, most robust items at the bottom of the case
- Position the most delicate optics toward the centre, never against an edge
- Fill gaps with foam so nothing shifts when the case is shaken
- Add two to three silica gel packets, then close and check the gasket is seated
Need a shell to build around your kit? Compare the 1 Series precision instrument cases for optics and bodies, or start from the full product lineup. For the foam decisions, read the custom foam insert guide.
Related Products
- 6 Series — Cigar Humidors; Precision Instrument Cases; Knife Cases
- WL6-2109 ABS Cigar Humidor — model WL6-2109
- All protective cases and toolboxes: 7 series, 158 models