

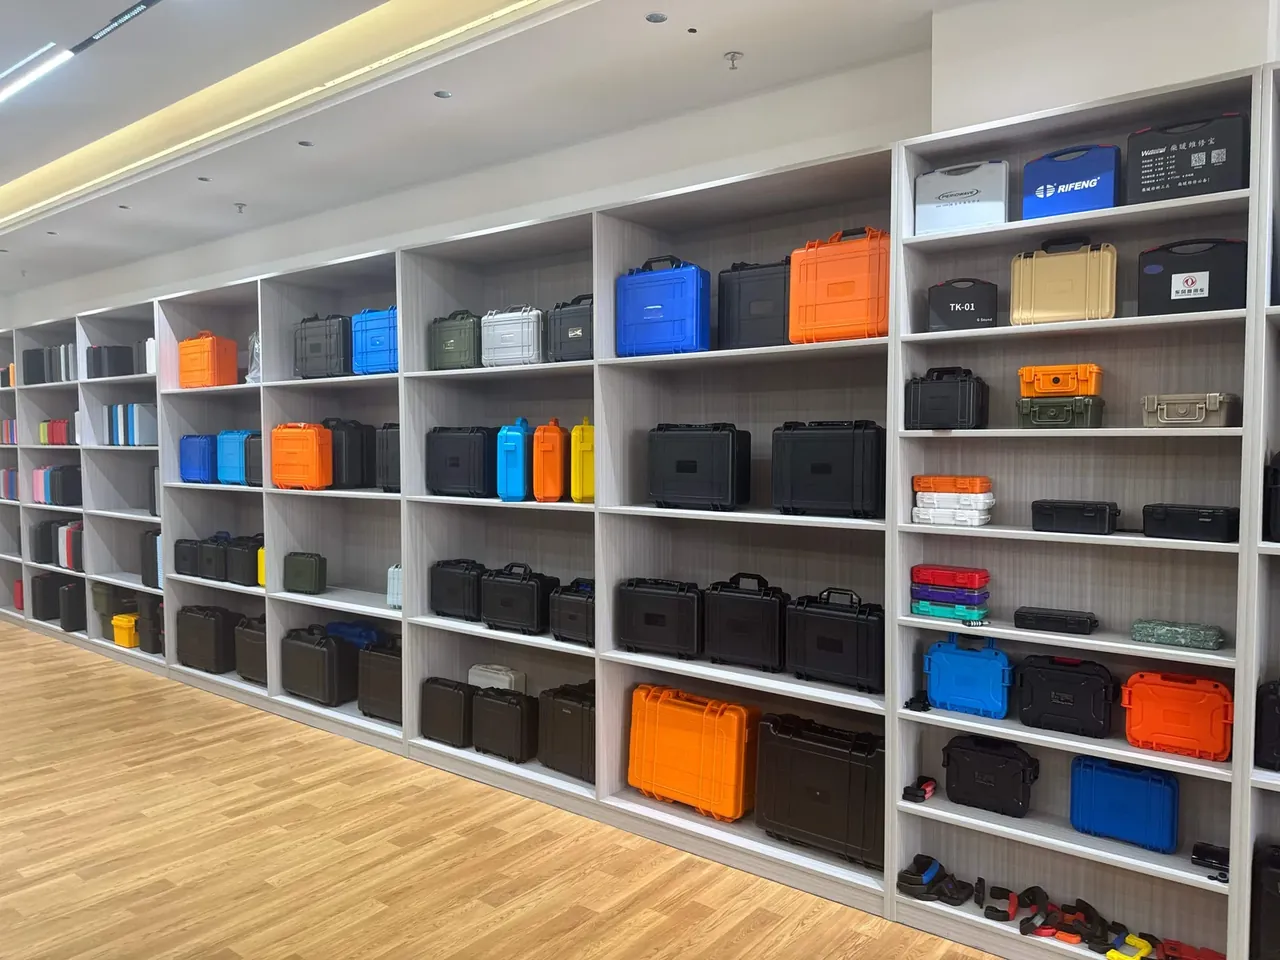
Quick answer: Case lid depth runs from the gasket plane to the deepest point inside the lid, and two cases with the same 120 mm outer height can differ by 10 mm there. That gap decides whether foam compresses, a pouch fits or a cable channel exists.
Table of contents
- How to Measure Case Lid Depth
- Use One: Foam Compression in the Lid
- Use Two: Pouches and Accessory Bays
- Use Three: Cable Channels and the Gasket
- FAQ
1. How to Measure Case Lid Depth
Open the lid and the screws, bits and fuses slide out of the pouch, scatter across the shell and take 10 minutes to gather. The pouch is rarely at fault; the lid depth was never treated as a dimension.
Case lid depth is measured from the flat where the gasket seats to the deepest point inside the lid, not from the outside height. A 120 mm outer shell with a 5 mm lid wall, 6 mm ribs and a 3 mm gasket step leaves about 25 mm usable.
Take three readings with a depth gauge, both ends and the middle, and keep the smallest. A moulded gate boss reads 4 to 6 mm deeper, and foam cut to it will not compress.
| Nominal lid depth (mm) | Gasket step (mm) | Foam thickness (mm) | Pouch depth (mm) | What fits |
|---|---|---|---|---|
| 15 | 2 | 8 to 10 | 6 to 8 | Cards, shims |
| 25 | 3 | 15 to 18 | 12 to 15 | Bits, drills |
| 40 | 3 | 28 to 32 | 22 to 26 | Meters, looms |
| 55 | 4 | 38 to 44 | 30 to 36 | Long tools, antennas |
Foam thickness is not the depth itself: the gasket step comes off and 2 mm more is kept as margin. Pouches run thinner because stitching eats 2 mm of wall.
Wall and rib thickness cost a whole tier. A 6 mm lid wall with 9 mm ribs removes 4 mm, and one gate boss drops a 25 mm tier to 20 mm, which is then fitted as a 15 mm tier.
2. Use One: Foam Compression in the Lid
Compression keeps a part still once the lid is shut. Foam is bonded to the flat inside the lid at 2 to 3 mm thicker than the usable depth, so 10 mm settles to 7 or 8 mm on closing, a 20% to 30% compression.
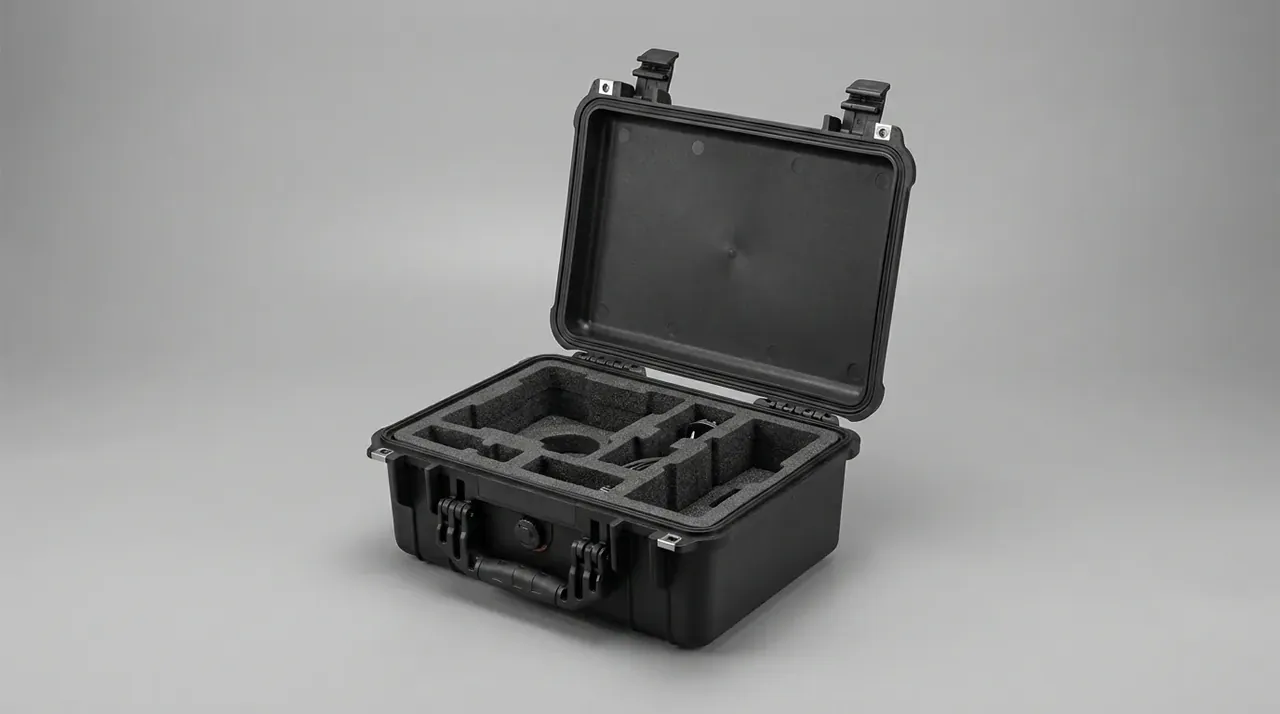
Past 35% compression the closing force climbs from 25 to 30 N to 55 to 65 N, the latches need two hands, and operators stop closing the case properly, which costs the rating more than the foam bought.
Keep foam 3 mm clear of the gasket plane. Bonded to the channel edge, its tolerance lifts the seal by 0.5 mm and an air test fails on the spot, over 30% of sealing rework.
A 15 mm lid should not take foam. An 8 mm layer leaves 6 mm, enough for cards but not for anything with a boss, and a thicker layer leaves the lid standing 1 mm open. Screened meters are a separate case: foam landing on 1 or 2 high points marks the glass and breaks it first on a drop, so ring the part instead or move it into the lower shell.
Bonding eats depth too. A full adhesive sheet costs 1 mm, strip bonding with vent gaps saves 0.5 mm, and on a 15 mm tier that decides whether 8 mm foam still compresses.
3. Use Two: Pouches and Accessory Bays
Pouches sort small parts, bays locate parts of fixed size. Both hang inside the lid and both draw on the same depth, so count the parts first: irregular shapes to pouches, uniform ones to bays.
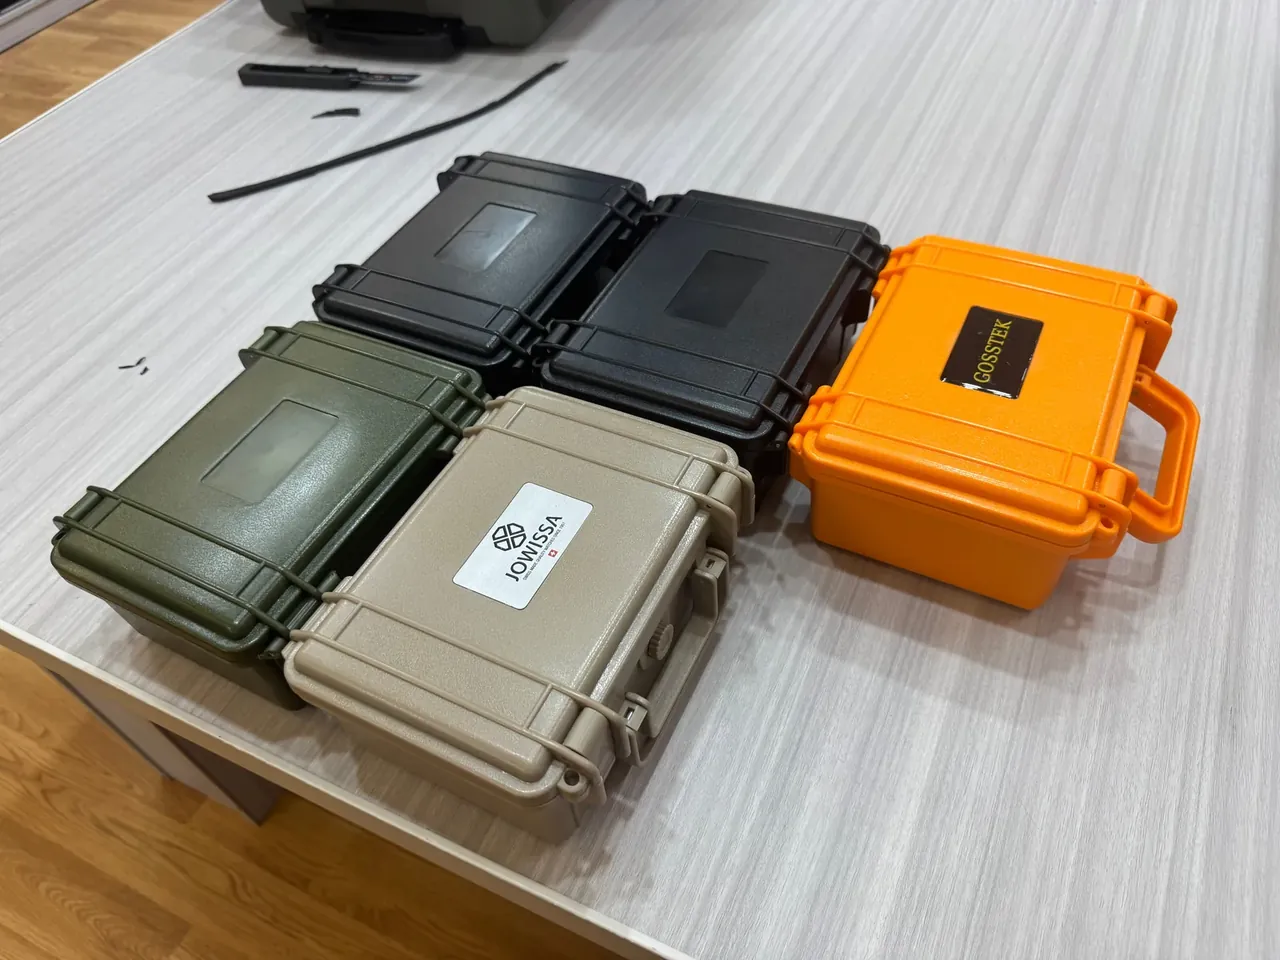
A pouch projects 8 to 12 mm, about a third of the depth, and its mouth must face upward when the lid is open, otherwise parts drop out at the moment of opening, which is the scene at the start. Keep each pouch under 1.5 kg, since stitching fails before mesh does, on 4 fixings no more than 80 mm apart.
Bays run 2 mm walls and 20 mm depth, with a 1.5 mm contact face, heat staked or clipped. Past 60% of the lid depth a bay fouls the lower shell on closing and the margin is gone. A 40 mm lid takes 2 rows of 4 bays at 18 × 18 mm, 8 bits or 8 fuse tubes, and empty bays collect dust.
4. Use Three: Cable Channels and the Gasket
A channel carries a cable from the lid into the shell. Cut it 8 × 6 mm with a bend radius of 10 mm or more so a 6 mm loom passes; below that the conductor creases after a few hundred closings.
| Use | Depth taken (mm) | Closing force added (N) | Changes per shift | Typical parts |
|---|---|---|---|---|
| Lid foam compression | 18 to 30 | 15 to 30 | 0 | Meters, lenses |
| Pouch or accessory bay | 12 to 25 | 0 to 5 | 2 to 8 | Bits, fuses |
| Cable channel | 6 to 10 | 3 to 8 | 0 to 1 | Looms, probes |
A channel must not cross the gasket. Crossing means drilling the sealing face and adding a plug, which drops the rating from IP67 to IP54 and adds a failure point. Route on the hinge side, where the cable moves 5 to 8 mm on closing; on the latch side it is pulled 20 mm every time and the connector fails first.
Leave 30 mm of slack, because the path shortens as the lid closes. Occupied lid space also narrows the vent path: the valve needs about 3 kPa against 1 kPa on an empty case, the gasket sits under more load, and its life drops by 1 to 2 years.
Conclusion
Allocate the space inside the lid against three tests. Does the part have a fixed outline: if yes, build a bay; if no, hang a pouch. Must it be held down on closing: if yes, keep 2 to 3 mm of preload; if no, give the depth to a pouch. Does a cable have to leave the lid: if yes, run the channel inside the sealing face and never across the gasket. Run all three and every millimetre of case lid depth has a job.
The reverse order is what fails in practice. Draw the insert first, measure the lid afterwards, and the shell almost always has to change.
This article discusses container-side specifications and design implications only, and does not cover any handling, loading or use of the contents.
Related Reading
Related Products
- 8 Series — Gun Cases; Military Equipment Cases; Camera Equipment Cases; Drone Cases; Watch Cases; Knife Cases; First Aid Cases; Electronics Equipment Cases
- WL8-2812 PP Gun Case — model WL8-2812
- All protective cases and toolboxes: 7 series, 158 models