

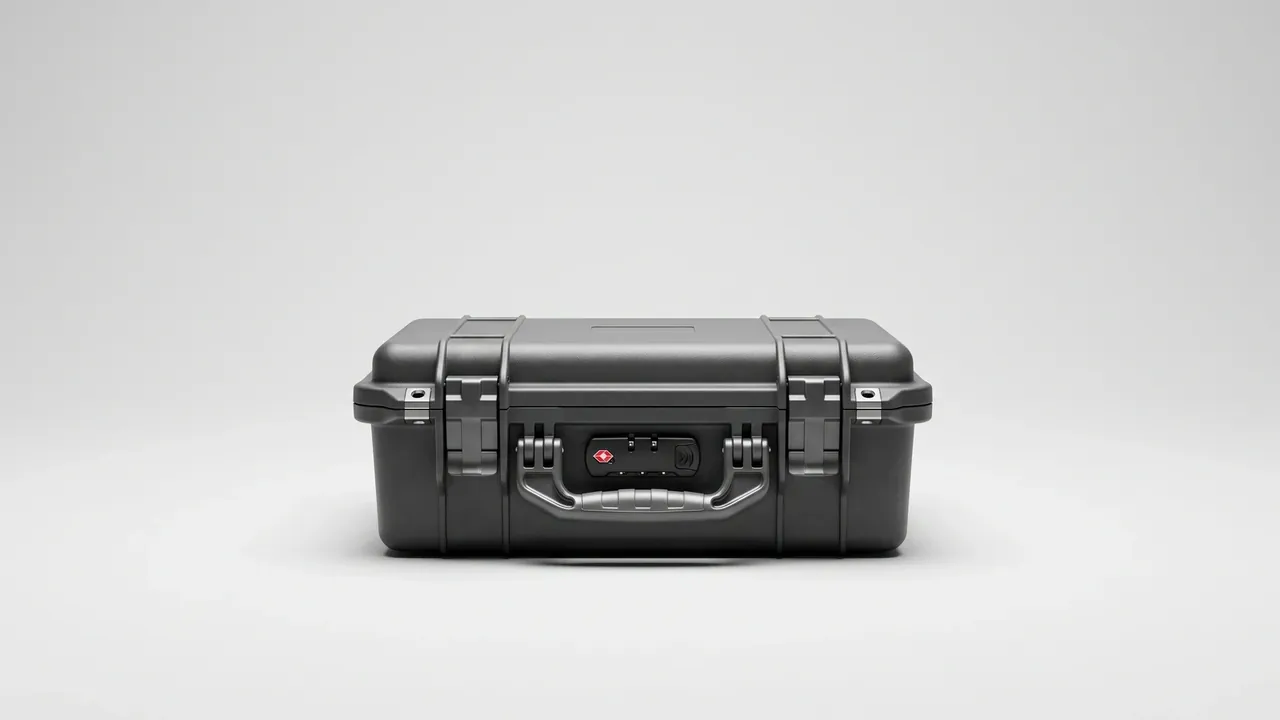
Quick answer: When a case is opened after transport and the contents have shifted or been dented, the root cause is almost always one of four: insert-to-item mismatch (slots too loose or accessory positions missing), missing or failed restraint (straps loosened, blocks displaced), insufficient latch pressure (a micro-open lid striking the contents), or wrong loading orientation (the impact-facing side took the shock). The fix path is a four-step check — match, restrain, latch, orient — and most problems resolve without replacing the case. This article covers the container side only.
Table of contents
- Locating the problem: symptoms versus causes
- Insert matching: the main cause of shifting
- Restraint and latching: two underrated links
- Loading orientation: the last check before departure
- The four-step checklist
- FAQ
1. Locating the problem: symptoms versus causes
After opening, diagnose by symptom first:
| Symptom | Primary cause | Clues |
|---|---|---|
| Whole-item shift or rotation | Slots too loose or no restraint | Visible gap between slot wall and item |
| Localized wear, pressure marks | Vibration micro-movement | Wear matches slot-wall contact points |
| Corner dents, finish loss | Restraint failure or drops | Strap slip marks / external impact marks |
| Impressions on the lid interior | Weak latches, micro-open lid | Weak latch rebound, uneven lip imprint |
The value of symptom matching is avoiding misdiagnosis: blaming "a bad case" and buying a new one reproduces the problem, because the cause sits in the insert, not the shell.
2. Insert matching: the main cause of shifting
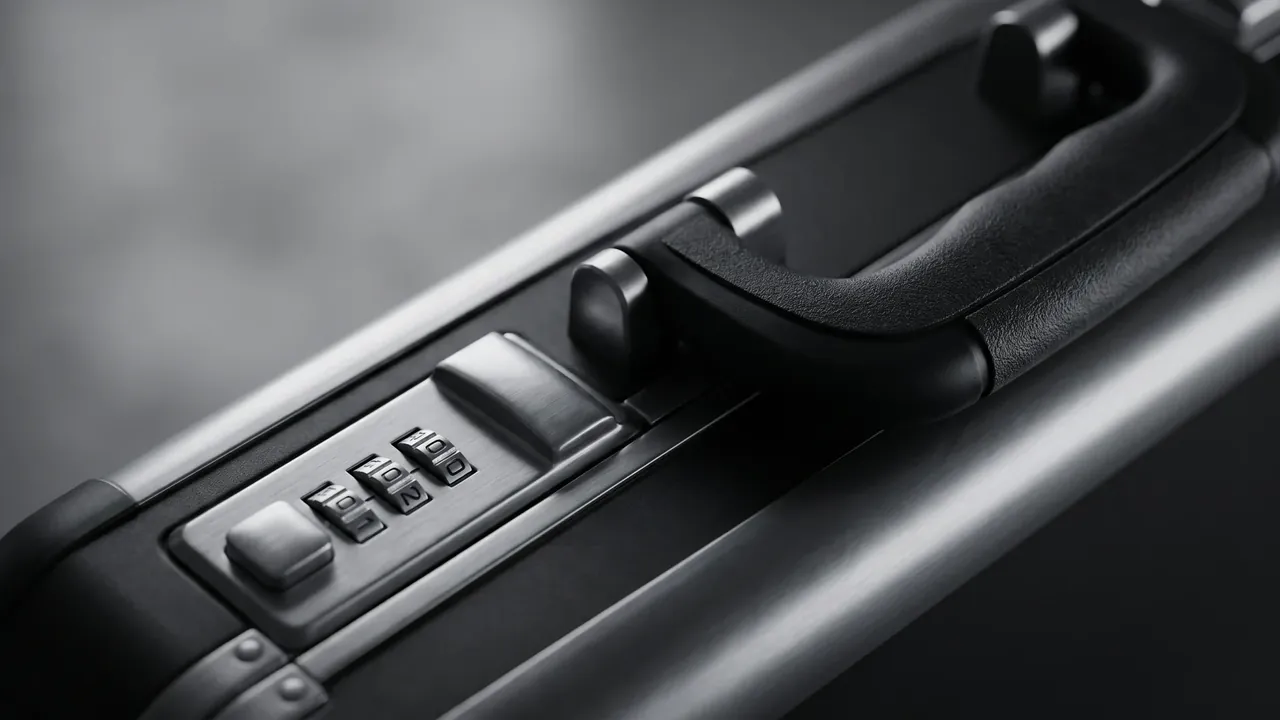
The insert executes positioning; four mismatches are common:
- Slots cut to nominal size while the item carries accessories — optics, slings and magazines change the envelope; slots must follow the item's final carried form in three dimensions;
- Slot wear — long use wears the slot walls, widening gaps and weakening positioning. Test: seat the item and gently shake; perceptible movement means re-cut or replace the insert;
- A thin insert asked to do all the positioning — tall items need side-wall support; a thin pad turns "restraint" into "just a mat";
- No home for accessories — loose items moving freely are the main dent source; accessory positions must be planned with the insert.
The common fix is re-scanning or tracing the item and cutting a corrective slot, or adding filler strips to narrow gaps — filler strips cost less than a full replacement and iterate as the loadout changes.
3. Restraint and latching: two underrated links
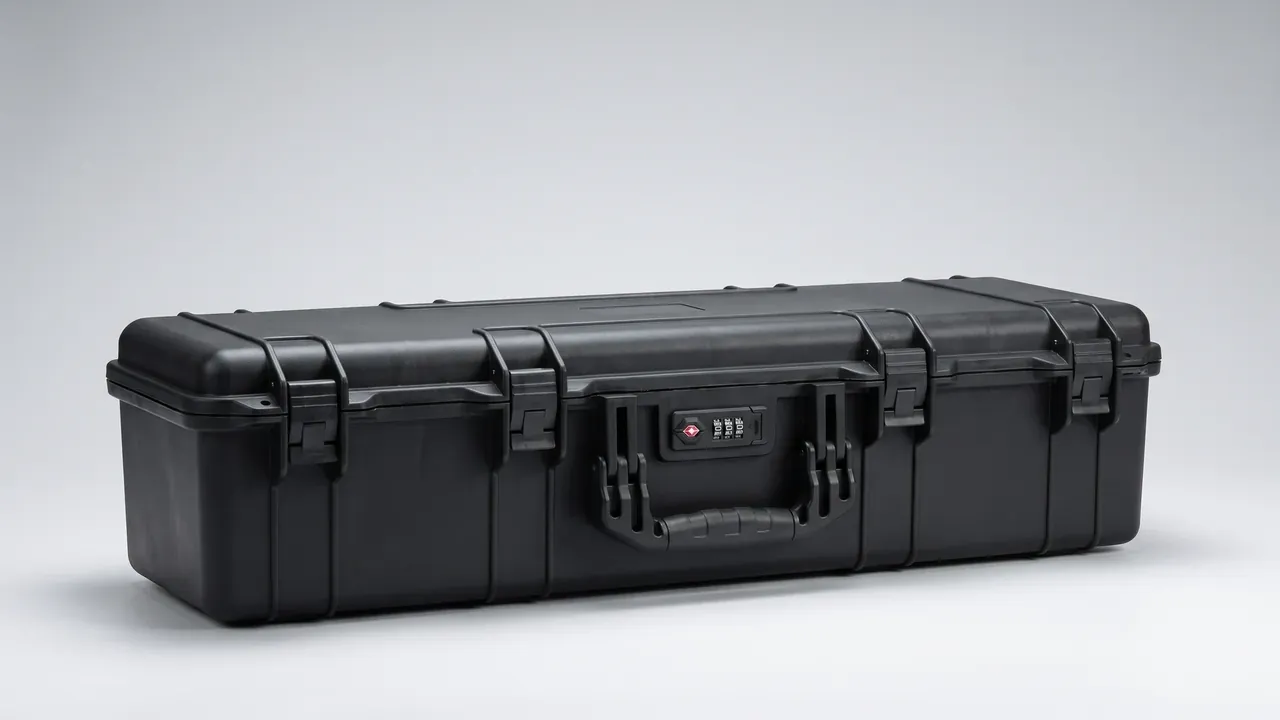
Restraint (outside the case): how the case is secured in the vehicle or on the pallet decides its behaviour under shock. Straps should press on load-bearing structure (corners, skids), never on the lid lip — pressing the lip deforms the seal and can open a gap. For long hauls use "strap + wedge": wedges limit horizontal movement, straps limit vertical bounce.
Latching (on the case): latch pressure decay is the most hidden failure — the case looks closed, but the lip has micro-opened and the lid interior slaps the contents under shock. Judge by feel: latches with clearly weakened rebound should be replaced immediately. Treat latches as consumables, not fittings to run until failure.
4. Loading orientation: the last check before departure
Every case has a structurally optimal attitude — usually contents carried by the floor and shock absorbed by corners and ribs. Before loading, confirm:
- The case sits in its designed attitude (orientation marks up);
- The contents' gravity direction agrees with the case attitude (long items laid along the length, not cantilevered at the ends);
- Stacks align load zones — offset stacking turns vertical pressure into shear that breaks the lower lid.
Orientation checking costs nothing at loading time and returns the most.
5. The four-step checklist
Run in order before every long haul:
- Match: contents (with all accessories) seat in the slots without visible gaps;
- Restrain: straps press load-bearing structure, wedges set, tension moderate;
- Latch: every latch rebounds firmly, seal applied and number logged;
- Orient: case in designed attitude, stacks aligned to load zones.
Only if damage still occurs after all four should a container upgrade be considered — the order matters: rule out management and handling factors before blaming the product.
Conclusion
Shifting and impact damage yield to a four-step check — match, restrain, latch, orient: inserts matched to the final carried form, straps on load-bearing structure, latches managed as consumables, loading in the designed attitude. The four steps cost nearly nothing and cover the vast majority of damage causes; only when all four are done and damage persists does container upgrade enter the conversation.
This article covers the container side only. It does not cover anything about the handling of items placed inside.
Related Reading
- Firearm Transport Case: Transport Compliance and Marking
- Firearm Protective Case: Waterproofing, Dustproofing and Impact Design
- Military Supply Transport Case: Volume, Load and Handling Selection
Related Products
- 8 Series — Gun Cases; Military Equipment Cases; Camera Equipment Cases; Drone Cases; Watch Cases; Knife Cases; First Aid Cases; Electronics Equipment Cases
- WL8-2812 PP Gun Case — model WL8-2812
- All protective cases and toolboxes: 7 series, 158 models