

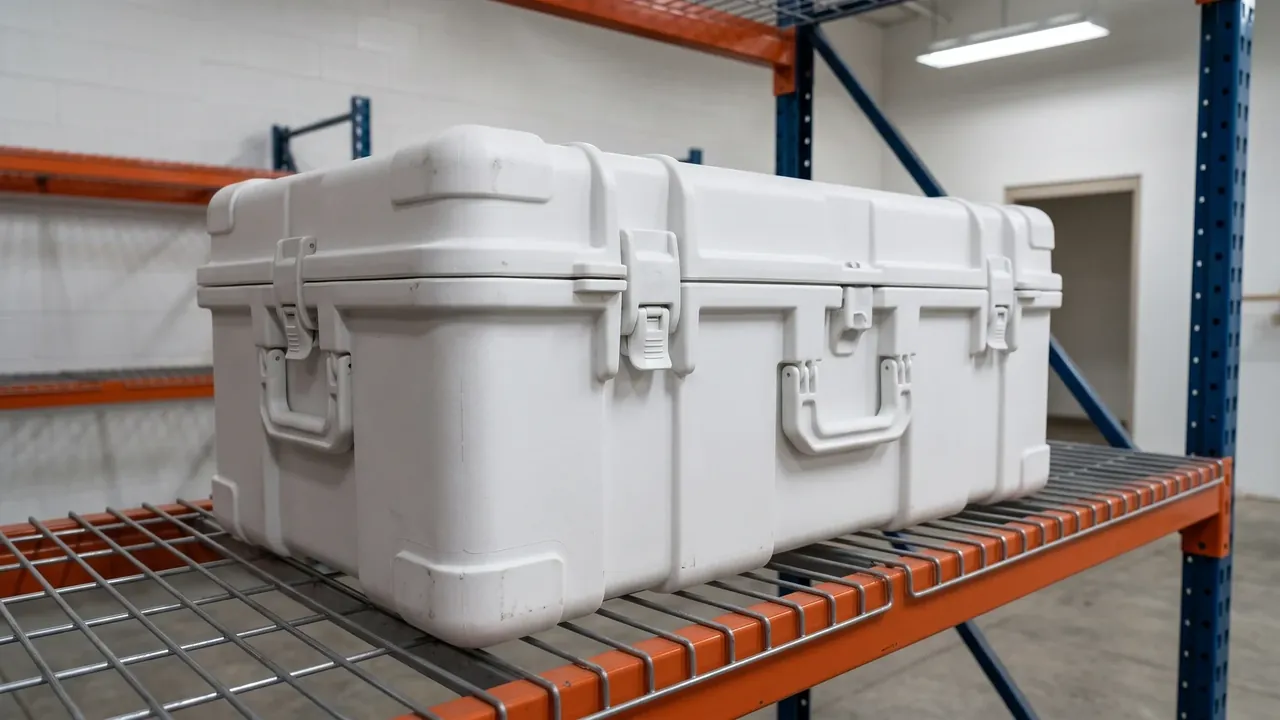
Quick answer: Configuring grenade storage containers in depot management comes down to aligning three things: zone, size and stacking. Fix the container shape and insert type against the depot's storage zones; set dimensions and stacking height against rack levels and pallet modules; choose latches, label positions and record interfaces against labeling and inventory needs. A well-configured system lets a depot achieve classified storage, orderly stacking and fast stocktaking within a limited footprint, while the case itself only carries, separates and protects.
Table of contents
- How the container functions in depot management
- Planning container sizes by zone and role
- Matching racks, pallets and stacking
- Labeling, records and the container-side interface
- Depot configuration acceptance checklist
- FAQ
1. How the container functions in depot management
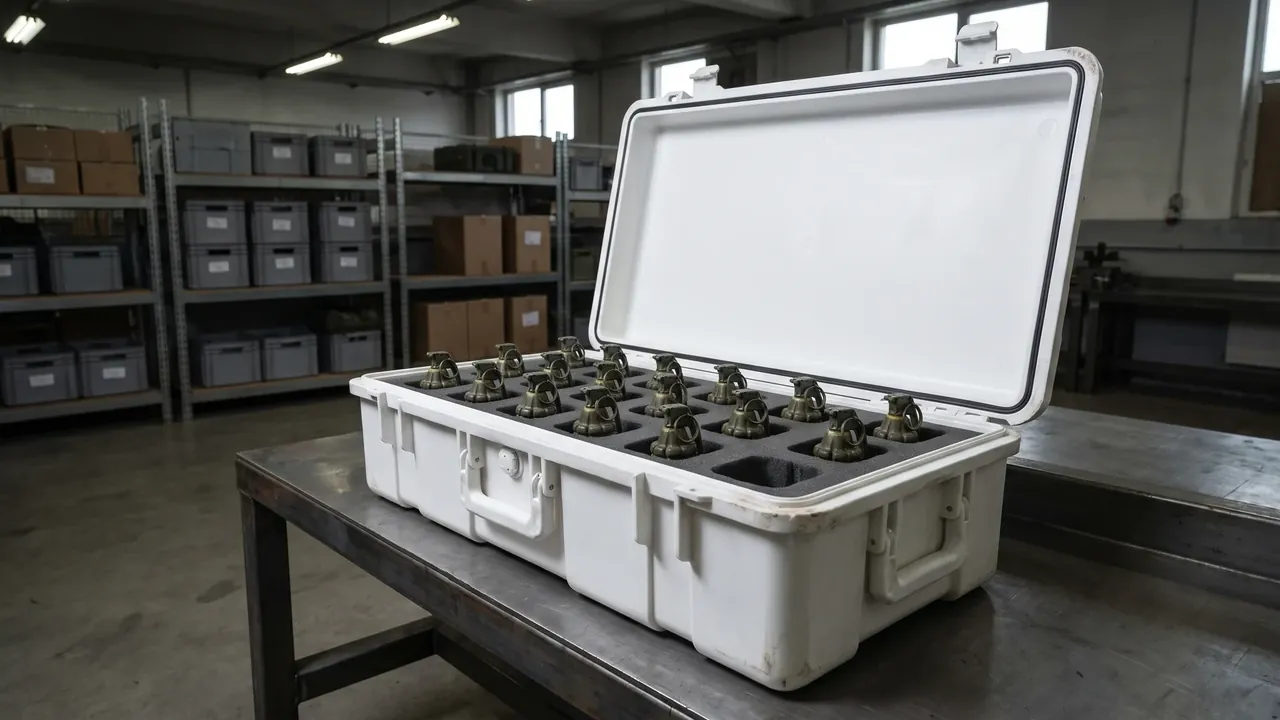
In depot management the grenade storage container is a load unit, not a consumable. It consolidates stored contents into a standard unit of uniform size that can be stacked neatly and labelled for stocktaking. Once that role is clear, the logic follows: read the depot's working method first, then the container parameters — never the reverse.
- Load unit: a uniform footprint so racks, pallets and forklifts handle everything the same way;
- Separation unit: the insert and shell separate adjacent units and keep contents apart from the outside environment;
- Information unit: fixed label and number positions let staff identify a container without opening it.
So the order is: understand the depot's zones, traffic flow and handling frequency first, then let the containers match those conditions. Buying cases first usually costs extra in rack and aisle changes.
2. Planning container sizes by zone and role
Depots are usually divided into a long-term store, a turnover area and an inspection area, each asking something different of the container.
| Zone | Main activity | Container focus |
|---|---|---|
| Long-term store | Extended storage | Uniform shape, high stacking, fixed label positions |
| Turnover area | Frequent movement | Moderate size, easy handling, fast-opening latches |
| Inspection area | Checking and holding | Clear markings, easy low-position inspection |
Three practical rules apply:
- In the long-term store, favour square, stackable sizes with locating features on the top and bottom faces;
- In the turnover area, favour sizes matching the pallet module to cut manual transfer and allow forklift handling;
- Keep the number of container sizes per depot small, for greater commonality of racks, pallets, labels and spares.
Size is chosen to serve the container's carrying and protection duty, not the contents. The test is whether the depot can handle the size stably and keep it sealing and load-bearing over time.
3. Matching racks, pallets and stacking
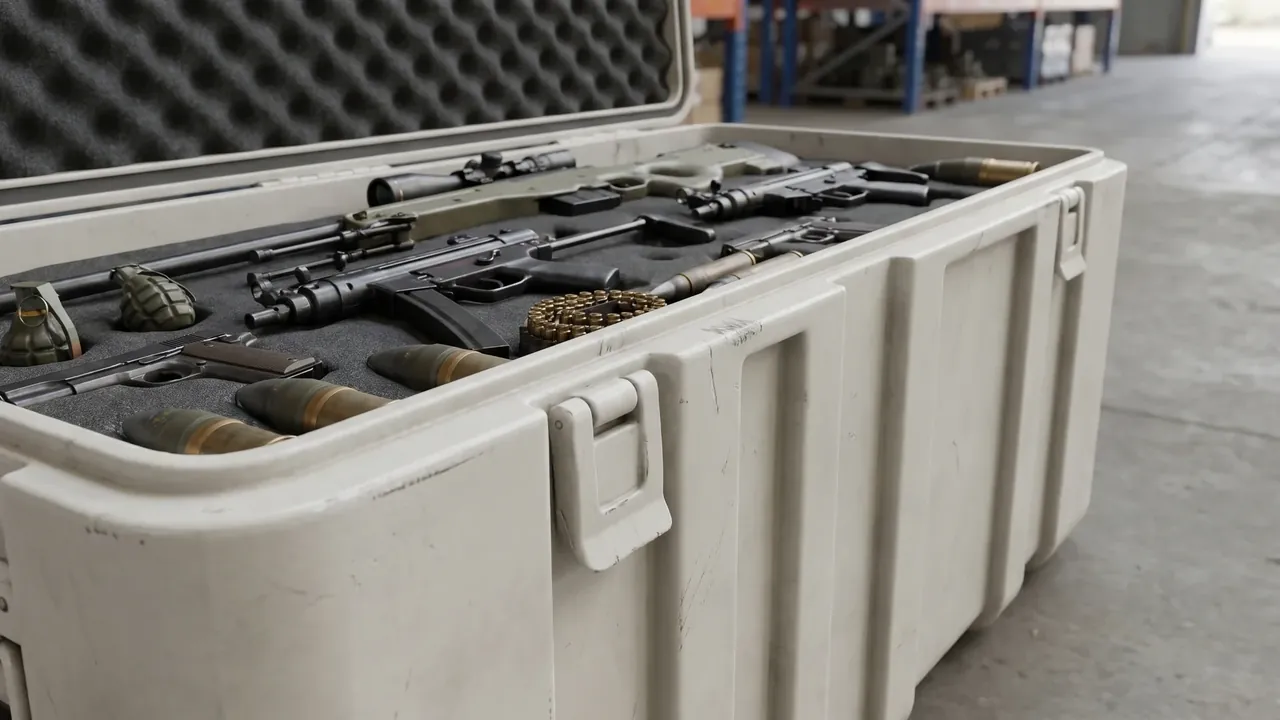
Containers and depot facilities form a dimension chain: case size sets stacking, stacking sets rack height and pallet size, and a mismatch wastes space or introduces risk.
- Rack level height: single-case height times layers, plus a handling allowance; too little makes the top case hard to extract;
- Pallet module: the case footprint should relate to the pallet module in whole numbers, avoiding overhang that destabilises the stack;
- Stacking stability: lower cases' static load must retain a margin; heavier at the bottom, lighter on top, with the layer limit set by load margin;
- Aisle width: aisles must pass equipment and people, or repeated handling will wear cases and seals.
Draw a size mapping table across case, pallet and rack before buying anything. Once the chain closes on paper, stacking layers, aisle width and rack count all fall out at once.
4. Labeling, records and the container-side interface
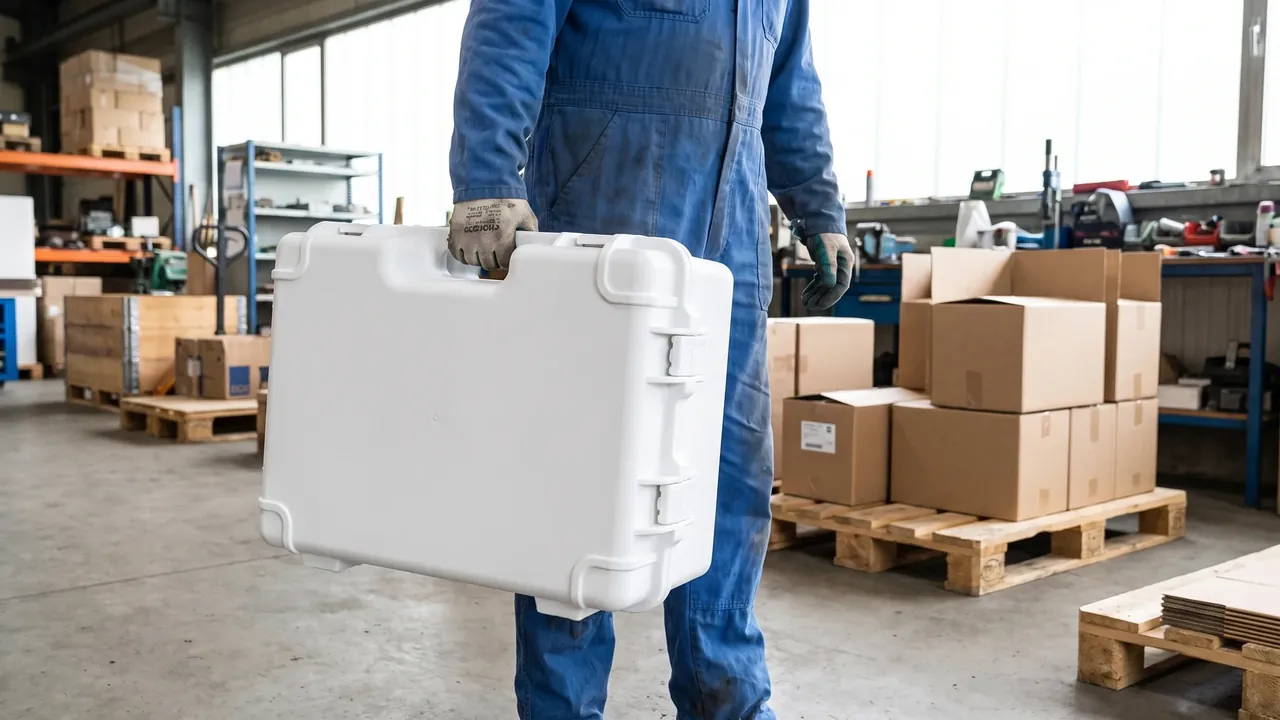
Depot management reduces to three questions: can you find it, count it, reconcile it? All three depend on fixed information points on the container.
- Fixed label position: a defined label area so labels are not randomly applied and then worn or misaligned;
- Unique number: one number per container, matched to the ledger, so counting reads numbers rather than opening every case;
- In/out interface: quick-verification opening plus a seal position on the latch for a traceable record;
- State distinction: in-store, turnover, inspection and repair separated by colour tags.
Numbers and labels turn open-and-count into scan-and-verify, sharply cutting stocktaking labour and error, and keeping each container's state and history traceable.
5. Depot configuration acceptance checklist
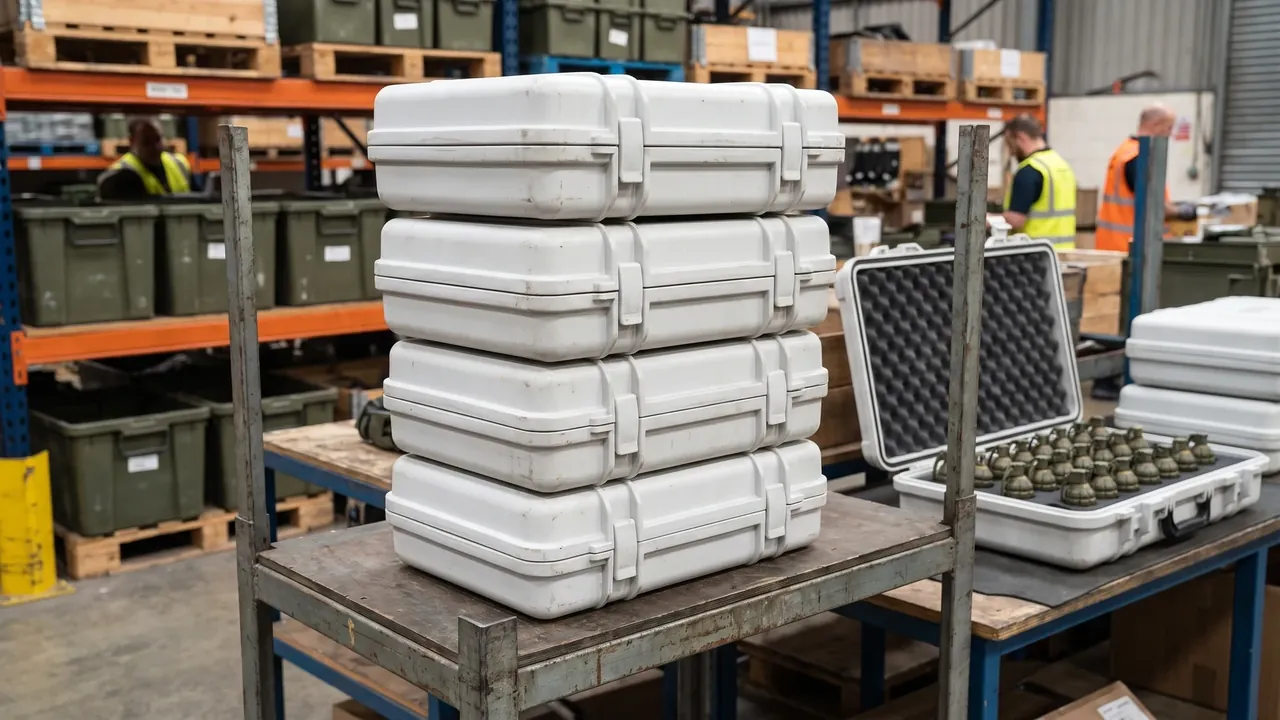
- Case shape is square; stacked layers contact stably with no rocking;
- Case footprint matches the pallet module, with no overhang or void;
- Rack level height fits the stacking layers and leaves a handling allowance;
- Every container has a unique number matching the ledger;
- Label positions are fixed and legible, not covering latches or seals;
- Aisle width passes equipment and people without repeated handling.
Conclusion
Configuring grenade storage containers is really about letting the container match the depot's zones, traffic and facilities. Use a uniform shape to turn stored items into standard load units, a dimension chain to connect case, pallet and rack, and fixed numbers and labels to convert stocktaking into scanning. Understand the depot's work first, then settle sizes, then add labels, latches and records. Leave the size table and checklist on site.
This article covers the container side only and does not address handling or use of contents.
Related Reading
- Planning Ammunition Storage Container Layout and Counts by Zone
- Container Moisture Control in Warehouse Stacking
- Reading the Structural Standard for Grenade Transport Containers
Related Products
- 8 Series — Gun Cases; Military Equipment Cases; Camera Equipment Cases; Drone Cases; Watch Cases; Knife Cases; First Aid Cases; Electronics Equipment Cases
- WL8-2812 PP Gun Case — model WL8-2812
- All protective cases and toolboxes: 7 series, 158 models