

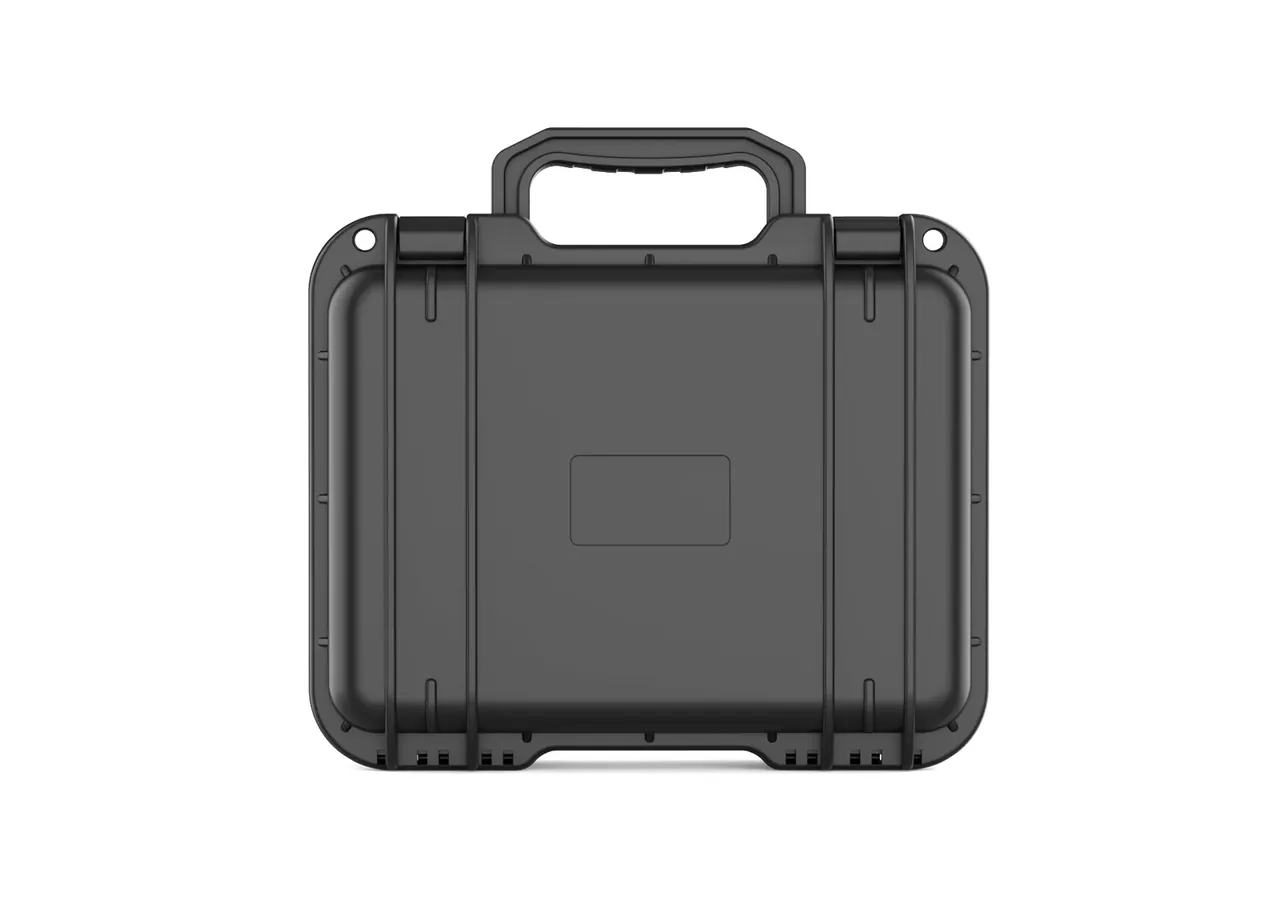
Quick answer: An Instrument Case datasheet runs to a dozen lines, but three decide whether the product works: the smallest clear dimension in the cavity, the Shore hardness and thickness of the liner, and the load path of handle and latches. The rest is configuration. These three are cut into the mould.
Table of contents
- Three Lines That Decide an Instrument Case
- Cavity Dimensions: Nominal Is Not Clear Space
- Liner Hardness: Shore Value Meets Compression
- Handle and Latches: Load Paths and Opening Force
- A Pre-Order Checklist
- FAQ
1. Three Lines That Decide an Instrument Case
Template datasheets list outer size and weight first, then material and colour, and leave cavity and fittings for the end. Read the middle instead. Cavity size answers whether the equipment fits, liner hardness answers whether it survives vibration, and handle plus latches answer whether the case can be carried and opened.
All three push on each other, and any change moves the outer body, so they are frozen before tooling. Colour, label recesses, feet and nameplates touch printing or a small insert, and can wait.
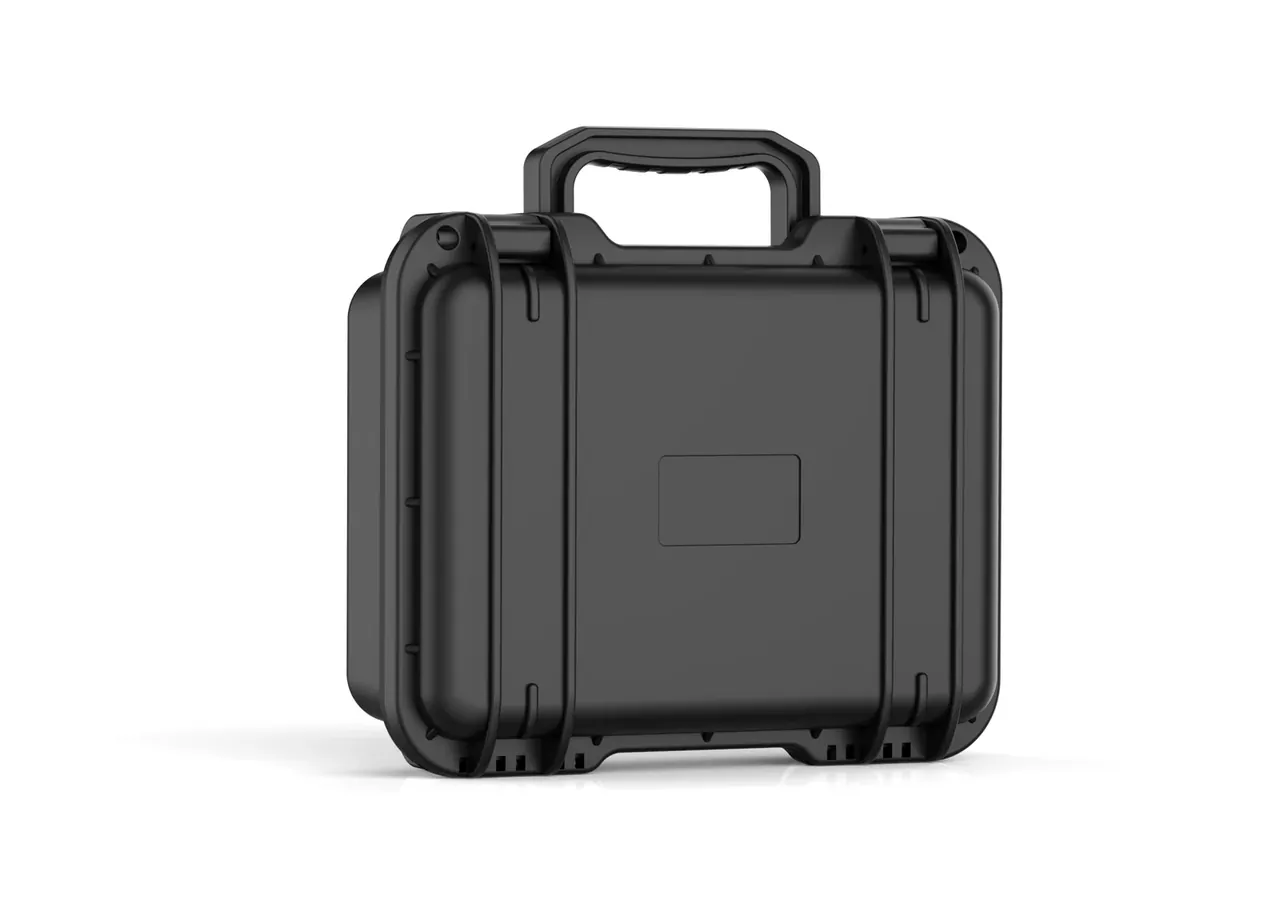
| Datasheet line | Common wording | Common trap |
|---|---|---|
| Cavity size | Length by width by depth | Mouth only, no floor figure |
| Liner hardness | One Shore C value | No test temperature |
| Handle and latches | Two latches, fixed handle | No force or rating |
2. Cavity Dimensions: Nominal Is Not Clear Space
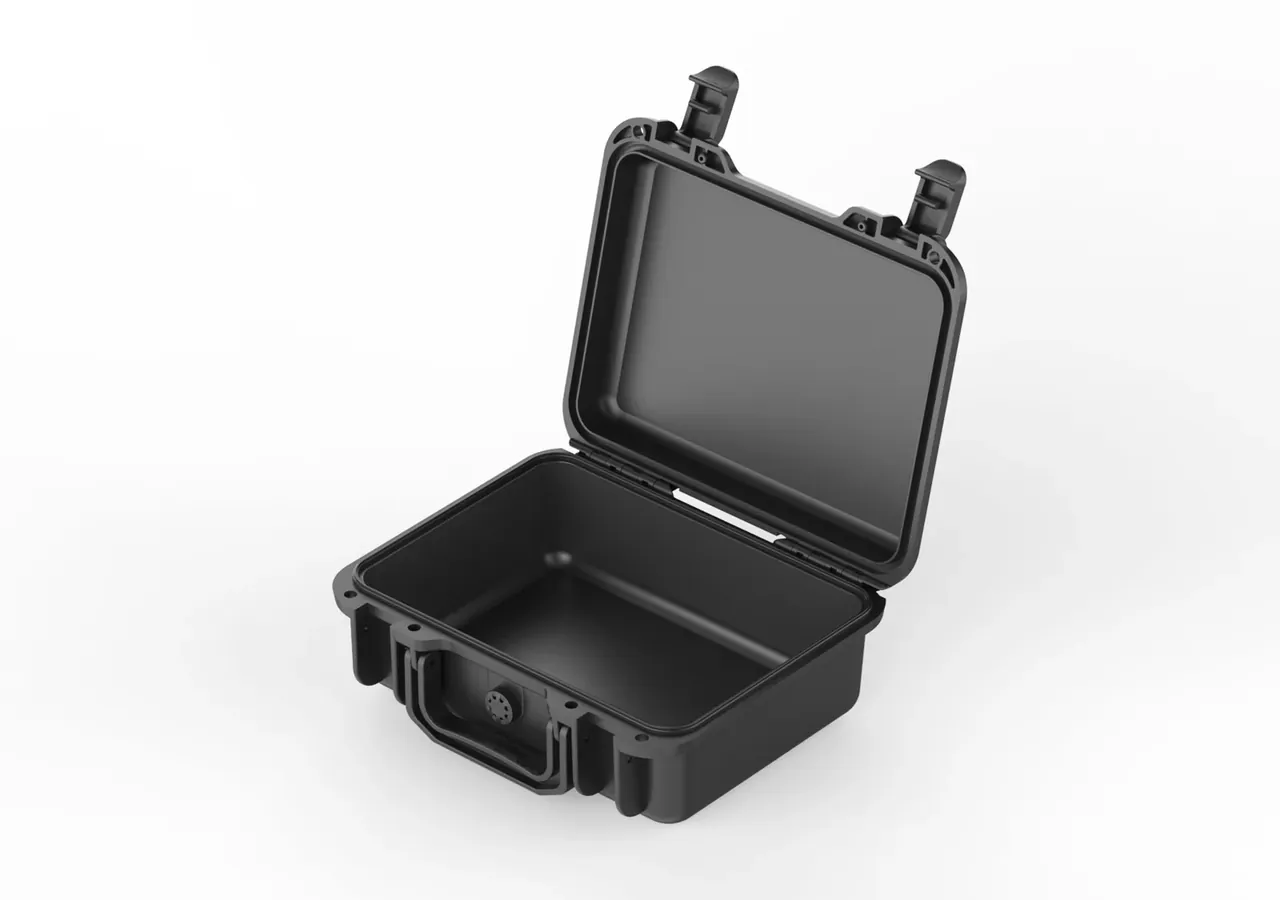
Cavity size has three layers: mouth, floor and smallest clear dimension. Draft makes the mouth one to two percent wider than the floor, so a 400 mm body can lose eight millimetres at the bottom. Equipment is limited by the mouth going in and by the floor once seated.
Depth is separate. A datasheet figure usually means the base well and excludes the lid recess; where the lid carries a liner, add that section and subtract what the foam keeps under compression. Then measure the narrowest point, where ribs, hinge bosses and valve bosses eat width.
3. Liner Hardness: Shore Value Meets Compression
Hardness means nothing without thickness. A Shore C 30 pad at twenty percent compression absorbs shock; the same compound at ten millimetres cannot compress far enough. A Shore C 45 pad made too thick never reaches working compression either.
Write hardness with tolerance, thickness and density together. Density alone can fake the feel while adding twenty percent to weight. State the service temperature too, because most foams stiffen at minus ten degrees and soften in heat. Lying flat, the base liner carries everything, and past forty percent compression the foam densifies.
4. Handle and Latches: Load Paths and Opening Force
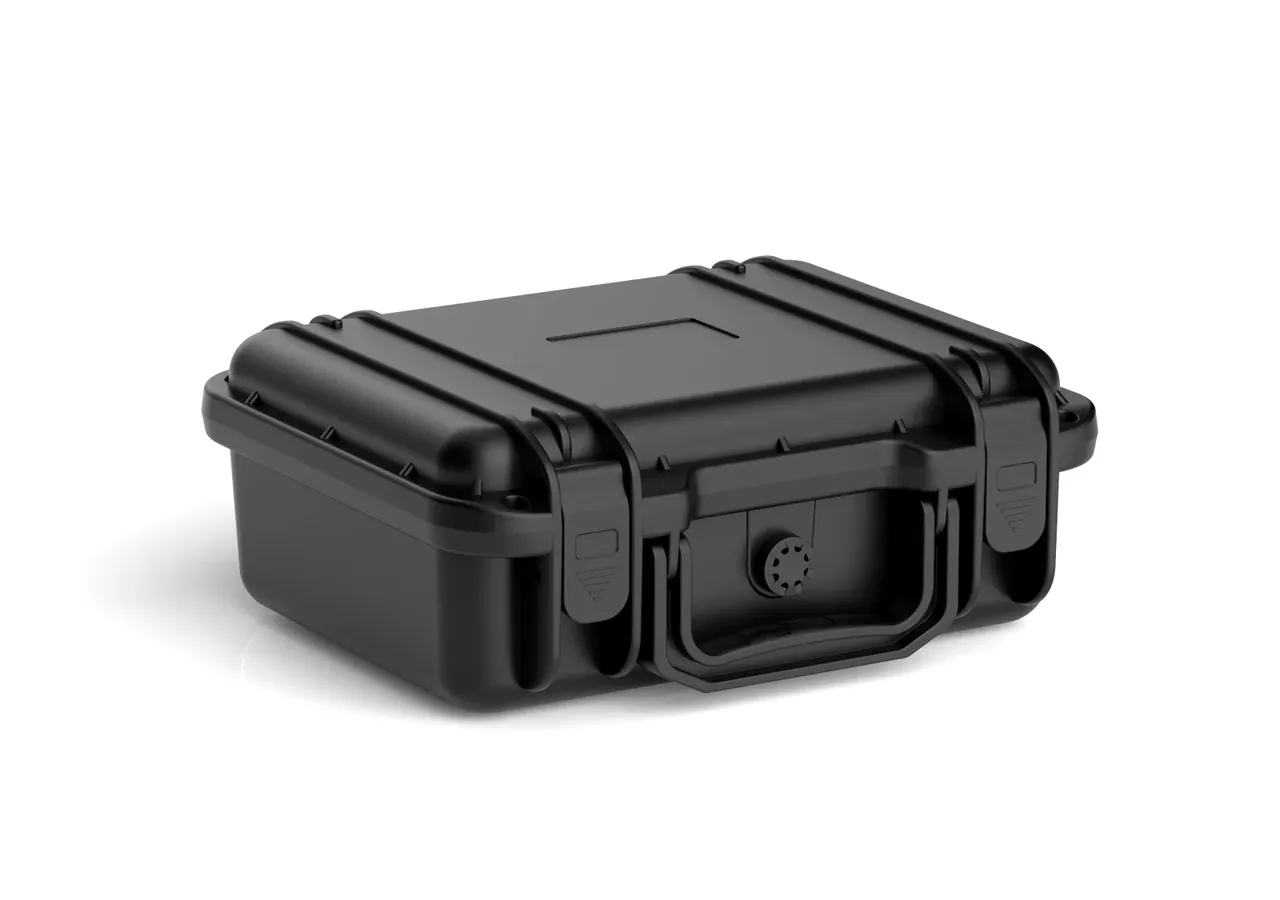
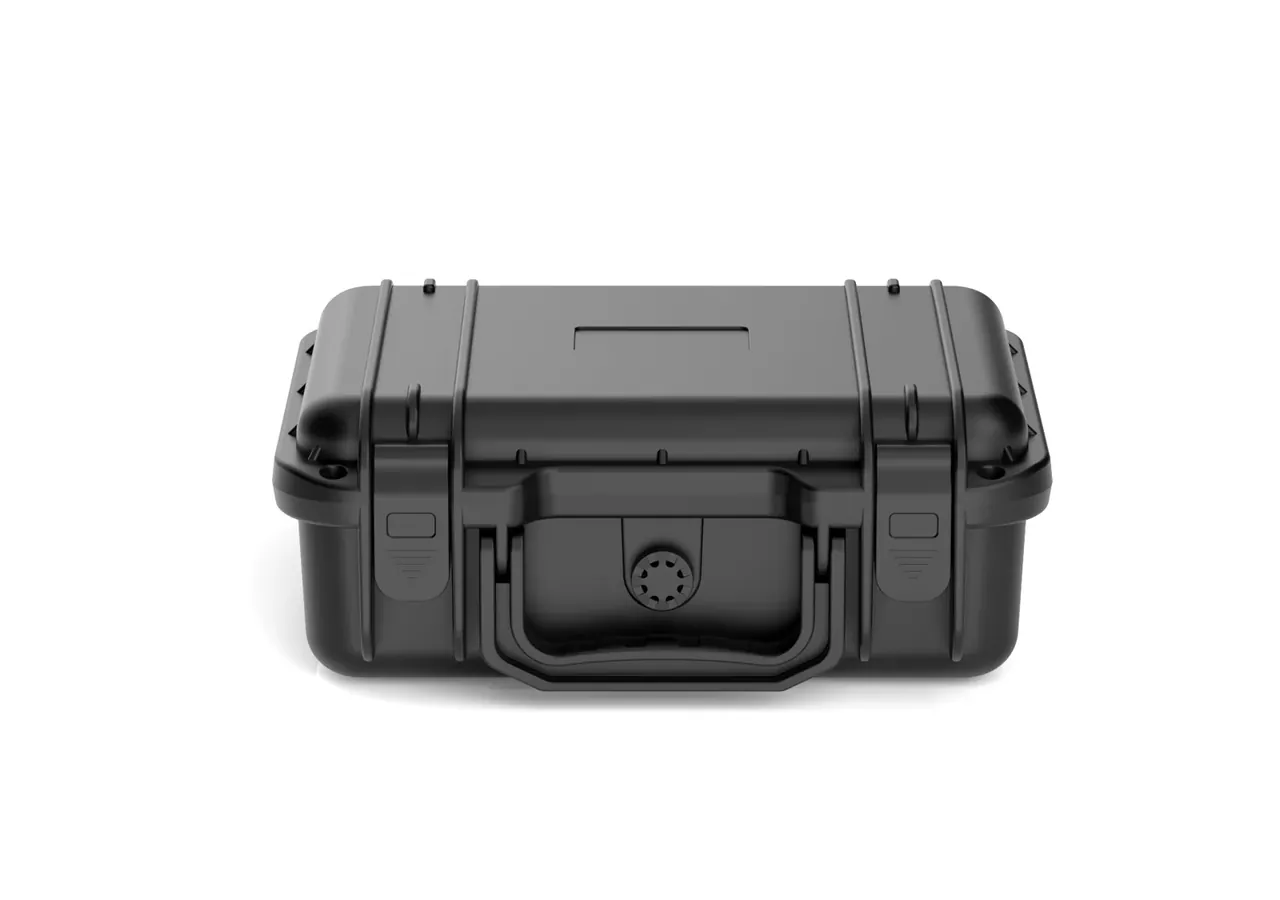
A handle needs grip opening, clearance above the lid and rated load per handle. Roughly 100 mm lets a gloved hand through, 40 mm of clearance keeps fingers off the lid edge, and the rating runs at twice the loaded weight because a lift starts with acceleration.
Latches need count, position and opening force. Two suit a case under 20 kg, four spread gasket compression above that, and 30 to 60 newtons holds under vibration without needing two hands. Keep handle and latches on different faces, and clear the valve from latch travel.
5. A Pre-Order Checklist
Six lines are worth checking before signing:
- Mouth, middle and floor dimensions all stated
- Depth defined with or without the lid recess
- Hardness, thickness, density and temperature range listed
- Grip opening, clearance and load written down
- Latch count, force and replaceable tongue confirmed
- Valve position clear of latch travel
The first two decide usability, the middle two durability, and the last two how the case behaves on site.
Conclusion
Read the sheet in one order: clear dimension, hardness against thickness, then the load path of handle and latches. Once those sit on the drawing, colour is decoration, and the Instrument Case will not be rebuilt at your cost.
This article covers container-side specifications and design intent only. It does not address any handling, loading or use of the contents.
Related Reading
- Damping, level and working height in one frame
- Four conditions for choosing an instrument case
- Choosing case latches and their failure modes
- Handle ergonomics for portable cases
Related Products
- 8 Series — Gun Cases; Military Equipment Cases; Camera Equipment Cases; Drone Cases; Watch Cases; Knife Cases; First Aid Cases; Electronics Equipment Cases
- WL8-2812 PP Gun Case — model WL8-2812
- All protective cases and toolboxes: 7 series, 158 models