

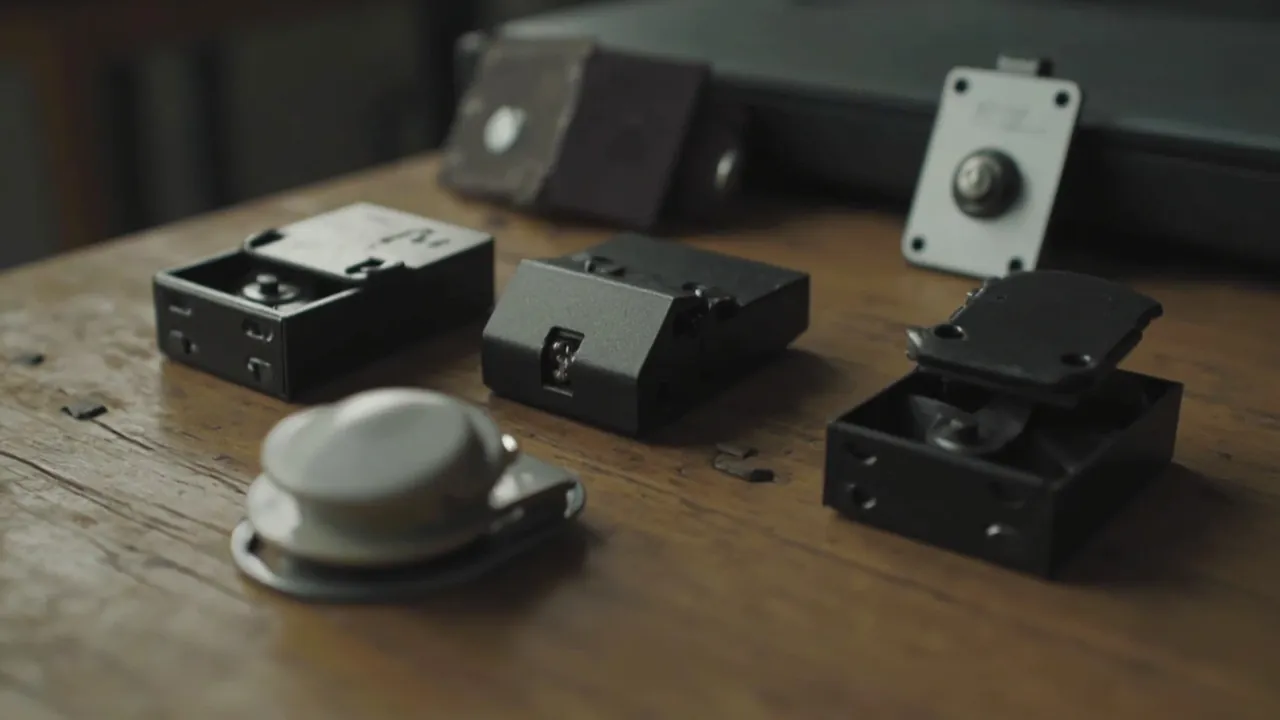
The latch of a protective case is the load-bearing part that connects the lid to the body and, by compression, continuously flattens the full-perimeter gasket to achieve sealing. The core logic of latch selection is just one line: at the right positions, with sufficient compression force, in an even distribution, lock the lid firmly onto the gasket, while preventing accidental opening from transport vibration or mis-touch. Common latches are divided by structure into five categories: single-piece latch, two-piece latch, recessed (embedded) latch, spring latch, and security latch (padlockable). When selecting, also look at compression uniformity, anti-accidental-opening mechanism, tensile strength and fatigue life, and determine the number of latches by case size. For outdoor, transport, military/police/fire, and precision-instrument scenarios, prioritize multi-point latches with over-center self-lock or spring retention, paired with a reinforced-rib shell and full-perimeter gasket, to turn "nominal IP67" into "long-term stable no leakage." Below we systematically explain in the order of "what it is — what types — how to compare — how to select — common errors."
Table of Contents
- What Role Does the Latch Play in a Protective Case?
- How the Latch Compresses the Gasket (Compression Principle)
- Main Latch Types (5 Categories)
- Key Latch Performance: Compression Uniformity, Anti-Open, Tensile
- Latch Material and Surface Treatment: Metal or Engineering Plastic
- How the Latch Is Fixed to the Body: Inserts and Ribs
- How to Select by Scenario and Case Size (Checklist)
- Latch Count and Distribution Engineering Experience
- Latch Coordination with Hinge, Gasket, and Body
- Common Errors and Daily Maintenance
- Frequently Asked Questions (FAQ)
- Conclusion and Further Reading
What Role Does the Latch Play in a Protective Case?
To choose the right latch, first understand its position in the protection chain. A protective case's seal is not achieved by "putting the lid on," but by "the lid being continuously pressed onto the gasket." The force of "pressing" comes from the latch.
Specifically, the latch carries four duties:
- Establish and maintain compression: After closing, the latch pulls the lid toward the body so the elastic gasket along the lid edge is compressed (industry term compression), filling the microscopic gaps between lid and body. Without sufficient compression, the gasket only "touches" and water/dust still enter through gaps.
- Distribute compression evenly: A single latch only manages a nearby short segment of the lid edge; to seal the whole perimeter evenly, multiple latches are needed along the lid edge. More latches with reasonable spacing give more even whole-perimeter compression and fewer local leak points.
- Prevent accidental opening: Bumps and vibration in transport, or mis-touch in handling, can loosen an ordinary catch. Quality latches turn "closed" into "locked" via over-center mechanism, spring retention, or padlock hole.
- Withstand open-close fatigue: A protective case opens and closes repeatedly on site year-round; the latch is one of the most frequently loaded metal/plastic parts. Its fatigue life directly decides the usable years of the body.
In one sentence: the latch is the master switch of whether the gasket stays effective long-term and whether the lid pops open midway. This also explains why two cases both nominally IP67, one with a cheap single catch and one with multi-point over-center latches, can perform worlds apart — the difference is whether "compression" is reliable and durable.
How the Latch Compresses the Gasket (Compression Principle)
To understand latch selection, first understand where compression force comes from and where it goes. When closing, the lid falls and the gasket first contacts the case mouth; continuing to fasten the latch, the latch pulls the lid toward the body via lever or cam, flattening the gasket. Engineering common sense here:
- Over-center lever: A two-piece/lever latch, during closing, passes a "dead point" (over-center); past the dead point, even if external force tries to push it open, a larger reverse force is needed. This is the source of "self-lock," and why two-piece latches are more reliable than single-piece catches relying on friction.
- Compression positively correlates with compression amount: The more the gasket is compressed (within material elasticity), the tighter the seal; but over-compression accelerates permanent deformation or even extrusion. So the latch travel and gasket groove depth must match — not "the tighter the better."
- Multi-point equal pressure cancels warping: The lid is a thin-plate structure; single-point pulling warps the lid, and the side far from the latch is virtually unsealed. Multiple latches symmetrically arranged make whole-perimeter compression consistent — the key to uniform sealing.
- Compression must resist reverse load: Transport drops, upper stacking load, and air-transport pressure changes all tend to "flip the lid open"; the latch's tensile strength must cover these reverse loads with safety margin.
String these four points: latch selection is essentially choosing "whether it can stably provide the even-distributed, reverse-load-resistant compression force matched to the gasket." All types and parameters below revolve around this definition. Note compression is not the bigger the better — exceeding gasket elasticity causes permanent flattening or extrusion leaks, so latch travel, gasket hardness, and groove depth must be designed together, which is why same-source mold and injection capability matters so much.
Main Latch Types (5 Categories)
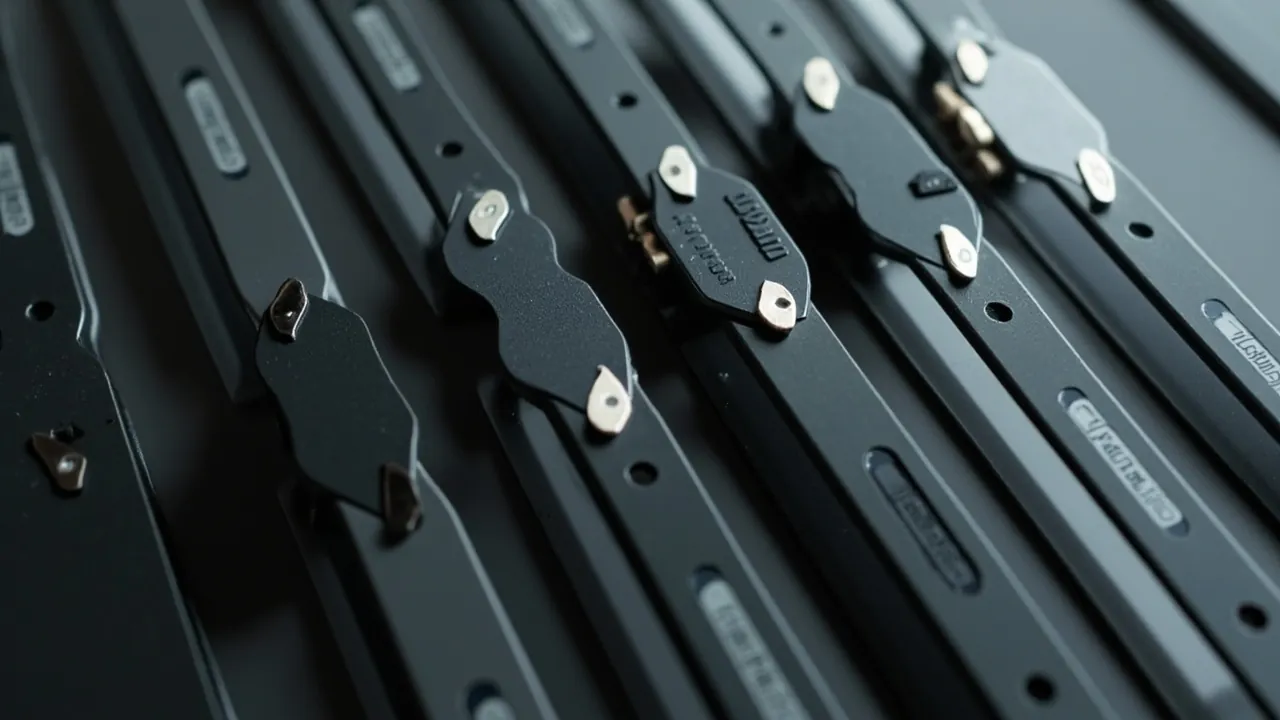
By structure and action, protective-case latches have mainly five categories. First a comparison table for overall understanding, then each in turn.
| Type | Structure | Anti-open mechanism | Typical case | Advantages | Cautions |
|---|---|---|---|---|---|
| --- | --- | --- | --- | --- | --- |
| Single-piece | One-piece molded/stamped, flip catch | Interference/snap, weak | Small case, light tool box | Simple, cheap, space-saving | Limited compression & anti-loose |
| Two-piece | Male+female, lever clamp | Over-center self-lock | Small–mid protective case | Strong clamp, even compression | More parts, slightly higher cost |
| Recessed | Body embedded in wall groove, flush | Groove protects + snap | Transport/checked case | No protrusion, impact & snag resistant | Higher mold & assembly demand |
| Spring | Internal spring holds closed | Spring self-lock, anti-vibe | High-vibration/vehicle | Hard to pop open under vibration | Spring is consumable, needs care |
| Security | Padlock hole on latch | Add padlock, anti-tamper | Military/storage/evidence | Prevents unauthorized opening | Adds seal force? No, anti-tamper only |
1. Single-piece latch
The simplest type, formed by flipping one piece of material, common on small cases, light tool boxes, and parts bins. Its advantages are extremely simple structure, low cost, small footprint; the downside is relatively limited compression and anti-loosening relying on snap interference, which can loosen under strong vibration or mis-touch. So single-piece latches suit "static placement, not often rough transport" lightweight scenarios, not deep-wading, high-vibration outdoor main cases. If used on a protective case, at least pair with a reliable snap structure and a softer gasket to compensate insufficient compression.
2. Two-piece latch
Composed of male and female parts, clamping the lid by lever principle. The two-piece structure usually has an "over-center" self-lock: when the latch turns to the dead point, the mechanism is in a mechanically advantageous position and will not loosen from slight rebound. Compared to single-piece, its clamping force is larger and compression more even, the mainstream for small–mid protective cases. Note the two-piece has more parts and higher mold/assembly precision demand; when choosing a manufacturer confirm the open feel and rebound consistency, and the stability of male-female fit tolerance.
3. Recessed latch
The latch body is embedded in a groove on the case wall side, basically flush with the wall after closing. This design is critical in transport and checked cases: a protruding latch is easily knocked or hooked open during handling, stacking, and checked baggage, while recessed "hides" the load-bearing part inside the body, both impact-resistant and hard to snag open externally. The cost is the case wall needs a groove reserved for the latch, with higher demand on injection mold and body rigidity (reinforcement ribs). A manufacturer with mold-making capability better guarantees the fit tolerance of the recessed position and sealing groove.
4. Spring latch
A spring inside the latch keeps it "wanting to close," so even under vibration it does not easily pop open by itself. It is especially suited to vehicle, airborne, and long-bumpy transport scenarios. The spring is an elastic consumable; after long high temperature or frequent opening its force decays, so maintenance should watch for spring failure — same as gasket aging, "small part decides big protection." When selecting, learn the spring material (e.g., stainless spring resists corrosion better) and nominal life.
5. Security latch
A security latch does not necessarily add seal force; its value is "anti-tamper": a padlock hole on the latch lets you add a padlock to prevent opening by unrelated personnel during transport or storage, also used for evidence, military/police, and shared-equipment scenarios needing responsibility isolation. When selecting, watch the padlock-hole size and latch-body strength, avoiding the latch failing before the lock under violent pulling. Security latches are often combined with two-piece/recessed latches, ensuring both seal compression and anti-tamper. In evidence, military/police, and shared-equipment scenarios this combo is almost standard, preventing accidental pop-open in transport and clarifying responsibility boundaries.
Key Latch Performance: Compression Uniformity, Anti-Open, Tensile
Latch selection is not just "does it catch," but three quantifiable/perceivable metrics:
Compression uniformity (most important)
As said, sealing relies on even whole-perimeter compression. The practical way to judge uniformity is the latch count and distribution:
- Small case (within ~30 cm): usually 2 latches suffice for basic uniformity.
- Mid case (30–60 cm): suggest 4 latches, one at the midpoint of each long side.
- Large case (over 60 cm) or tall case: suggest ≥6, if necessary one every 20–30 cm on the long side.
More latches with reasonable spacing give more consistent whole-perimeter compression and fewer "tight at one end, loose at the other" local leak points. Of course more is not always better — too many add opening burden and failure points; determine by body rigidity (ribs) and groove design. A practical method: set a baseline count by case size, then densify at historically leaky corners and long-side midpoints, not blindly fill the whole perimeter.
Anti-accidental-opening mechanism
When comparing latches, focus on what prevents loosening:
- Over-center self-lock: The dead-point self-lock of two-piece/lever latches, mechanically most reliable.
- Spring retention: Spring latch counters vibration with continuous force, suited to bumps.
- Padlock constraint: Security latch prevents human mis/tamper-open, but only on the premise of "closed in place."
- Secondary lock: Some high-end latches have an independent safety button needing release before opening, best against mis-touch.
Tensile strength and fatigue life
The latch's "tensile strength" is the force it can bear before failure or loosening, industry usually by the manufacturer's specification nominal value (e.g., a single point can reach tens of kilograms of tensile); models vary widely, so when purchasing always ask the manufacturer for the tensile and fatigue-life data of the corresponding model, not by appearance. Fatigue life is the repeatable open-close count; scenarios with frequent on-site opening should prioritize models with high nominal cycle count. These two are parameters "invisible on paper, known expensive only when failing" — suggest writing them into the contract appendix for critical scenarios.
Latch Material and Surface Treatment: Metal or Engineering Plastic
The latch body material directly affects life and applicable environment:
- Metal latch (mostly stainless or zinc/electrophoretic steel): High strength, large tensile, good temperature resistance, suited to heavy, checked, high-value instrument cases; downside is rust if surface treatment is poor, so marine/humid environments should choose stainless or anti-corrosion treatment.
- Engineering-plastic latch (e.g., glass-fiber-reinforced nylon PA, POM): Light, corrosion-resistant, non-conductive, no interference with electronic equipment, suited to general outdoor and electronic-instrument scenarios; downside is lower ultimate strength than metal, caution for extreme heavy load.
- Metal + plastic composite: Metal insert ensures strength, plastic shell balances feel and insulation — a common high-end solution.
For surface treatment, metal latches commonly use zinc plating, electrophoresis, powder coating, dacromet, all to delay corrosion; select by matching use environment (e.g., salt spray, heat-humidity) and confirming anti-corrosion grade with the manufacturer, not just "looks shiny."
How the Latch Is Fixed to the Body: Inserts and Ribs
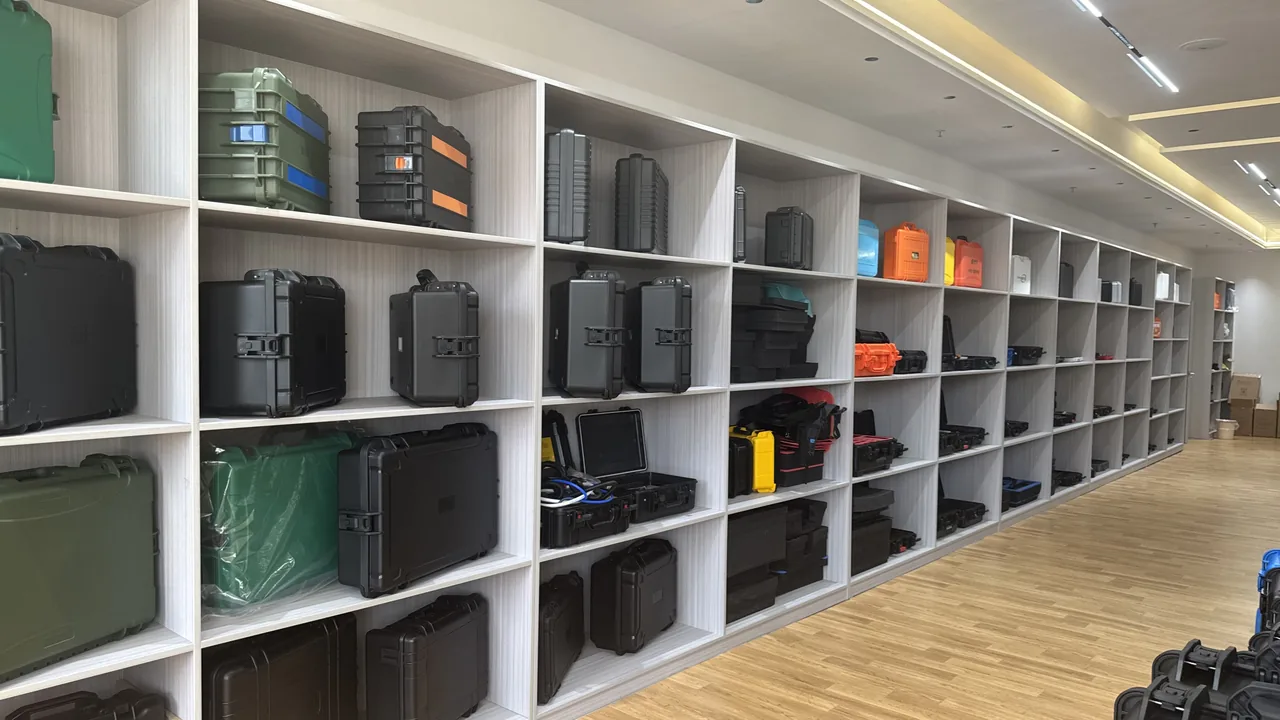
The latch is not "stuck" on the wall; its fixing method decides whether it can provide stable compression long-term:
- Metal insert molding: During body injection, metal nuts/studs are embedded in the wall, and the latch is screwed onto the insert. This is the strongest, repeatable disassembly, the mainstream for quality protective cases.
- Direct screw + ribs: The latch seat area has wall thickness and ribs, fixed with self-tapping screws; requires enough rigidity in that area or long-term force cracks it.
- Integral injection snap: Latch and body formed together (common in single-piece small cases), low cost but limited strength and maintainability.
Regardless, the body area at the latch seat must have ribs and enough wall thickness — a thin-wall body deforms under latch tensile, pulling the seal crooked. This is why "good latch" must match "good shell," same-source design most stable.
How to Select by Scenario and Case Size (Checklist)
Turn the three metrics above into selection; quickly decide by the scenario table below:
| Use scenario | Recommended latch | Latch count | Key need |
|---|---|---|---|
| --- | --- | --- | --- |
| Indoor/short-haul light tool box | Single-piece | 2 | Low cost, easy open |
| Small–mid outdoor protective case | Two-piece over-center | 4 | Even compression, self-lock |
| Checked/stacking transport case | Recessed | ≥4 (by size) | Impact resistant, no snag |
| Vehicle/airborne vibration | Spring or spring+over-center | ≥4 | Anti-vibration loosen |
| Military/evidence/shared | Security (padlockable) | By case | Anti-tamper, responsibility |
| Deep water/high-value instrument | Two-piece over-center + multi-point | ≥6 | Reliable seal, zero mis-open |
Protective-case latch selection checklist (verify item by item):
- First set case size → infer latch count (small 2/mid 4/large ≥6).
- See if environment is strongly vibrating → if so choose spring retention or over-center self-lock.
- See if checked/stacked → if so prioritize recessed to avoid protrusion damage.
- See if anti-tamper needed → if so choose security latch with padlock hole.
- Choose latch material: heavy/checked choose metal or metal composite, electronics/general outdoor can choose engineering plastic.
- Ask manufacturer for the corresponding model's tensile strength and fatigue life specification.
- Confirm latch coordination with body ribs and sealing groove (best same-source design/manufacture).
- For batch orders write these parameters into the contract and sample-check open feel and rebound consistency.
Latch Count and Distribution Engineering Experience
Put "count advice" into specific sizes with three examples for intuition:
- Small case (~30×22×12 cm): Lid-edge perimeter ~1 m, 2 latches (one each side) cover most; if precision parts, add to 4 for uniformity. Latch spacing ~50 cm, single-point compression enough to press the mid gasket.
- Mid case (~50×35×20 cm): Lid-edge perimeter ~1.7 m, 4 latches (midpoint of each long side) common; if tall or heavy, add 2 on short sides to 6, further canceling warping.
- Large case (~80×50×30 cm+): Lid-edge perimeter over 2.6 m, at least 6 latches, one every 25–30 cm on long side; checked/stacked large cases should also choose metal or metal-composite latches with recessed type for impact and tensile stability.
Experience: latch spacing along the lid edge as even as possible, avoid one side too wide causing mid virtual seal; corners, with stress concentration, are often leak-prone, so place a latch nearby.
Arrival Acceptance: What to Check on Latches
For batch protective-case purchase, latches are a key incoming inspection point; suggest inspecting by the list below to avoid "pretty outside, loose on use":
- Open-feel consistency: Open each, feel whether the latch seats crisply, no jam or inconsistent rebound; large same-batch difference means unstable assembly or tolerance control.
- Over-center confirmation: Two-piece/lever latches should clearly feel the "past dead point" self-lock, not just friction catch.
- Compression visual: After closing, visually confirm the gasket is evenly flattened along the lid edge, no local gap, no warping gap.
- Tensile sampling: Per contract ask manufacturer and sample-check the corresponding model's tensile and fatigue-life data; for critical scenarios do sampling destruction verification.
- Anti-corrosion check: Metal latches before salt-spray/heat-humid use, confirm surface-treatment grade and material (e.g., stainless), do salt-spray test if necessary.
- Spring status: Spring latches sample-check spring force consistency, no rust or permanent deformation.
- Body connection: Check latch-seat area for cracks, loose screws, firm metal inserts.
Writing these acceptance items into the incoming inspection spec blocks "latch virtual seal" risk before batch deployment, far easier than post-return repair.
Latch Coordination with Hinge, Gasket, and Body
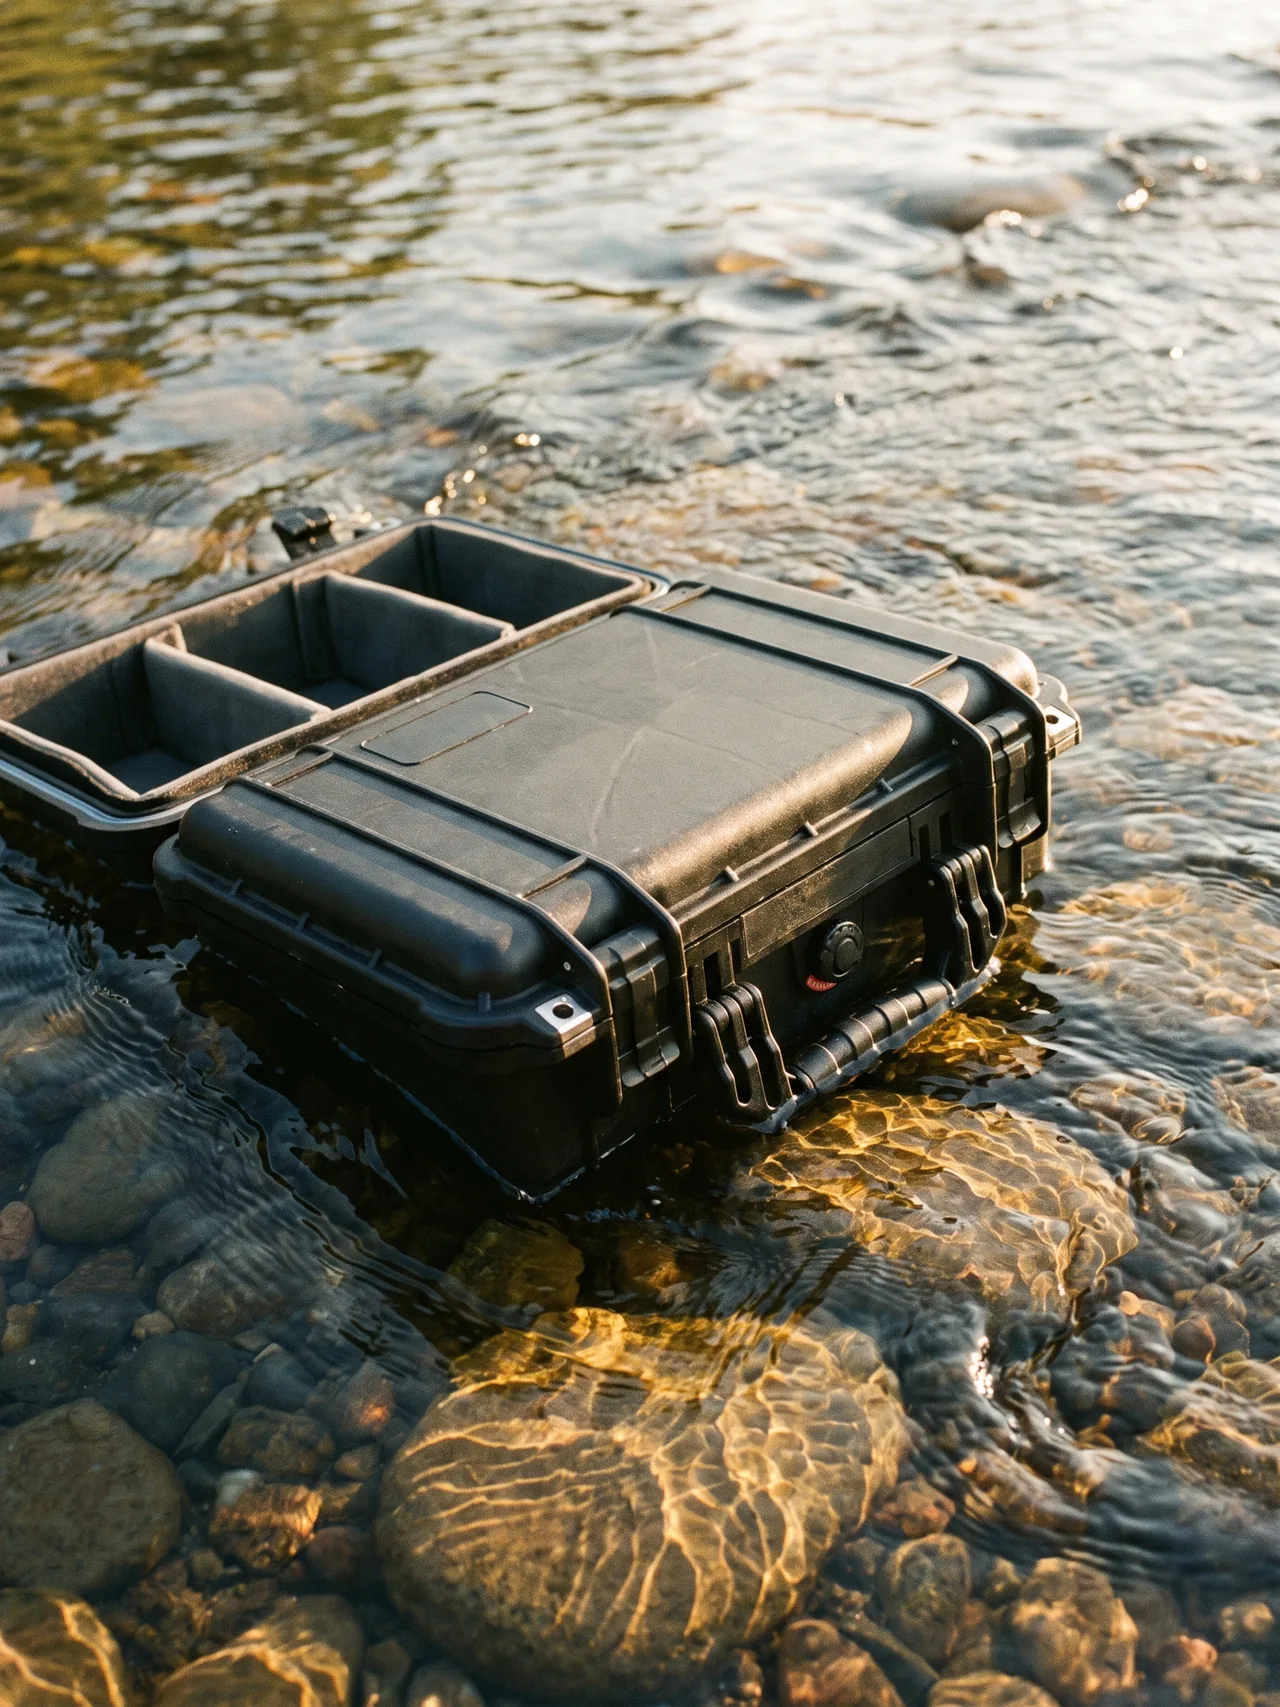
The latch does not work alone; with three other parts it decides protection success:
- With the gasket: The latch provides compression force, the gasket turns force into seal. Latch count/distribution directly decide whether gasket compression is even; if a segment lacks or loosens, that gasket segment "virtual seals." See the gasket-material references.
- With the hinge: The hinge (mostly metal or engineering-plastic recessed) stabilizes the opening axis; if the hinge loosens, the lid closing position shifts and even if latched the gasket is not pressed straight. Evaluate structural strength and hinge together.
- With the body: The latch seat is usually anchored on ribbed wall or metal insert. A thin-wall body deforms under latch tensile, pulling the seal crooked. So "good latch" must match "good shell + good ribs," the three integrated most stable.
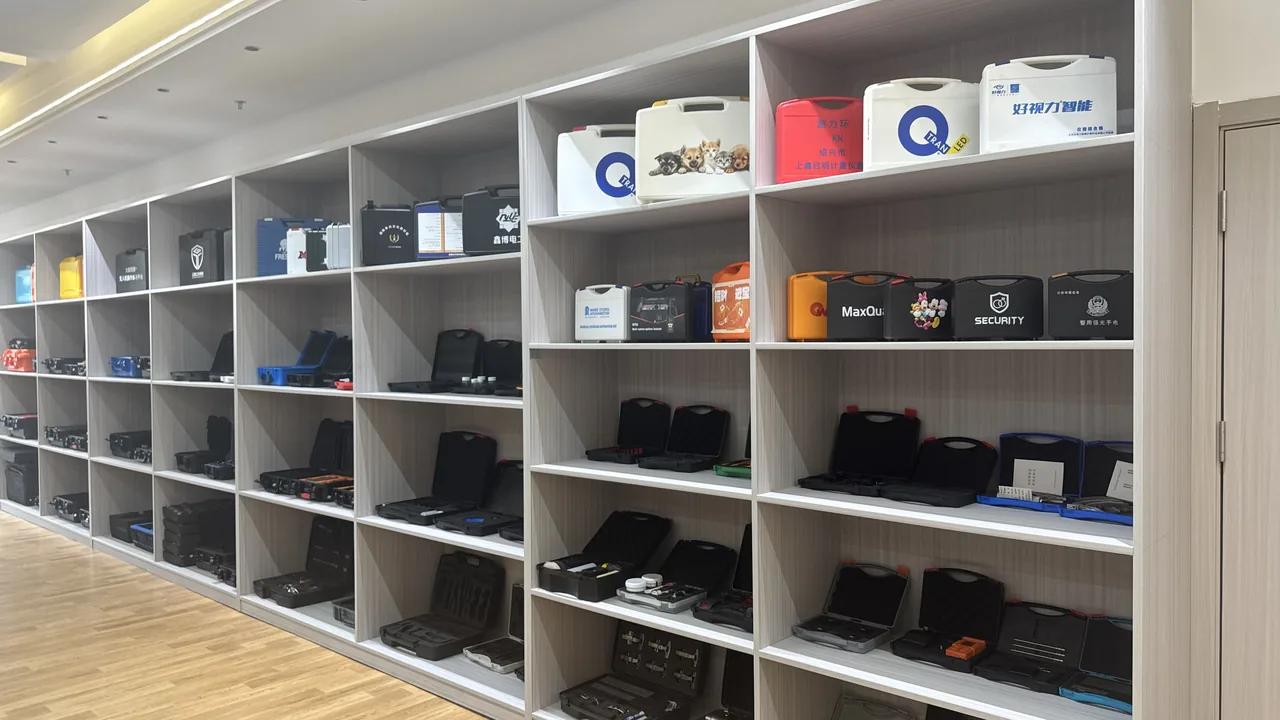
KeXin New Materials (Guangdong) Co., Ltd. brings its protective-case product line to market under the global brand kexinMaterials and the domestic product-line brand JUNZHJIA, with one-stop customization (OEM/ODM) capabilities covering product design, injection molding, mold manufacturing, LOGO printing, and inner-tray/liner making. The factory is in Zhongshan City, Guangdong (Greater Bay Area), about 18,000 m², 80+ machines, 100+ staff; the parent company is Foshan Shunde ., Ltd., and , Ltd. holds 20+ utility-model and design patents. It is exactly this "mold + injection + assembly" same-source capability that lets the latch seat, sealing groove, and ribs be uniformly coordinated at the design stage, guaranteeing compression consistency at the source — a more critical point than just looking at latch appearance when choosing a manufacturer.
Common Errors and Daily Maintenance
High-frequency errors in purchasing and using protective-case latches:
- Error 1: Caught equals locked. Caught ≠ compression in place; you must hear/feel the over-center lock or see the latch fully seated.
- Error 2: More latches the heavier the better. Too many add opening burden and failure points; distribute reasonably by case size.
- Error 3: Replace latch but ignore body. If the latch-seat cracks or deforms, a new latch still cannot press the gasket straight; evaluate with the body.
- Error 4: Ignore spring life. Spring-latch springs decay; after long high temperature or frequent opening inspect and replace in time.
- Error 5: Wire/zip-tie instead of latch. Temporary fixing cannot provide stable compression; no seal grade to speak of.
- Error 6: Ignore anti-corrosion. Metal latches in salt-spray/heat-humid rust and seize; choose stainless or confirm anti-corrosion grade.
Maintenance tips:
- Each close confirm latch fully seated, no jam.
- Regularly check latch seat and wall for cracks, looseness.
- Spring latches watch force, replace same-spec on decay.
- Recessed latches clean sand from groove to avoid foreign-object push-open.
- Metal latches regularly de-rust, thin oil (avoid gasket).
- Padlock hole unused can be capped against dust to avoid rust seize.
- Batch equipment suggest a latch open-count ledger, replace at life in bulk.
Frequently Asked Questions (FAQ)
Q: Are more protective-case latches better? A: No. Latch count should increase with case size (small ~2, mid ~4, large ≥6), to make whole-perimeter gasket compression even; too many add opening burden and failure points. The key is "reasonable distribution + sufficient compression," not simply piling count. Generally small 2, mid 4, large one every 25–30 cm on the long side.
Q: What mainly differs between single-piece and two-piece latch? A: Single-piece is simple, low cost, limited compression and anti-loose, suited to light static scenarios; two-piece uses lever and over-center self-lock for larger, more even clamping force, the mainstream for small–mid protective cases. Strong vibration or wading scenarios suggest two-piece or above, as it stably maintains gasket compression.
Q: What are the benefits of a recessed latch? A: The latch body embeds in the wall groove, basically flush outside, not easily knocked or hooked open during transport and stacking, better impact resistance and anti-accidental-open; the cost is higher mold and body-rigidity demand, suited to checked and transport cases. Protruding latches are easily knocked in checked baggage, which is exactly what recessed is designed for.
Q: What happens if a spring-latch spring fails? A: The spring provides continuous closing force; after decay or break the latch more easily loosens under vibration, possibly lid half-open, gasket losing pressure, water and dust in. The spring is a consumable; inspect force regularly, replace same-spec on failure, and prioritize corrosion-resistant spring material.
Q: Does a security latch improve sealing? A: Not directly. The security latch's value is "anti-tamper/anti-mis-open" (padlockable); it does not add compression force; real sealing still relies on latch compression and full-perimeter gasket. When theft/mis-open prevention is needed, choose a padlock-hole latch, often combined with two-piece/recessed.
Q: Which is better, metal or plastic latch? A: By scenario. Metal (stainless/anti-corrosion steel) has high strength, large tensile, suited to heavy, checked, high-value instruments; engineering plastic (e.g., reinforced nylon) is light, corrosion-resistant, non-conductive, suited to general outdoor and electronics. Salt-spray/heat-humid prioritize stainless or confirmed anti-corrosion grade. Metal-insert + plastic-shell composite is also an option.
Q: How to judge if latch compression is enough? A: Qualitatively, after closing check the gasket is evenly flattened with no whole-perimeter gap; quantitatively ask the manufacturer for the corresponding model's "tensile strength" and "fatigue life" specification, write these into the purchase contract and sample-check for critical scenarios, not by appearance. Also confirm latch coordination with ribs and sealing groove same-source.
Conclusion
The core of protective-case latch selection is using the right type, sufficient and evenly distributed compression force, to lock the lid continuously onto the full-perimeter gasket and prevent accidental opening from transport vibration or mis-touch. The five mainstream latches (single-piece, two-piece, recessed, spring, security) each fit a scenario: light load single-piece, outdoor main two-piece over-center, checked recessed, vibration spring retention, anti-tamper security. Selection must simultaneously look at three metrics — compression uniformity, anti-open mechanism, and tensile/fatigue life — and infer latch count by case size (small 2/mid 4/large ≥6, one every 25–30 cm on long side). On material, heavy/checked choose metal or metal composite, electronics/general outdoor can choose engineering plastic, and confirm anti-corrosion grade; on fixing, prioritize metal-insert molding with ribs to avoid thin-wall deformation pulling the seal crooked. More critically, the latch must integrate with the hinge, gasket, and ribbed body — judging by latch appearance alone cannot determine overall protection; only a manufacturer with same-source mold, injection, and assembly capability (such as KeXin New Materials JUNZHJIA, one-stop OEM/ODM) can guarantee compression consistency at the source. Finally remember: the latch is the most frequently loaded small part in a protective case, yet it is the master switch of "whether the lid pops open midway and whether the gasket stays effective long-term" — selection and maintenance should not be skimped.
Further Reading
- How to Choose a High-Strength Protective-Case Hinge
- What Are the Protective-Case Gasket Materials and How to Choose?
- What Structural Features Characterize a High-Strength Protective Case?
- What Is the Role of Reinforcement Ribs in a Protective Case?
- How to Design a Protective-Case Stacking Structure?
- What Is an Outdoor Protective Case and Where Is It Used?