

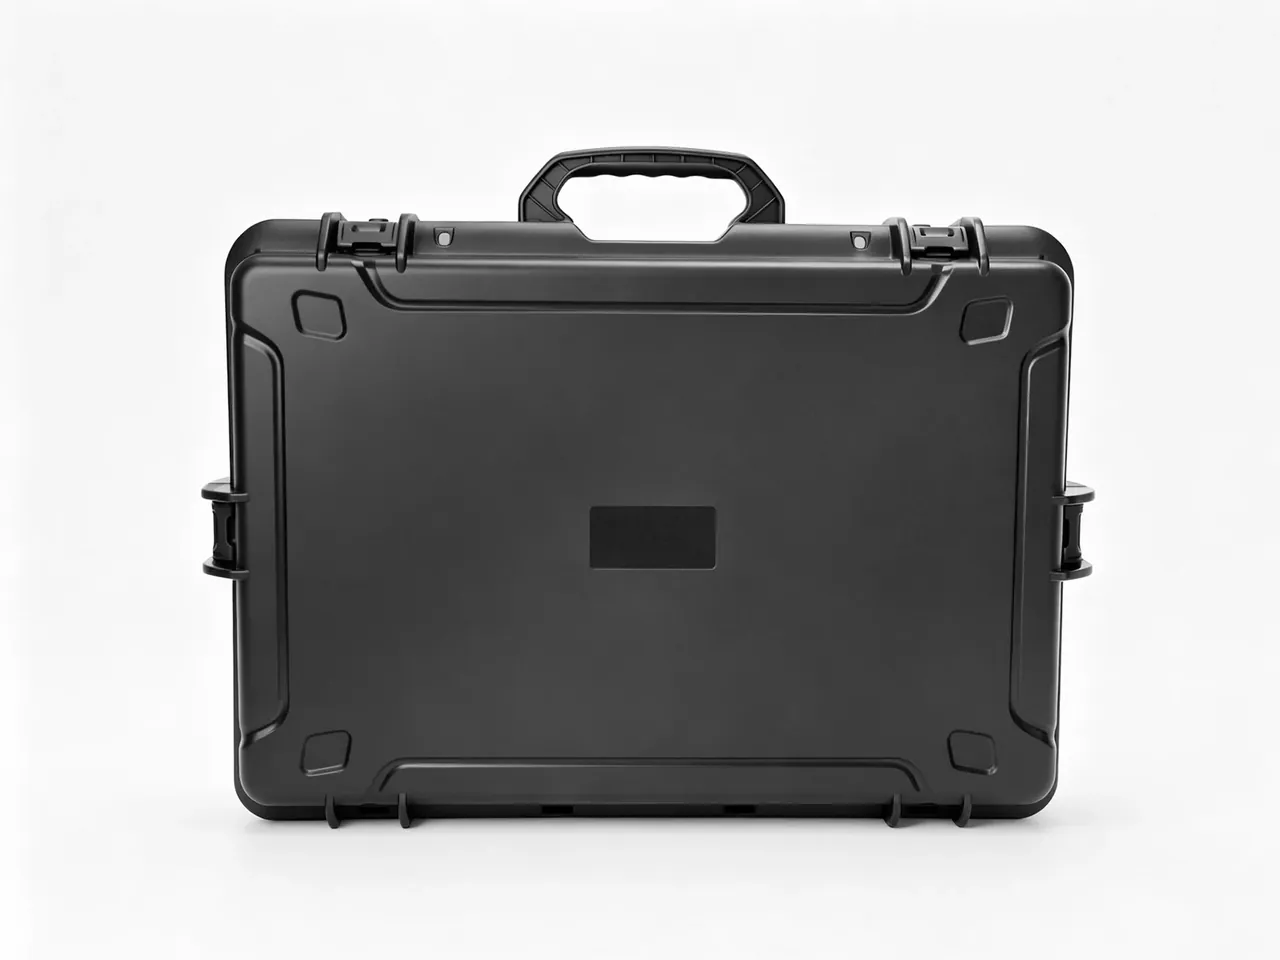
Quick answer: An Instrument Case is specified by three measurable numbers, not by shell thickness. Damping needs an unbroken soft path between base and load, level needs coplanar support points, and working height needs the open case to sit inside arm reach. Fix damping first, then level, then height, because each one consumes the space the next one needs.
Table of contents
- Why an Instrument Case Is Three Numbers, Not a Shell
- Damping: Follow the Path, Not the Material
- Level: Flatness Decides Whether the Reading Holds
- Working Height: The Interface After the Lid Opens
- When the Three Requirements Collide
- FAQ
1. Why an Instrument Case Is Three Numbers, Not a Shell
An Instrument Case differs from a protective case in posture. The protective case is finished when it lands. The instrument case has to leave equipment able to work, so the box joins the measuring setup and vibration, flatness and reach matter as much as impact does.
All three appear on a drawing and can be checked at goods-in: liner compression, support-point coplanarity, and the height of the operating surface above the floor. Damping comes first because liner thickness eats internal depth, and depth drives outer height.
2. Damping: Follow the Path, Not the Material
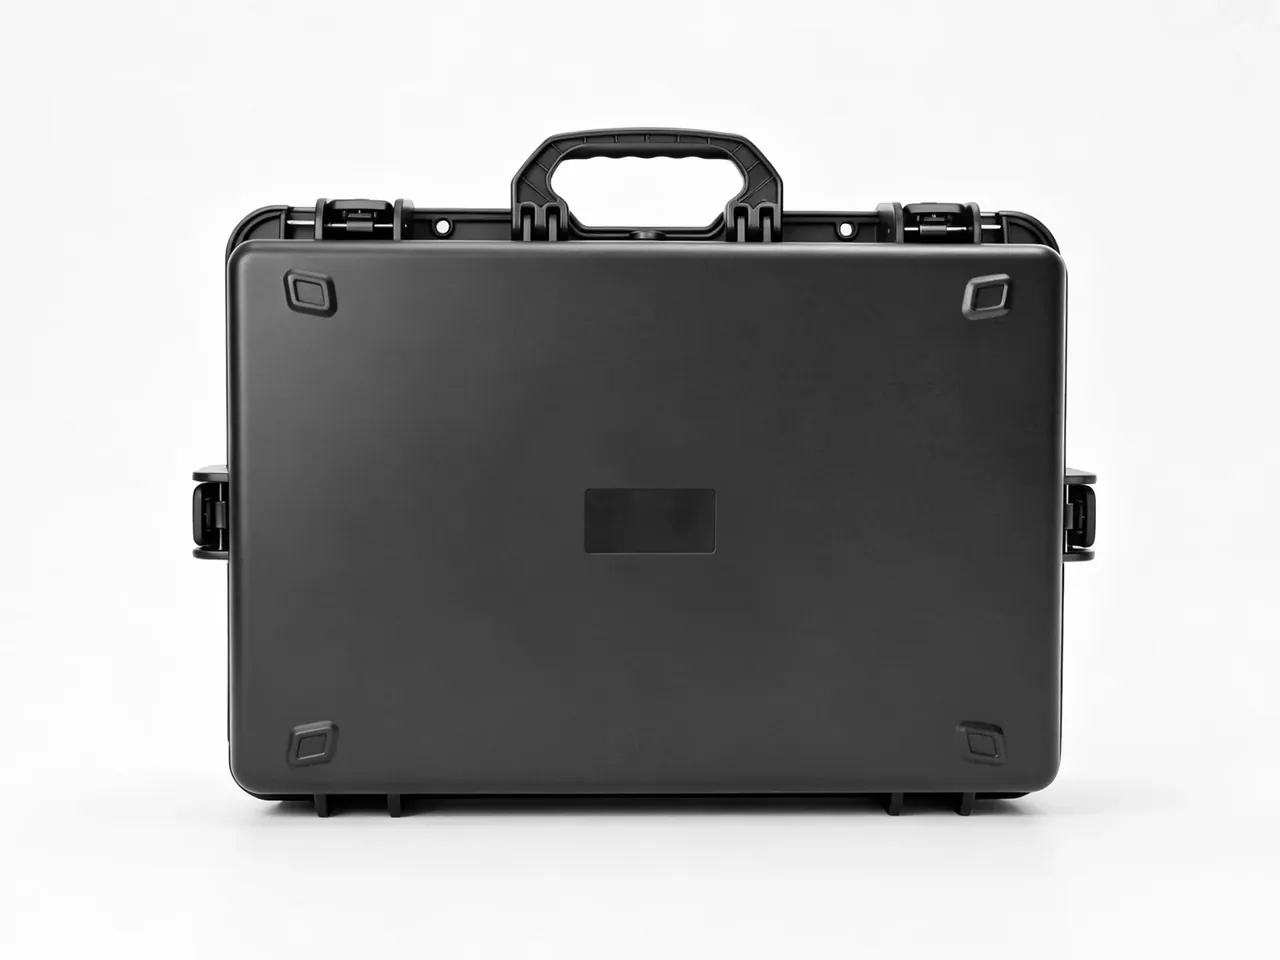
Damping is a path, not a material. Excitation enters the base, crosses the liner, reaches the load and returns through lateral restraints. Any rigid contact in that chain gives vibration a short cut, which is why soft foam under a load clamped by hard dividers isolates nothing.
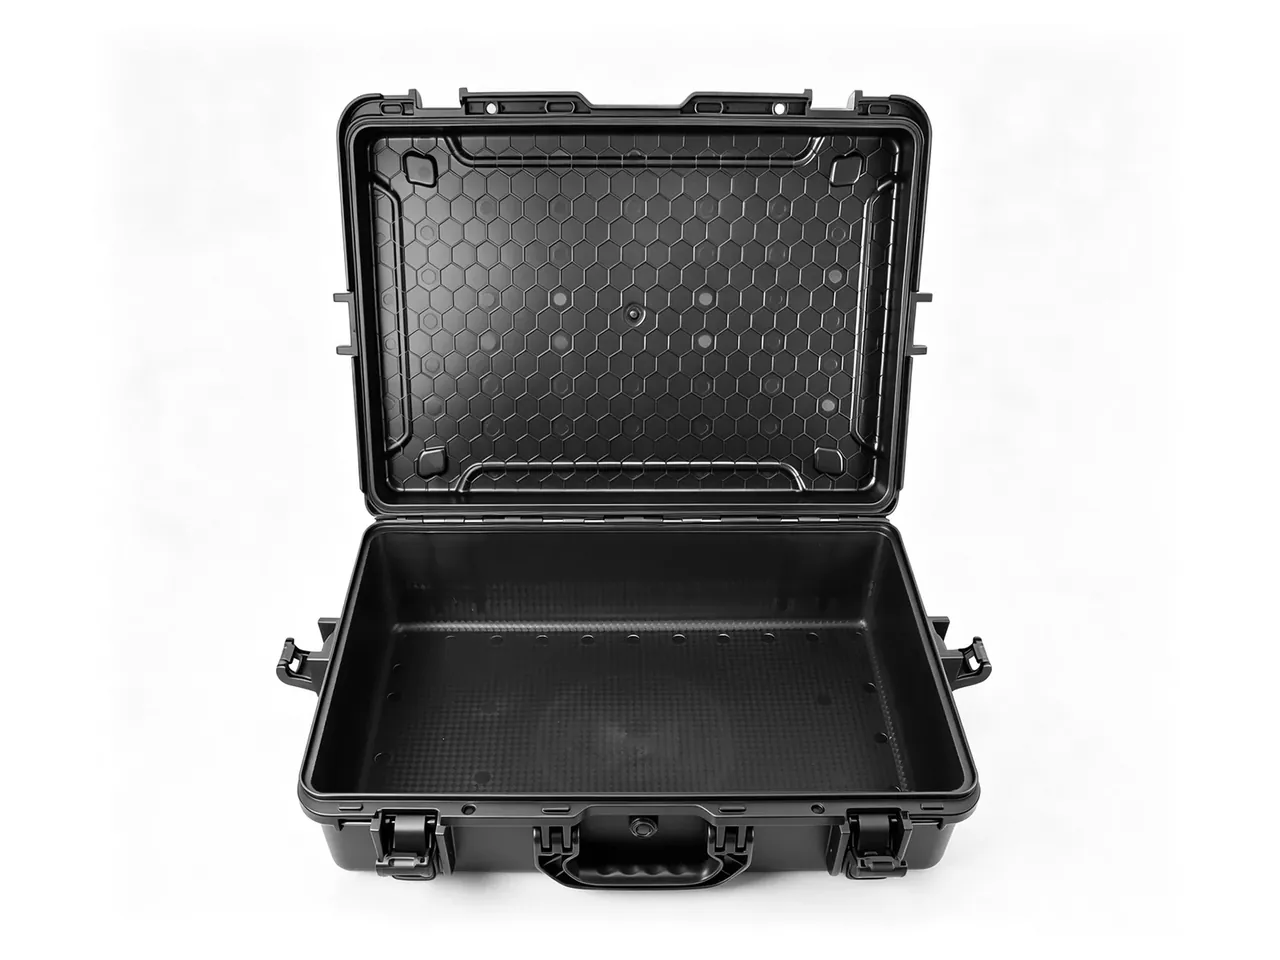
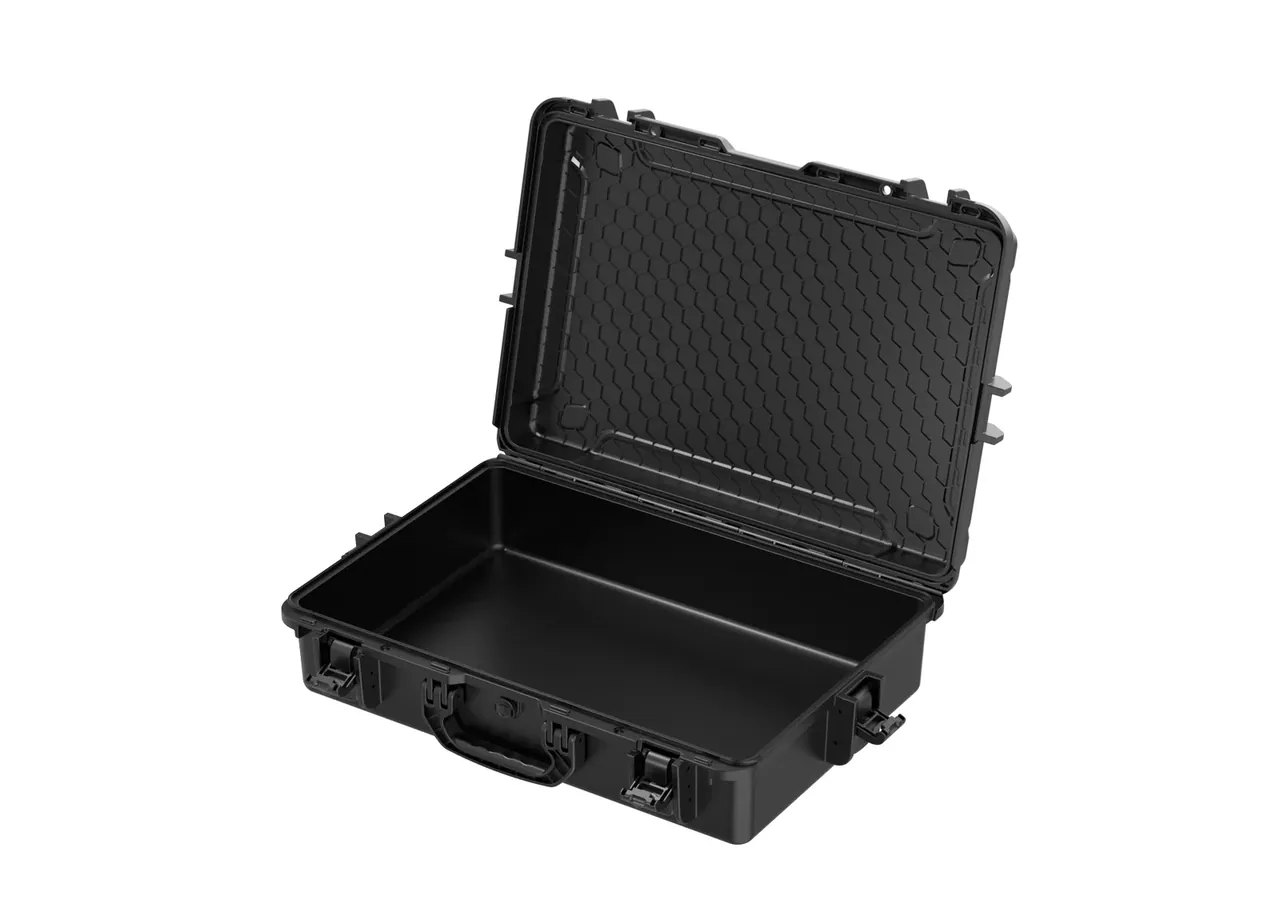
Compression at rated load decides the result: below ten percent the liner is rigid, above forty it densifies and amplifies shock. Twenty to thirty percent, with three to five millimetres of lateral clearance, is the working range. The honeycomb ribs moulded into the lid are an impact feature, not a damping one.
3. Level: Flatness Decides Whether the Reading Holds
Large rotomolded panels shrink as they cool, so the centre of a base often sits one to three millimetres below its corners and the case rocks. A bubble level on the equipment reads that rock as drift, and the instrument gets blamed for it.
Either recess the base into a rib grid that carries load on four edges, or mould four pads with height variation under one millimetre. Both rely on even cooling in the mould. An open lid used as a bench also needs a stay that holds it near vertical.
4. Working Height: The Interface After the Lid Opens
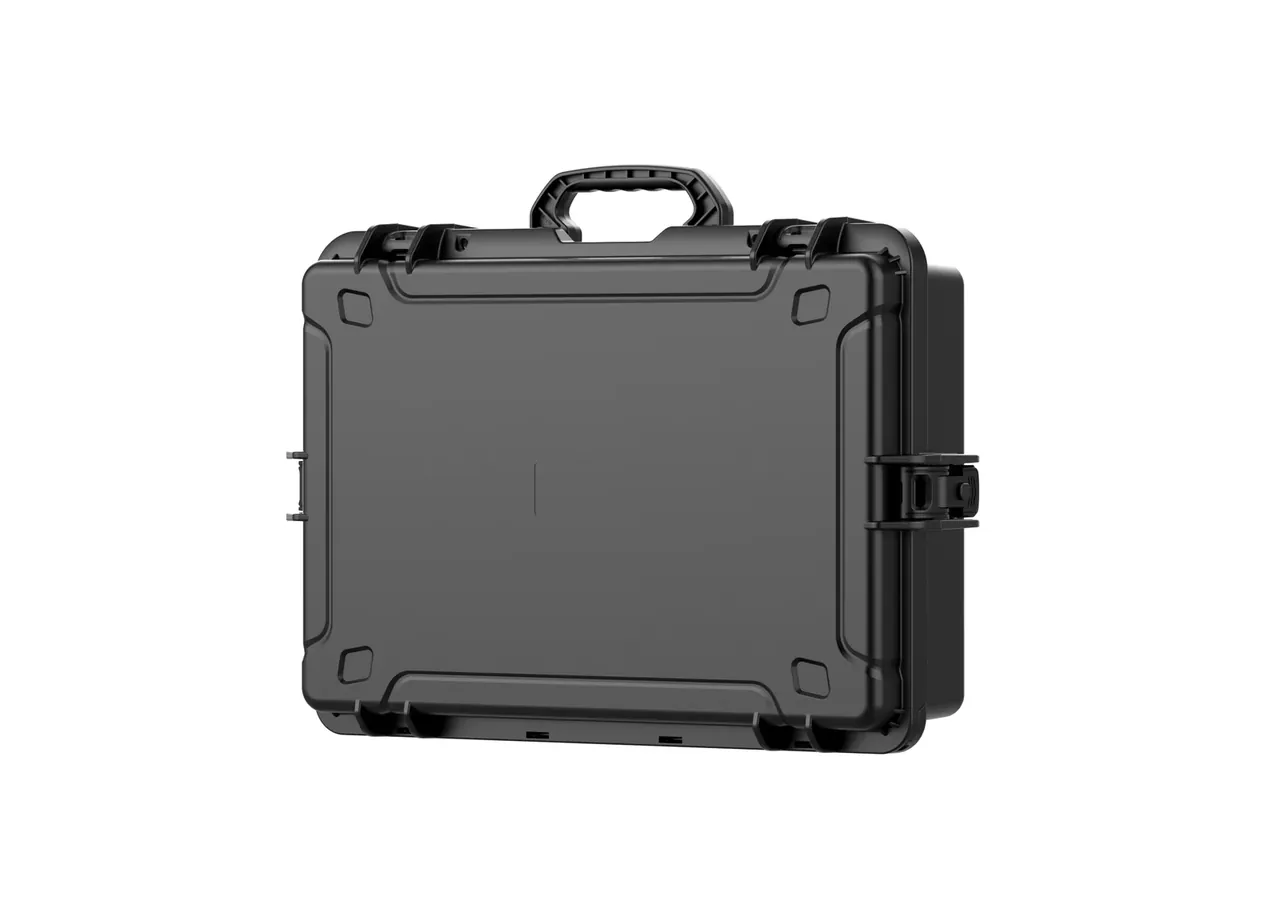
Working height is a sum of bench height, case height and the distance from the cavity floor to the operating surface. A 750 mm bench and a 150 mm case put the work at roughly 900 mm: right for standing, high for sitting.
Depth past 250 mm forces the wrist to rotate at the bottom; past 350 mm people pull the case closer instead. Lid angle matters too, since ninety degrees hides the rear of the cavity and 100 to 110 degrees does not. Keep the handle off the latch face, and under 450 mm of width for one-hand carry.
5. When the Three Requirements Collide
The three values fight each other. Thickness costs depth, depth costs height, height breaks the working limit. Work backwards from the load: equipment height plus compression gives internal depth, wall and rib height give the body, and the bench then checks the total.
If the check fails, move the bench, then the lid angle, and the liner last. Stacking is the other conflict, because every millimetre taken off the body removes a tier from a freight container.
Conclusion
Read the drawing in one order: liner, depth, body, then the surface the case will stand on. Change the bench before the liner when a check fails, and the Instrument Case keeps its three numbers intact.
This article covers container-side specifications and design intent only. It does not address any handling, loading or use of the contents.
Related Reading
- How an instrument case is built and protected
- Four conditions for choosing an instrument case
- What a pressure equalisation valve does
- Types of foam lining for cases
Related Products
- 8 Series — Gun Cases; Military Equipment Cases; Camera Equipment Cases; Drone Cases; Watch Cases; Knife Cases; First Aid Cases; Electronics Equipment Cases
- WL8-2812 PP Gun Case — model WL8-2812
- All protective cases and toolboxes: 7 series, 158 models