

Camouflage Case: Surface Finish and Pattern
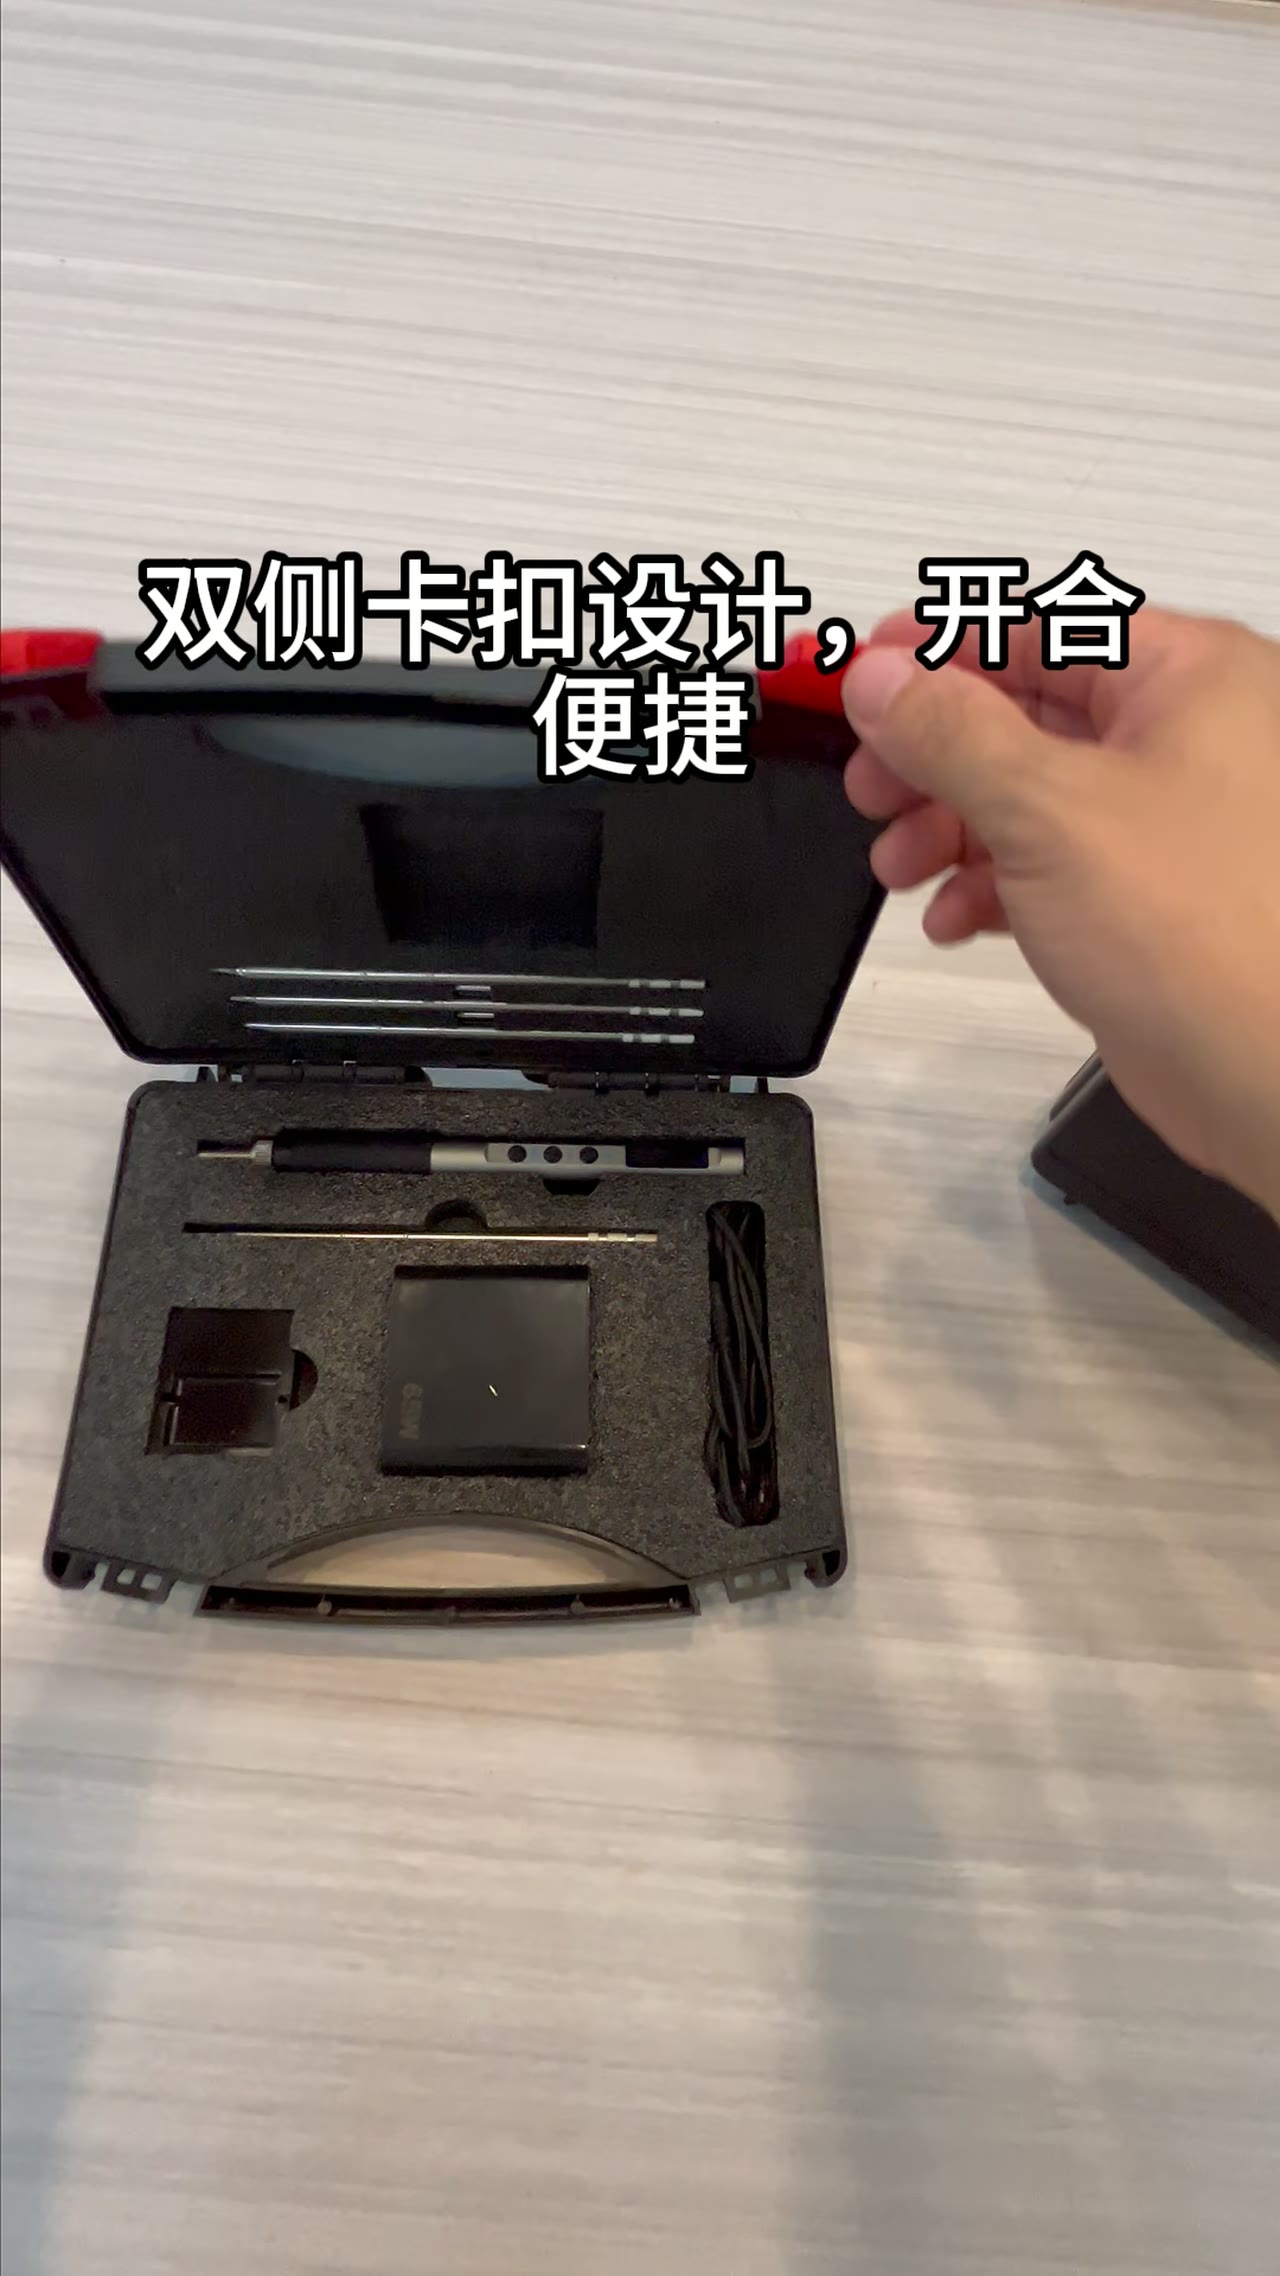
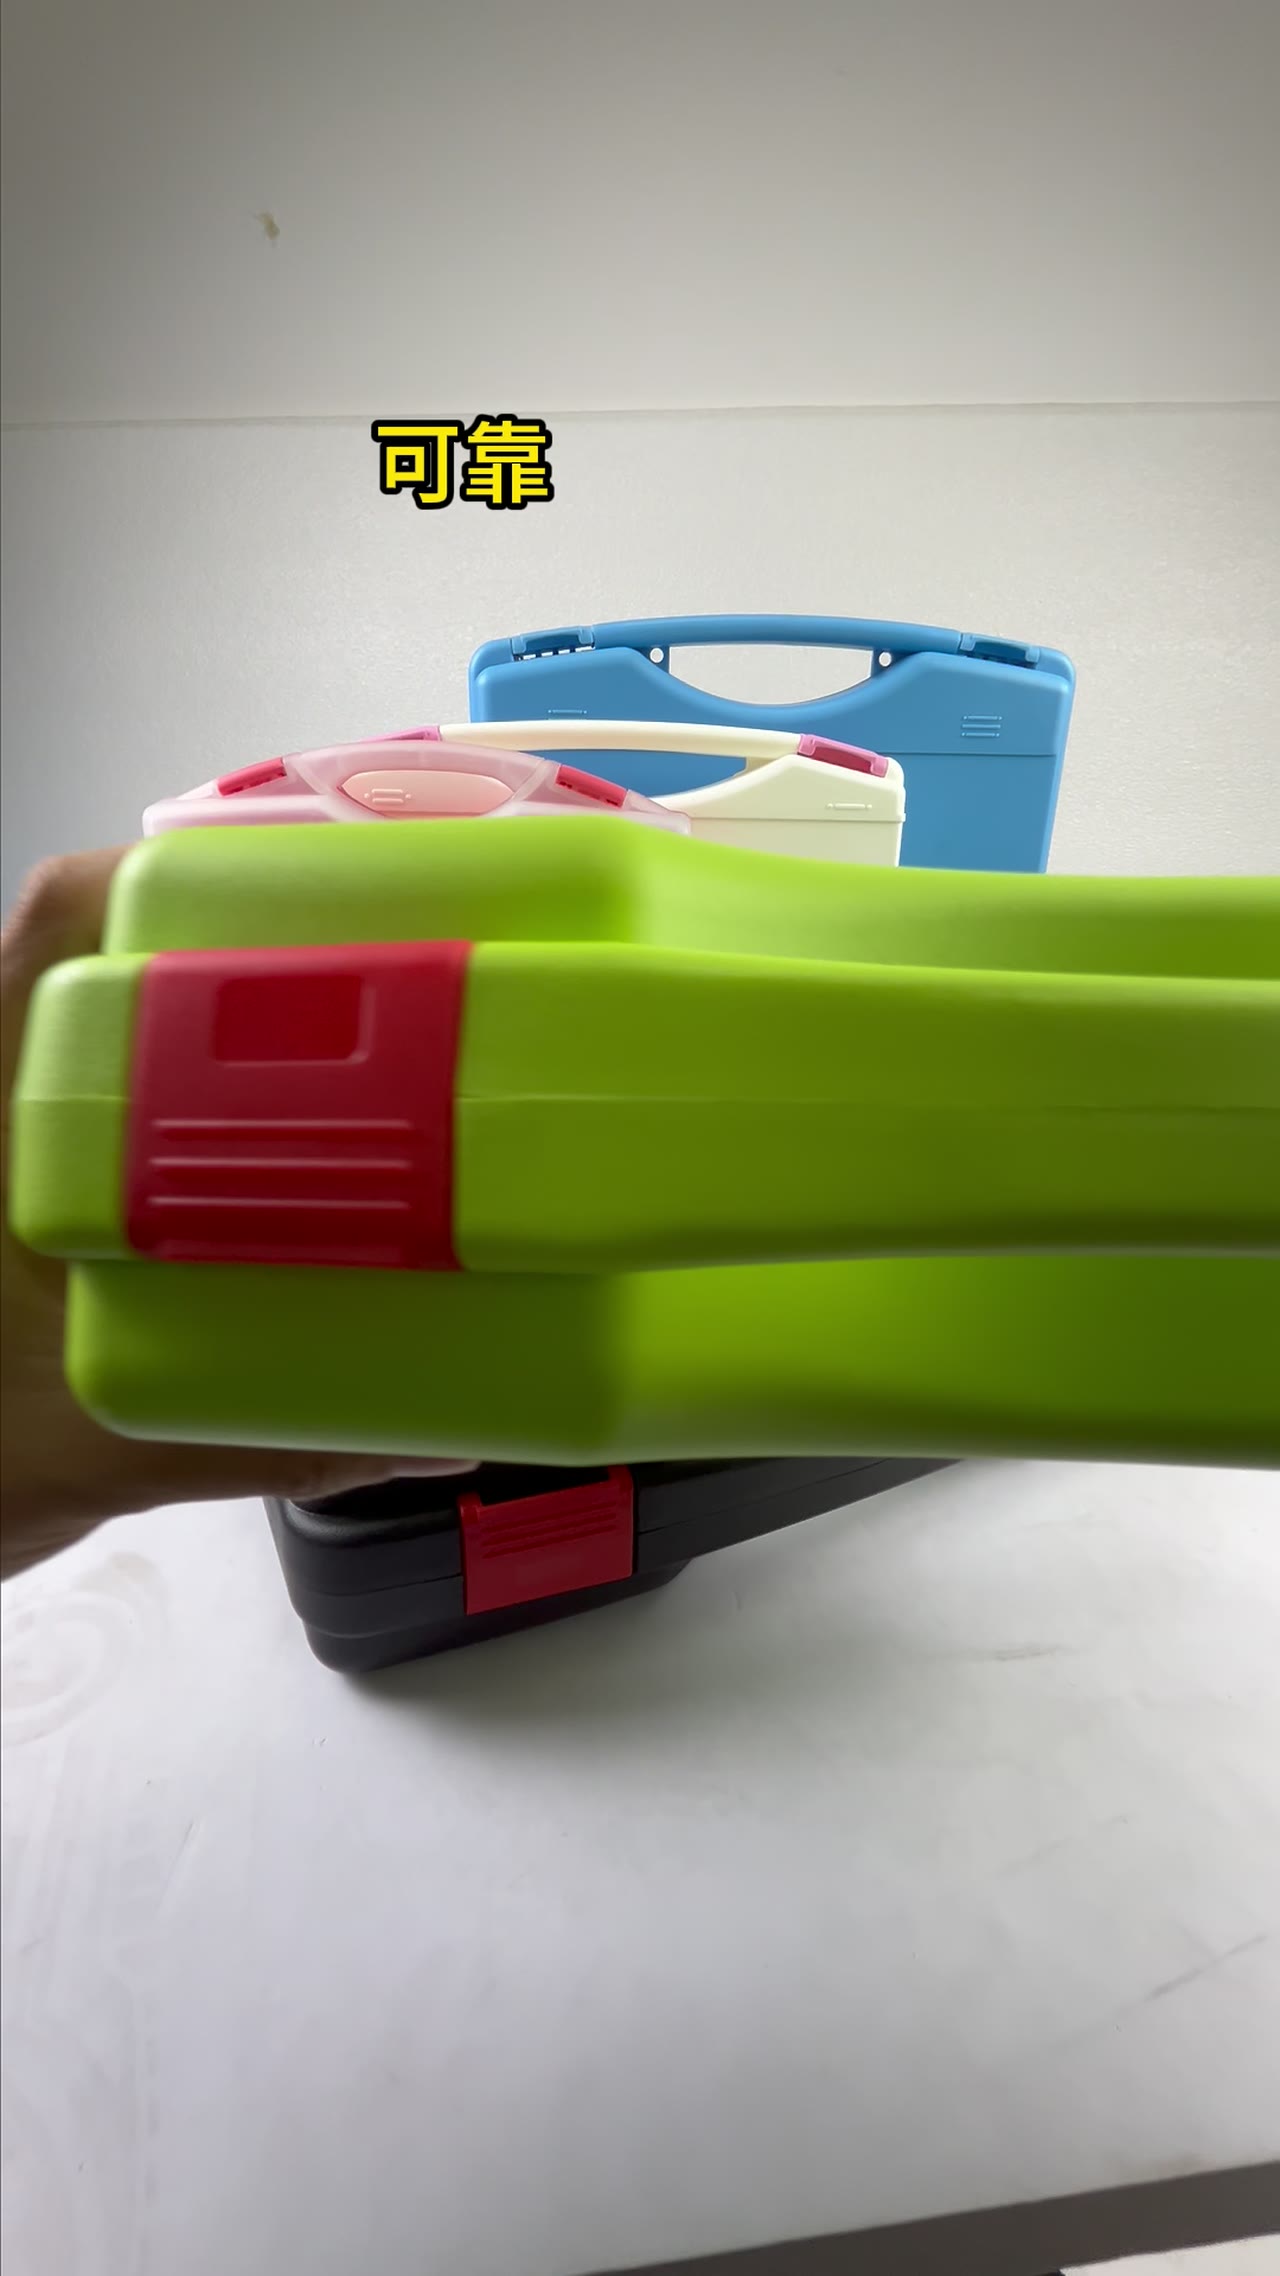
How does a camouflage pattern get onto a case shell? There are three routes and three very different bills. Hydrographics wraps compound curves but wears at the edges; stencil spraying suits small runs while leaving every boundary to a pair of hands; in-mould colouring outlasts both and locks the pattern to the tooling. Eighteen seconds of daylight footage shows how the pattern sits on the shell. It cannot show a 25 μm film, a 1 mm registration drift, where colour goes after 500 h of UV, or how much sanding a repair allows.
01Three Ways to Put a Pattern on a Shell
Hydrographics prints the pattern onto a water-soluble film, floats it, activates it, and lets it wrap the shell before a clear coat goes on. Deep recesses and wrapped edges are easy, unit cost is low, and the dry film is only 25 to 40 μm, so edges wear through first. Repair is the real problem: the pattern is one sheet, so a local touch-up is not possible.
Stencil spraying works the other way. Base coat goes on the whole shell, die-cut masks go down, the second colour goes on, and the cycle repeats until the pattern is complete. Changing artwork means changing masks, which suits runs of 50 to 500. Every boundary is placed by hand, so consistency lives or dies with the fixture and the operator.
02Where the 1 mm Registration Error Comes From
In hydrographics the error comes from film stretch. Two degrees warmer water softens the film, and it pulls 0.3 to 0.5 mm further around a corner. Radii under 3 mm wrinkle first and show the worst displacement. Warm water is the usual culprit. Hold the bath within ±1℃, meter the activator by area, and pre-stretch at each radius.
Stencil error comes from the mask and the hand placing it. Die-cutting holds ±0.2 mm, placement on a curved surface drifts 0.5 to 1 mm, and a spray angle 15° off feathers the boundary by 0.4 mm. Judge it on finished cases: the same boundary on two shells should not differ by more than 1 mm, or the fixture is not fixed.
03Adhesion and Abrasion: Two Numbers Decide
Adhesion runs as a cross-hatch: 100 squares at 1 mm pitch, tape lifted at 45°, and no more than 5% of the area may come away. Above that, pretreatment failed. Check surface energy before painting — 38 mN/m on a dyne pen is the floor. Below it the coating sits on top of the shell and lifts under a fingernail.
Abrasion runs 500 g over 500 cycles and you read how much substrate shows. Edges fail first: the same film that survives 500 cycles on a face breaks through in 200 at a 3 mm radius. So film thickness is not an average figure. Measure the edge separately, where it typically reads 60% to 70% of the face, because that thin band sets the life of the case.
04Batch Consistency Beats One Good Sample
One good sample is easy; a hundred identical ones is not. Pull first, middle and last from a lot, measure ΔE under D65, and hold same-colour positions within 2. Past 2, three cases on a shelf read as three colours. Film roll batch and clear-coat viscosity drive hydrographic drift; mask wear and booth humidity drive stencil drift.
UV ageing runs 500 h with a pass at ΔE 3 or less, no chalking, no blistering. Dark camouflage blocks absorb more heat — on one panel the dark areas sit 8 to 12℃ above the light ones, so ageing starts there. Read dark and light patches separately. Averaging the panel hides exactly the patch that failed first.
05The Camo Paradox: Busier Hides Scratches
Camouflage exists to break up an outline, and the side effect is that surface damage loses its reference. A 20 mm scratch on a solid case is obvious; on a patterned one it disappears into the print and may go unnoticed for three months, by which time it has reached the substrate. Solid pale finishes hide nothing, while dark camo hides the most and tells you the least about depth.
Repair has its own arithmetic: sand back within 0.2 mm of allowance, then re-colour to the original pattern, and a registration miss past 1 mm shows as a patch. Before ordering, ask four things — measured film thickness in microns, the cross-hatch grade used, the ΔE held across three positions in a lot, and whether a repair can be made invisible. Vague answers mean you should ask for an A4 panel first.
| Dry film thickness | 25–40 μm |
|---|---|
| Cross-hatch adhesion | ≤5% removed |
| Abrasion | 500 g load, 500 cycles |
| Registration tolerance | ≤1 mm |
| Batch colour spread | ΔE ≤2 under D65 |
| UV ageing | 500 h, ΔE ≤3 |
| Dark vs light patch temp | 8–12℃ apart |
| Repair sanding allowance | 0.2 mm |
FAQ
Is hydrographics the same as wrapping film?
No. Hydrographics floats a printed film onto the shell and clear-coats it, leaving no adhesive layer. Wrap film is an adhesive-backed sheet stretched around edges with heat. Curves favour the first; artwork changes favour the second, at the cost of lifting edges.
Can every case carry an identical pattern?
Not identical, only within a window. Film batch and water temperature move hydrographic output, hand placement moves stencil output. What you can accept is ΔE within 2 across a lot and boundaries within 1 mm, not pixel-level repetition.
Will the pattern survive two years outdoors?
Watch the edges for substrate show-through. Coating failure usually starts at a radius — first a white bloom, then flaking. A finish screened at 500 h UV and 500 abrasion cycles holds up in normal use; high-friction corners still wear through first, and that is structural.
For a few dozen units, which process makes sense?
Stencil spraying. Mask tooling is cheap, artwork changes only need new masks, and 50 to 500 units is its sweet spot. Hydrographics suits fine, busy patterns on deep curves; in-mould colouring needs two injection units that a few dozen units cannot amortise.