

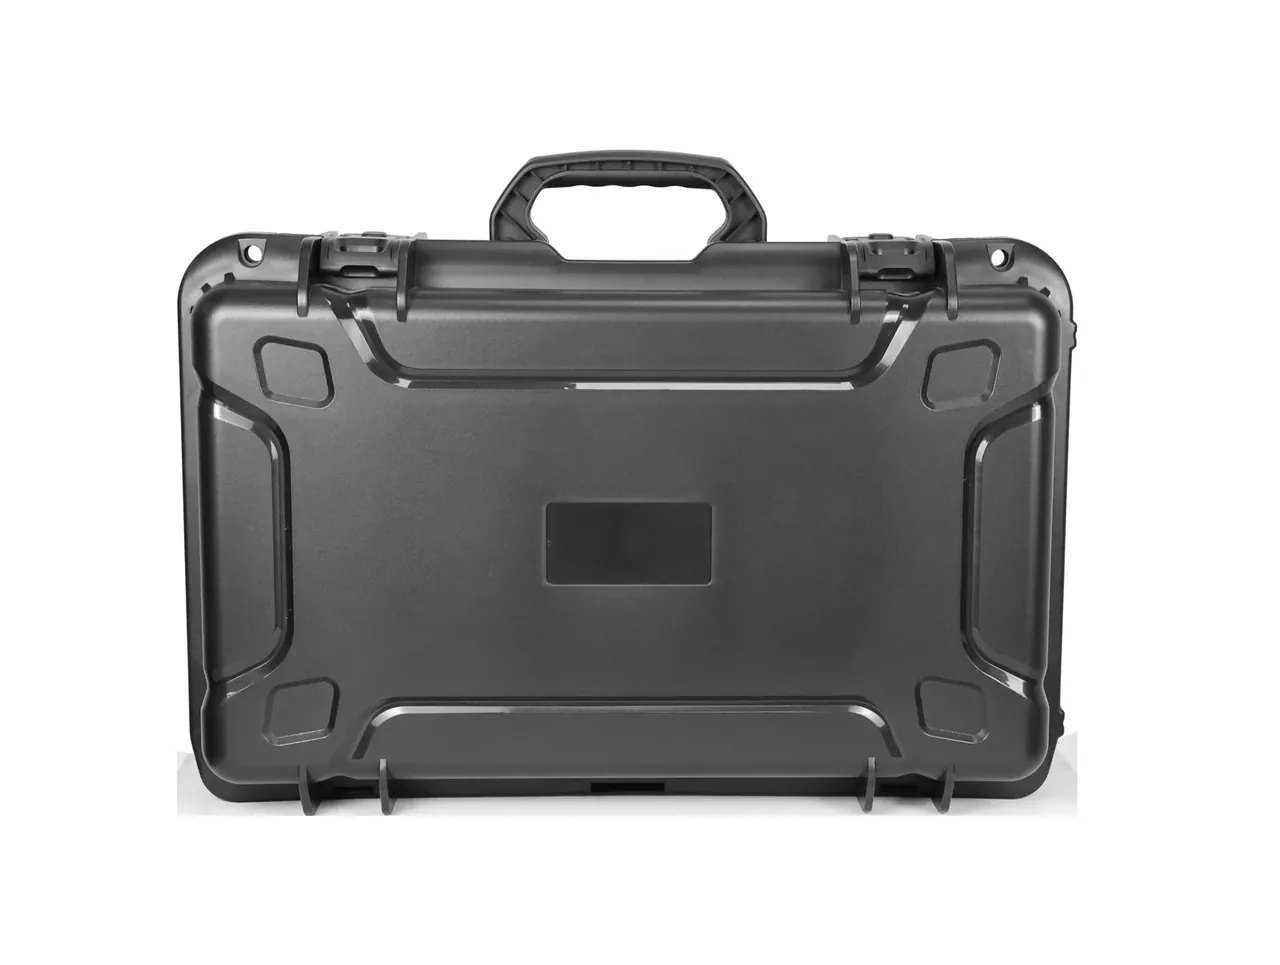
Quick answer: Choose a camera equipment case in the order body bay, lens bay, accessory bay, then size. The body bay sets internal height, the lens bay sets foam thickness and slot direction, and the accessory bay decides what is left for batteries and cables.
Table of contents
- Camera equipment case zoning starts at the body bay
- Lens bays: upright, flat, and slot direction
- Accessory bays: separate cells for batteries, cards and cables
- Liner materials: what each foam does
- Shell size and hardware: interior, wheels and check-in
- FAQ
1. Camera equipment case zoning starts at the body bay
The interior is not one open box but a set of assigned pockets, and zoning starts at the body, the only item that cannot be stripped down or take load. Seat it centrally so the lenses have a datum; pushed aside, the case twists when carried.
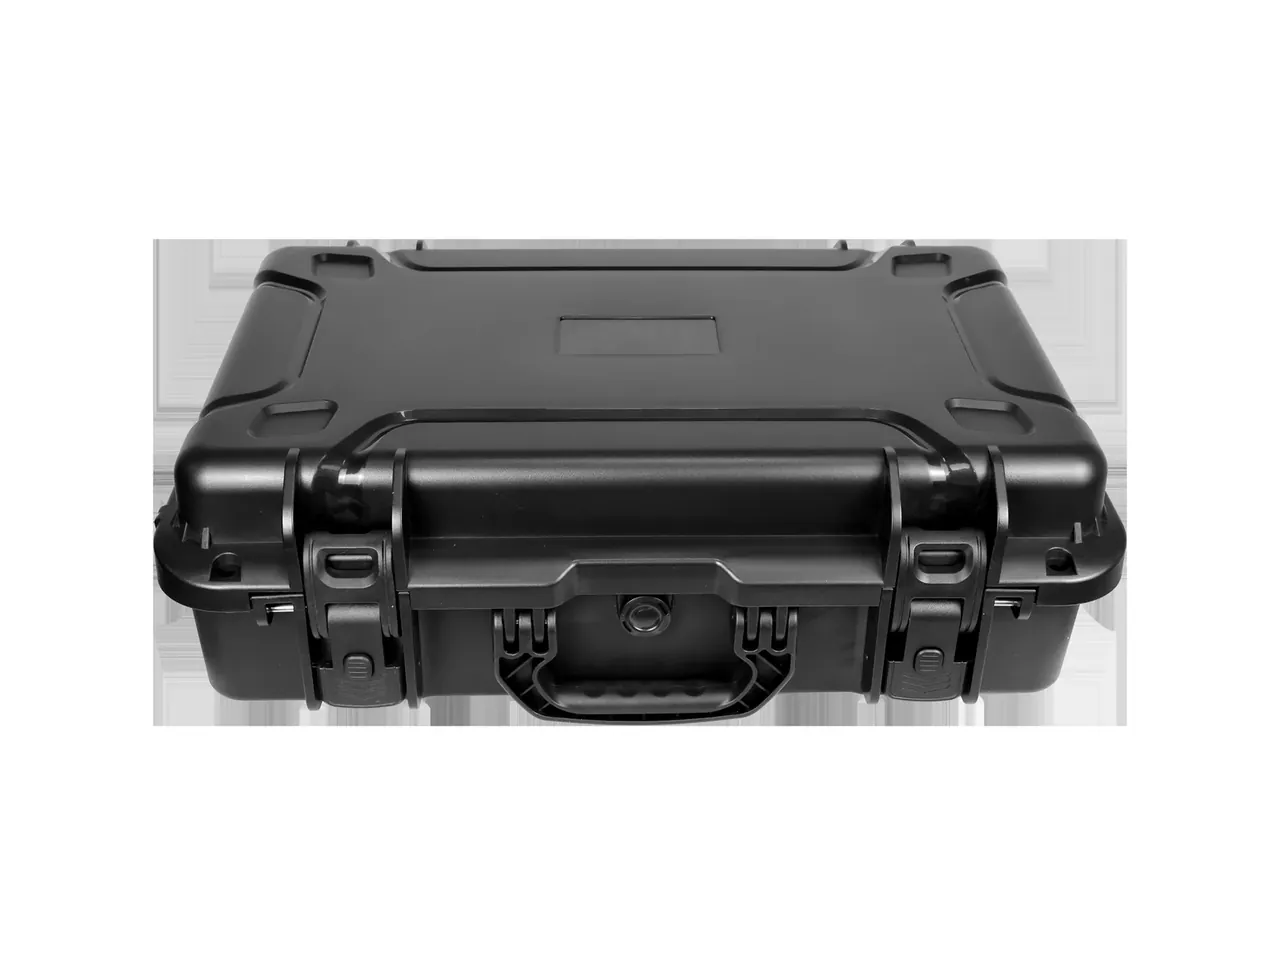
Measure length, width and height with the grip or cage fitted; a grip adds thirty to fifty millimetres and the lid meets it first. Leave ten millimetres around the body and fifteen above, which is liner compression rather than finger room.
2. Lens bays: upright, flat, and slot direction
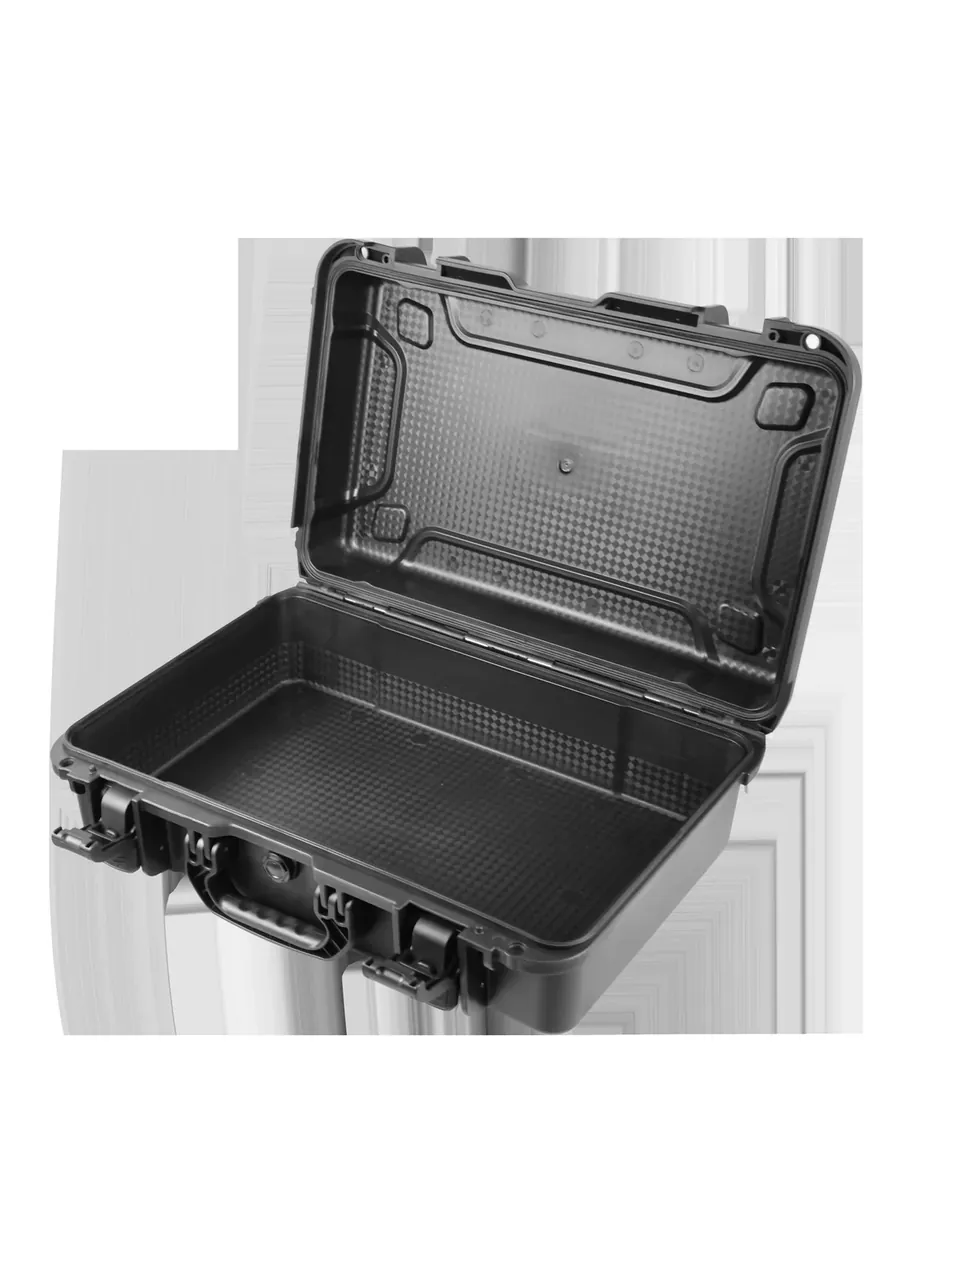
A lens is a cylinder of varying length, so only two slot directions are useful. Flat, axis parallel to the floor, uses less area and lowers the centre of gravity; upright presents the mount face up.
A flat slot is cut to the longest lens, an upright slot to the widest mount; the rest rattle and need shims, which get lost and count as consumables. One side of the mount must stay unsupported, or lying flat it takes the whole weight as shear.
| Lens bay | Flat | Upright |
|---|---|---|
| Floor area | small, can stack | large, one per slot |
| Access | slide lens out | mount up, lift out |
| Load path | barrel centre supported | mount side floating |
3. Accessory bays: separate cells for batteries, cards and cables
The accessory bay decides whether this camera equipment case travels in one trip. Batteries, cards, chargers and adapters are numerous and irregular, and one open cell saves foam at the cost of digging.
Batteries need their own cells with dividers, for compression rather than for the battery itself: the shell is thin-walled, a lens pressing on it loads the terminals first, and a deformed terminal will not seat in the charger. Cards and reader share a deep cell; cables get a slot sized to the connector.
Keep small parts under thirty per cent of the interior, or the body and lens slots shrink.
4. Liner materials: what each foam does
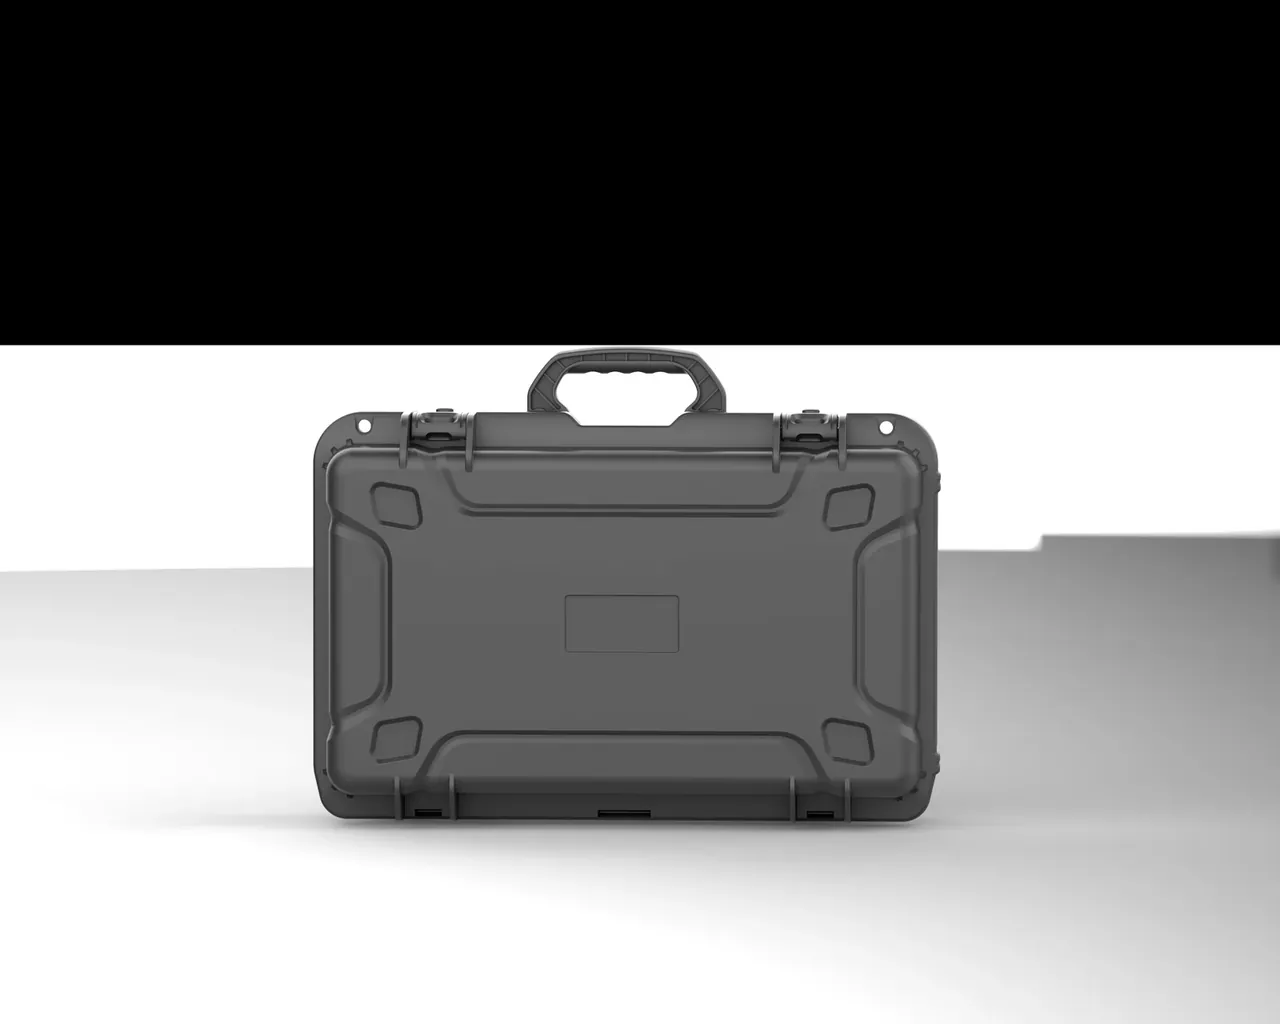
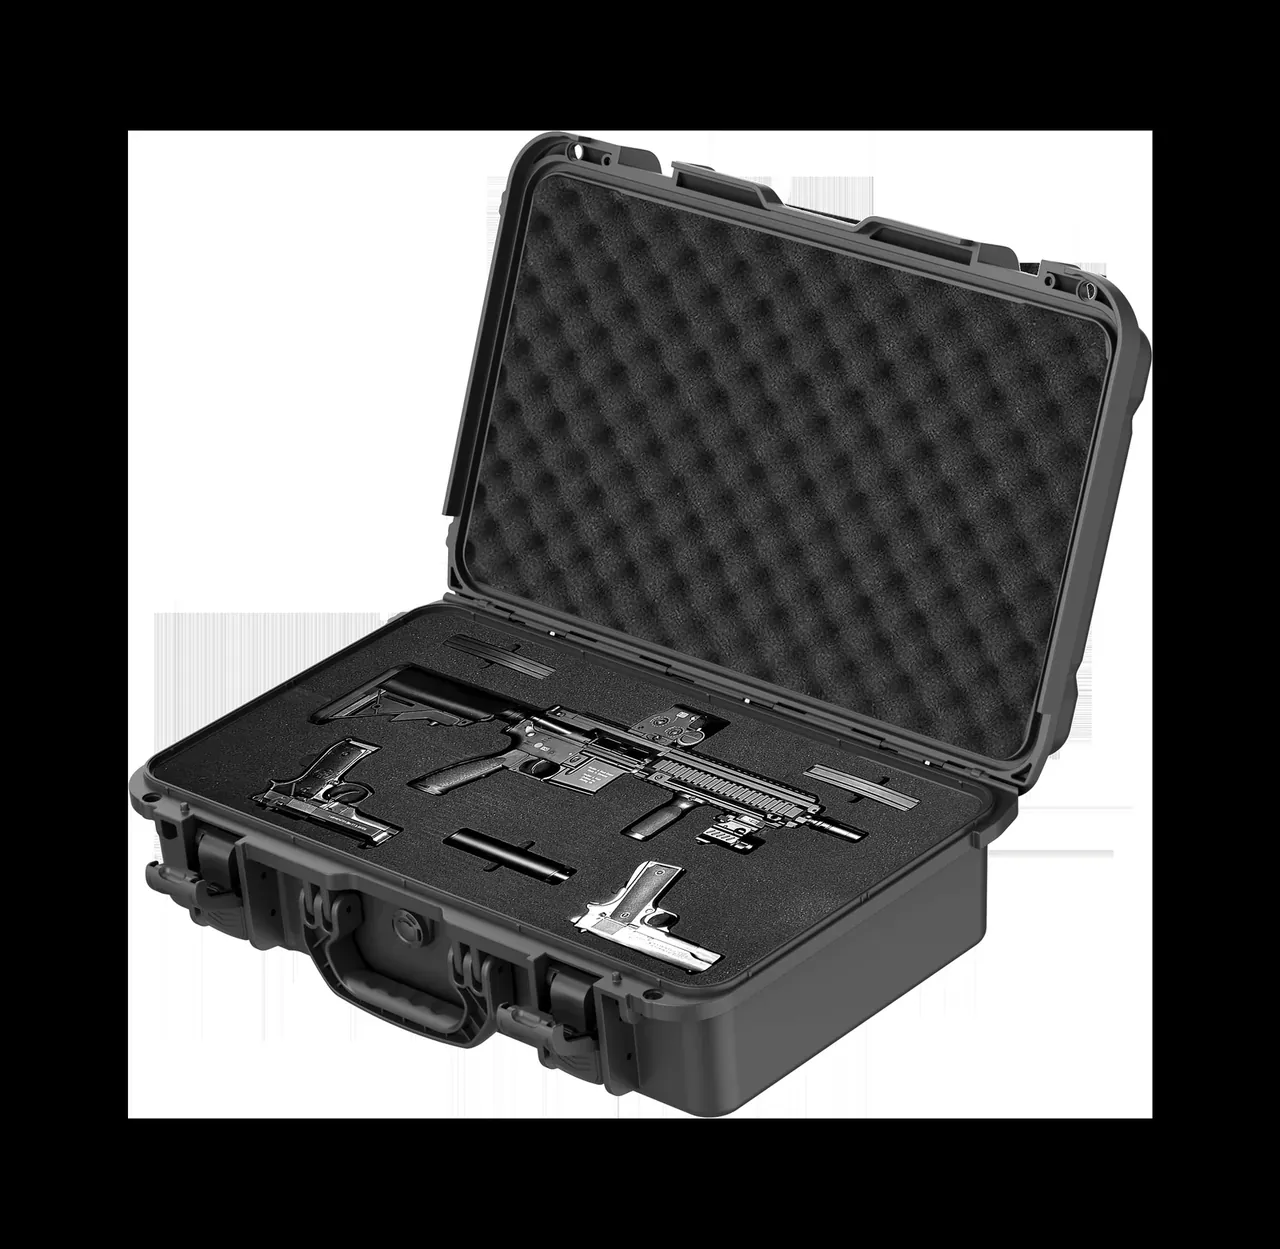
A camera equipment case liner is not one material throughout: polyurethane foam handles contact and cushioning, EVA handles shaping and dividers, EPE handles light filler. One alone always compromises.
Foam rebounds well but absorbs water and crumbles; crumbs on a lens are worse than a scratch, so face it with fabric or keep it in the lid. EVA cuts with a clean edge but is hard, with a short cushioning stroke, so the usual build is an EVA skeleton with foam bonded on top.
5. Shell size and hardware: interior, wheels and check-in
Internal size decides whether the kit fits; external size whether you can carry it. Walls run three and a half to five millimetres, thicker at the ribs, so measure clear of them or the width comes out generous.
Wheels touch down first in check-in, so the landing load runs through the housing into the wall and the reinforcement around it matters more than the wheel. A gasketed case holds itself shut when pressure changes and needs a purge valve, or it must be pried, which damages the seal.
Conclusion
Selection reduces to a sequence: fix the body bay and its clearances, choose the lens slot direction, carve an accessory area under thirty per cent, and only then pick the shell. Starting with a shell you like ends with an oversized camera equipment case and a bag of shims.
This article discusses container-side specifications and design meaning only, and does not cover any handling, loading or use of the contents.
Related Reading
- Camera equipment case configurations for location, transit and storage
- Drone Case Material Selection: PP, ABS and PC Explained fo…
- How a moisture-proof case seals and controls humidity
- Instrument case selection: liner and load
Related Products
- 8 Series — Gun Cases; Military Equipment Cases; Camera Equipment Cases; Drone Cases; Watch Cases; Knife Cases; First Aid Cases; Electronics Equipment Cases
- WL8-2812 PP Gun Case — model WL8-2812
- All protective cases and toolboxes: 7 series, 158 models