

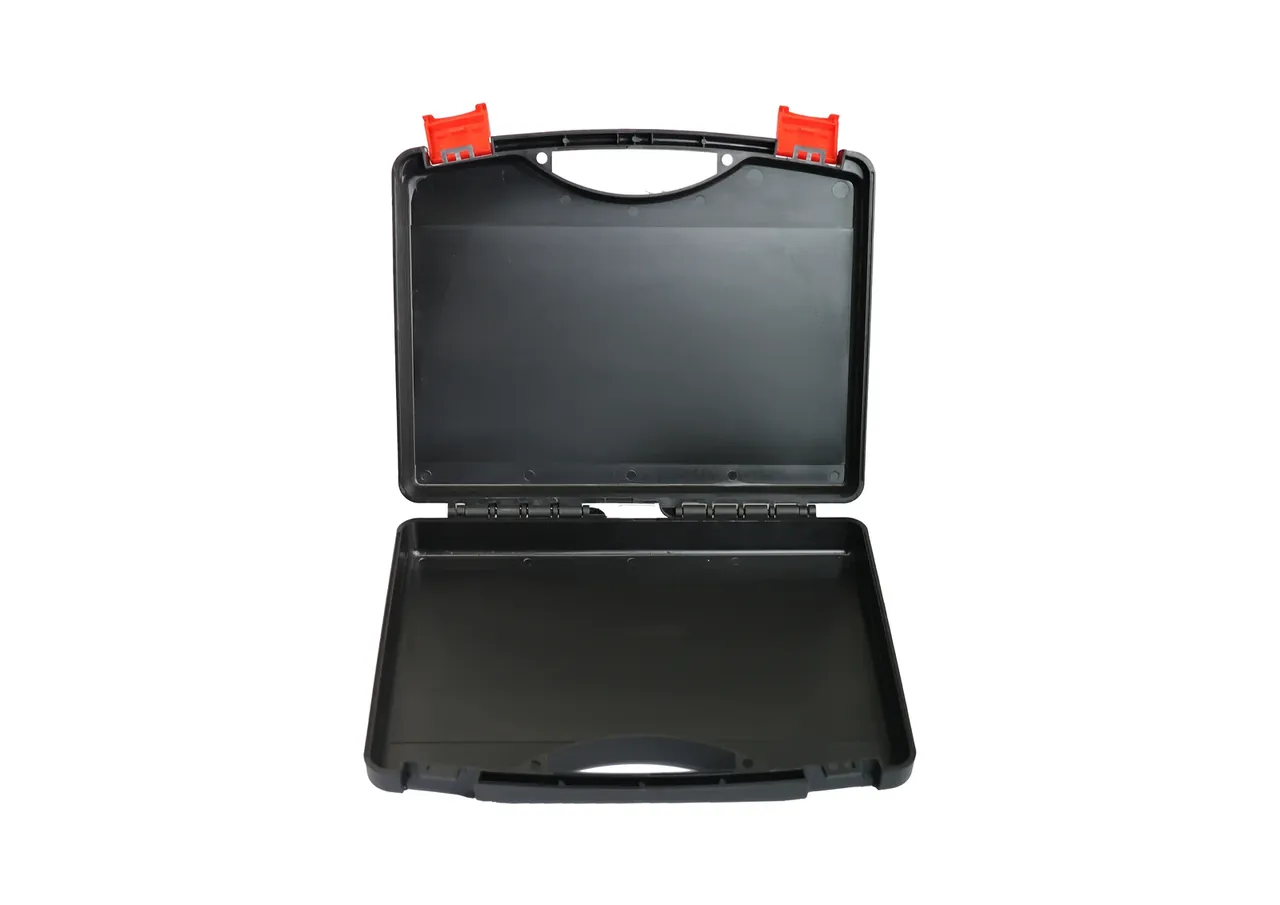
Quick answer: Case rib design lives on ratios, not counts: rib height under three times the main wall, thickness at 0.6–0.8 of it, spacing at least twice it. Under 1 t for 24 h, three 22 mm ribs sag 3.2 mm while twelve 8 mm ribs sag 4.1 mm and weigh 4% more.
Table of contents
- The Three Ratios That Govern Case Rib Design
- Past the Ratios: Sink, Weld Lines and Dead Weight
- Three Ribs Against Twelve Under 1 t for 24 h
- Ring, Grid and Corner Gusset
- Injection and Rotomoulding: Two Reworks
- FAQ
1. The Three Ratios That Govern Case Rib Design
Four numbers decide if case rib design works: rib height at or under 3× the main wall, rib thickness at 0.6–0.8×, spacing at least 2×, and 1°–2° of draft. Meet all four and a 3 mm wall carries 1 t for 24 h.
Ratios let the rib freeze before the visible face. A rib as thick as the wall holds twice the heat of the walls beside it, so the last patch to shrink pulls a hollow into the surface; at 0.6× the root gap stays inside 0.05 mm.
More ribs is not more stiffness.
Stiffness follows second moment of area, and that follows rib height cubed: twelve 8 mm ribs do not add up to three 22 mm ribs. Pile on count and you meet sink and weld lines before a stiffness limit.
| Item | Recommended | Cost of exceeding |
|---|---|---|
| Rib height over wall | ≤3 | Root sink, 0.1–0.3 mm |
| Rib thickness over wall | 0.6–0.8 | Surface hollow, deeper weld lines |
| Spacing over wall | ≥2 | Uneven cooling, 0.4 mm warp |
| Draft | 1°–2° | Scuffing, 30% more ejector force |
2. Past the Ratios: Sink, Weld Lines and Dead Weight
Break the ratios and the cost shows. A rib at 1.0× wall leaves 0.1–0.3 mm of sink at the root; paint needs sanding, and sanding past 0.15 mm erases the grain, so rework runs 12%.
Weld lines are the second bill. Every extra rib joins two flow fronts, and that joint keeps 40%–60% of body strength; twelve fine ribs form a net that a 1.2 m drop cracks first.
Fill pressure climbs with count: on one 380 t press, three ribs fill at 78 MPa and twelve at 92 MPa, up 18%, so clamp force rises and vent depth is re-cut from 0.02 to 0.03 mm.
Cooling follows: each 1.8 mm rib acts as a fin, so three to twelve takes the lid from 26 s to 34 s, about 6% of output. Dense case rib design saves material and pays in flatness.
Weight against stiffness is where the arithmetic fails: twelve fine ribs add 8% weight for 3% stiffness, three main ribs add 4% for 21%. That gap separates ratio from count.
3. Three Ribs Against Twelve Under 1 t for 24 h
One duty for both: 60 L body, 3 mm wall, 1 t over the top face, 24 h, 40 °C. Three main ribs sag 3.2 mm, twelve fine ribs 4.1 mm. Case rib design draws stiffness from height and section, not count.
The reason is the boundary. The top is held on four sides, so sag follows bending moment; main ribs cut the 380 mm span into two 190 mm spans and drop the moment to a quarter. Fine ribs only dice the plate and add dead weight.
Recovery is the second set. A day after unloading, the main-rib lid springs back 0.6 mm and keeps 2.6 mm of set; the fine-rib lid springs 1.1 mm and keeps 3.0 mm. Larger spring-back eats 15% of gasket compression.
State the basis or the numbers cannot repeat: 4 mm tetrahedra, two refinement layers at the root, PP at 1.1 GPa, 0.009 MPa on the face. Change the boundary and both figures move.
| Layout | Ribs | Height | Sag | Added weight | Set |
|---|---|---|---|---|---|
| Main ribs | 3 | 22 mm | 3.2 mm | +4% | 2.6 mm |
| Medium ribs | 6 | 16 mm | 3.6 mm | +6% | 2.8 mm |
| Fine ribs | 12 | 8 mm | 4.1 mm | +8% | 3.0 mm |
4. Ring, Grid and Corner Gusset
A ring rib closes around the rim and turns wall bending into hoop tension, suiting thin walls that spread at the mouth. A grid rib runs both ways and makes each crossing a stress raiser. A corner gusset takes load off the corner post.
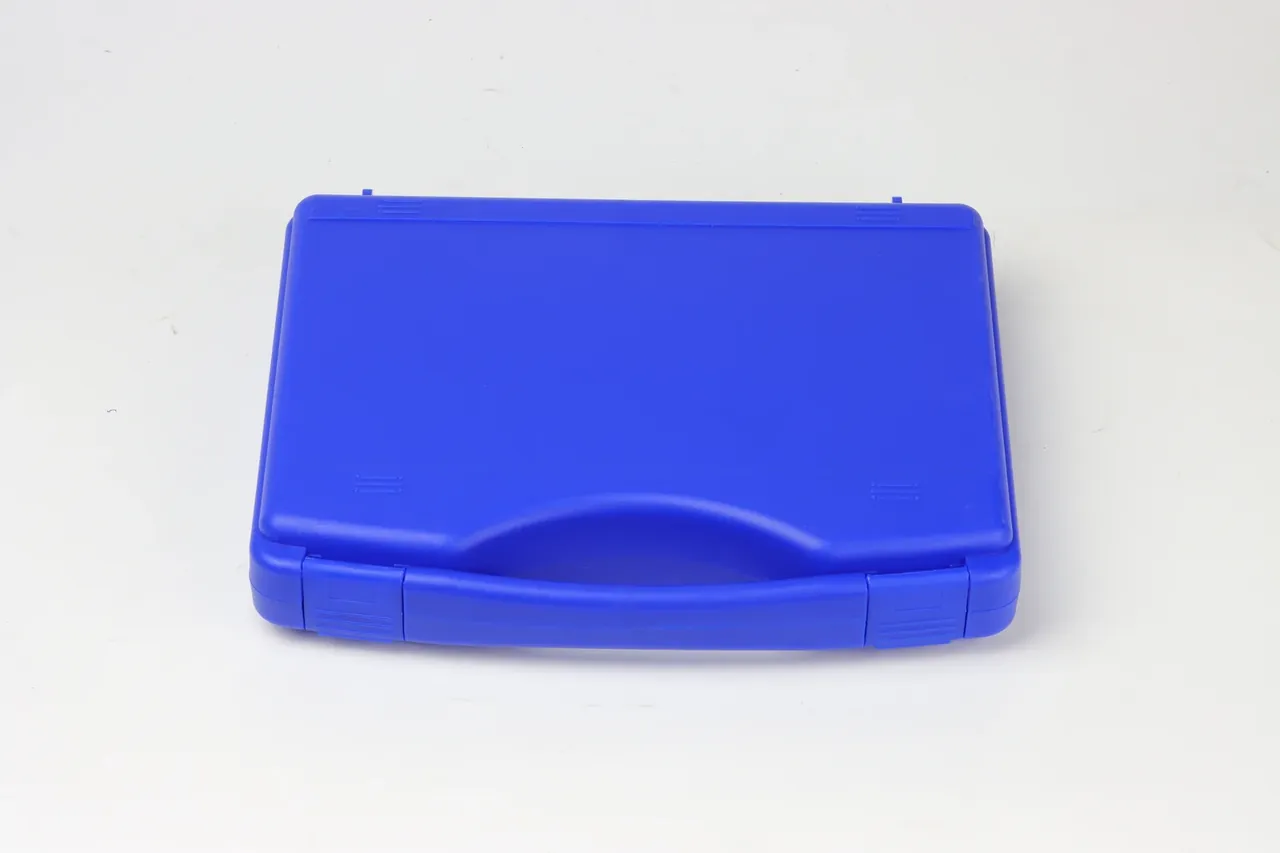
Lid and base share no load path. The base stands on four corner posts at 6.8 MPa under 1 t, so a 2 mm floor is enough. The lid takes face pressure, so ribs must run the short way into the corners. Run them the wrong way and the span changes. Along the long side the span is 380 mm; across the short one 280 mm, 1.8 times the sag at equal rib height. A ring is not free: closing the rim moves impact to mid-wall. Case rib design with a ring adds one horizontal rib there.
5. Injection and Rotomoulding: Two Reworks
An injection moulding needs draft on every rib, 1°–2° as a floor, costing 0.4–0.8 mm a side at 22 mm depth. A rotomoulded rib needs none; the price is wall uniformity.
Powder fuses on the mould wall and does not always reach the bottom of a groove, so the crest often measures 2.2 mm against a 3 mm wall, 27% thin; an R3 fillet at the groove floor lets powder through.
Injection holds a 1.2 mm rib without touching cycle time, while rotomoulding struggles below 4 mm, so at equal stiffness a rotomoulded case rib design goes taller and fewer. Crests need a radius too: R1.5 avoids whitening, and under R1 mm the ejector load concentrates and a drop starts a crack.
| Stack | Load on the top | Height | Ribs | Thickness |
|---|---|---|---|---|
| 1–2 high | ≤300 kg | 12 mm | 3 | 1.8 mm |
| 3–4 high | 300–800 kg | 18 mm | 3 plus 1 ring | 2.2 mm |
| 5 or more | ≥1 t | 22 mm | 4 plus ring and gussets | 2.4 mm |
Conclusion
Case rib design settles on one line: ratios decide, and the count is a result. Three main ribs at 22 mm high hold sag to 3.2 mm under 1 t for 24 h; twelve ribs at 8 mm give 4.1 mm, 4% more weight, 3% more stiffness and a net of weld lines. Check height-to-wall, thickness-to-wall and rib direction; the count then falls out.
This article discusses only the container (case body) side of specifications and design intent, and does not cover any handling, loading or use of the contents.
Related Reading
- Rib layout and section on a protective case
- Wall thickness against load capacity
- Structural wall and rib coordination
Related Products
- 8 Series — Gun Cases; Military Equipment Cases; Camera Equipment Cases; Drone Cases; Watch Cases; Knife Cases; First Aid Cases; Electronics Equipment Cases
- WL8-2812 PP Gun Case — model WL8-2812
- All protective cases and toolboxes: 7 series, 158 models