

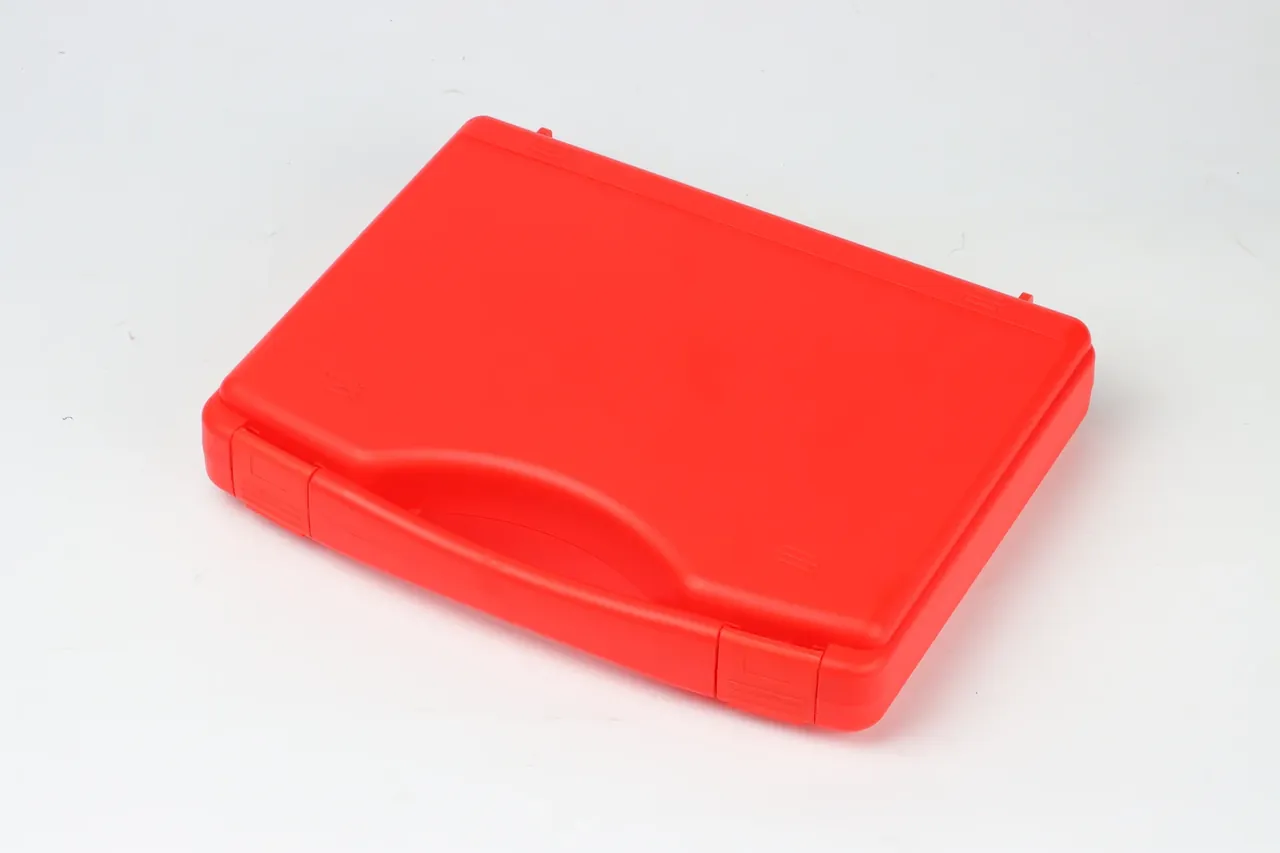
Quick answer: Scratches matter only when they cross a depth or location limit: marks under 0.2 mm are cosmetic, marks from 0.2 to 1.0 mm should be filled, and anything deeper, or sitting on the 3 mm sealing land, needs repair first.
Table of contents
- Measure the Scratches First: 0.2 mm Is the Line
- Wall Thickness Decides Whether a Mark Can Be Sanded
- Location Beats Depth: Sealing Land and Rib Roots
- Weld, Sand or Replace: Three Tiers in Practice
- FAQ
1. Measure the Scratches First: 0.2 mm Is the Line
Read depth before colour. Press a 0.01 mm depth gauge across the middle of the mark, take three readings along its length and keep the largest. Without a gauge, drag a fingernail across it at 45 degrees: a clear catch usually means 0.2 mm or more. That figure sits close to the thickness of the pigment and UV-stabiliser rich skin, so a scratch past it exposes core material carrying neither additive.
Once a scratch passes that line, the next rub widens it instead of smoothing it.
| Depth | Typical cause | Action | Bench time |
|---|---|---|---|
| under 0.2 mm | handling rub, grit | clean and polish only | 5 min |
| 0.2 to 1.0 mm | metal edge, pallet knock | hot-air weld, then sand | 20 to 30 min |
| over 1.0 mm | corner impact in a drop | reinforce, retest, new lid | 60 min or more |
The tiers describe exposed base material, not looks. A tier-one scratch breaks the skin only, so moisture cannot enter. A tier-two scratch is a channel 0.2 to 1.0 mm deep that holds rainwater and later blooms white. A tier-three scratch changes the local section, and its tip becomes a crack starter.
2. Wall Thickness Decides Whether a Mark Can Be Sanded
Whether a scratch can be sanded flat depends on the thickness the process left behind. Injection-moulded shells run 3.0 mm nominal, rotomoulded shells 5 to 8 mm, so removable amounts differ by more than a factor of two. A 0.02 mm caliper either side of the mark gives base thickness; on a rotomoulded shell use an ultrasonic gauge, since a wall near a radius runs 1 mm thinner.
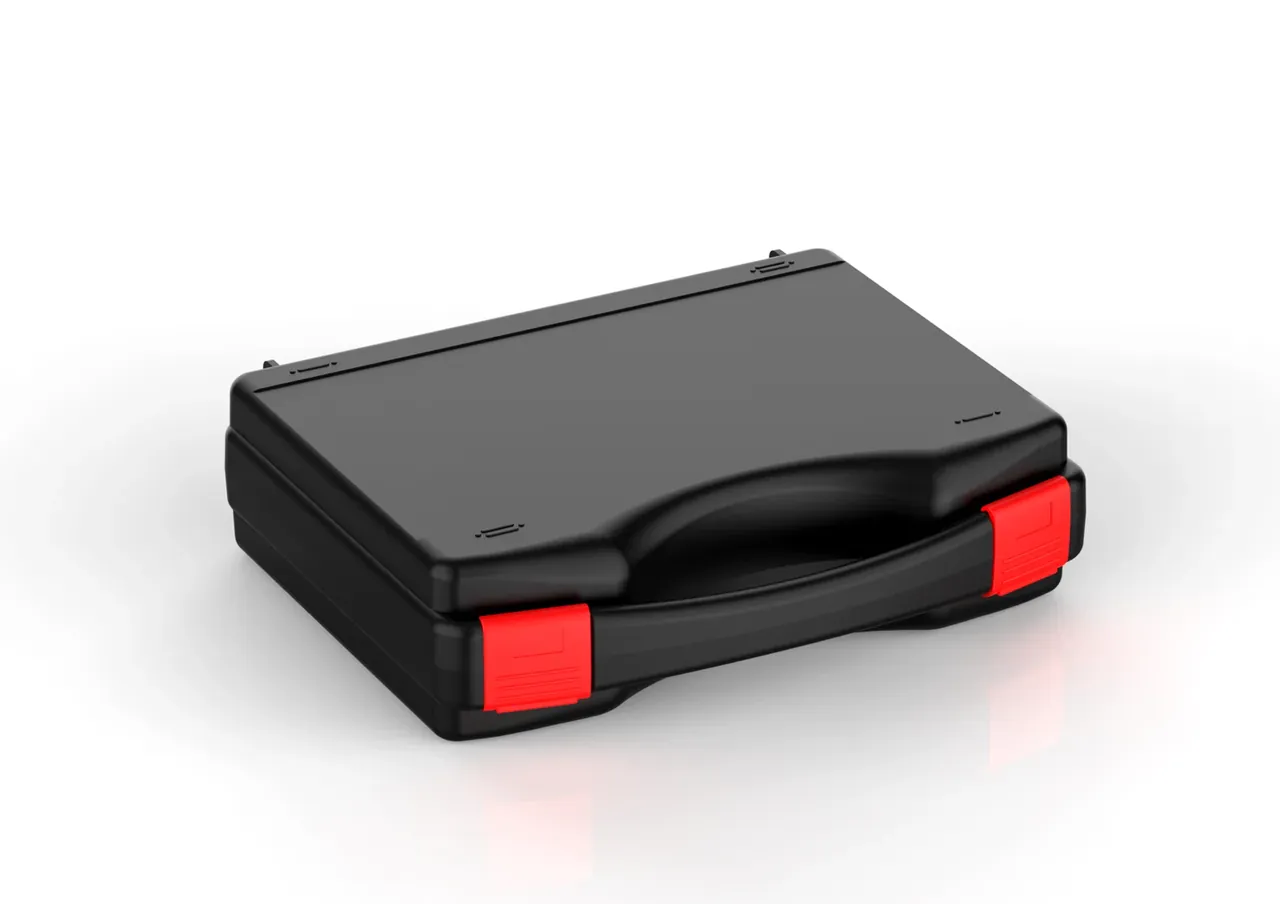
The working limit is simple: after sanding, local wall thickness stays at or above 60 percent of nominal. On a 3.0 mm wall that allows 0.6 mm of removal and leaves 2.4 mm; on a 5 mm wall it allows 1.5 mm and leaves 3.5 mm. Past that, compression strength and impact resistance both drop a tier, and a drop that once caused elastic deflection starts causing permanent set.
Thickness is never uniform. Rib roots, boss threads and latch pads already run 1.5 to 2 times the flat-face value, so more material can go there, yet the load path concentrates in the same place. Sanding through a rib root is worse than thinning a panel.
A second repair is what catches people out: once the same scratches are filled twice, the margin on paper no longer describes the shell, so re-measure before touching it again.
3. Location Beats Depth: Sealing Land and Rib Roots
The sealing land allows no tolerance. The flat ring where lid and base meet is about 3 mm wide, the gasket sits on it, and a scratch in that band forms a continuous leak path. A pit 0.1 mm deep turns a passing air test into a failure.
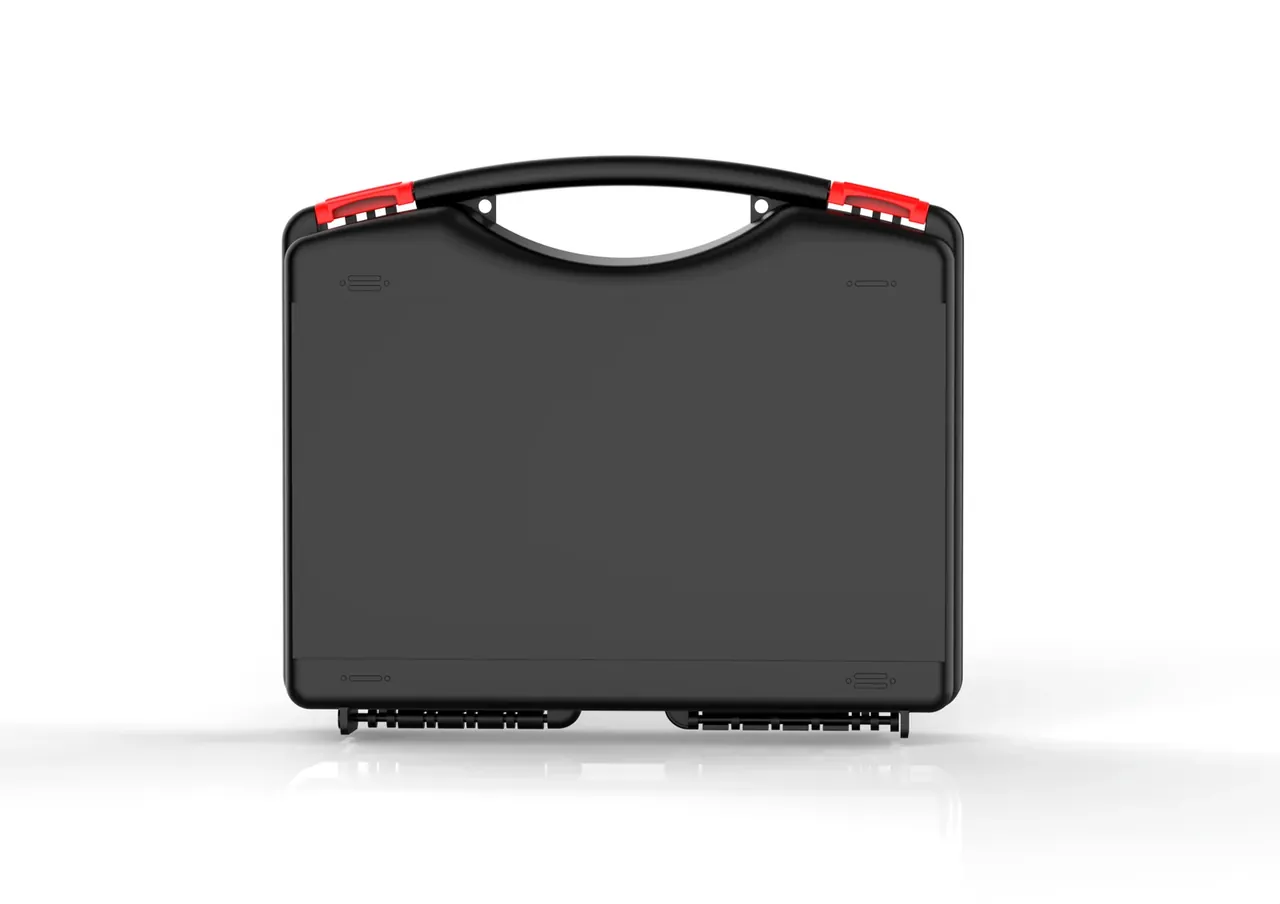
Three zones decide the answer. The 3 mm sealing band takes a repair at any depth. The corner radius and rib root carry a stress concentration factor of 2.5 to 3, so a scratch there is a pre-cut crack starter. The 5 mm ring around the valve seat needs a flat face, and a scratch can drop sealing compression from 25 percent to under 15.
Flat areas on the lid and side walls are forgiving. Marks there take no part in sealing, and below 1.0 mm they barely change strength, so treatment is about stopping the mark widening.
One spot is easy to miss. A latch pulls lid and base together through preload, and a 0.5 mm step scratched into the pad tilts it sideways, so one gasket edge over-compresses while the other never seats.
4. Weld, Sand or Replace: Three Tiers in Practice
The repair window is narrow, because temperature, filler and grit size must line up. Hot-air welding runs at 300 to 350 °C with a filler of the same polymer, PP rod for PP and PE rod for PE, and a 3 mm round rod fills a 1 mm channel cleanly. Too cold and the weld does not fuse; too hot and the wall scorches into a weaker point.
| Step | Setting | Pass criterion |
|---|---|---|
| Open the groove | 60 degree V, 3 mm wide | solid base, no whitening |
| Hot-air weld | 300 to 350 °C, 3 mm rod | bead 0.5 mm proud |
| Sand | 400 grit, then 800 grit | no step under a fingertip |
| Retest | within 1.5 kPa per 60 s | seal holds before refitting |
Colour follows the sanding. A weld from the same compound should stay within ΔE 3 of the surrounding shell after 2000 h of xenon exposure. A larger shift means the wrong stabiliser package, and that weld chalks first and becomes the next leak path.
Know when to stop. A scratch longer than 30 mm, deeper than 1.0 mm and crossing two ribs merely moves the problem to the next drop. A crack that starts at a radius means stress has passed yield. Five deep scratches on one face means the allowance is gone.
Cosmetic-only treatment has a price in cold and in salt. A burr along the edge is a notch at -25 °C, and one 1.2 m drop can extend the mark by 5 mm. At the coast, salt lodges in the channel and the exposed wall has no passivation layer, so rust spreads.
Conclusion
Scratches on a case body come down to two questions: depth decides whether to fill, location decides whether the fill is good enough. Keep the largest of three gauge readings, hold the sanded wall at 60 percent of nominal, and check the sealing band, corner radii, rib roots and valve seat separately. Once the sequence is routine at goods-in, the decision takes two minutes.
This article discusses only the container (case body) side of specifications and design intent, and does not cover any handling, loading or use of the contents.
Related Reading
- What UV exposure does to an outdoor case
- Repairing a cracked case shell
- Case repair and spare parts planning
- Why cases go brittle in cold weather
Related Products
- 8 Series — Gun Cases; Military Equipment Cases; Camera Equipment Cases; Drone Cases; Watch Cases; Knife Cases; First Aid Cases; Electronics Equipment Cases
- WL8-2812 PP Gun Case — model WL8-2812
- All protective cases and toolboxes: 7 series, 158 models