

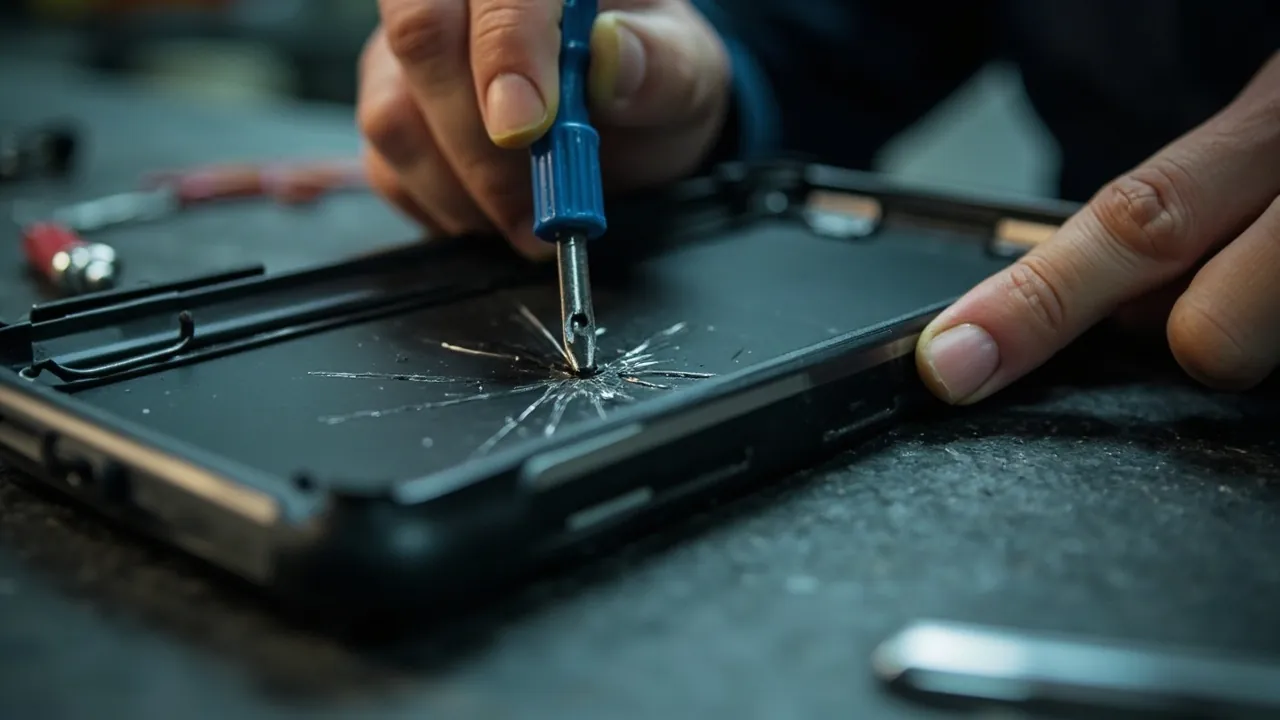
Short answer: yes, a protective case can be repaired, but only after you classify the crack. A short crack in a flat wall that does not penetrate the wall thickness can be fixed on site by plastic welding, structural adhesive or a mechanical patch, and load capacity typically recovers to 60 to 85 percent of the original structure. A crack at a reinforcement rib root, a corner, the lid seal channel, a hinge lug or a latch boss raises the difficulty sharply and needs structural reinforcement plus a fresh sealing verification. A case with detached fragments, through-cracks at several points or overall distortion should be scrapped and replaced. Three questions decide whether repair is realistic: whether the material can be welded or bonded, whether the crack sits on a load-bearing node, and whether the ingress protection rating can be restored and verified. Judging by "the crack does not look big" almost always ends in a second failure within three months.
This article separates "can it be repaired" from "how should it be repaired." It starts with a field method for grading crack damage, then explains the processes available for PP, ABS, PC and glass-filled grades. It sets out three practical routes, plastic welding, structural bonding and mechanical patching, and follows them with seal restoration and strength verification. It closes with a cost model for deciding between repair and replacement. Figures are typical or empirical values; real projects should be confirmed against the case drawing, material grade and physical validation.
Contents
- Short answer: three crack classes, three responses
- First, locate the crack precisely
- Three criteria for deciding whether repair is viable
- Material decides the process: PP, ABS, PC and glass-filled grades
- Route one: plastic welding, hot gas and extrusion
- Route two: structural bonding and reinforcing plates
- Route three: mechanical patches and riveted reinforcement
- Restoring the seal: the rim and the seal channel matter most
- Strength and ingress verification after repair
- When repair must be abandoned
- The repair-versus-replace decision model
- Preventing shell cracking: structure and usage
- Frequently Asked Questions
- Conclusion and Related Reading
Short answer: three crack classes, three responses
A shell crack is not a single condition. It falls into three classes with completely different handling.
| Crack class | Typical location and features | Affects IP rating | Viable response | Post-repair strength |
|---|---|---|---|---|
| --- | --- | --- | --- | --- |
| Class one: surface damage | Flat wall, under 30 mm, not through the wall | Usually not | Plastic welding or adhesive fill | Above 85 percent |
| Class two: local cracking | Corners, rib roots, 30 to 80 mm | Possibly | Weld plus reinforcing plate plus seal re-verification | 60 to 80 percent |
| Class three: structural failure | Lid seal channel, hinge lugs, latch bosses, through-cracks | Yes | Structural reinforcement or scrap | Below 60 percent or not repairable |
Class one cracks usually come from impact, a drop or a local stress concentration. They are surface-level, the wall is not penetrated, and water will not enter. These are the most economical to repair and the easiest to handle on site.
Class two cracks have moved from the surface into a structural load path. The main risk is not leakage but crack propagation under repeated load. Repair must solve both arrest and reinforcement. Filling the visible split without addressing the load path simply leaves a notch for the next crack.
Class three cracks that appear at the lid seal channel, hinge lugs or latch bosses are no longer a materials question. They are a positioning question. Once the seal channel deforms, the seal compression is no longer uniform around the rim, and a local shortfall leaks. A cracked hinge lug lets the lid move, and the seal follows it into failure. These damages usually require structural part replacement at the factory, or scrapping.
One easily missed fact: the ingress protection rating of a protective case is a system-level property, not a local one. Any repair that changes the flatness of the rim, the stiffness of the wall or the geometry of the seal channel must be followed by a fresh rating verification. "It does not look like it leaks" is not a conclusion.
First, locate the crack precisely
Before touching a tool, run three checks to pin the damage down.
Check one: find where the crack starts and ends. Cracks rarely appear from nowhere. They begin at a stress concentration such as a corner, a rib root, a boss root, a gate area or a mould parting line. Finding the origin finds the cause. If you treat the visible split but not the origin, the crack returns in the same place.
Check two: decide whether it goes through the wall. The simplest method is to add water inside or run a negative-pressure test and watch for seepage at the matching point. A torch on one side with a shadow on the other also reveals light transmission. Penetration decides the process, because a non-penetrating crack needs no sealing work while a penetrating one does.
Check three: see whether the crack reaches a load-bearing node. Press gently on both sides of the crack and watch for local deflection or a clicking sound. If the crack crosses a reinforcement rib or reaches the rim area, treat it as class two or class three.
| Field observation | Classification | Suggested action |
|---|---|---|
| --- | --- | --- |
| Short, single direction, no clicking when pressed | Class one, surface | On-site weld or adhesive fill |
| Crosses a rib or a corner | Class two, local cracking | Weld plus reinforcing plate |
| Around the lid seal channel | Class three, structural | Factory reinforcement or scrap |
| At hinge lug or latch boss roots | Class three, structural | Replace structural parts, not a field job |
| Visible overall distortion of the case | Class three, beyond repair scope | Scrap and replace |
A useful rule of thumb: does the crack affect the case's ability to press the seal evenly? If not, it can usually be repaired. If it does, treat it with caution. The whole protective function, water and dust resistance, depends on one continuous, uniform compression band between lid and rim.
Three criteria for deciding whether repair is viable
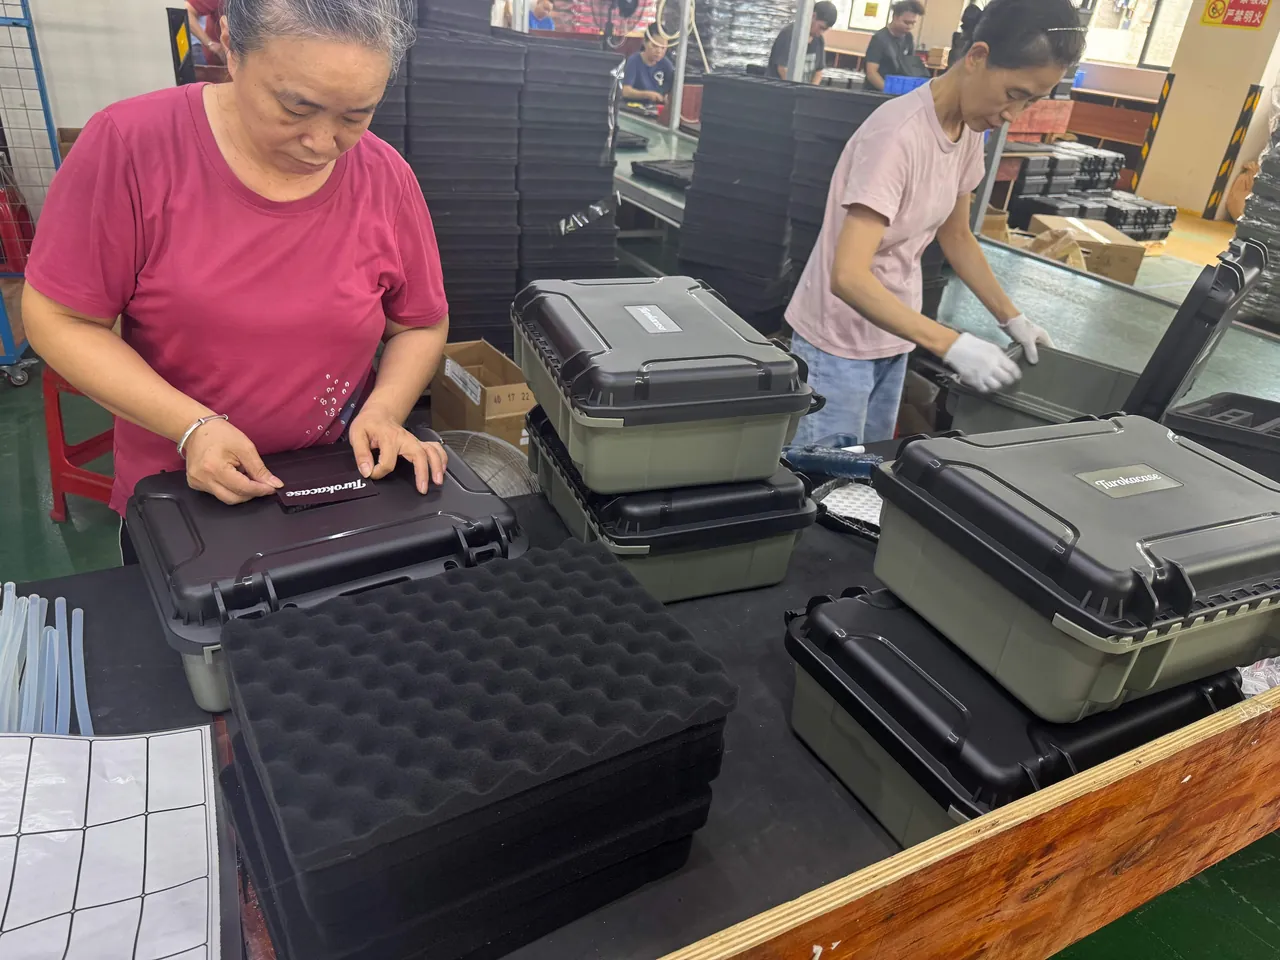
Reducing the three classes to a practical test needs only three questions.
Criterion one: is the material weldable or bondable? Thermoplastics can in principle all be welded, but the difficulty varies enormously. PP and PE have low surface energy and are extremely hard to bond with ordinary adhesives; they need flame or plasma treatment plus a suitable primer. ABS and PC are comparatively easy and can be bonded with solvent-based adhesives or structural adhesives. Glass-filled grades lose weld strength markedly, because glass fibres interrupt the diffusion of polymer chains across the weld.
Criterion two: is the crack on a load-bearing node? A crack in a flat wall mostly carries tension, and reinforcement can restore most of the capacity. Rib roots, corners and boss roots are stress concentration zones; the crack itself was caused by that concentration, and after repair the stress moves to the edge of the patch and creates a new concentration point. This is why repairs at nodes generally have short lives.
Criterion three: can the rating be verified after repair? If the company has no sealing test fixture and no route to re-verify the ingress rating, then any repair affecting the rim is a gamble. For this class of repair, at minimum require immersion or spray verification under GB/T 4208 or IEC 60529 conditions, or a negative-pressure decay check as a fast screen. The definition of the rating requirement is covered in IP67 protective case sealing design.
If any one answer is no, lean toward not repairing. That is not conservatism; the risk cost of the equipment inside usually dwarfs the price of the case itself.
Material decides the process: PP, ABS, PC and glass-filled grades
The first constraint on any repair is the material, not the tool. A buyer who only knows the product is "a plastic case" can easily buy the wrong adhesive or the wrong welding rod.
| Material | Weldability | Bondability | Recommended process | Notes |
|---|---|---|---|---|
| --- | --- | --- | --- | --- |
| PP | Good with matching rod | Poor, needs flame or plasma | Hot gas, extrusion welding | Ordinary adhesives are nearly useless |
| PE | Good | Poor | Hot gas, extrusion welding | Similar to PP, hard to bond |
| ABS | Good | Good with solvent | Solvent bonding, hot gas | Some solvents cause stress cracking |
| PC | Fair | Good with dedicated adhesive | Structural adhesive, hot gas | Prone to stress cracking, avoid strong solvents |
| PA | Fair | Fair | Hot gas, structural adhesive | Dimensional change after moisture uptake |
| Glass-filled grades | Poor | Fair | Structural adhesive plus mechanical patch | Fibres are discontinuous at the weld |
| Impact-modified PP | Fairly good | Poor | Hot gas, extrusion welding | Use a matching-grade rod |
Why is PP so hard to bond? Its surface energy is low, typically around 29 to 31 mN/m, while ordinary adhesives need a higher surface energy to wet the surface properly. Low surface energy means the adhesive cannot spread fully, contact area is limited, and interface strength is poor. Surface treatment by flame, plasma or a dedicated primer raises the surface energy temporarily, but the effect decays with time, so the reliable approach for PP is welding, not bonding. The systematic differences between materials are covered in choosing plastic materials for protective cases.
Glass-filled grades deserve a separate note. Adding glass fibre raises tensile modulus and creep resistance substantially, but it works against welding: the fibres in the weld zone are broken and discontinuous, so load cannot transfer through continuous fibres as it does in the parent material, and weld strength may be only 40 to 60 percent of the parent. For a glass-filled case, the first choice is structural adhesive plus a mechanical patch, so the patch and fasteners share the load instead of relying on the weld alone.
Three principles for choosing rods and adhesives:
- Match the parent material, and preferably the exact grade. A rod of the same grade has closer melting and crystallisation behaviour, giving the best weld compatibility.
- Check the substrate range and elongation of the structural adhesive. A rigid case is better served by a toughened epoxy or polyurethane type. A fully brittle adhesive will crack open first under impact.
- When the grade is unknown, run a destructive bond trial on scrap. Bond a coupon, wait 24 hours and peel it. That is more reliable than any data sheet.
Route one: plastic welding, hot gas and extrusion
Plastic welding is the most orthodox and strongest repair method for thermoplastic cases, suitable for class one and part of class two.
Hot gas welding. A hot air torch heats both the parent material and the welding rod until they melt, the rod is pressed into a prepared groove, and on cooling it forms continuous material with the parent. Four points matter:
- Prepare a groove. Cut a V or U groove along the crack to about two thirds of the wall thickness, slightly wider than the rod. Welding without a groove gives insufficient penetration and a large strength loss.
- Control temperature. Hot gas temperatures differ by material: PP typically 250 to 290 C, ABS 230 to 260 C, PC 300 to 330 C (empirical values; confirm against the grade). Too cold and the weld does not fuse; too hot and the material degrades and yellows.
- Control speed. Move the torch at a steady rate so parent and rod form a uniform melt pool. Pausing overheats locally; moving too fast gives poor fusion.
- Tack first. For a long crack, tack every 30 to 50 mm before continuous welding, so the wall does not distort and misalign during the run.
Extrusion welding. An extrusion welder feeds and compresses weld material continuously into the groove. It is faster and deposits more material, suited to wider cracks and thicker walls. Its strength is high deposition rate and long seams; its drawback is heavier equipment and higher operator skill.
Three quality criteria for a welded repair:
- The bead is continuous, without pores or lack of fusion. The surface should show a uniform bead pattern.
- There is slight parent-material flash on both sides. This shows the parent also reached melting temperature and true fusion occurred.
- No visible shrinkage cracks after cooling. Small cracks alongside the bead indicate excessive cooling stress; lower the temperature or extend cooling.
Stop holes: a simple and highly effective detail. Drilling a small hole slightly larger than the wall thickness, typically 3 to 5 mm, just ahead of the crack tip substantially reduces the stress concentration there and arrests propagation. Drill the stop hole before welding, then weld the hole closed as part of the repair. For class two cracks this step is close to mandatory.
Route two: structural bonding and reinforcing plates
When the material is unsuitable for welding, or when open flame is not acceptable, structural bonding is a viable route.
Three key steps in bonding:
- Surface preparation. Abrade to a rough surface, clean off oil and release agent, and for PP or PE apply flame or plasma treatment with a primer. Residual mould release agent is the leading cause of bond failure; many "the adhesive does not hold" cases are really a cleaning failure.
- Mixing and application. Two-part structural adhesives must be mixed in the correct ratio, and bond line thickness should be kept to 0.1 to 0.3 mm (empirical). Thicker is not stronger; an over-thick bond line becomes a stress concentration.
- Clamping and cure. Fixture the joint and cure for the specified time and temperature. Loading before full cure is a common cause of second cracking.
Reinforcing plates. Bonding alone closes the crack but does not carry load. For class two cracks, add a plate on the outside so the load path bypasses the crack. Key points:
- Match the parent material or at least its stiffness. A plate far stiffer than the parent concentrates load at its edge and creates a new crack site.
- Avoid sharp corners. Use rounded or polygonal outlines; sharp corners concentrate stress.
- Cover at least 30 mm beyond the crack on each side (empirical) so load has a proper transfer path.
- Combine bonding with rivets or screws. Pure bonding has limited peel strength; mechanical fasteners raise reliability substantially.
An engineering basic: adhesives are good at shear and poor at peel. Design the plate so the load runs roughly parallel to the bond line rather than trying to peel the plate off.
Route three: mechanical patches and riveted reinforcement
Mechanical patching depends least on material compatibility and suits glass-filled grades, mixed-material cases and constrained field conditions.
The basic approach. Drill through-holes on both sides of the crack, cover the crack with a metal or plastic patch, and clamp it with rivets, screws or bolts so the two sides are reconnected. Its core value is a clear load path that does not rely on an interface bond.
Four design points:
- Keep holes clear of the crack and of stress concentration zones. Do not use oversized holes and do not place them too close to the edge; an edge distance of at least 1.5 to 2 times the hole diameter is a good empirical guide.
- Give the patch enough stiffness and coverage. A patch that is too soft pushes the load back into the cracked zone.
- Design the seal separately. If the crack penetrates the wall, the holes and patch provide no sealing. Add a dedicated seal, for example an adhesive seal combined with the patch.
- Provide anti-loosening and corrosion protection for fasteners. In damp or vibrating service, screws loosen and metal corrodes. Use fasteners with a locking feature or stainless steel parts.
Where mechanical patches suit and where they do not:
| Scenario | Mechanical patch suitable | Mechanical patch unsuitable |
|---|---|---|
| --- | --- | --- |
| Glass-filled case, no open flame allowed | Suitable | - |
| Flat-wall crack with a clear load direction | Suitable | - |
| Crack at the lid seal channel | Not suitable | Requires professional structural repair |
| Crack at hinge lug or latch boss | Not suitable | Requires structural part replacement |
| Original appearance must be preserved | Not suitable | Replace the case |
A pragmatic judgement: a mechanical patch works functionally but discounts both the ingress rating and the appearance. It suits equipment enclosures, temporary engineering repairs and emergency situations when spares are short, not formal delivery to an end customer.
Restoring the seal: the rim and the seal channel matter most
Whatever process is used, if the crack touches the rim area, seal restoration is the main battlefield.
Three layers of sealing:
- The first is the mating face between case and lid. After repair it must be flat and continuous. Any protrusion, weld bead or adhesive lump, lifts the seal and creates a leak path.
- The second is seal compression. Compression depends on the lid being pressed evenly. If wall stiffness changes after repair, the compression distribution changes with it.
- The third is the seal itself. If welding heat or solvent touched the seal during repair, it may have hardened or swollen locally, and it must then be replaced. Seal ageing and replacement are covered in seal ring replacement guide and choosing case seal materials.
Four actions to restore the seal:
- Clean the mating face. Remove weld bead, excess adhesive and burrs down to parent level with a scraper or file.
- Check flatness. Use a straight edge or feeler gauge around the rim. An empirical target is a local height variation of no more than 0.3 mm after dressing.
- Check the seal condition. If the seal was contaminated or deformed during repair, replace it rather than "using it up."
- Re-verify the rating. Run at least one sealing check; see the next section.
A frequently overlooked spot: overflow into the seal channel. During welding, molten plastic can flow into the seal channel and set hard, directly changing seal compression. Remove the seal and protect the channel before repair, then clean it thoroughly afterwards.
Strength and ingress verification after repair
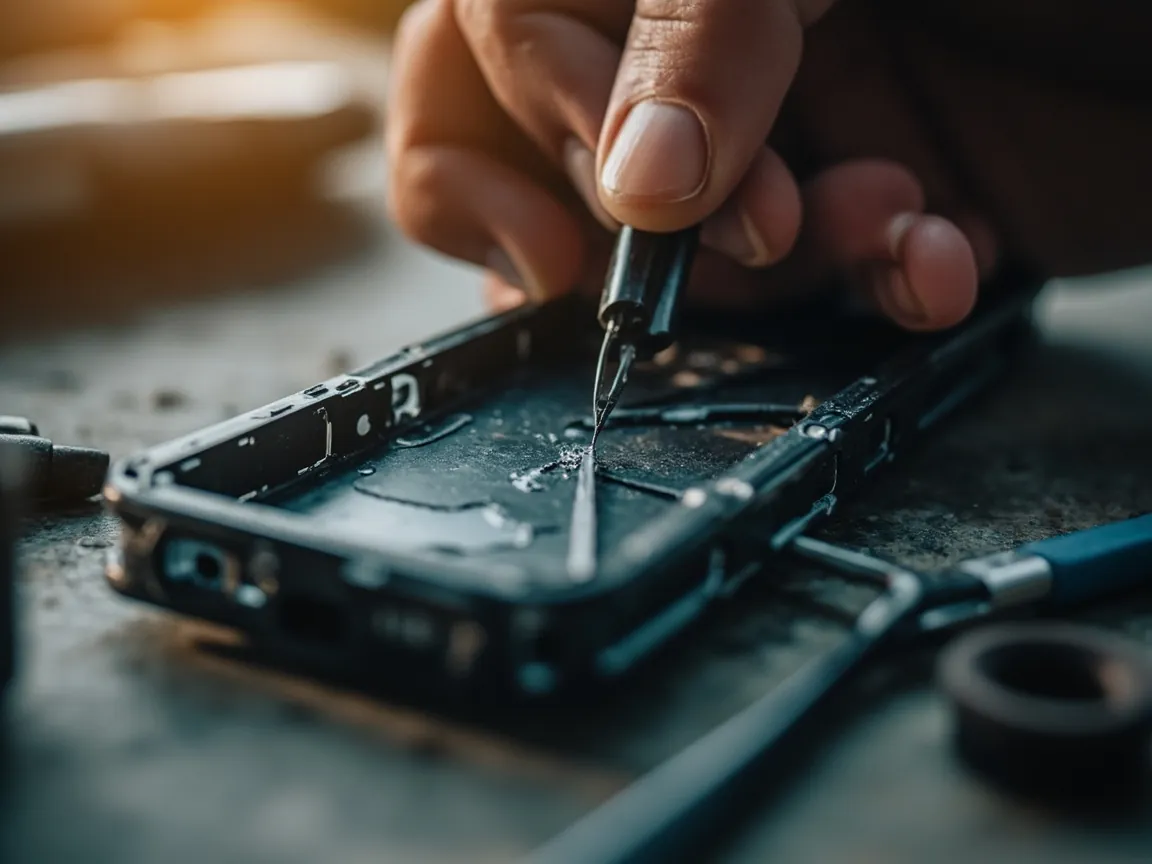
Verification is mandatory; "it looks fine" is not a conclusion. It splits into a material level and a whole-case level.
Material-level verification where available:
- Weld appearance and cross-section. Take a destructive sample using the same process on scrap and inspect penetration and porosity.
- Tensile or peel test. Test bonded coupons in tension or peel to judge interface strength.
- Impact reference. The notched impact strength of thermoplastics can be assessed by the Charpy method, international standard ISO 179 and the corresponding national standard GB/T 1043. The repaired zone is usually the weakest point on the case for impact toughness, so avoid presenting the repaired face to impacts.
Whole-case verification, mandatory:
| Verification item | Method | Empirical acceptance | Action if failed |
|---|---|---|---|
| --- | --- | --- | --- |
| Seal integrity | Negative-pressure decay or immersion to GB/T 4208 | Decay within limit / no water ingress | Inspect mating face and seal |
| Structural stiffness | Light load on the repaired zone, measure deflection | No significant permanent set | Reinforcement insufficient, add more |
| Appearance and fit | Visual and assembly check | Bead removed, lid closes normally | Dress or rework |
| Open-close function | Repeated cycling, watch lid contact | Uniform contact gap | Check hinge and seal channel |
| Load test | Load to service level, then re-check seal | No leakage after loading | Structural reinforcement insufficient |
A reminder: if the repair is at the rim or in a stiffness-sensitive area, add a seal re-check after stacking or vibration, because the loads a case sees in transport and storage amplify the weakness of the repaired zone. Stacking and transport verification methods are covered in case stacking structure design.
When repair must be abandoned
In the following six situations, neither the economics nor the reliability of repair holds up, and the case should be replaced:
- Overall distortion of the case. The load already exceeded material yield, and residual stress will keep driving new cracks.
- Damaged or multi-point cracking at the lid seal channel. Its geometric precision cannot be restored in the field.
- Complete fracture of a hinge lug or latch boss. These are positioning points, and lid alignment cannot be guaranteed after repair.
- A second crack at the same location. The stress path from the first repair was not solved, and a third repair succeeds even less often.
- Multiple crossing through-cracks in the wall. The load path is too thoroughly destroyed.
- Material already aged and brittle, showing yellowing, brittleness and cracking under light pressure. In an aged case, new cracks propagate from the edge of the patch. Ageing assessment is covered in how many years does a protective case last.
A cost perspective: 60 to 80 percent of a protective case's price sits in the moulded shell, so "repair rather than replace" is usually the right call. But when a repair needs two or more reworks, or still needs frequent re-verification, the labour and risk cost quickly exceeds replacement. The line between repair and replace should be drawn by whether the rating can be restored and held, not by crack length.
The repair-versus-replace decision model
The choice can be turned into a simple calculation.
| Item | Field repair | Factory structural repair | Full replacement |
|---|---|---|---|
| --- | --- | --- | --- |
| Direct cost (empirical) | Low | Medium, including freight | High, unit price |
| Downtime | Short | Long | Depends on stock |
| Post-repair strength | 60 to 85 percent | 70 to 90 percent | 100 percent |
| Rating recoverability | Depends on location | Can be re-verified | Fully assured |
| Damage class | Class one, some class two | Class two, some class three | Class three |
| Long-term risk | Medium | Medium | Low |
Simplified decision rules:
- Class one damage not affecting the rim: prefer field repair.
- Class two damage with in-house verification capability: repair with reinforcement, but re-verify the seal.
- Class three damage, or no verification capability: replace.
- Repair cost at 50 percent or more of a new case: replacement is usually better value.
Keeping spares ready makes "repair" the easier choice. If a case has a stock of seals, hinge pins and latches, field repair succeeds more often and faster. Planning spare types and quantities is covered in protective case spare parts stocking list.
Preventing shell cracking: structure and usage
Prevention beats repair. The causes split into structure, process and usage.
Structure. Rib layout, corner radius and wall thickness transition determine the level of stress concentration. Weak points almost always appear at sudden wall changes, sharp corners and rib roots. Structural design is covered in high-strength case structure and case reinforcement ribs.
Process. Weld lines, moulded-in stress and short shots all become crack origins. A weld line is often the weakest point on a case, and cracks frequently start there. At the customisation stage, mark critical load zones on the drawing and require the supplier to control weld line position and packing.
Usage. Dropping, over-stacking, frequent opening in cold conditions, and standing on the case are all common causes. Plastics embrittle in the cold, which is the high season for cracks. A usage standard saves more money than any repair method.
| Prevention measure | Effect | Stage |
|---|---|---|
| --- | --- | --- |
| Smooth wall transitions, larger corner radii | Lower stress concentration | Design |
| Ribs and local thickening at load zones | Raise local stiffness | Design |
| Control weld line position and packing | Reduce weak planes | Moulding |
| Set stacking limit and load ceiling | Avoid long-term overload | Usage |
| Reduce opening and impact in cold | Avoid brittle cracking | Usage |
| Inspect prone zones periodically | Find cracks early | Usage |
JUNZHJIA, manufactured by KeXin New Materials (Guangdong) Co., Ltd., supports wholesale, distribution and OEM/ODM programmes. It advises on structure and process according to case material, load nodes and ingress rating requirements, supplies seals, hinges and latches as service parts, and issues inspection records covering material and structure, so that buyers can bring reparability and total cost of ownership into selection.
Frequently Asked Questions
Q: My protective case shell has cracked. Can it still be repaired? A: Yes, but classify it first. Follow three steps. First, check whether the crack penetrates the wall. A non-penetrating surface crack usually does not affect the ingress rating and can be repaired on site; a penetrating crack requires seal restoration. Second, check the location. Cracks in a flat wall can be repaired, but those at rib roots, corners, the lid seal channel, hinge lugs or latch bosses are load-node damages with high repair difficulty and short life. Third, check the material. PP and PE weld well but bond very poorly, ABS and PC both weld and bond well, and glass-filled grades lose weld strength markedly and suit structural adhesive plus a mechanical patch. If all three checks pass, field repair is viable. If any one fails, prefer factory repair or replacement. Note that post-repair strength is typically 60 to 85 percent of the original, and the ingress rating must always be re-verified rather than judged by appearance.
Q: Why is a PP case so difficult to glue? A: Because polypropylene has low surface energy, typically around 29 to 31 mN/m, while ordinary adhesives need a higher surface energy to wet the surface. Low surface energy means the adhesive cannot spread fully, contact area is limited, and interface strength is poor. There are two solutions. The first is welding, hot gas or extrusion, which melts parent and rod into continuous material and is the most reliable route for PP. The second is surface treatment: flame, plasma or a dedicated primer raises surface energy temporarily, but the effect decays, so apply adhesive and cure soon after treatment. Residual mould release agent is another common cause of PP bond failure. Abrade and clean thoroughly before repair, or no surface treatment will work.
Q: Why drill a stop hole at the crack tip? A: Because the crack tip carries very high stress concentration, and the severity depends on the radius at the tip: the sharper the tip, the worse the concentration, and the more easily the crack grows. Drilling a round hole at the tip, typically 3 to 5 mm in diameter, replaces the sharp tip with a much larger radius and substantially lowers the stress concentration factor, arresting propagation. The correct sequence is to find the true tip, drill through slightly ahead of it, confirm the crack has stopped, then prepare a groove and weld, closing the stop hole as part of the repair. Note that if the crack has already reached a load node such as a rib root, the stop hole alone is not enough and structural reinforcement is also required.
Q: Should I use hot gas welding or extrusion welding? A: Choose by seam length, wall thickness and working conditions. Hot gas welding heats parent and rod together with a torch; the equipment is light, flexible and cheap, well suited to short cracks and thin walls, but it depends on operator technique and is slow on long seams. Extrusion welding feeds molten material continuously into the groove; it is faster, more consistent and suited to long seams and thick walls, but the equipment is heavier and costs more. As a guide, cracks under 100 mm in thin walls are fine with hot gas, while long cracks, thick walls or batch repair favour extrusion. Either way, prepare a groove first, because welding without one gives insufficient penetration. Set temperature by material: PP around 250 to 290 C, ABS 230 to 260 C, PC 300 to 330 C. Too hot degrades and yellows the material; too cold fails to fuse.
Q: After repair, can the case still hold IP67? A: It depends on three things. First, rim flatness: after dressing, local height variation around the rim should stay within about 0.3 mm, because any weld bead, excess adhesive or burr lifts the seal and creates a path. Second, seal condition: if welding heat or solvent touched the seal, it may have hardened or swollen and must be replaced rather than reused. Third, verification: any repair affecting the rim must be re-confirmed, ideally by negative-pressure decay as a fast screen, or by immersion or spray testing under GB/T 4208 or IEC 60529. With all three done, the rating can usually be restored. If the crack itself was in the seal channel or a stiffness-sensitive wall area, long-term stability is hard to guarantee even when the appearance looks perfect, and factory repair or replacement should be preferred.
Q: When is structural bonding better than welding? A: When the material is unsuitable for welding, or when open flame is not acceptable on site. Specific cases include glass-filled grades, where fibres are discontinuous across the weld and strength drops markedly, so bonding with a mechanical patch is more reliable; mixed-material cases such as a plastic shell with metal parts; and environments with explosion or fire restrictions. Bonding depends on surface preparation and cure control: abrade, remove release agent and oil, treat PP or PE by flame or plasma with a primer, then mix the two-part adhesive in the right ratio, keep the bond line at 0.1 to 0.3 mm, and clamp for the full cure. Remember that adhesives are good in shear and poor in peel, so design the plate so load runs parallel to the bond line and add rivets or screws rather than relying on bonding alone.
Q: How do I decide between repairing and replacing? A: Use a simple rule set. First, by damage class. Class one, a short non-penetrating crack in a flat wall, favours field repair. Class two, crossing a rib or a corner, can be repaired with reinforcement where verification capability exists, but the seal must be re-checked. Class three, damage at the seal channel, hinge lug or latch boss, overall distortion or multiple through-cracks, means replace. Second, by cost. If repair exceeds 50 percent of a new case, replacement is usually better value. Third, by rework count. A second crack at the same spot means the stress path was never solved, and a third repair is even less likely to hold. Fourth, by verification capability. Without a sealing test fixture, any repair affecting the rim is a gamble, so replace instead. Finally, remember that 60 to 80 percent of a case's cost is in the moulded shell, so repair is usually worthwhile, provided the rating can be restored and held.
Q: How can I reduce the chance of shell cracking? A: Work on structure, process and usage. Structurally, use smooth wall transitions, larger corner radii, and ribs or local thickening at critical load zones, avoiding sudden wall changes and sharp corners, because weak points almost always appear there. On process, require the supplier to control weld line position and packing, since a weld line is often the weakest point and cracks frequently start there, and mark critical load zones on the drawing at the customisation stage. In usage, set stacking limits and load ceilings to avoid long-term overload, reduce opening and impact in cold conditions because plastics embrittle, and never stand on a case. Add a periodic inspection routine focusing on corners, rib roots and the rim, and repair small cracks with a stop hole promptly. The cost is far lower than waiting until the crack penetrates the wall.
Conclusion and Related Reading
Back to the title question: a protective case can be repaired, but whether it should be depends on the crack class, the material and the location. A short crack in a flat wall can be welded or bonded on site, recovering 60 to 85 percent of the original strength. Cracks crossing a rib or corner, or sitting at the seal channel, hinge lug or latch boss, are structural damage needing professional reinforcement or replacement. Cases with overall distortion or multiple through-cracks should be replaced. The sequence is: check penetration, then whether the crack sits on a load node, then whether the material can be welded or bonded.
Three actions to take now. First, arrest before you repair. A stop hole at the crack tip is the cheapest and most direct step and genuinely stops propagation. Second, always pair repair with verification. Any repair affecting the rim needs a fresh ingress check, and negative-pressure decay or immersion to GB/T 4208 is the minimum. Third, stock the service parts. A small inventory of seals, hinge pins and latches turns field repair from "should we bother" into "we can do it now."
JUNZHJIA, manufactured by KeXin New Materials (Guangdong) Co., Ltd., covers protective cases, toolboxes, military-spec storage cases and waterproof junction boxes, and serves wholesale, distribution, OEM/ODM and global supply. It advises on structure according to case material and load nodes, supplies seals and structural parts, and issues inspection records covering material and structure.
Further Reading