

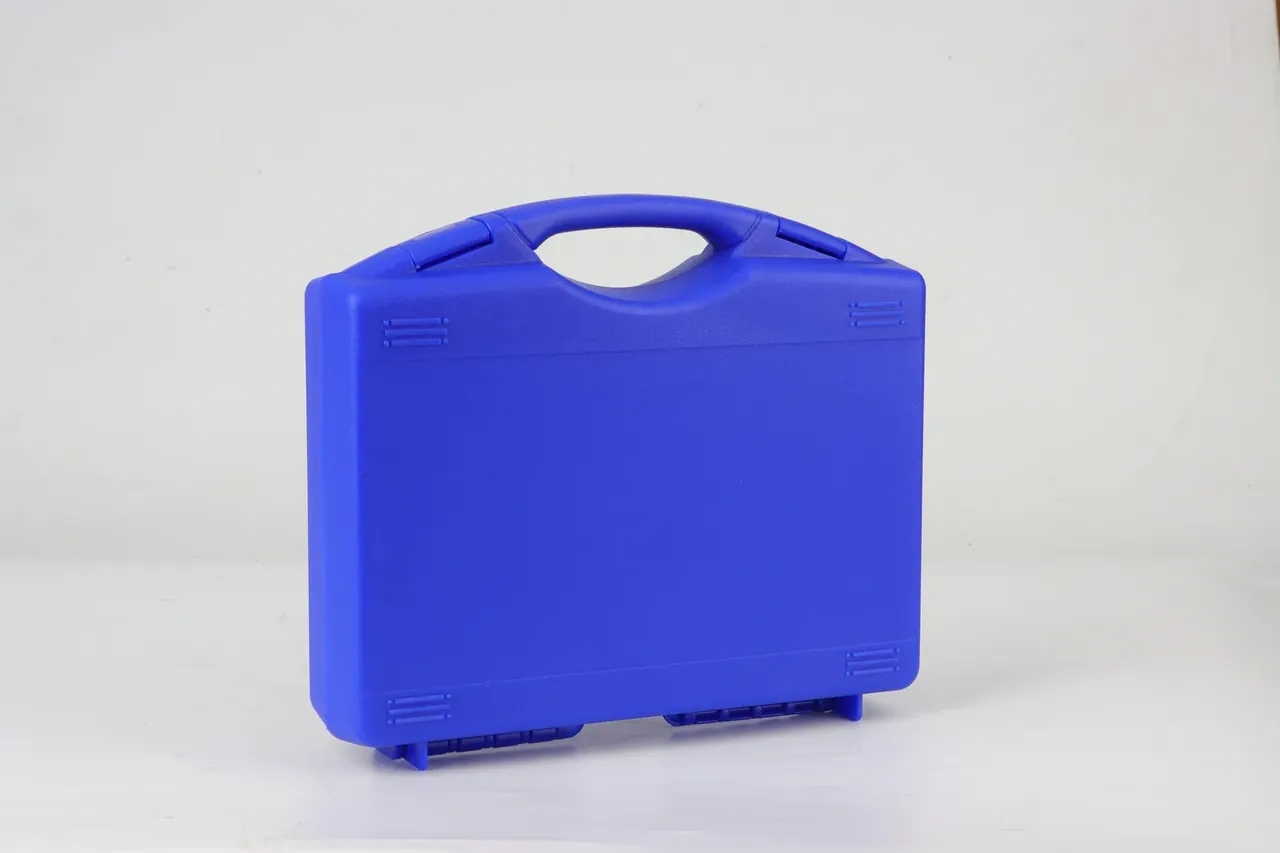
Quick answer: Judging weight by hand and colour by eye is the fastest way to buy wrong in a Case Showroom, because a hand has no reference and showroom light rewrites colour. Three seams, one weighing and one latch count replace both.
Table of contents
- Why Hand Feel Misleads in a Case Showroom
- Seam One: Parting-Line Offset
- Seams Two and Three: Flash, Mould Line, Rim Step
- One Weighing: Wall Thickness From Weight
- Turning Measurements Into a Score
- FAQ
1. Why Hand Feel Misleads in a Case Showroom
Hand feel is relative and has no reference point. Lift ten units in a row and the second reading is anchored by the first: after a 1.8 kg case, a 2.4 kg one feels absurdly heavy.
Temperature rewrites the reading too: at 22 °C a PP latch feels crisp, in a 5 °C warehouse it needs two hands.
| Gut reading | Distorted by | Substitute | Pass mark |
|---|---|---|---|
| Feels heavy | Size, inserts | Weigh, divide by area | Within 8% |
| Feels stiff | Room temperature | Thumb-press the wall | Recovers in 1 s |
| Colour looks right | Colour temperature | ΔE against a card | 3 or less |
| Lid closes tight | Latch travel | 20 cycles, measure | 2 to 4 mm |
| Seam looks fine | Light angle | Feeler gauge | 0.3 mm or less |
A 400 mm and a 600 mm case at the same 3 mm wall differ by over 40 percent in mass; a hand only reports "heavier".
Hand feel can rank units in a Case Showroom. It cannot set a size step.
2. Seam One: Parting-Line Offset
The parting line is where the two mould halves meet, leaving a ring around the wall. One criterion applies: offset. Drag a fingernail across it; a clear step means 0.5 mm. With a feeler gauge, 0.3 mm passes and 0.5 mm concentrates stress under stacking.
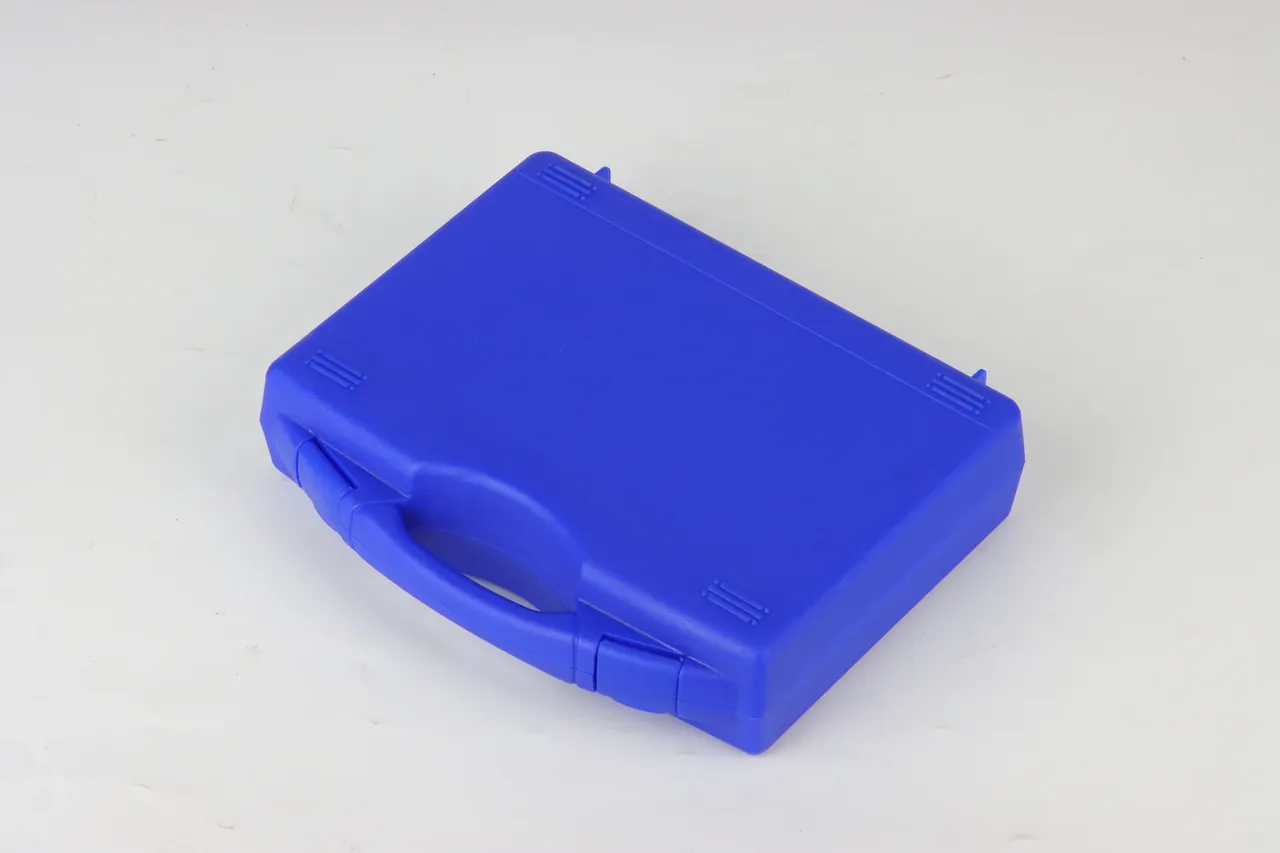
Read four corners and four edge midpoints, then take the maximum; a single reading is fooled by light, since a 0.4 mm step lit from the front looks like zero.
Offset comes from worn locating pins, which drift past 0.1 mm clearance. A new tool holds 0.1 mm; rotomoulded cases tolerate 0.6 mm because the tool carries a 1.5 mm parting platform, but flash there must be trimmed flat.
3. Seams Two and Three: Flash, Mould Line, Rim Step
Read the last two seams together and you are reading tool health: when clearance opens, all three degrade at once.
- Mould line: 0.15 mm or less on injection mouldings, 0.4 mm on rotomoulded parts
- Flash: 0.2 mm or less at the rim; a trimmed mark is a worse stress riser than the flash
- Rim step: 1.5 mm of overlap or more; below 1 mm a sideways push shifts the lid
- Interior radius: R3 or larger, since an R1 corner cuts foam and cracks first
- Rib root: a 0.5 mm fillet, or it cracks at three times the rate
The rim step is what buyers skip. Half-close the lid to a 5 mm gap, push sideways, and a shallow step shifts by 2 mm while the latch goes off centre.
4. One Weighing: Wall Thickness From Weight
Bring a 0.1 g scale with a 5 kg capacity and leave the caliper in the bag. Weigh the empty unit, measure outside dimensions, divide mass by area; two units in one series should land within 8 percent.
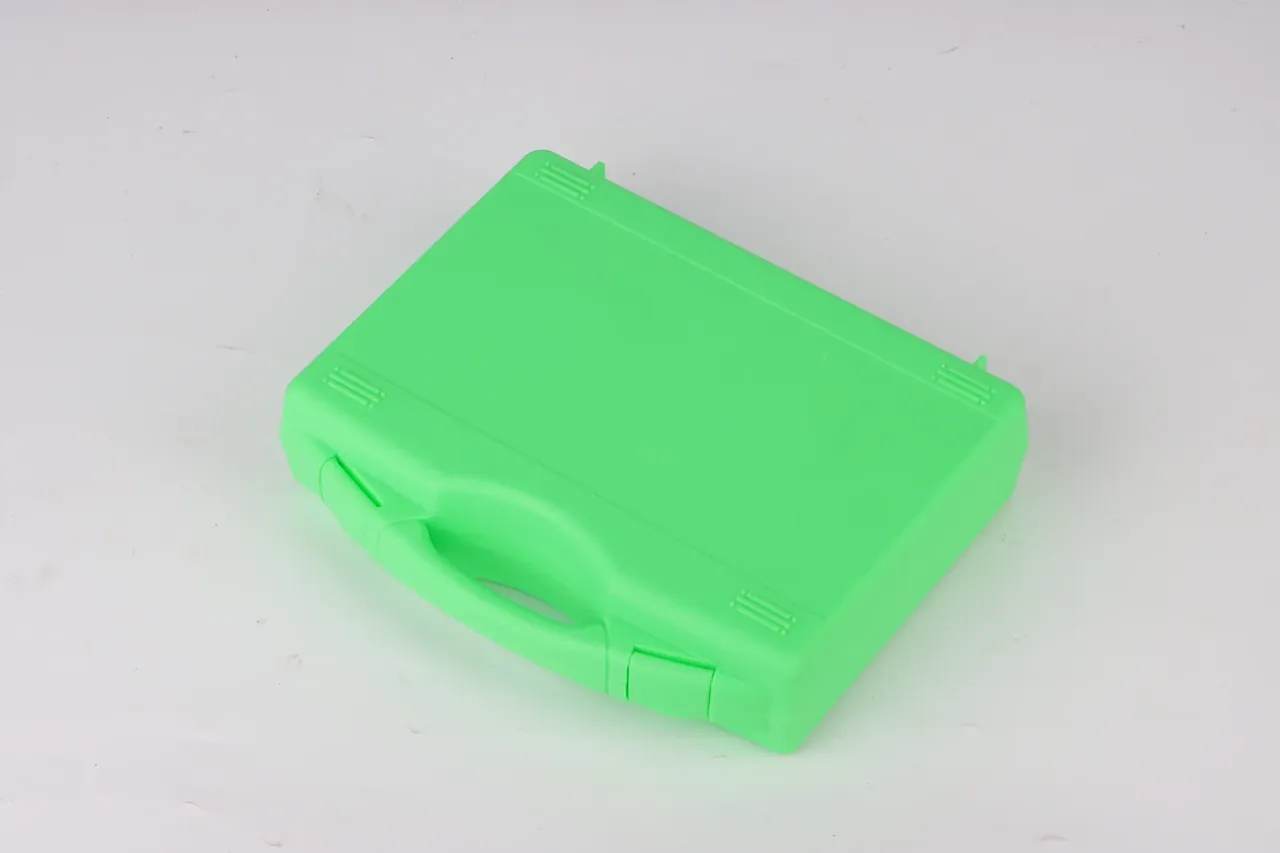
Two figures that reconcile: a case with a 400 by 300 by 150 mm interior at a 3.0 mm wall weighs about 1.8 kg; the rotomoulded equivalent at 4.0 mm weighs 3.2 kg. That gap comes from process.
A caliper fails here: the rim is two layers stacked and the wall carries draft. Mass over area over density gives mean wall thickness within 0.2 mm. A 25 kg rating on 1.8 kg is a ratio of 14; below 8 the body bulges at the second tier.
5. Turning Measurements Into a Score
A Case Showroom visit only argues productively once five criteria share one scale. Weight them, score each, cut anything under 70 before sampling.
| Item | Weight | Method on site | Cut-off |
|---|---|---|---|
| Interior size and radius | 30% | Tape at three points | Off by 2 mm |
| Wall and mass ratio | 25% | Weigh, back-calculate | Spread over 8% |
| Hardware and cycles | 20% | 20 cycles, measure travel | Under 2 mm or over 4 mm |
| Sealing | 15% | Paper pull, 3 minutes of spray | Damp paper |
| Appearance and colour | 10% | ΔE against a card | ΔE above 3 |
Weights move with the job: air freight lifts hardware to 25 percent, three-tier storage lifts wall to 30 percent. Recalculate after any change.
Conclusion
Selecting in a Case Showroom is not a matter of eye and hand but of a routine that runs in ten minutes: eight offset readings, three seams, one weighing, twenty latch cycles. Fix the criteria and ten units on one floor become comparable. Bring a colleague back with the same sheet, and a Case Showroom produces numbers instead of impressions.
This article discusses only the container (case body) side of specifications and design intent, and does not cover any handling, loading or use of the contents.
Related Reading
- Planning a route through a case showroom
- Where showroom samples differ from production
- Four hard lines in gun case selection
- Reading inserts when choosing a drone case
Related Products
- 8 Series — Gun Cases; Military Equipment Cases; Camera Equipment Cases; Drone Cases; Watch Cases; Knife Cases; First Aid Cases; Electronics Equipment Cases
- WL8-2812 PP Gun Case — model WL8-2812
- All protective cases and toolboxes: 7 series, 158 models