

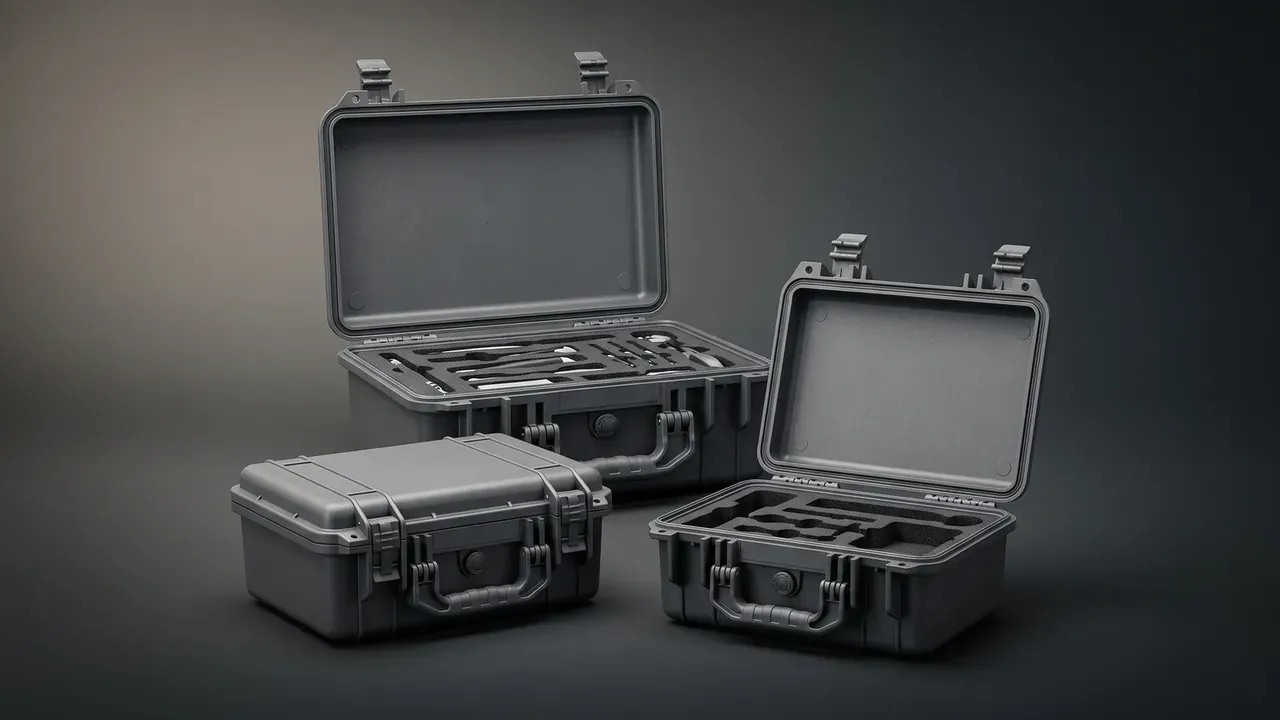
Quick answer: A consolidated tool kit lives or dies on five points: the shell and rib frame, the flange where lid meets body, the compression left in the gasket groove, the latch count and preload, and the insert and finish choices. Skimp on one and the case cracks or leaks there first.
Table of contents
- How a Consolidated Tool Kit Body Is Framed
- Flanges and Parting Lines
- Gasket Groove and Compression
- Latch Count and Preload
- Inserts and Surface Finish
- FAQ
1. How a Consolidated Tool Kit Body Is Framed
A consolidated tool kit is framed by three parts: the wall blocks, the ribs brace, the flange turns lid and body into one loaded line. Rotational moulding fuses powder at 280 °C for fifteen minutes, and wall thickness follows shot weight, 4 mm at the base and 3.5 mm at the sides.
Rib direction matters more than height. Straight ribs along the long side, 55 mm apart and 9 mm high, brace the panel, while diagonal ribs concentrate stress at the root and split there. Draft is 1.2 degrees, since below 0.8 the tool drags the wall white.
| Point | Value | Saving material costs |
|---|---|---|
| Shell | 4 mm base, 3.5 mm sides | Corners dish, then crack |
| Flange | 12 mm, both halves | Lid will not seat |
| Latches | 380 mm apart at most | Corners lift |
2. Flanges and Parting Lines
The flange is the most skimped part of a consolidated tool kit. Lid and body each turn out 12 mm, and only the pair forms a closed load band; under 8 mm, pressure gathers at the latches and the corners lift.
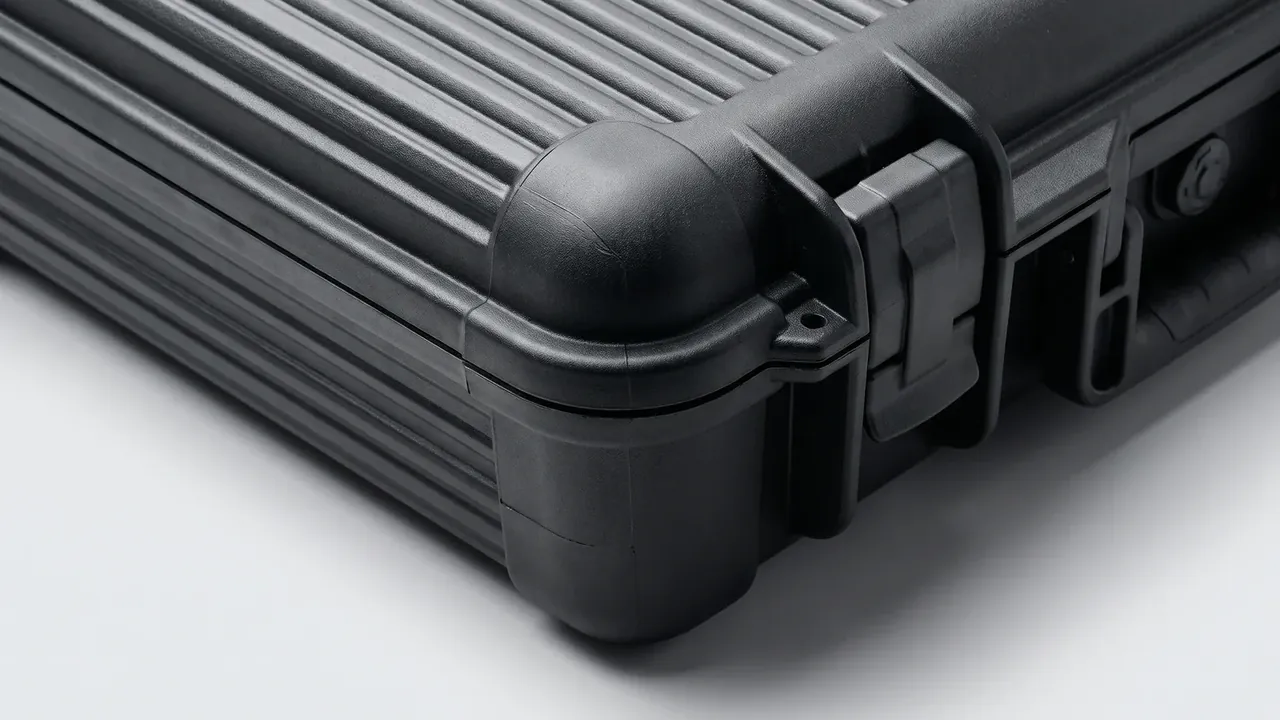
The flange also carries the parting line: on the outer edge a deburring knife runs along it without touching the visible face, while mid-wall the mark lands where everyone looks. The flange-to-wall transition takes an R3 radius, since a tighter corner traps material.
Inside, the flange must clear the gasket groove by about 2 mm.
3. Gasket Groove and Compression
Sealing comes from compression, not soft rubber. A groove 6 mm wide and 5 mm deep with a 6 mm solid cord compresses 1.2 mm at closing, near 25 per cent; under 15 per cent the lid leaks, over 35 per cent the gasket lifts it.
| Seal type | Compression | Trade-off |
|---|---|---|
| Single solid cord | 20 to 25 per cent | Tight tolerance |
| Twin hollow cord | 25 to 30 per cent | Heavier closing force |
Corners leak first, so the cord runs around them uncut rather than butt-jointed, since a joint there opens under compression. Vent holes every 150 mm let air escape so the cord seats evenly. Material follows the environment: EPDM indoors, nitrile around oil, silicone for cold.
4. Latch Count and Preload
Latch count follows flange perimeter, not habit. Spacing within 380 mm puts three latches across a 1.2 m front; with two, the middle of the flange is unclamped and water enters there.
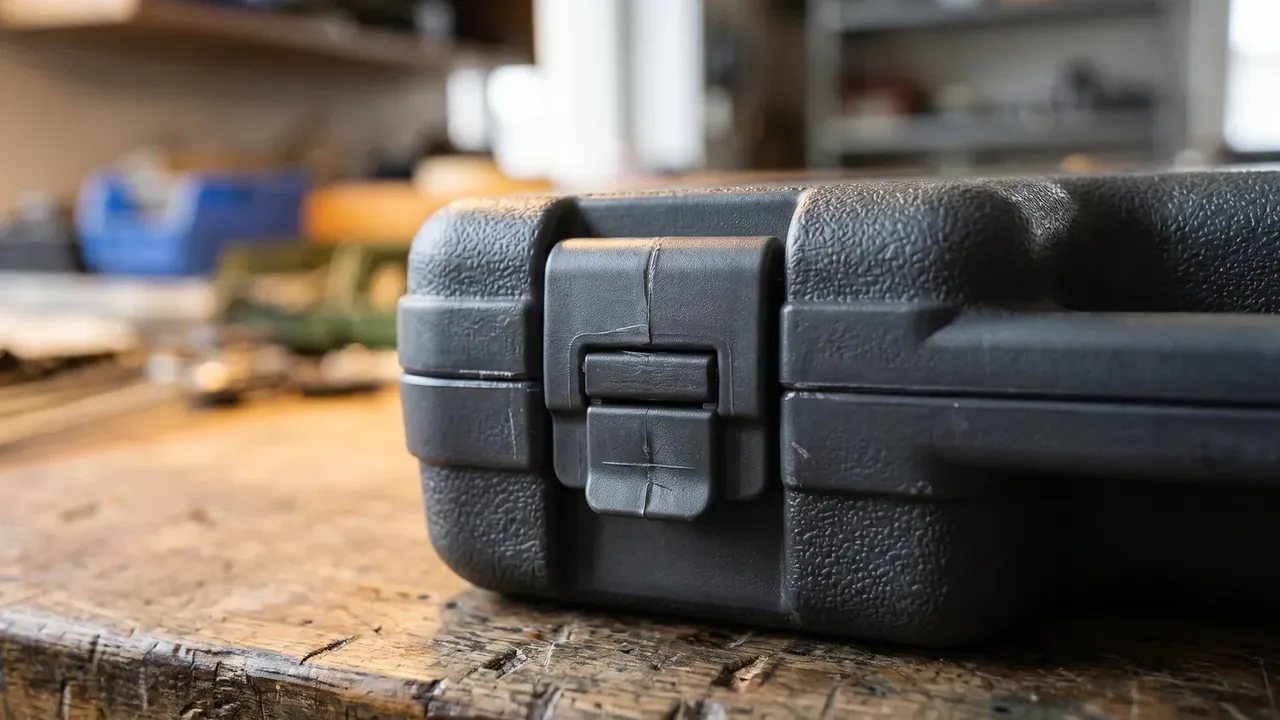
Preload comes from raising the catch seat, usually 2 mm. Too little and the gasket never reaches design compression; too much and the case is pressed shut with body weight, wearing tongue and pin. An even hairline gap is right; a tapering one means the seat sits offset.
Hardware should match in wear: a 6 mm 304 stainless pin in a bronze bush lasts twenty thousand cycles, and a glass-filled nylon latch with a stainless tongue puts wear on the replaceable part.
5. Inserts and Surface Finish
Inserts give a consolidated tool kit its order. Dividers are 4 mm polypropylene engaged 8 mm into slots moulded with the base; compartments follow tool outlines. Foam is 30 kg per cubic metre EVA.
| Finish | Appearance | Cost and durability |
|---|---|---|
| In-mould grain | Fine matt, 0.2 mm deep | Hides scratches, tooling cost |
| Paint | Any colour, matt or gloss | Needs pretreatment, chips |
In-mould grain comes first: the texture forms with the part, and 0.2 mm depth hides handling scratches. Paint suits small brand-colour runs but depends on pretreatment and flakes within six months if that is skipped. Hardware gets a 72-hour salt spray.
Conclusion
The structure of a consolidated tool kit comes down to five decisions: a frame that carries load, a flange that seats, a gasket compressed to a known figure, latches spaced by perimeter, and a finish that survives handling. Flange and groove live in the tool, so they are costly to change later; latches and inserts simply swap. Get those five right and a consolidated tool kit fails at the end of its life, not its first season.
This article discusses only the container (case body) side of specifications and design intent, and does not cover any handling, loading or use of the contents.
Related Reading
- How rotational moulding shapes a case
- Dividing a case interior
- Lid structure and latch design
- Where a consolidated tool kit is used
Related Products
- 8 Series — Gun Cases; Military Equipment Cases; Camera Equipment Cases; Drone Cases; Watch Cases; Knife Cases; First Aid Cases; Electronics Equipment Cases
- WL8-2812 PP Gun Case — model WL8-2812
- All protective cases and toolboxes: 7 series, 158 models