

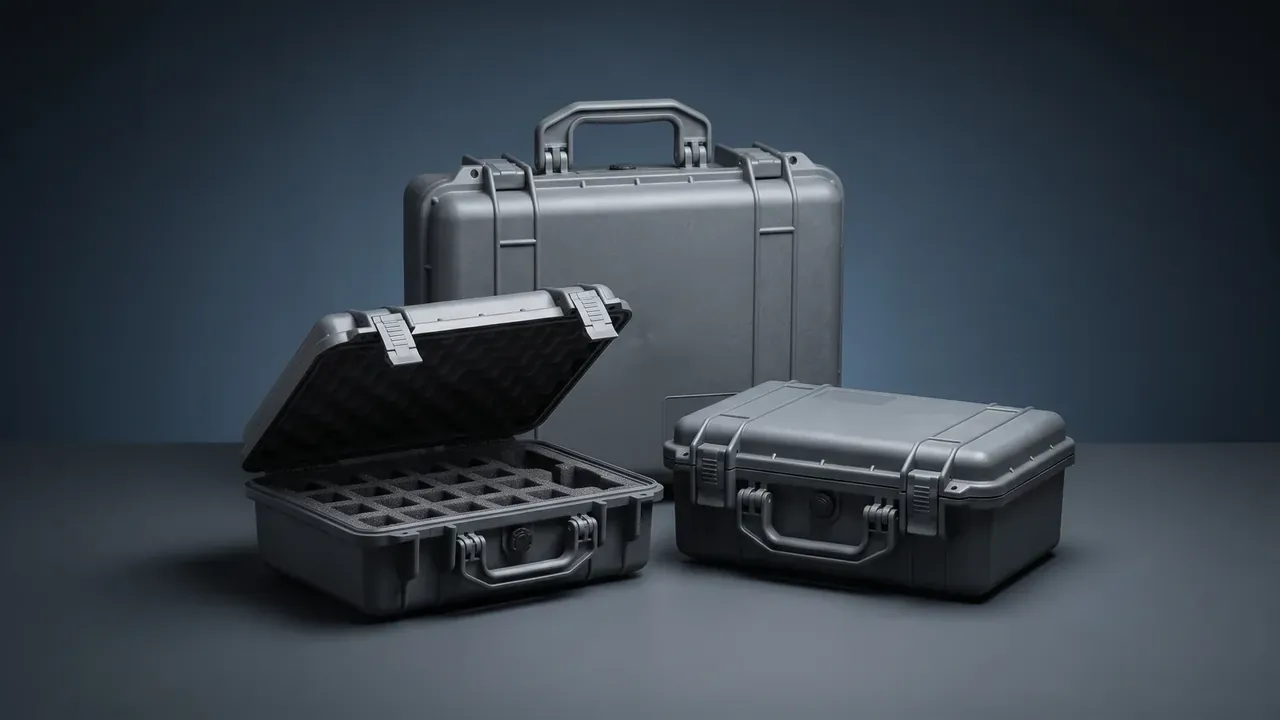
Quick answer: On a custom hard case with logo, the mark is not artwork applied at the end; it is a recess reserved on the drawing first. This article follows 800 three-colour lids through position, process choice, four lab tests and production sampling.
Table of contents
- Custom hard case with logo: fix the mark position before the case structure
- Five marking processes compared on the same lid
- Nine days of testing: adhesion, abrasion, salt spray and solvent
- Production lock: first-off, sampling and 800 units
- FAQ
1. Custom hard case with logo: fix the mark position before the case structure
The enquiry of winter 2024 held one sentence: the logo has to stand out. Splitting that into size, position, base colour and recess redrew the lid three times. The order was 800 units of a custom hard case with logo, cavity 520 × 380 × 210 mm, outer lid face 480 × 340 mm, mark 120 × 38 mm in three colours.
Version one put the mark dead centre; a longitudinal rib ran through it, the screen could not sit flat, and the middle printed as a broken edge. Version two shifted 35 mm right, where the latch housing cut a corner off. Version three moulded a recess 0.8 mm deep and rerouted the ribs around it, which moved printing from a curve to a flat and tightened ink thickness from a float near 8 µm to 12 ±2 µm, at the cost of one insert and 6 seconds of cycle time.
| Mark element | First draft | Released specification | Case feature affected |
|---|---|---|---|
| Size | about 120 mm wide | 120 × 38 mm, 6 mm margin | usable lid face |
| Position | centred | 42 mm from front wall, in the recess | ribs, latch housing |
| Recess | not mentioned | 0.8 mm deep, R2, 3 degree draft | mould insert |
2. Five marking processes compared on the same lid
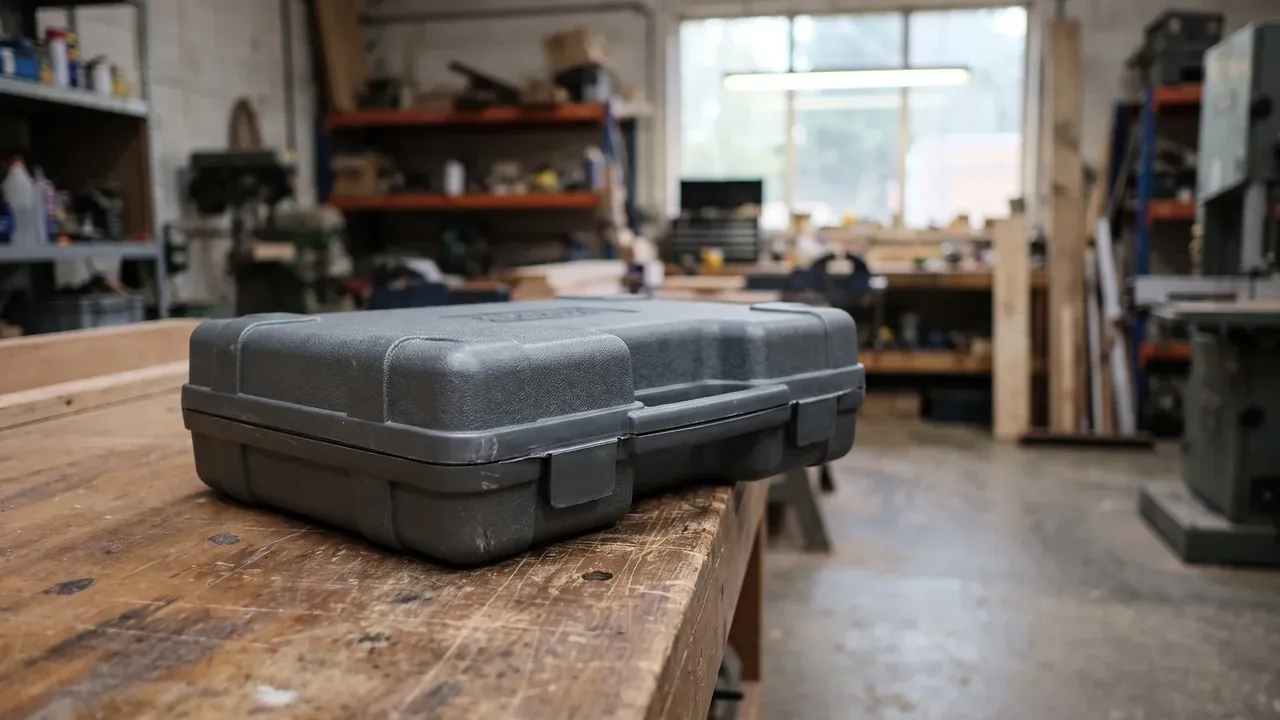
Five lids, one per process, were judged by three actions: a look at 30 degrees, a fingernail dragged sideways, ten wipes with alcohol.
| Process | Colours per pass | Cycle | Min stroke | Scratch result | Best suited mark |
|---|---|---|---|---|---|
| Screen printing | 1–3 | 25 s | 0.8 mm | moderate | large flat mark |
| Pad printing | one | 12 s | 0.6 mm | moderate | curves, small type |
| In-mould decoration | multi, one shot | at moulding | 1.2 mm | good | film embedded |
| Laser marking | one | 8 s | 0.5 mm | good | batch codes |
| Hot stamping | one | 18 s | 1.0 mm | weak | small metal badge |
Screen printing won: three screens, three passes, 25 seconds per part, registration inside 0.15 mm, or the third colour uncovers the first. Its ink layer is thickest and covers best; curves and rib roots defeat it.
In-mould decoration is cleanest but needs 3,000 pieces to amortise one film set; laser marking is sharpest but single-tone; hot stamping leaves a line after ten fingernail strokes.
3. Nine days of testing: adhesion, abrasion, salt spray and solvent
Four reports came back from a lab in nine days. This is where a custom hard case with logo most often fails: the mark is the only part added after moulding, so a shell that passes does not guarantee a mark that passes.
- Adhesion: cross-cut to ISO 2409, 6 × 6 squares at 1 mm, tape peeled at 60 degrees for 0.5 s, no worse than class 1
- Abrasion: grade 0000 steel wool, 500 g load, 500 strokes, no substrate showing
- Salt spray: 72 hours neutral fog, 2 hours recovery, no blistering or missing strokes
- Solvent: 50 wipes each with ethanol and isopropanol, no colour on the cloth
Salt spray is the one most often skipped. Screen ink is porous, so fog creeps in through pinholes and eats inward from the stroke edges before any blister is visible. This batch failed there first time out: abrasion and cross-cut passed, but at hour 48 one letter showed a 0.4 mm gap in its lower hook. The ink was fine — drying had run at 68 °C only, the layer never fully cross-linked, and residual solvent pulled adhesion down. Drying went to 78 °C for 35 minutes, and the second submission held 72 hours intact.
4. Production lock: first-off, sampling and 800 units
The 800 units ran as four batches of 200 over four days. On a custom hard case with logo there is one rule: the first part of each batch sits in the light box beside the sealed sample, and two signatures release the line.
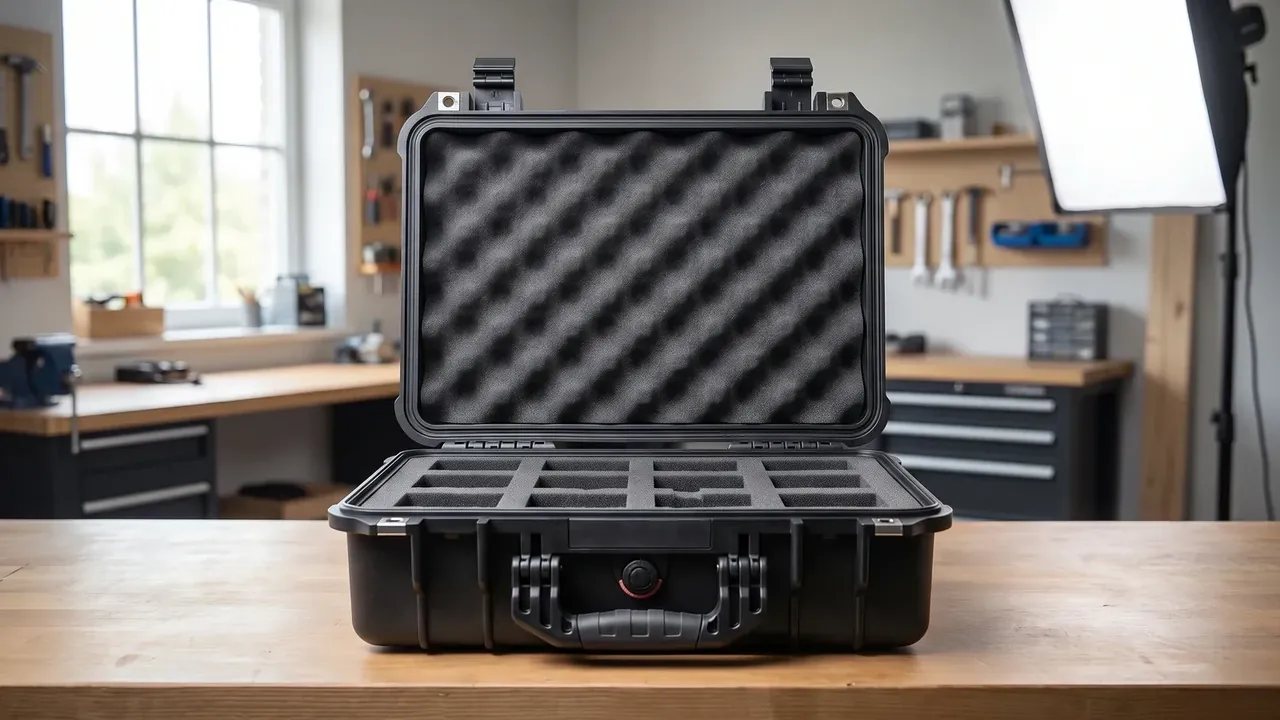
Sampling follows defect cost: position callipered to 42 ±1 mm on every first part, registration projected every 50 units against 0.15 mm, ink thickness read on five parts per batch at 12 ±2 µm, adhesion cross-cut on two. A mark 1 mm off centre is invisible at assembly, while registration off by 0.2 mm leaves a white edge a buyer spots at a glance.
The four batches closed with 7 reworks, all registration rejects.
Conclusion
Across this 800-piece order, the hours went into three rounds of redrawing, not printing. A custom hard case with logo needs a flat recess, a 6 mm margin and a position line that clears the ribs before any process is chosen; after that, cross-cut, 500 abrasion strokes, 72 hours of salt spray and solvent wipes keep the ink honest. Reverse the order and the rework lands on the last batch.
This article discusses only the container (case body) side of specifications and design intent, and does not cover any handling, loading or use of the contents.
Related Reading
- Where custom logo cases are actually used
- How to compare custom logo cases
- Specification logic for instrument cases
Related Products
- 8 Series — Gun Cases; Military Equipment Cases; Camera Equipment Cases; Drone Cases; Watch Cases; Knife Cases; First Aid Cases; Electronics Equipment Cases
- WL8-2812 PP Gun Case — model WL8-2812
- All protective cases and toolboxes: 7 series, 158 models