

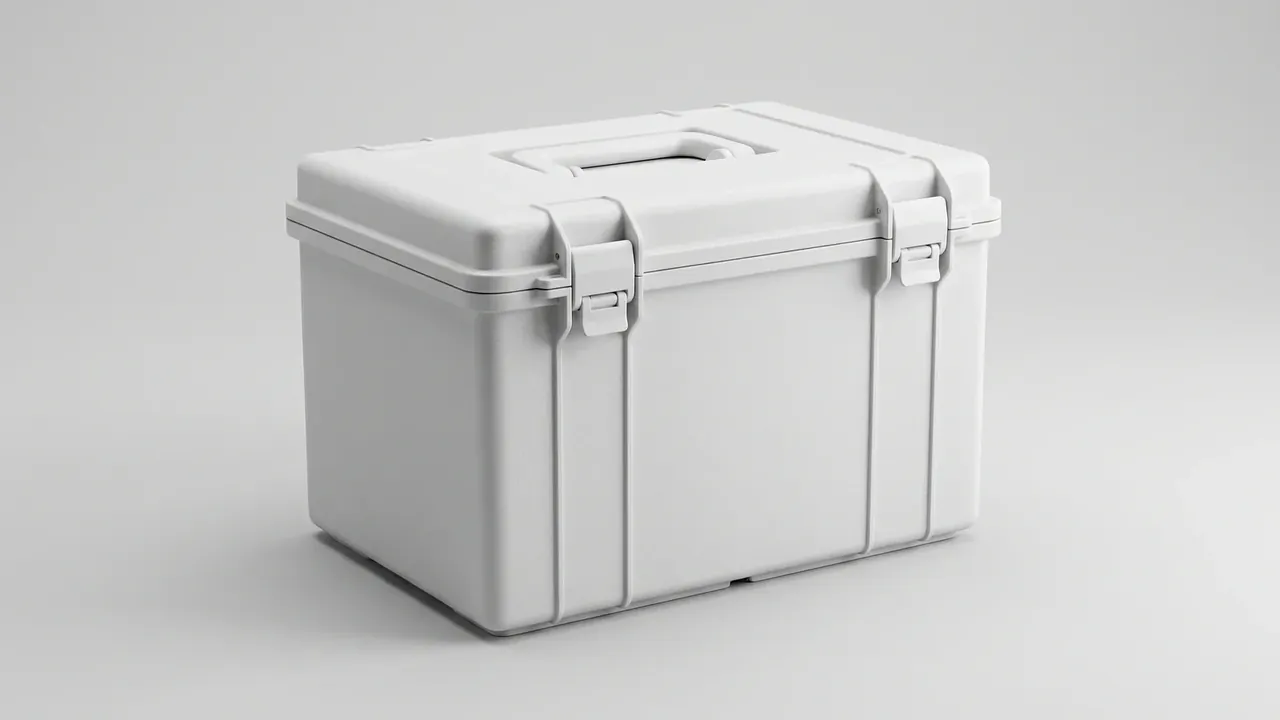
Quick answer: Wall thickness is not the starting point for a custom molded plastic case, it is the landing point after cavity size, stacking layers and handling method are settled. Fix the thickness first and you lock the answer before the question. Write load, process route, tolerance and inserts as four layers, and samples stop coming back.
Table of contents
- Specs Start from the Cavity and the Load
- Rotomolding and Injection Molding Land Differently
- Writing Wall, Inserts and Ribs into the Drawing
- Four Sample Gates and the Production Lock
- FAQ
1. Specs Start from the Cavity and the Load
Most RFQs open with a wall thickness on line one. That order is backwards. For a custom molded plastic case the wall is an output: cavity contents, packed weight, stacking layers and lifting method decide it, and only then does one thickness fit.
| Duty | Internal size | Suggested wall | Structure |
|---|---|---|---|
| 8 kg, carried by hand | 380 × 260 × 140 | 3.0 mm | single bottom rib, no inserts |
| 28 kg, two-person lift | 480 × 320 × 180 | 4.5 mm | egg-crate ribs, four M6 inserts |
| 45 kg per case, stacked 4 high | 600 × 400 × 250 | 6.0 mm | double wall, thickened corners |
Three steps: cavity plus walls gives the envelope, stacking gives the base load, handling gives handle and insert positions. Take a 480 × 320 × 180 mm cavity under 28 kg. The floor sees under 0.02 kg per cm², which sounds generous; stacked four high the bottom case carries 84 kg, so rib pitch tightens from 120 mm to 80 mm.
Thickness belongs on the last line of the spec.
2. Rotomolding and Injection Molding Land Differently
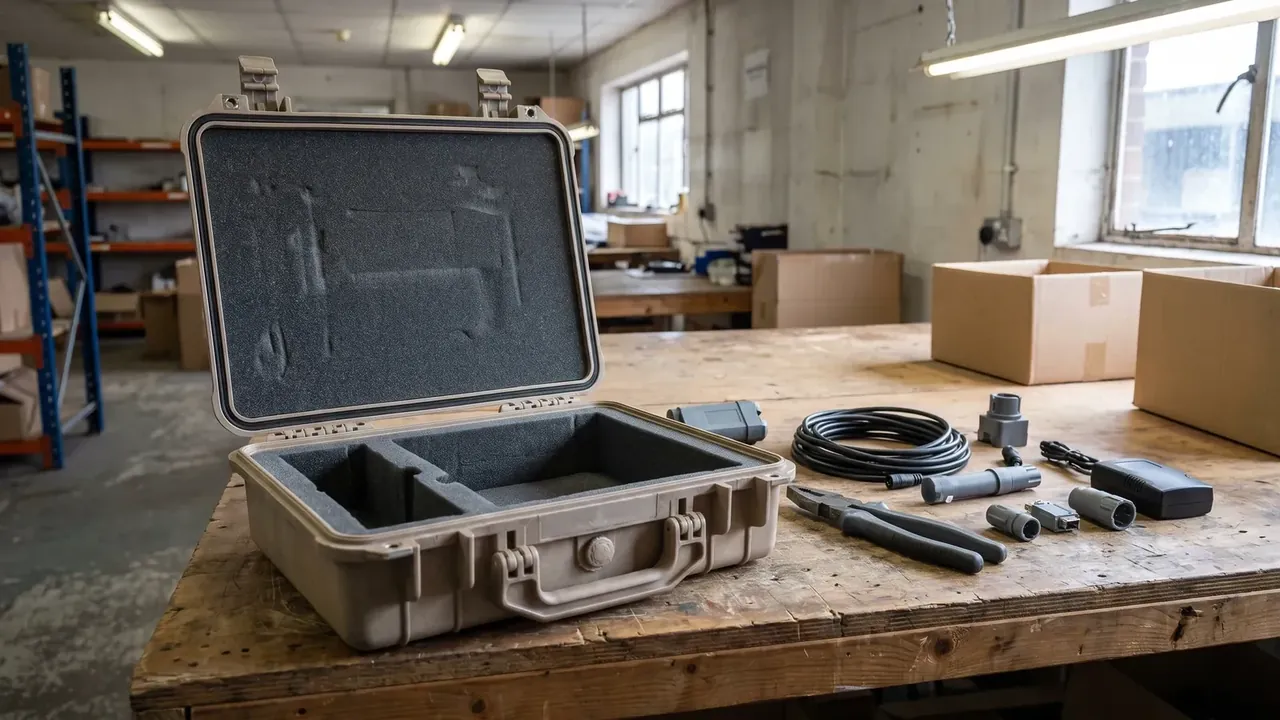
The process decides how precise the spec can be. For the same 480 × 320 × 180 mm case, the two routes share no numbers on tooling, wall or tolerance, and switching later means a new tool.
| Item | Rotomolding | Injection molding |
|---|---|---|
| Tooling | 95,000 (aluminium) | 380,000 (steel) |
| Amortising volume | 2,000 | 8,000 |
| Wall range | 4.5 mm ±0.8 mm | 3.0 mm ±0.15 mm |
| Minimum batch | 300 | 1,000 |
| Ribs | hollow double wall | solid, limited by sink |
Rotomolding tolerances are wide because powder melts and flows inside the tool, piling up at corners; injection tolerances are tight because the cavity can be adjusted to 0.05 mm. In return, injection cannot produce a closed double wall, and rotomolding needs 20 minutes or more per cycle. Below 2,000 units a custom molded plastic case is usually cheaper to rotomold.
Choose the wrong route and every later tolerance pays for it.
3. Writing Wall, Inserts and Ribs into the Drawing
A drawing that says 4.5 mm wall says nothing. Write a band plus measuring points; the block splits into six lines:
- Wall: main wall 4.5 ±0.8 mm, five measuring points per face
- Inserts: four M6 brass nuts, pull-out at least 1.2 kN, embedded 8 mm
- Ribs: height no more than three times the wall, R2 root, 1.5° draft
- Parting line: position marked, mismatch within 0.3 mm
- Shrinkage: PP drafted at 1.6%, tool corrected after the first shot
- Surface: grain grade and gloss, with permitted flow marks
Leave it loose and the sample stage turns into an argument. With a nominal wall only, a factory can run to the thin end and stay compliant while strength drops. Without a pull-out figure, insert slippage during assembly cannot be traced to anyone. Rib height written as high as possible sinks injection parts at the root and traps powder in rotomolded ones. Six lines close those gaps and give later changes a reference. Parting line and surface do not touch strength, yet they decide whether a visible part passes. Most rework is not a design error, it is a drawing that left room to interpret.
4. Four Sample Gates and the Production Lock
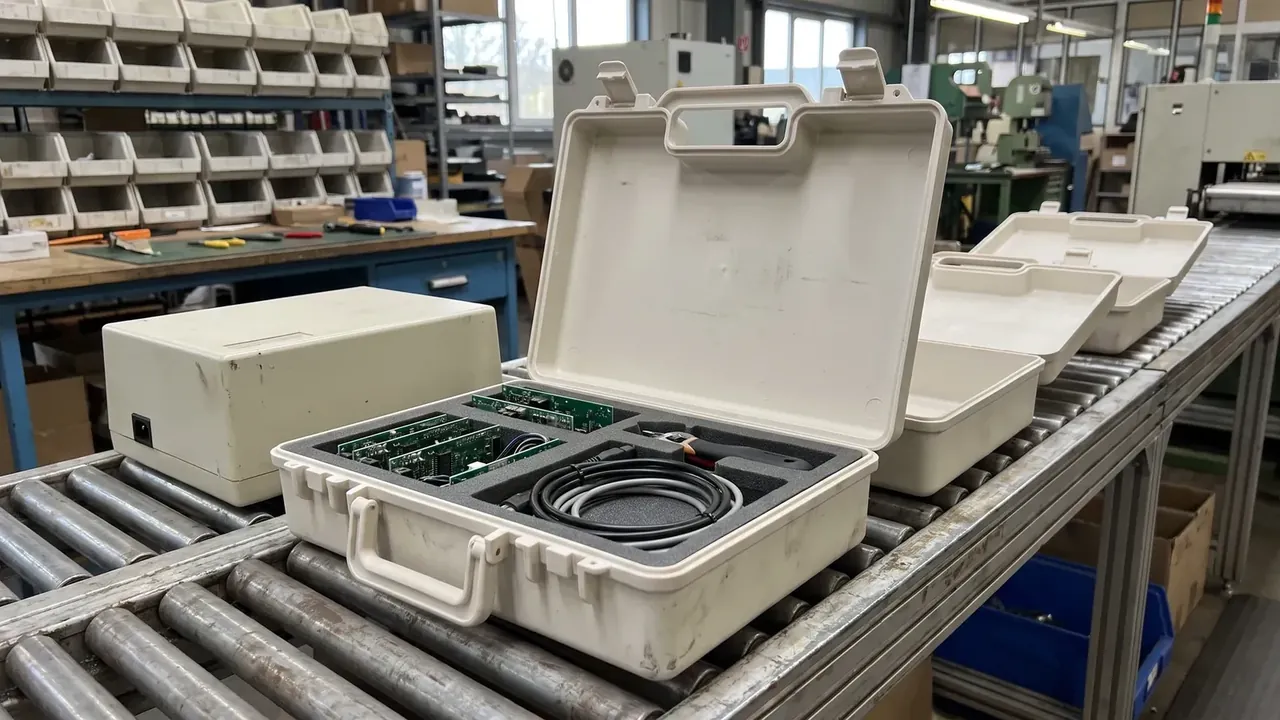
Sampling is four gates, not one event. A custom molded plastic case runs T1 appearance at 12 days, T2 function at 22 days, T3 small batch at 30 days, and first-off on the line.
| Gate | Timing | What is checked | Pass rule |
|---|---|---|---|
| T1 appearance | 12 days | form, parting line, grain | within 1 mm of the 3D model |
| T2 function | 22 days | wall points, insert pull-out, latches | all five wall points in band |
| T3 small batch | 30 days | 30 consecutive units | key dimensions at Cpk 1.33 |
| First-off | on line | first part against the sealed sample | visual plus gauge |
Two environment checks follow T2: 72 hours at 65°C with change under 0.3%, and 96 hours of salt spray with no rust. Fail either and wall and finish change together.
The sealed sample is the only object that settles a dispute.
Conclusion
A custom molded plastic case spec translates load into dimensions and tolerances, not a table of wall numbers. Derive the cavity and stacking first, choose the route, put wall, inserts, ribs and shrinkage on the drawing, and close with four sample gates. Get the order right and a custom molded plastic case needs far fewer trips to the tool.
This article discusses only the container (case body) side of specifications and design intent, and does not cover any handling, loading or use of the contents.
Related Reading
- How rotomolded cases are formed
- Rotomolded cases against the alternatives
- Where injection molded cases stop
Related Products
- 8 Series — Gun Cases; Military Equipment Cases; Camera Equipment Cases; Drone Cases; Watch Cases; Knife Cases; First Aid Cases; Electronics Equipment Cases
- WL8-2812 PP Gun Case — model WL8-2812
- All protective cases and toolboxes: 7 series, 158 models