

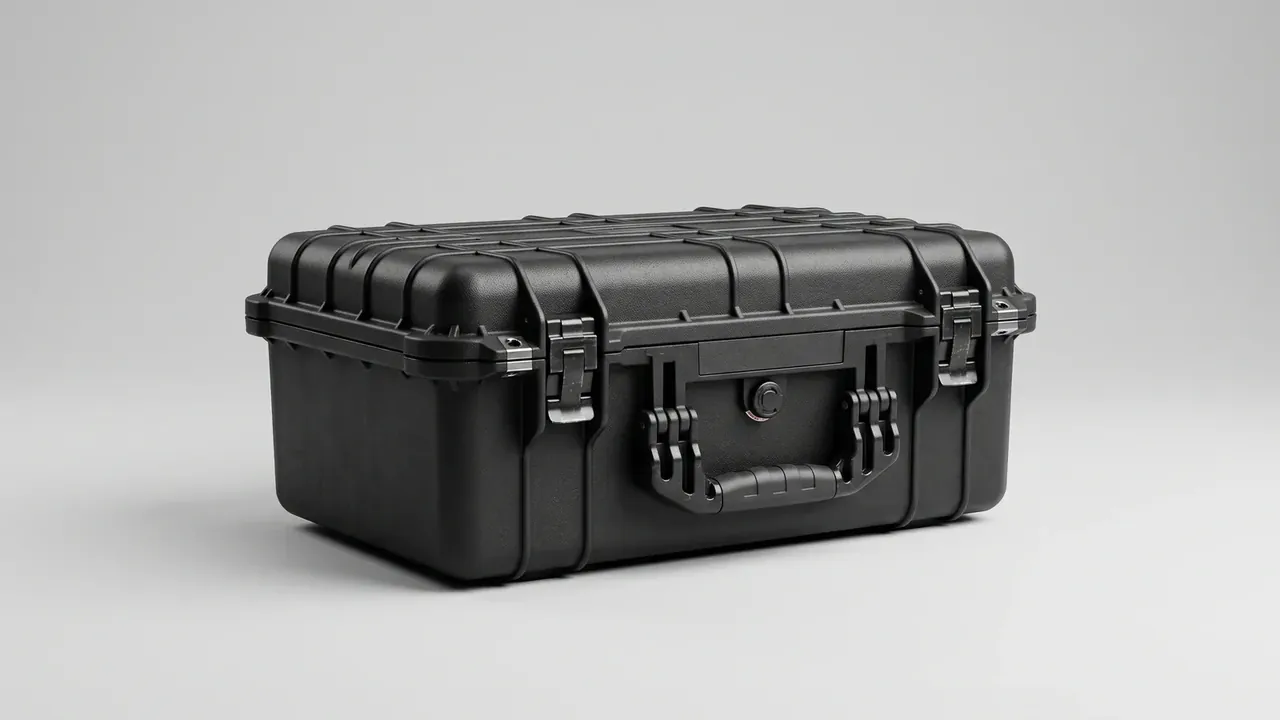
Quick answer: An equipment case earns its place on an inspection route by making the site usable the moment the lid opens. Three demands shape it: taking knocks, opening into a stable working surface, and staying identifiable across sites. Thick corners and draw latches answer the first, wide-swing hinges and a flat lid interior the second, and flat side panels for labels and engraving the third. Frequency and site count should set the order of those priorities.
Table of contents
- Three demands an equipment case must meet
- Field work: the open case becomes the bench
- Numbering and recognition across sites
- Dust, rain and oil: three different attacks
- Locking down the configuration list
- FAQ
1. Three demands an equipment case must meet
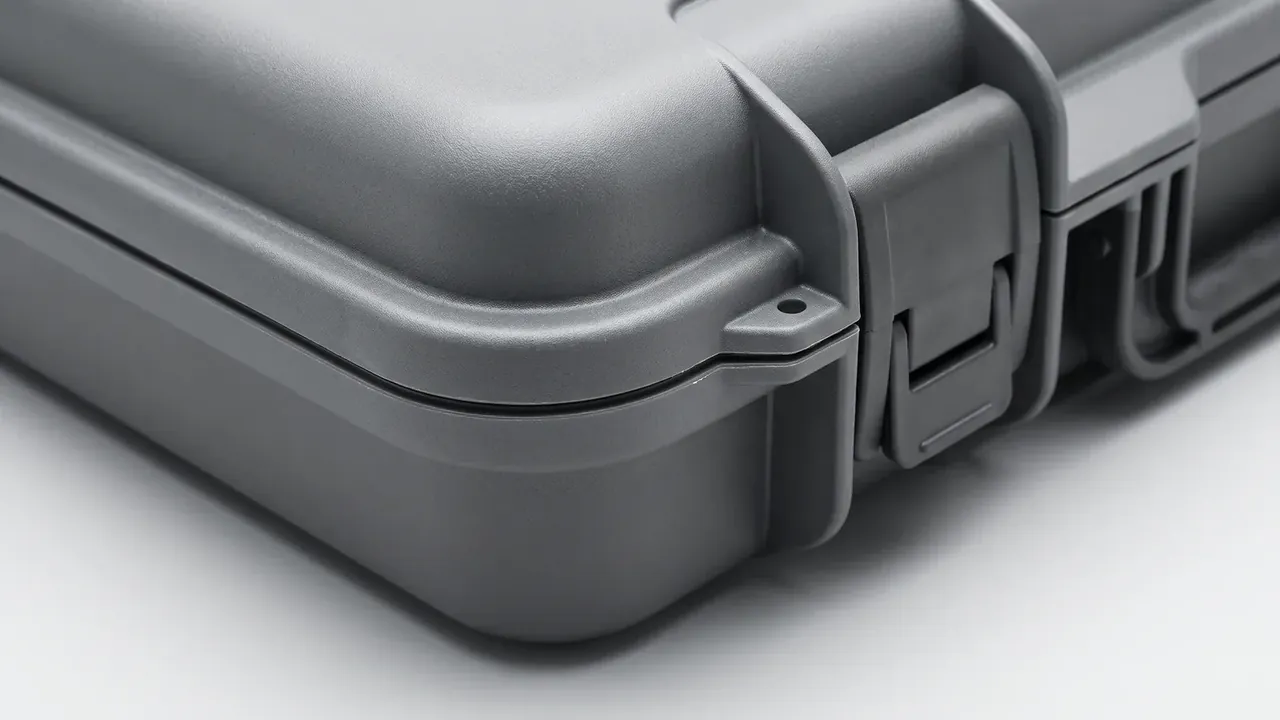
Inspection work reduces the equipment case to three demands: it takes knocks, it opens smoothly, and it matches the route. Knocks mean the lid still closes after contact with stair edges and platform steel; smooth opening means latches do not bind on the tenth cycle of a shift.
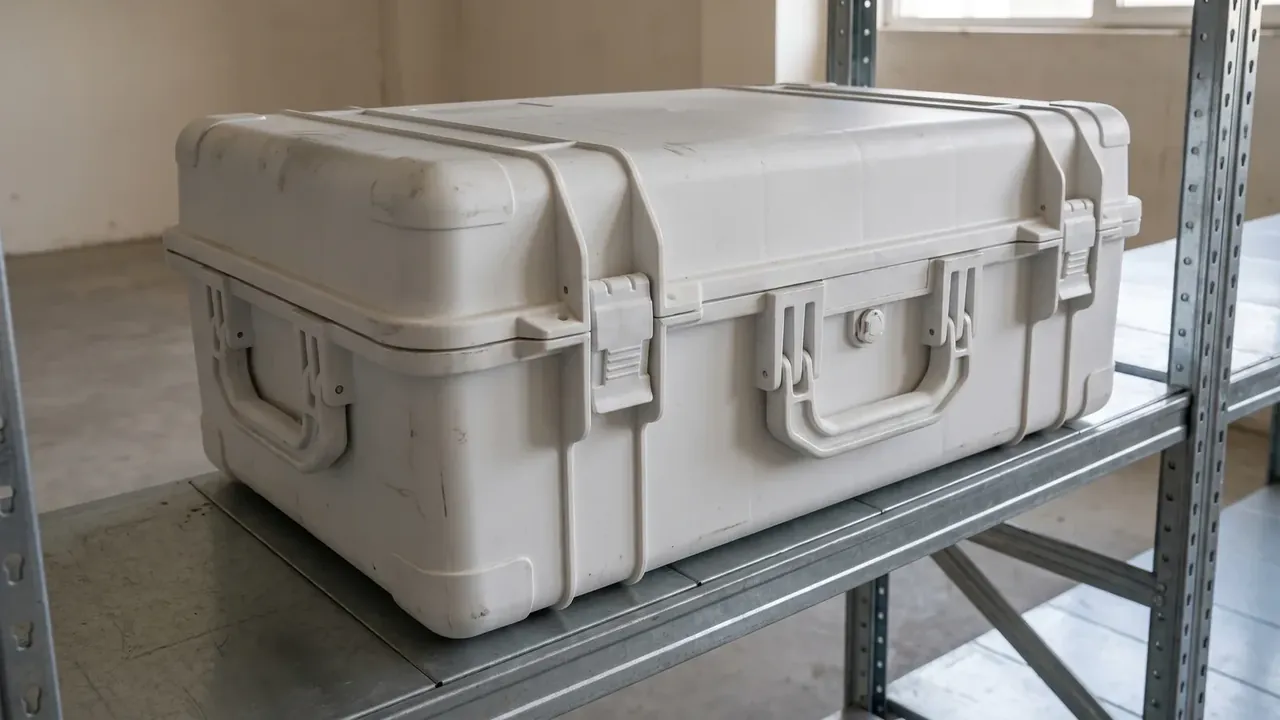
The corner carries the load. Lid and body interlock along a stepped rim, and the latch clamps a continuous lip. A drilled padlock tab projects from the corner; the hole plays no part in sealing and serves a lock or seal tag. The radius spreads a point load into surface contact, the rim keeps the joint off a single thin wall, and the tab gives logistics a verifiable seal point.
2. Field work: the open case becomes the bench
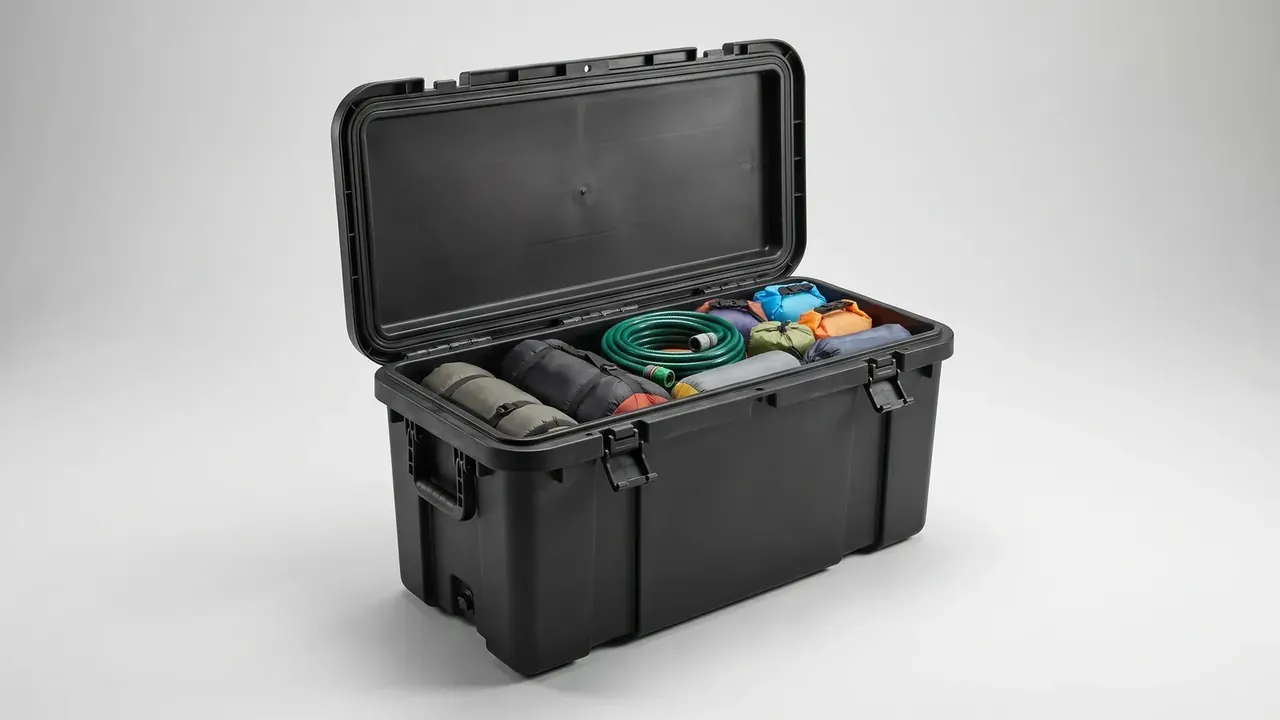
An open equipment case becomes a bench when the body supplies a stable surface and visible compartments.
The equipment case in the photo takes one route: no fixed foam, soft stuff sacks sorted by category, a plain lid interior. Single-item location is lost, but the case can be re-sorted when the scope changes, without a liner mould per project. A hinge stop past 120 degrees keeps the lid off the operator's hand, and anti-slip feet stop the case walking on grating.
3. Numbering and recognition across sites
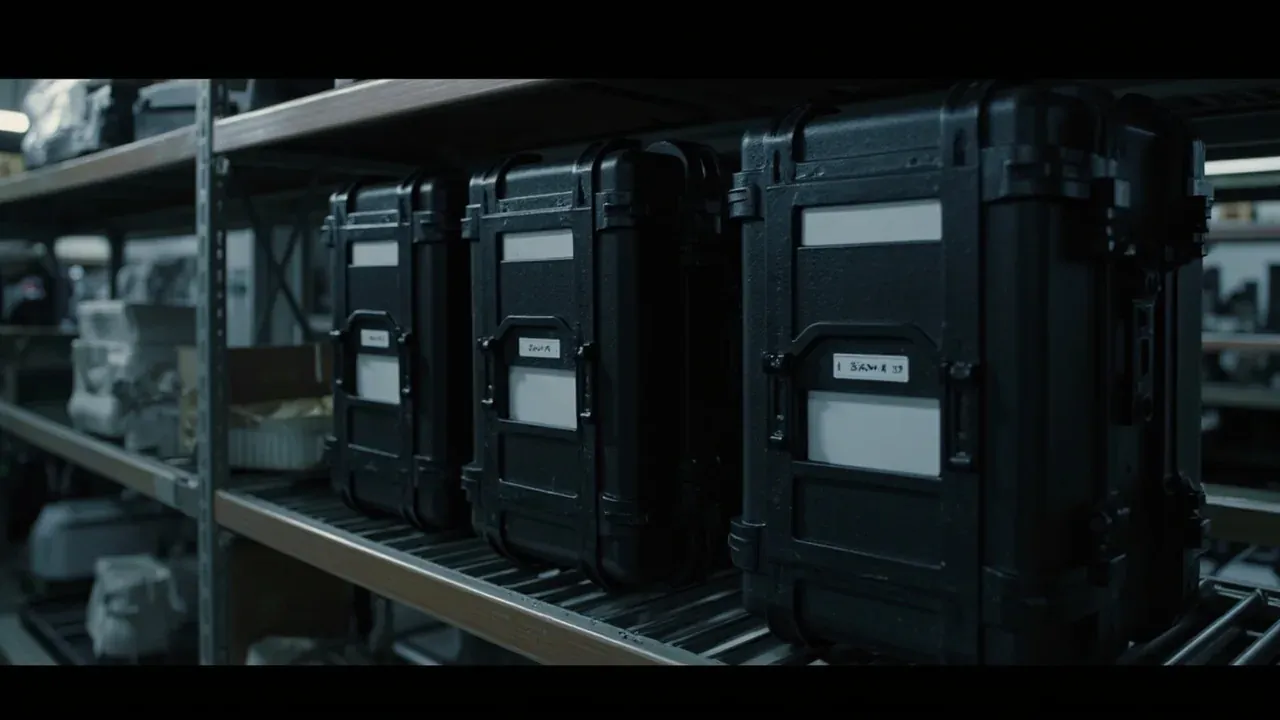
Past three sites, telling equipment cases apart costs more than the cases. Identical shells invite mix-ups once staff rely on memory. Three marking levels follow: colour, engraving, label.
Write the code as site, purpose, sequence. Each block stands alone, so one change never forces a full rewrite. Engraving outlasts adhesive; a label suits information that moves.
| Level | Carries | Position | Failure mode |
|---|---|---|---|
| Colour | Site or trade group | Body colour | Weakens as colours multiply |
| Engraving | Fixed code | Flat area on lid side | Almost never fails |
| Label | Detail and dates | Recess opposite latches | Oil, water, abrasion |
Position matters more than material: a label beside the handle lifts, one in a side recess has no exposed edge. The three shells in the photo sit on a shelf with their label faces out, keeping the ID zone visible.
4. Dust, rain and oil: three different attacks
Dust travels through gaps, rain arrives at the rim, oil sits on the surface. One measure rarely covers all three.
Dust enters at latch mounts, hinge pins and the rim gap. A double-lip rim with a folded channel between the lips forces a longer path before dust reaches the cavity. The pressure valve helps: when a temperature drop creates negative pressure, it equalises first so dust-laden air is not drawn through the gasket.
Rain collects along the upper rim. A lid higher in the middle sheds water outwards, while a latch mount standing proud of the lid becomes a puddle. The two ribs in the photo leave a shallow channel that runs water to the sides.
Oil is appearance and cleaning cost: pebble texture hides scratches and traps grease. Hinge pins and latch springs face oil and moisture together and should be surface treated. Ingress protection follows the relevant structural grade, confirmed by a third-party test report.
5. Locking down the configuration list
One equipment case should carry one frozen list, and every field must map to something visible.
| Field | Purpose | How it is checked |
|---|---|---|
| Position number | Matches a liner cavity | Visual check of marking |
| Name and size | Separates similar variants | Compare with label |
| Quantity | Caps load per case | Count at handover |
| Owning site | Names the return point | Check engraved code |
| Version | Records list changes | Read the version date |
Timing matters more than method: handover checks quantity, the site check confirms position numbers, return acceptance confirms the version.
- List version matches the engraved code
- Every position number has a cavity behind it
- Label detail agrees with the engraved code
Conclusion
Choosing an equipment case for inspection work runs in four steps: count sites and visit frequency to set marking and open-close life, measure the longest item for internal dimensions, pick liner style from whether the scope is fixed, then size rim structure and metal treatment against the real share of dust, rain and oil.
This article covers container-side specifications and design implications only.
Related Reading
- Equipment case specifications and structure
- Case configuration for industrial inspection sites
- Asset labels and QR tracking for cases
- Stacking and pallet planning for cases
Related Products
- 8 Series — Gun Cases; Military Equipment Cases; Camera Equipment Cases; Drone Cases; Watch Cases; Knife Cases; First Aid Cases; Electronics Equipment Cases
- WL8-2812 PP Gun Case — model WL8-2812
- All protective cases and toolboxes: 7 series, 158 models