

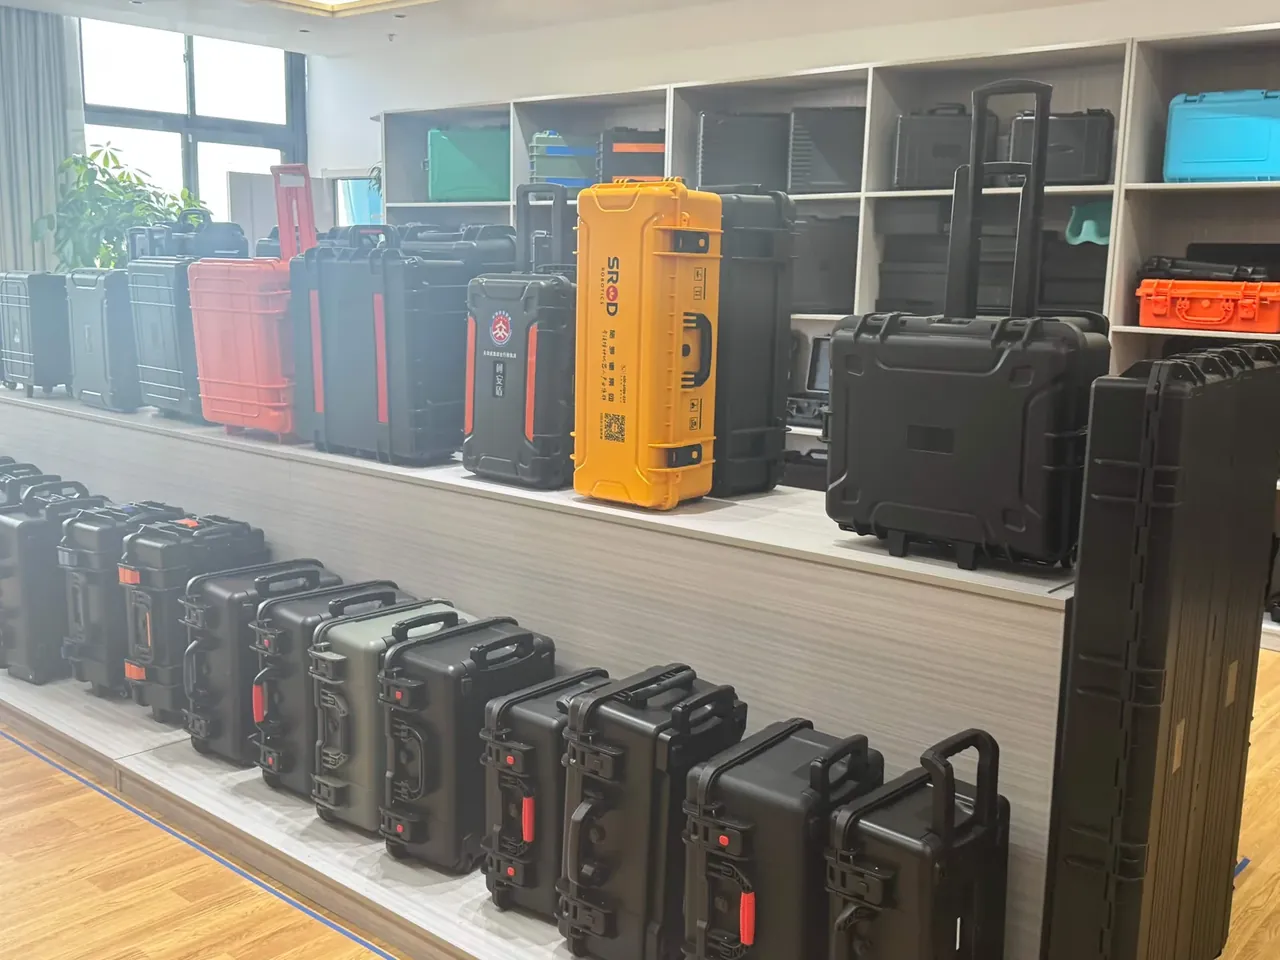
Quick answer: Case water ingress shows up as weight rather than a wet mark: a case soaked 300 mm deep for 30 min gains 0.8 g once water has reached the interior.
Table of contents
- Weigh the case before you open it
- Gasket groove: 25% compression, not 18%
- Hinge pin: a 5 mm shaft with 0.2 mm clearance
- Pressure valve, latch hole and moulded seam
- The elimination order: low points first
- FAQ
1. Weigh the case before you open it
An empty case weighs 4.2 kg. Weigh it on a 0.1 g balance, soak it 300 mm deep for 30 min, wipe the outside, let it stand 5 min and weigh again. A gain above 0.8 g means water reached the interior; below 0.3 g is surface water and evaporation, since 0.8 g is eight divisions of the balance and covers drift.
The step answers one question: did water get in. If it did, the five points are worth walking; if not, the fault sits on the lid or in handling, and stripping parts wastes time.
Five points by frequency: gasket groove, hinge pin, pressure valve, latch hole and moulded seam. The first two are seven tenths of rework, the last three a tenth each. Frequency is not difficulty, so the order cannot follow difficulty.
Weight gives a total, never a location: one case can leak 0.5 g at the groove and 0.3 g at the pin, so the total has to be split point by point.
2. Gasket groove: 25% compression, not 18%
The gasket is designed at 25% compression, roughly 0.9 N of sealing force per millimetre of contact length; at 18% only 0.45 N is left and a 300 mm water column beats it. No stripping is needed to check: close the lid, run a 0.4 mm feeler gauge along the joint, and anywhere it enters, compression is short.
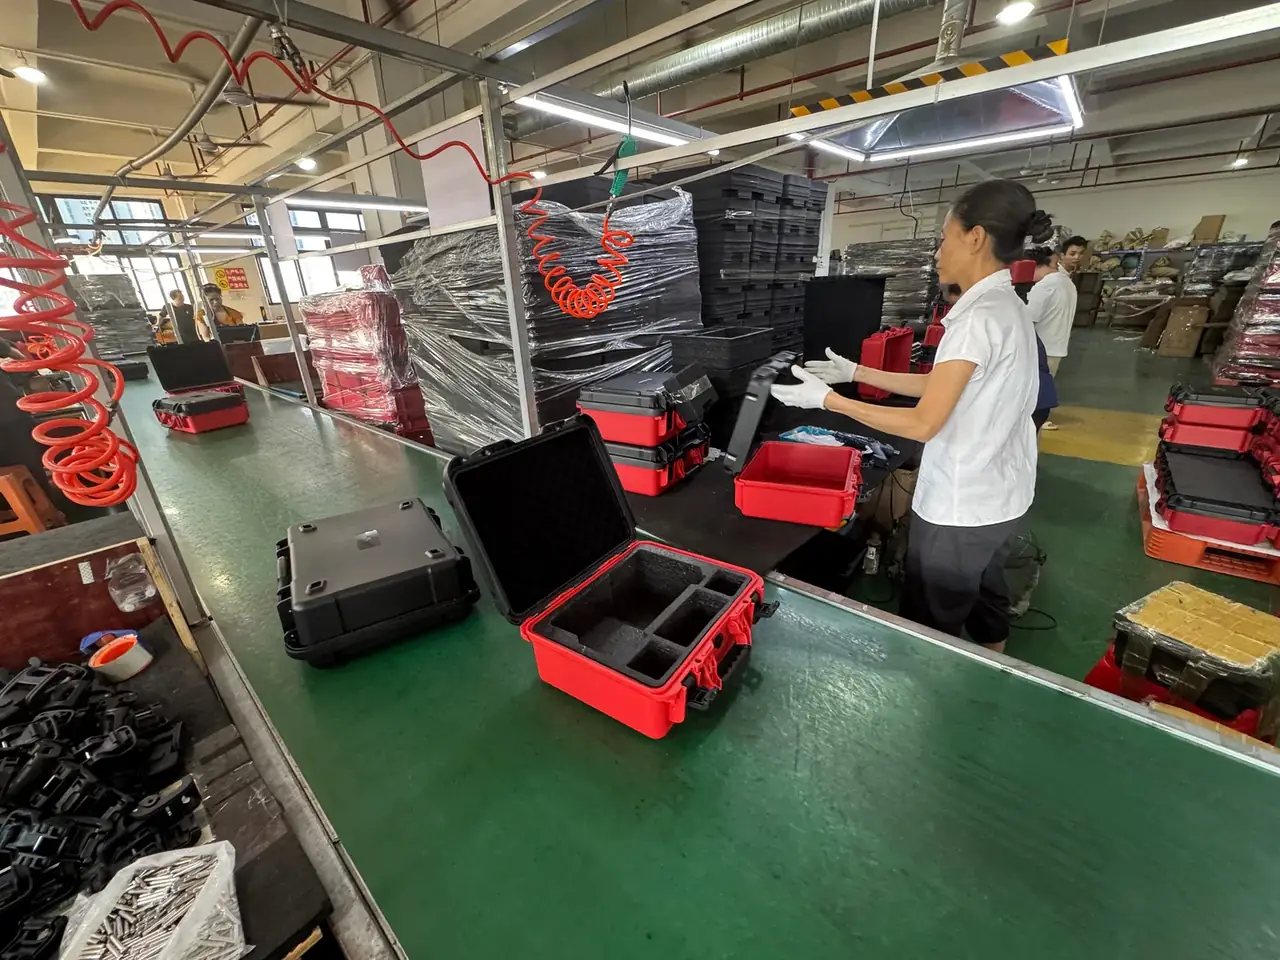
Localise with tissue strips: 20 mm wide paper along the inside of the groove, lid latched, soak 30 min, then read which section wets first. Tissue resolves a 10 mm section and leaves no residue.
Debris beats low compression as a cause. A 0.3 mm grain holds the gasket open however firmly the lid is latched, and water crossing 15 mm along that gap passes the inner lip. Swab the groove with a cotton bud, never scrape it.
Ageing is the part you can catch early. At 3000 closures the same gasket has lost 4 points of compression, and the crossing near 18% is the replacement date.
| Groove condition | Measured | Gain after 30 min | Action |
|---|---|---|---|
| 25% compression, clean | Gauge will not enter | ≤0.3 g | No action |
| 18–22% compression | Gauge enters 5 mm | 0.8–1.5 g | New gasket |
| Debris of 0.3 mm | Swab lifts grains | 0.8–2.0 g | Clean, retest |
3. Hinge pin: a 5 mm shaft with 0.2 mm clearance
The lid is dry all round yet water pools on the wall below the hinge. The shaft is φ5 mm with 0.2 mm clearance each side, a 15 mm capillary channel that a single 30 s spray fills.
Localise by blocking: two 30 mm strips of waterproof tape over both bosses, then soak another 30 min. A gain of zero pins the leak at the hinge; no change sends you back to the other points.
Repair follows clearance. Past 0.35 mm a new bush is the only fix at 12 in material, because grease then holds for 2 weeks at most.
The swap takes 25 min — 8 to free the hinge, 5 to press the old bush out, 12 to press in and retest — near 37 per case at 60 an hour, still inside the 80 rework price.
4. Pressure valve, latch hole and moulded seam
The valve opens at 0.3 kPa and closes on a 0.8 mm spring. A grain under the disc or a tired spring leaves a 0.1 mm gap at the seat, and water is drawn in under negative pressure. Brush soap solution on the seat with slight internal pressure, and bubbles mark the leak.
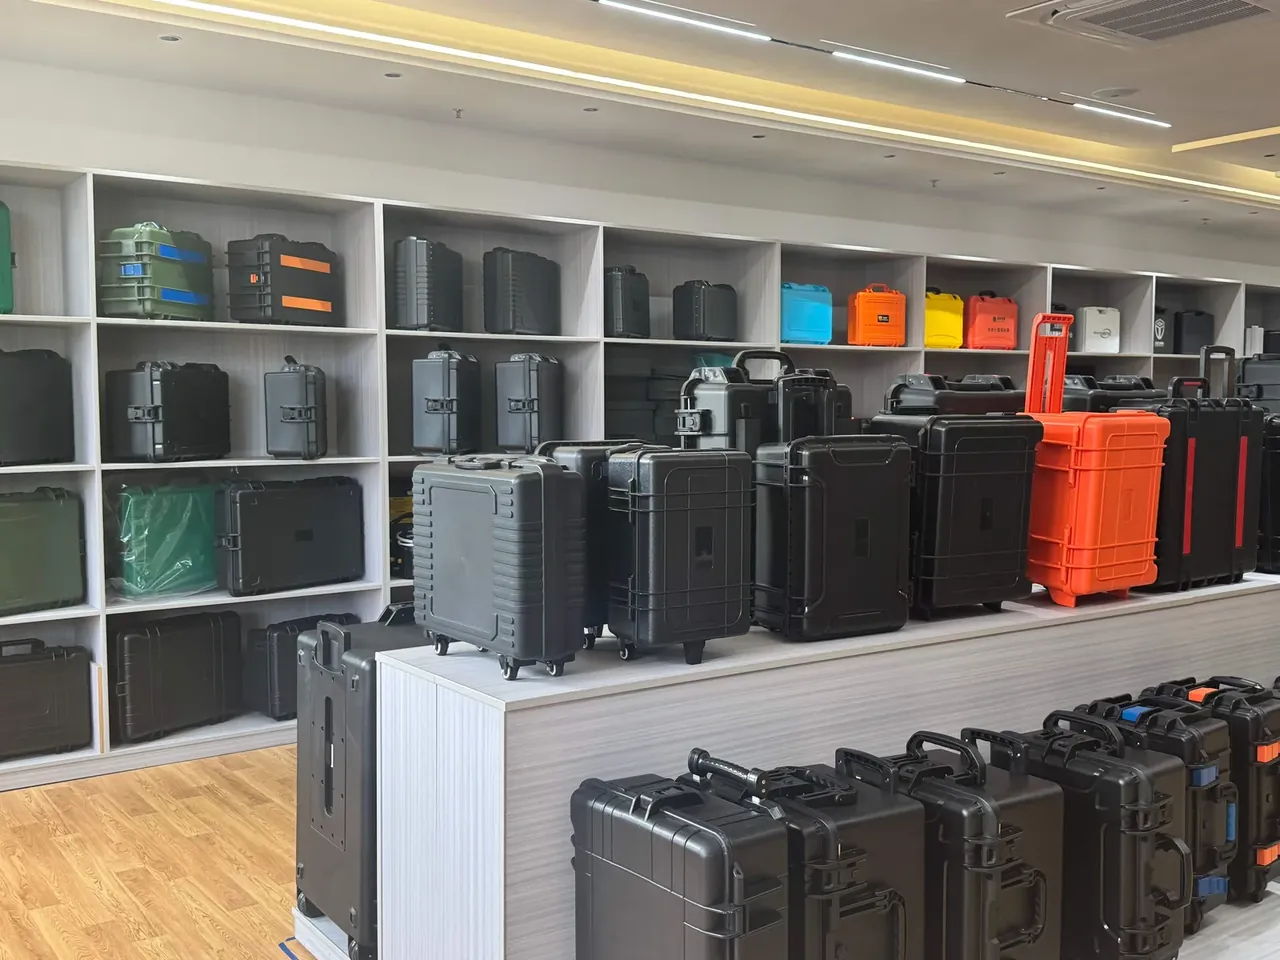
The latch hole is a through hole: the bore opens into the interior, sealed by two O-rings on the shaft. Hardened rings let water enter at the hole and run down the shaft, leaving a wet line on the lower edge. Push a 6 mm tissue roll 10 mm in, soak, and pull it out to check.
The seam comes from the parting line of the rotational mould. An uncompacted seam leaves a 0.2 mm unfused line that cannot be seen from inside, and water creeps along it slowly, often needing a 2 h soak. Draw a chalk line along the seam outside and see whether the water trace breaks it.
| Point | Path | Method | Material cost |
|---|---|---|---|
| Pressure valve | 0.1 mm gap at the seat | Soap on the seat | 6 |
| Latch hole | Bore open to interior | 6 mm tissue roll | 3 |
| Moulded seam | 0.2 mm unfused line | Chalk trace | Not repairable |
The three low-frequency points are three tenths of rework and most of the misdiagnosis: a valve leak reads as a gasket leak, and a seam that rises from the base is written off as scrap.
5. The elimination order: low points first
Two rules set the order: low before high, outside before inside. A low point meets water first and drives most of the gain; an outside point can be blocked or swapped, so clearing it first saves half the time.
| Order | Point | First check | Criterion | Time |
|---|---|---|---|---|
| 1 | Latch hole | 6 mm tissue roll | Roll wet | 5 min |
| 2 | Pressure valve | Soap on the seat | Bubbles | 5 min |
| 3 | Gasket groove | Tissue strips | Local wetting | 10 min |
| 4 | Hinge pin | Block and resoak | Gain falls to zero | 15 min |
| 5 | Moulded seam | Chalk trace | Chalk line broken | 5 min |
All five take 40 min, half the time of stripping a case. The first four sit on removable parts — gasket, O-rings, valve disc, hinge bush — at 3 to 35 in material and 25 min of labour, and that group is the only one the 80 rework price covers.
A leak on the shell is different: welding or cementing costs 30% of the strength, so rework does not hold and the case is replaced.
Conclusion
Locating case water ingress does not require stripping the case, only a sequence. Soak it 30 min, weigh to the 0.8 g line, then walk latch hole, pressure valve, gasket groove, hinge pin and seam in that order, each with one measurable criterion: wet tissue, soap bubbles, local wetting, gain back to zero, a broken chalk line. The five steps take 40 min, and the first four land on removable parts costing 3 to 35, so the 80 per case price holds. Two mistakes dominate: replacing the gasket first and pressing 25% compression down to 18%, and checking the points out of order until the 0.2 mm hinge clearance is found on the third soak. Put the sequence on the repair sheet and the rest is following the line.
This article discusses container-side specifications and design implications only, and does not cover any handling, loading or use of the contents.
Related Reading
- How an air leak test is actually run
- Gasket and groove fit dimensions
- Pressure equalisation valve structure
- Why outdoor cases take on water
Related Products
- 8 Series — Gun Cases; Military Equipment Cases; Camera Equipment Cases; Drone Cases; Watch Cases; Knife Cases; First Aid Cases; Electronics Equipment Cases
- WL8-2812 PP Gun Case — model WL8-2812
- All protective cases and toolboxes: 7 series, 158 models