

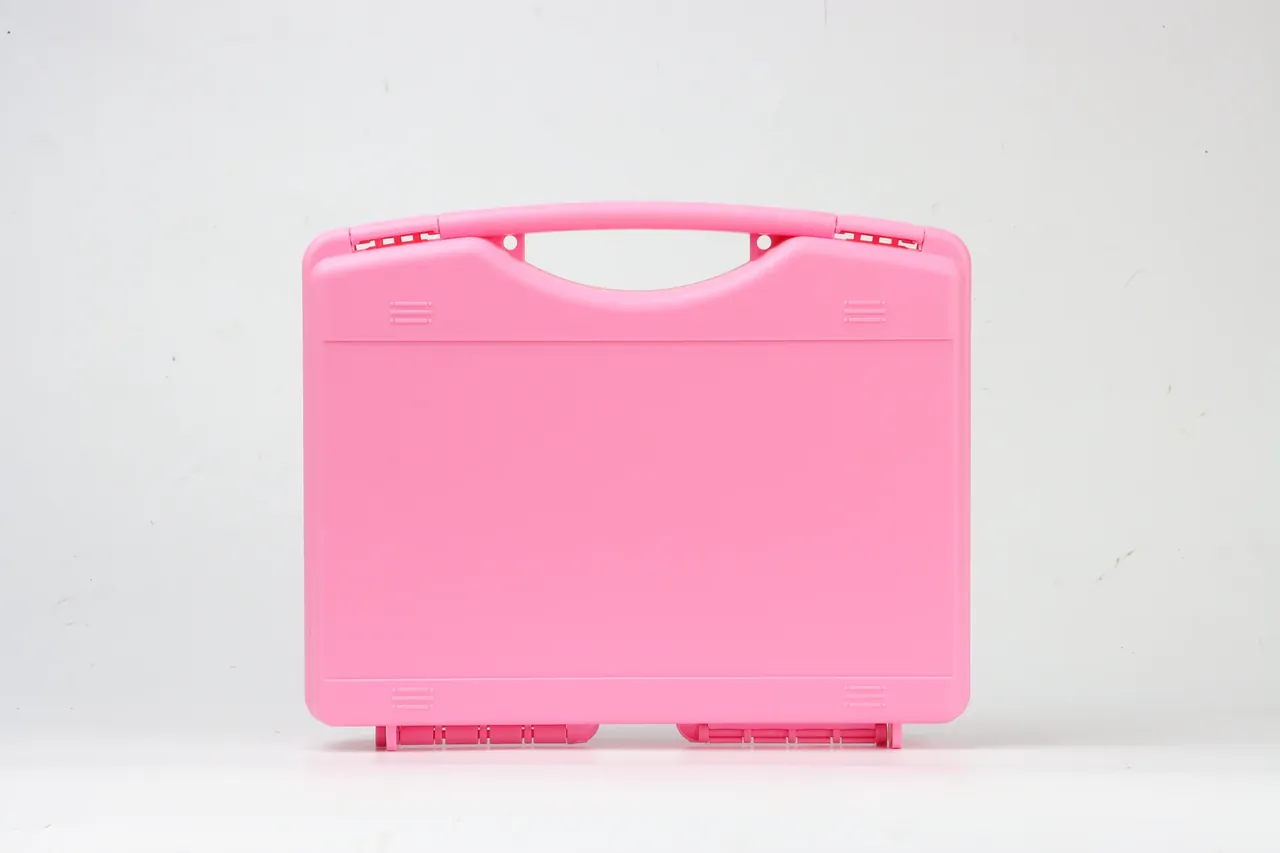
Quick answer: Maintenance on a metal tool chest is not periodic oiling. It is three steps in order: map the coating and every bare edge, control the humidity difference between inside and out, then inspect hardware on a fixed rhythm. Nine rust spots in ten begin at a sheared edge, a punched hole or a scratch, and the fastest-wearing part is usually the seal, not the steel.
Table of contents
- Start with a Baseline Inspection
- Where Rust Starts and How to Repair It
- Seals, Venting and Condensation
- Hardware Rhythm: Hinges, Latches, Valves
- A Schedule and Five Common Mistakes
- FAQ
1. Start with a Baseline Inspection
Before loading a new unit, spend twenty minutes on a baseline record: coating type, bare edges, seal material, hardware sizes. Tape the card inside the lid for later reference.
Then find the bare edges. Turn the metal tool chest over and run a hand along each folded edge, especially corners and latch cutouts. Anything showing bare metal is a future rust spot; mark and photograph it.
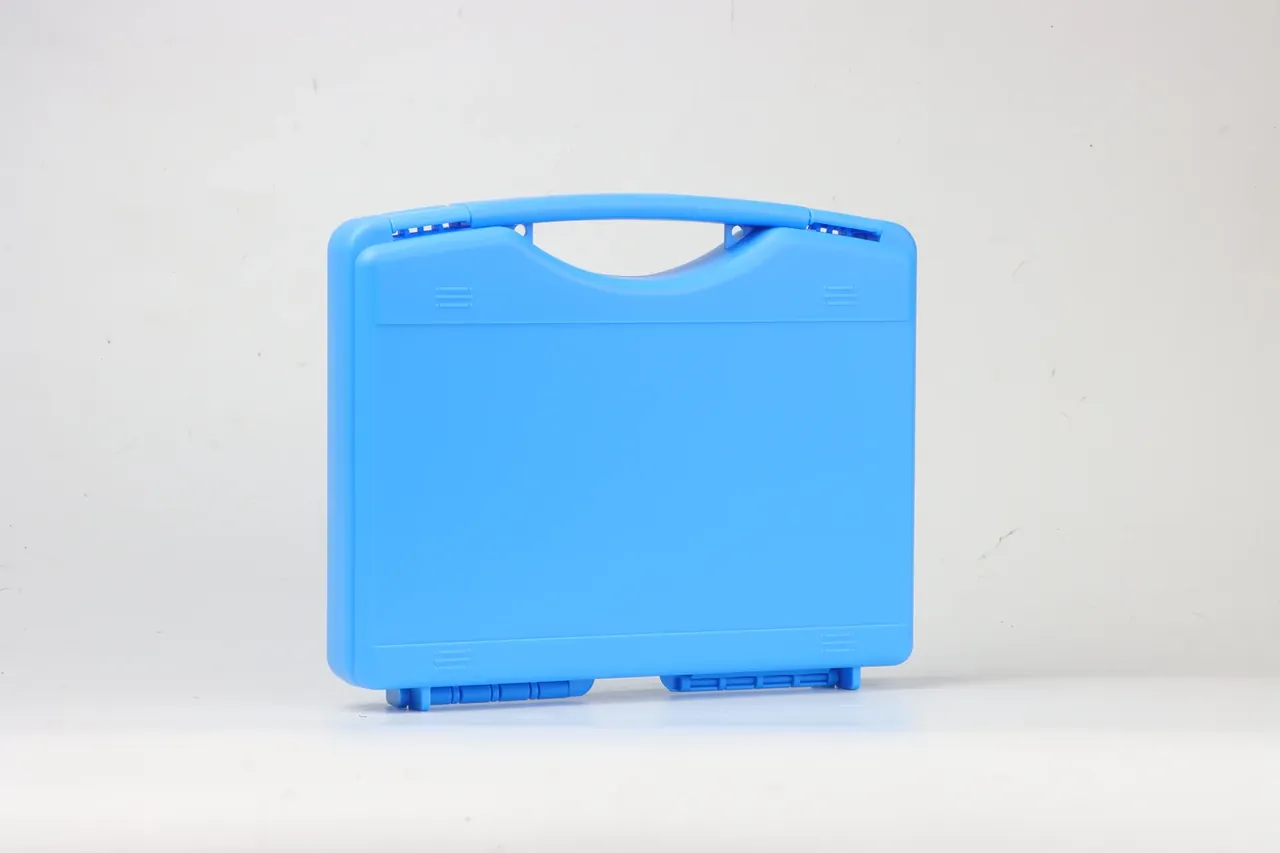
| Item | What to record | Recheck |
|---|---|---|
| Coating | Powder or zinc, visual thickness | Quarterly |
| Bare edges | Location, length, touched up or not | Monthly |
| Seal | Material, hardness, compression | Every six months |
| Hardware | Hinge, latch and valve sizes | Yearly |
2. Where Rust Starts and How to Repair It
Rust begins at sheared edges, punched holes and scratches, where the coating was cut during fabrication. Repair means more than painting over. Wash with deionized water to remove salt, then sand to bare metal and feather the edge.
Use an epoxy primer and a topcoat from the same system. Conditions are usually ignored: above eighty percent humidity or below five degrees, epoxy cures incompletely and adhesion halves, so the film feels dry but lifts under a fingernail.
Blistered spots have to be dug out, because undercut rust hides beneath the paint skin. Cut back to sound metal, then repair, and check cure with a fingernail.
3. Seals, Venting and Condensation
The seal fails before the steel does. EPDM keeps a low compression set, silicone covers more temperature at a price, PVC hardens within two years. Squeeze the removed seal; slow recovery means replacement.
Condensation is usually diagnosed backwards. Warm air inside the metal tool chest condenses on the inner wall overnight and runs to the base. Equalize pressure instead: open the valve to its minimum rate and keep silica inside.
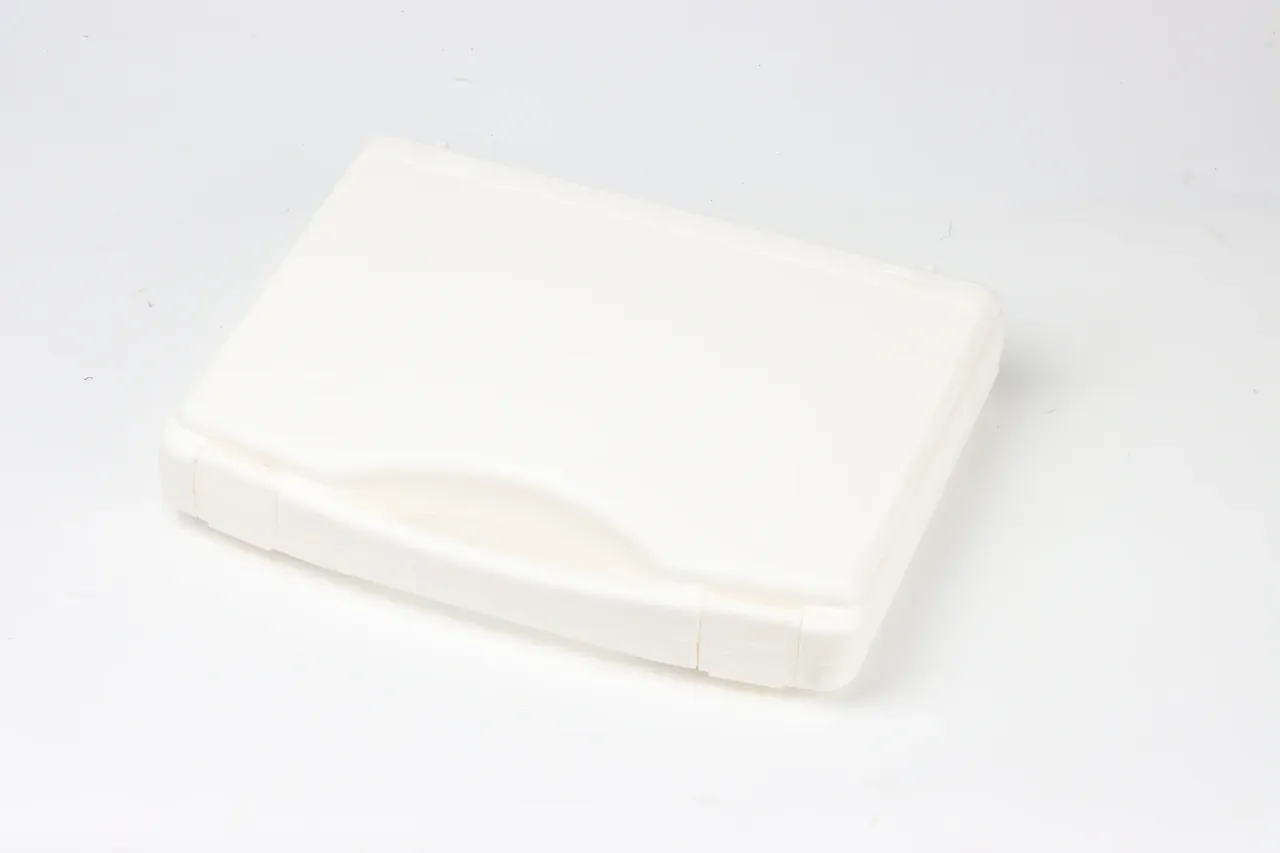
Two habits matter. Never store the unit flat on the floor, because bearers let the base breathe. And never wipe the outside with motor oil, since the film holds dust and the dust holds moisture.
4. Hardware Rhythm: Hinges, Latches, Valves
The hinge takes the highest load. A worn pin lets the lid sit crooked, the seal stops compressing on one side, and moisture enters through that gap. Open the lid and rock it sideways; play means a worn pin. Lubricate with dry PTFE spray, never oil, which becomes grinding paste.
Latches fail when the catch lip rounds over, dropping clamping force until the lid pops open. Movement beyond two millimeters calls for a new latch of the original size.
Clear the valve yearly, since a blocked valve lets the seal take the full cycling load. Unscrew the core and blow it out; never poke it with a needle.
5. A Schedule and Five Common Mistakes
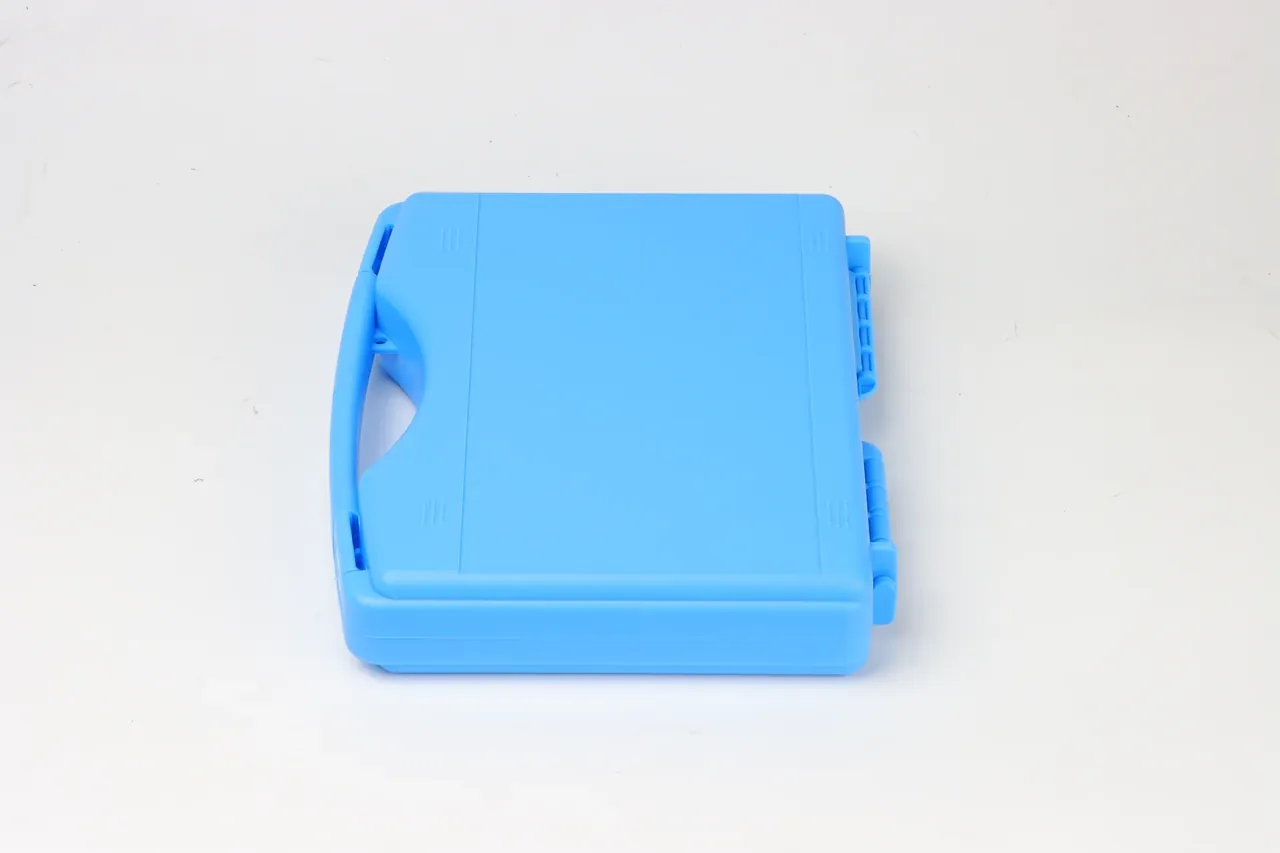
A rhythm beats memory. Daily: wipe with a dry cloth. Weekly: air the lid and check the silica. Monthly: feel for bare edges. Quarterly: check fasteners and seal compression. Yearly: replace the seal and valve.
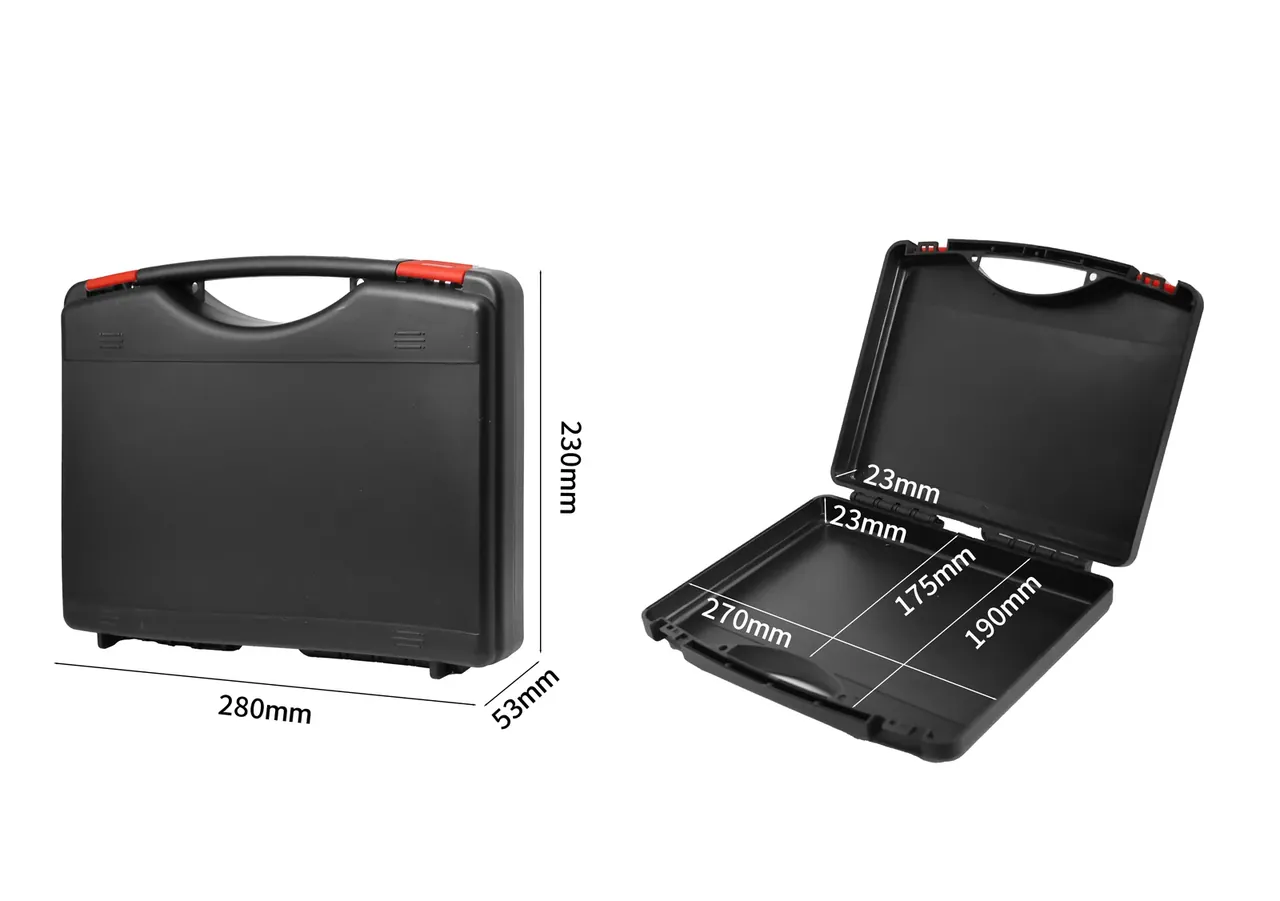
Five mistakes account for most early rust on a metal tool chest: motor oil as long-term protection, bare metal left uncoated, oil on the seal, airtight storage that traps moisture, and a unit against an outside wall.
The sixth is administrative: no written record. Units with a card outlast the others, because rust is found while it is still a spot.
Conclusion
The maintenance logic compresses to one line: record first, control moisture second, replace parts on schedule. Rust never appears suddenly, and neither does a seal failure.
This article covers container-side specifications and design intent only. It does not address any handling, loading or use of the contents.
Related Reading
- Rust prevention for metal toolboxes
- Checking toolbox hinges and latches
- Judging and replacing an aged seal
- Cleaning and care for protective cases
Related Products
- 8 Series — Gun Cases; Military Equipment Cases; Camera Equipment Cases; Drone Cases; Watch Cases; Knife Cases; First Aid Cases; Electronics Equipment Cases
- WL8-2812 PP Gun Case — model WL8-2812
- All protective cases and toolboxes: 7 series, 158 models