

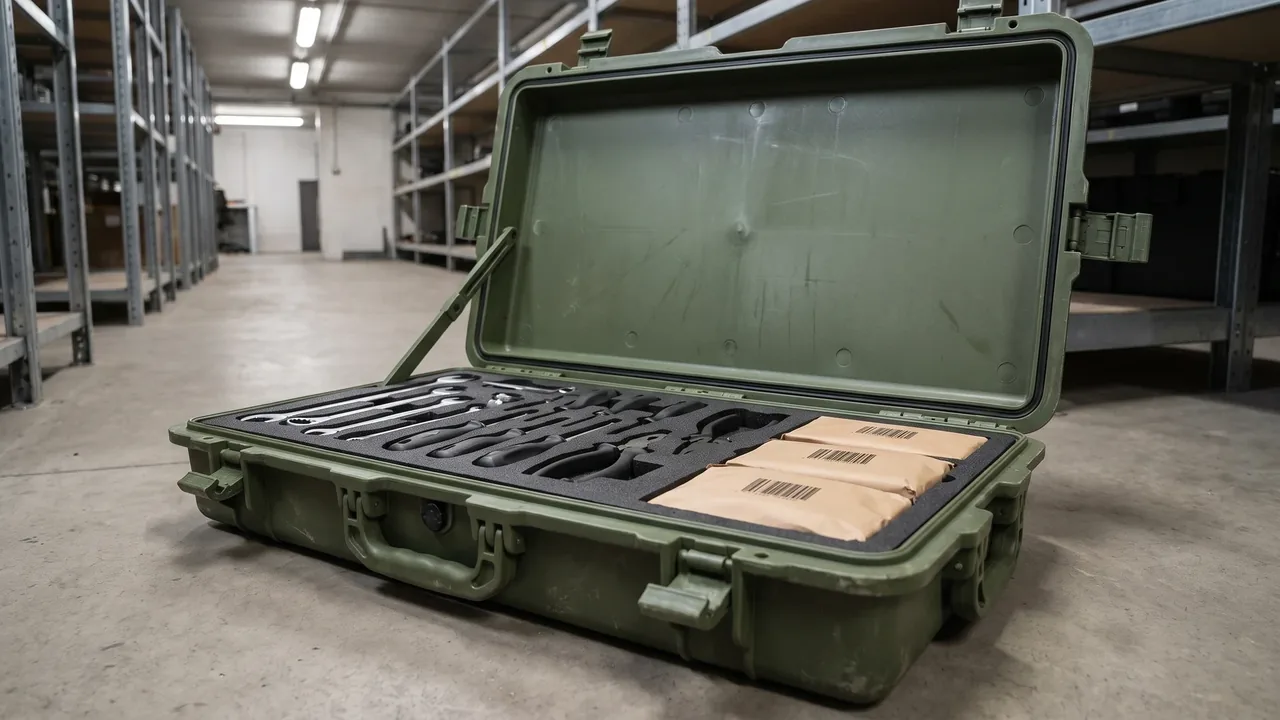
A protective case is the first line of defense for instruments, equipment and supplies during storage and transit, and its seal, latches and structural integrity decide whether the contents survive. Field data shows that premature case failure is rarely caused by the material itself but by the lack of a systematic maintenance program: seals slowly harden under ultraviolet and ozone exposure, latches seize from ingressed dust, and hinges develop plastic deformation under overload. Experience indicates that a disciplined maintenance program can extend the service life of an engineering plastic case from three to five years to more than eight years, while cutting seal failure probability by roughly seventy percent. This article builds a practical engineering maintenance workflow around daily inspection, seal care, latch and hinge service, liner replacement, wheel and handle checks, pressure valve upkeep, storage environment, moisture and mold control, spare parts management and end-of-life criteria, and it pairs naturally with Protective Case Cleaning: Hygiene Management and Seal Care, Protective Case Stacking Guide: Warehouse Stacking Safety and Load and Protective Case Accessories Upgrade: Latches Wheels Handles and Pressure Valves to form a closed loop from use to life extension. This guide is written for equipment custodians, procurement engineers and field maintenance teams who need a repeatable routine rather than ad hoc fixes. It deliberately avoids brand specific steps and focuses on the physical principles that apply to rotomolded and injection molded polymer cases as well as metal cases, so the same checklist works across a mixed fleet. Where a task depends on a standard, the relevant code is named so readers can look up the exact test method and acceptance limit. The goal is simple: spend a little effort on prevention to avoid a costly loss of protected contents later.
1. Overall Principles and Maintenance Cycle
Maintenance should shift from reactive repair to proactive prevention, built on three principles: graded inspection, component based service and traceable records. Grading means sorting cases into standby, high turnover and long storage classes, each with monthly, quarterly or semi annual intervals; cases exposed outdoors need higher frequency because seals and latches bear greater stress. Component based service splits the case into eight units: shell, seal, latch, hinge, liner, wheels, handle and pressure valve, each with its own checklist. Traceable records require logging every open, clean, lubricate and replace with date, operator and status, so batch degradation trends become visible. For units governed by military or industry transit standards, the program should align with the environmental profile in MIL-STD-810H Case Compliance so post maintenance performance still meets the original qualification. A clear cycle plan is the foundation of every other task described below. Putting the program into practice also needs a kit and an owner. Equip each user team with a maintenance pack containing neutral detergent, a soft brush, compressed air, silicone oil, lithium grease, spare seal samples and the inspection card, so checking follows every opening and logging follows every check. The owner should build one file per case recording manufacture date, cumulative open cycles, drop and immersion events and each service conclusion, and raise an early warning when cycles approach the design limit or a batch shows common damage. This model matters most in fleet management, where it can link to the asset tracking system for automatic due date reminders.
2. Seven Points of Daily Inspection
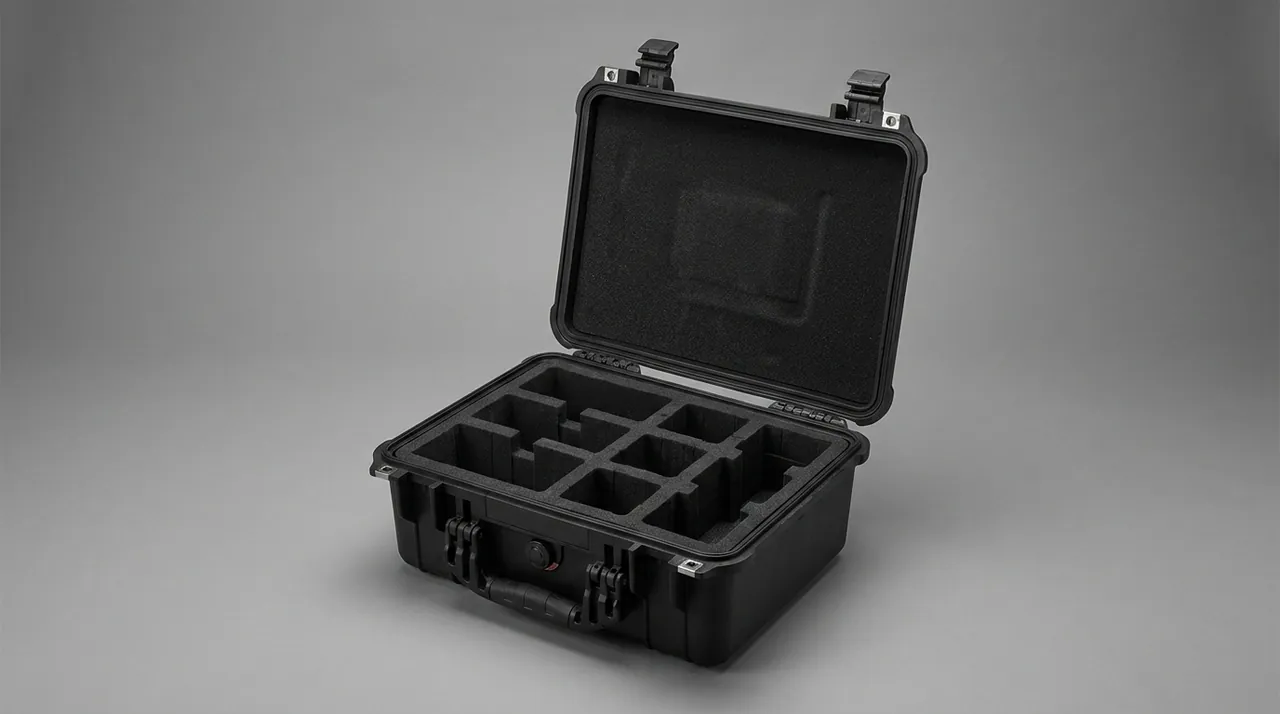
Daily inspection should happen after every opening or after a returned shipment, covering seven checks. First, visually confirm the seal is intact with no cracks or compression marks, watching the four corners for local collapse from repeated clamping. Second, test latch opening for smoothness and prompt spring return. Third, verify hinge pins are tight and the lid shows no abnormal sag. Fourth, look for new shell cracks and measure scratch depth against the reinforcing ribs. Fifth, press the foam liner to judge loss of rebound or crumbling. Sixth, spin the wheels for abnormal noise and seized bearings. Seventh, check the pressure equalization valve for free venting and a present cap. These seven points can be printed as an inspection card that travels with the case. For long stored equipment cases, merge the inspection with the humidity log in Case Warehouse Storage Rules to avoid duplicate work. Any suspect finding should be photographed as evidence for later life assessment. To raise inspection efficiency, weight the seven indicators by risk, with seal and latch highest and shell scratch lower. For mission critical cases, add simple quantification: a feeler gauge for door gap, a torque wrench for latch clamp force and a strobe for wheel runout. Mark results green, yellow or red; red items must be fixed the same day and yellow items enter the next service plan. This avoids missed checks and gives auditors a clear evidence chain for compliance review, supporting both internal and external inspection without extra paperwork.
3. Identifying Seal Aging
The seal is the core of waterproofing, and its failure is progressive, so early identification prevents sudden ingress. Three methods are common. Appearance: silicone or EPDM rubber turns whitish and shows capillary cracks under ozone and UV, and a finger pinch that leaves a non recovering dent means hardening. Rebound: take a spare seal from the same batch for a compression set test; experience says replacement is due when compression exceeds thirty percent. Water spray: mist the seam with the latch closed and watch for internal penetration, a method also found in Gasket Aging and Replacement. For IP67 and above, include periodic air tightness testing using the pressure decay method in Water Immersion Test Guide. Once aging is identified, replace promptly; never patch temporarily with glue because the bond re cracks under temperature cycles. For material differences, read Case Seal Materials. Beyond identification, build a replacement baseline ledger for seals. The same model ages at different rates by climate; tropical humidity and high altitude UV need shorter intervals. For discontinued models, buy same section seals early to avoid whole case scrap from no spare. Require material certificates and weatherability grade from suppliers, and sample check against the relevant rating in GB/T 4208 and IEC 60529 so replacements never fall below original protection. A small stock of common sections pays back the first time a batch shows edge cracking in the field.
4. Seal Cleaning and Care
Seal care follows three steps: clean, protect and release. Clean with neutral detergent and a soft cloth to remove sand, salt crystals and oil from the seal groove; never use gasoline or strong solvents that swell rubber. Protect by applying a thin film of silicone oil or dedicated rubber protector on the dry seal to slow ozone cracking, but keep it thin so dust does not adhere. Release by loosening latches every two months for long idle cases so the seal recovers; never keep them clamped permanently. Folded or rolled seals should be returned to their original path, never reversed. If a seal has slipped its groove, reseat before closing, or follow Case Seal Ring Replacement Guide for a full change. Cleaning and care should run together with shell washing in Protective Case Cleaning: Hygiene Management and Seal Care so wastewater does not backflow into the groove. Log the seal batch and oiling date to track consistent batch life. Avoid two common mistakes. First, over greasing: excess silicone oil traps dust into a lapping paste that wears the seal, so apply thin and even. Second, ignoring the groove itself: salt crystals in the slot lift the seal and cause hidden leaks, so clean the slot bottom with a soft stick. For double seals, check inner and outer separately; inner failure precedes outer but stays hidden. After care, stick a narrow paper strip on the frame as a close mark; if it shifts at next opening, the case was opened unexpectedly and needs review. A practical tip is to keep a small sealed bag of consumables with the case: a few centimeters of spare seal, a tube of silicone oil and a roll of paper strip markers. When a case is deployed far from the workshop, this bag turns a potential write off into a ten minute field fix. Train operators to recognize the early white haze on rubber so they report it before the next mission rather than after a leak is found inside the case during inventory.
5. Latch and Hinge Service
Latches and hinges bear opening cycles and transit vibration, making them fatigue prone. For latches, blow out the cavity with compressed air, then add a little neutral lithium grease to the latch tongue and spring; avoid thick butter that sticks at low temperature. Keyed cylinders benefit from periodic lock lubricant, more often in sea breeze environments to prevent salt crystallization. Hinges need attention on pins and bushings: check rivet or screw tightness, and a metal friction sound on opening signals lost lubrication or worn pins. Replaceable hinges should be changed before wear limits per Case Hinge Replacement Guide; integral hinges are controlled by tightening screws with flat washers. Watch latch hinge coordination: one over tight latch twists the frame and presses the seal, see Toolbox Hinge Latch Seal. For high security, upgrade with Case Lock Customization Options, and match frequency to material traits in Latch Hardware Material Guide. For fleets of one model, keep a cycle life file for latches and hinges. Experience shows hinge pin wear on daily use appears in year three to five, so advance spares prevent pre mission failure. Tamper resistant latches exposed outdoors collect dust and water in the keyway; drain and re grease regularly. If the frame shows slight deformation from uneven latch force, adjust clamp distribution with shims to stop single point overload pressing the seal and causing local leaks, per the latch hinge seal coordination guidance already noted above for frame alignment.
6. Shell Surface Cleaning and Protection
Shell maintenance removes corrosive media without harming the material. Engineering plastic shells clean with a soft brush and neutral detergent; stubborn marks take an isopropanol wipe but avoid long soaking that lifts print. Metal shells need salt spray and scratch control: dry promptly and touch up bare scratches with paint or rust inhibitor, per Metal Toolbox Rust Prevention. After washing, check reinforcing ribs for cracks, and for dropped cases use Repair Cracked Case Shell to judge repairability. Outdoor cases should track UV aging via UV Aging Test for Cases. For color coded management, avoid strong solvents that strip the label, see Case Color Visual Management. Always let the shell dry fully before closing to prevent internal condensation. Split washing into routine and deep levels. Routine is dusting and spot cleaning; deep runs quarterly and includes wheel removal for sand, valve clearing, and label wiping. After deep wash, photograph the shell to set a scratch and wear baseline for later comparison. For salt spray duty, rinse residue with fresh water, blot with lint free cloth, then mist a thin corrosion inhibitor. Replace any lifted transport or warning labels so identity information stays complete and readable, which also helps the next inspector confirm the case matches its recorded contents quickly.
7. Liner and Foam Service
The liner decides internal shock resistance, and its care keeps rebound and fit. Open cell polyurethane and cross linked polyethylene foam develop permanent dents after repeated compression; replace when dent depth exceeds twenty percent of original thickness or when crumbs shed. Pick and pluck foam with shedding should be changed wholly to keep debris out of instrument ports. For precision instruments, re cut the liner to the device outline using Case Custom Foam Factors and Case Pre Cut Foam; when the original no longer fits, use Foam Relining and Recutting. After replacement, run a simulated drop per ISTA Transport Testing Procedure to confirm cushion margin, and keep the new foam flame rating consistent with UL94 Flammability Rating Cases. Compare materials with Case Foam Material Comparison for better aging resistance. Liner care also covers item placement. After every access, return the device to its cut pocket; never toss it in and cause local offset load. For multi device sharing, attach a pocket map so wrong placement cannot cause collision. When equipment is upgraded and changes shape, the old pockets no longer fit; re cut or replace rather than stuff loose foam, because loose fill drifts under vibration and loses cushion. Wipe oil from the liner with neutral detergent only; solvents dissolve foam and must be kept away from the interior at all times during service.
8. Wheel and Handle Load Checks
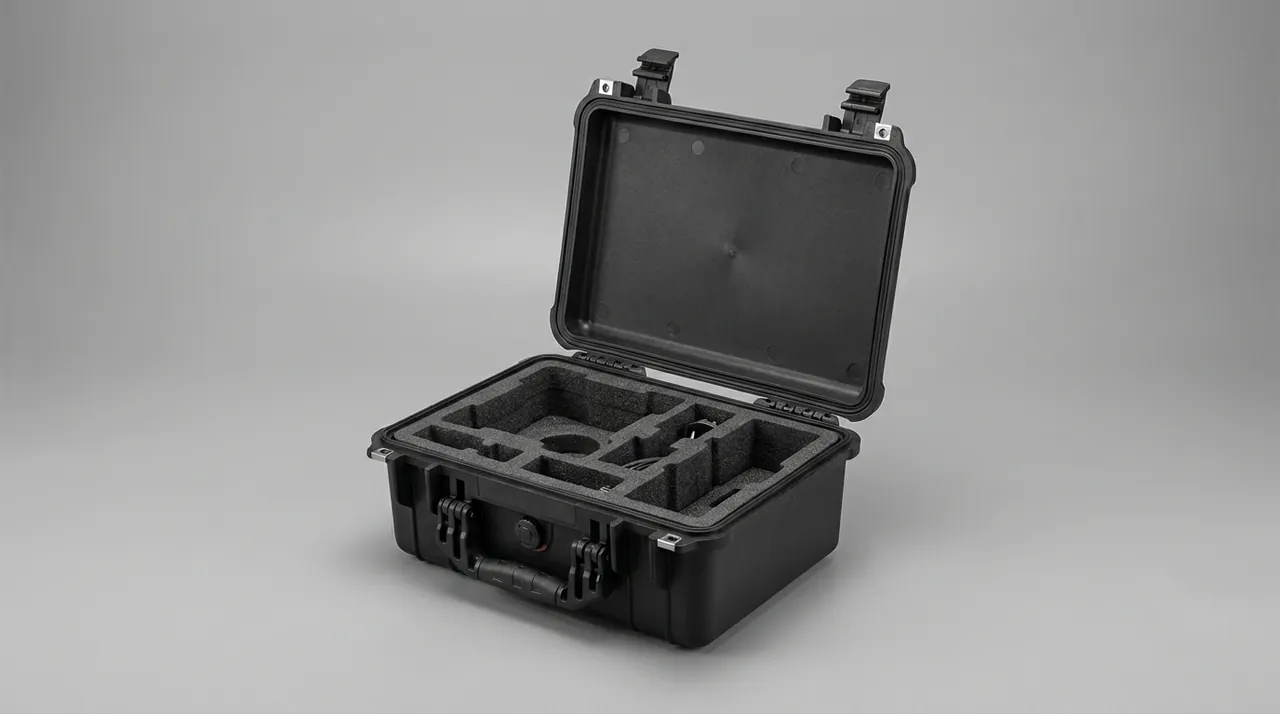
Wheeled cases bear bending and impact on the ground, so wheels and handles are structural priorities. Wheel checks cover free rolling, frame deformation and retained circlips; clear embedded stones after gravel or slope use. Experience says single wheel rating should exceed total loaded weight divided by wheel count with a one point five safety factor, since overload accelerates bearing and frame wear. Handle checks cover grip cracking, loose rivets and reliable telescopic lock; for trolley handles see Case Wheels and Trolley Handle. Tighten loose screws first, and replace the base if threads strip. Fatigue can be periodically verified by Toolbox Durability Load Test. To upgrade wheels, follow the selection advice in Protective Case Accessories Upgrade: Latches Wheels Handles and Pressure Valves. Wheel care also links to post stacking handling safety in Warehouse Stacking Moisture Cases. Match wheels to ground. Slick floors slip, rough roads shake the frame, so choose diameter and compound by main scene: soft wheels damp but wear, hard wheels wear but jar. Replace cracked handle grips early before they cut hands. For telescopic handles, dust in the rail jams travel; blow out with air and add dry film lube. When carrying overload cases, use both hands, centered, never one hand that overloads one hinge; the load check in the durability test gives the safe figure to plan lifts and team handling around the site.
9. Pressure Equalization Valve Service
The pressure equalization valve offsets altitude or temperature induced differential pressure so the lid is not sucked shut or the seal pushed open. In service, confirm the cap is present and the vent is clear of mud; a fine needle may clear it but never enlarge the hole, or the relief setpoint is lost. Auto return valves should be tested for lively open close, and after dusty use the seat can be rinsed with water and dried. The rubber diaphragm hardens with age; experience suggests replacement after two years or five thousand cycles, with structure in Case Pressure Equalization Valve and Outdoor Case Pressure Valve. If the valve leaks, check the seat seal first rather than replacing the body. For frequent air or high altitude transit, align valve service with Outdoor Case Air Transport, and always fit the original bore size to preserve seal continuity per Outdoor Case Seal Ring. Value maintenance by transport record. Frequent air or cross altitude road moves accumulate valve cycles fast, so count them separately in the file. A missing cap is the top hazard; without it the cavity takes dust and water, so confirm cap present each inspection and keep spare universal caps. Valves with a screen clog and slow the relief, felt as higher open resistance; cleaning the screen restores it. After service, stick a small date tag at the port so the interval is obvious at a glance during the next quick check by any operator.
10. Storage Environment and Control
Storage environment drives aging rate. Engineering plastic should avoid long sun exposure and heat sources, with storage temperature from minus ten to plus forty Celsius and relative humidity below seventy percent. Metal cases rust in humid heat and belong on ventilated racks, not on the floor. All materials should stay away from ozone sources such as motors, welders and UV lamps that crack rubber seals. Long storage should loosen latches, keep the original liner and drop in a humidity indicator card, checked on a schedule. For batch reserves, build a location ledger tied to Case Asset QR Code Tracking for single case traceability. Temperature and humidity also follow Archive Climate Case and Condensation Control in Cases. Long stored ammunition or equipment cases can mirror Military Steel Ammo Can Long Term Storage. Apply first in first out rotation. Sort reserve cases by intake date so the oldest ships first and none sits unnoticed. Shelves need wall gap for airflow and rated load above stacked weight. For sensitive goods, fit a logging recorder in the zone and export monthly curves to catch anomalies. Keep storage away from chemicals and corrosive gas that indirectly attack shell and seal. If one case shows condensation, open and dry it at once and review whether the environment parameters drifted from the set points before trusting the rest of the rack again.
11. Moisture Mold and Humidity Management
Even a well sealed case can suffer condensation, so moisture control is essential. Common practice places silica gel desiccant and regenerates it by drying, or uses color change types for quick inspection. For moisture sensitive electronics and optics, fit a temperature humidity card and reserve desiccant space per Outdoor Case Inner Cushion. When moving a case from cold to warm humid air, let surface water evaporate before opening to stop vapor rushing in. Mold control targets fabric liners and wooden accessories through regular ventilation. For active control, see Active Temperature Control Case Guide, and align with Environmental Chamber Case. Log each desiccant change and measured humidity as reverse proof of seal status. Split moisture control into passive and active. Passive uses desiccant and breath valves, cheap but manual; active adds thermoelectric or sorption modules for high value sealed gear. Choose by sensitivity and budget, and leave a service path. For batch cases in sea containers, watch the breathing effect from day night temperature swing; load enough spare desiccant and boost sealing. If water ever entered, dry fully and find the leak, confirm seal recovery, then load goods; never seal wet, or mold spreads and ruins the contents beyond simple drying later.
12. Repair and Spare Parts Management
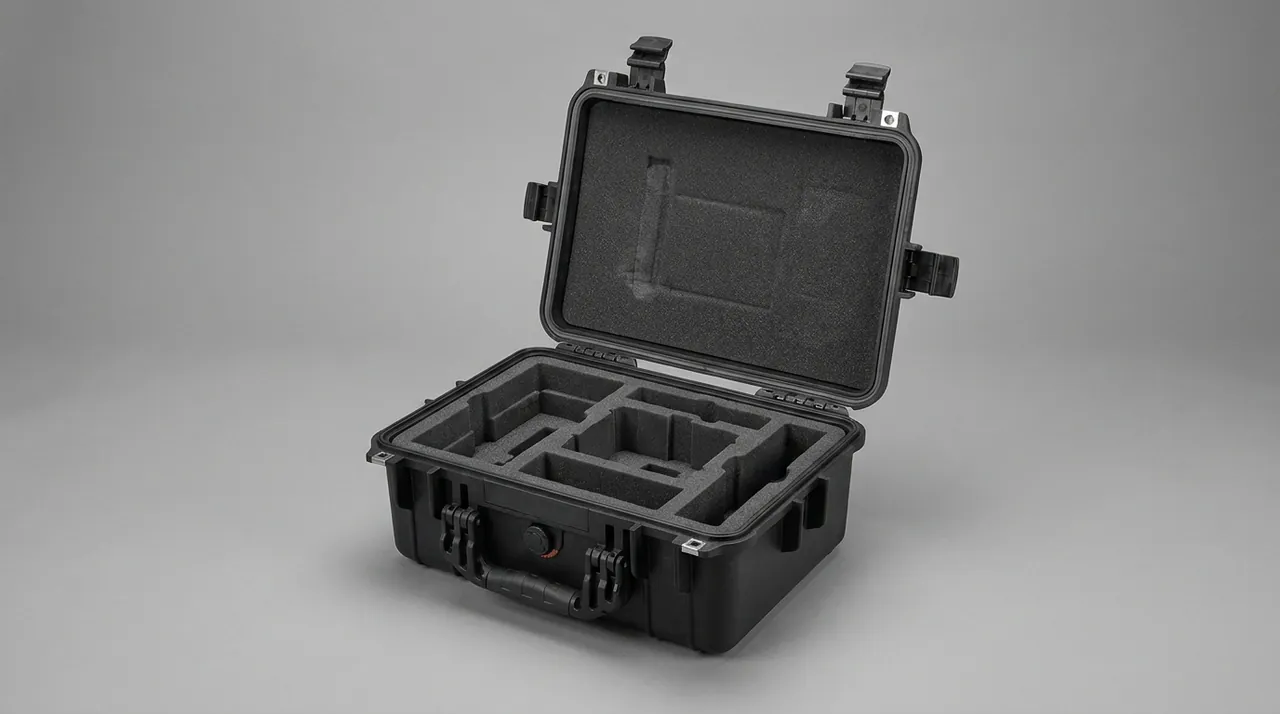
Repair should prefer replace over weld and adjust over discard, using original spares to keep seal and structure consistent. Spare parts management builds a minimum safety stock covering six consumables: seal, latch, hinge, wheel, handle and pressure valve, with lists in Case Inventory Safety Stock and Case Spare Parts Stocking List. Repairable cases follow Case Repair and Spare Parts to define field fixable versus factory return damage. Buy spares from suppliers that provide test documents, and verify material certificates per Case Supplier Evaluation System. Custom liners or special latches can be reordered via Custom Foam Inserts and Case Lock Customization Options. To lower lifecycle cost, optimize with Total Cost of Ownership Cases. After repair, do a closed lid air tightness spot check before storage. Define the field versus factory line. Seals, latches and wheels are field swappable; through shell cracks or torn hinge seats go back or retire. Before return, photograph the damage with the use history so the maker judges material fault versus misuse and feeds the next selection. For custom cases, use original drawings and spares, never non standard parts that break seal fit. Tie the repair file to warranty and spare clauses in the purchase contract, and use the warranty negotiation points to get better service when a batch shows early common failure.
13. Life Assessment and Retirement Criteria
Life assessment combines appearance, performance and records. Appearance criteria include through cracks, broken ribs and torn hinge seats that cannot be restored. Performance criteria include failure to reach the original rating when closed, fully hardened seal, or latches that will not lock. Record criteria include batch failure rate above threshold or cumulative opening cycles at design limit. Experience shows engineering plastic cases exceed eight years under good maintenance, with data in Protective Case Service Life Years. Cases meeting retirement criteria should exit rotation promptly. Recyclable shells follow Case Recycling and Reuse with metal and plastic separated for higher reuse. Retirement decisions also feed the review in Case Procurement Pitfall Checklist to improve the next purchase. Ultimately, program effectiveness ties closely to the weatherability grade in Protective Case Plastic Materials, so leave margin at selection. To make the criteria real, turn them into a checkable retirement review sheet signed by user and asset owner, avoiding subjective calls. Attach the maintenance log and fault photos as retirement evidence. Still usable retired cases can downgrade to training, storage or non precision use to maximize value. The data across the whole life cycle then feeds the next procurement spec, so the case forms a continuous improvement loop from selection and use to life extension, and each batch gets a little more durable than the last one did.
FAQ
Q: How often should a protective case get full maintenance? A: The interval depends on usage intensity. Cases in high turnover and outdoor exposure deserve monthly inspection and quarterly deep service; long stored cases can run semi annual but should loosen latches every two months so the seal rebounds. Regardless of rhythm, perform the seven point check after every opening or returned shipment, and act on anomalies immediately. Maintenance records must log date and status to reveal batch degradation trends, turning reactive repair into proactive prevention, which is the key to longer service life. A written plan keeps the whole program consistent across a fleet. Fleet managers should also align the schedule with warranty terms and season changes, since winter cold and summer heat accelerate seal aging. A shared digital log across teams makes trends visible early and supports spare parts forecasting before stock runs out. Review the plan quarterly and adjust intervals when duty cycles or storage conditions change significantly. Consistency across shifts matters more than intensity.
Q: Can a seal with fine cracks still be used? A: Surface whitening or capillary cracks mean the rubber has begun hardening under ozone and UV. It may still close short term, but under compression the cracks extend and leak. Experience says replace when a finger pinch leaves a non recovering dent or compression set exceeds thirty percent. Temporary glue patches are unreliable because the bond re cracks under temperature cycles. Fit a full strip of the original specification and apply a thin rubber protector to slow aging, preserving the IP67 class seal. Inspect the matching groove for debris before fitting the new strip. Keep spare strips in their original packaging away from sunlight, because pre aged stock fails early even when it looks fine. Label each replacement with its installation date so the next inspector can judge remaining life at a glance and order ahead. A simple photo of the fitted strip also helps verify groove coverage during audits. This habit prevents repeat failures.
Q: Should an unused case stay locked all the time? A: No, never keep it clamped long term. Constant pressure gives the seal a permanent flat spot and gaps on the next close. Correct practice is to loosen latches every two months so the seal recovers naturally; for theft protection, loosen then bind or store in a locked cabinet. Keep the original liner, drop in a humidity indicator card, and place the case in a ventilated, shaded spot with relative humidity below seventy percent to slow material aging and preserve rebound. Before long storage, clean and dry the case fully, because trapped moisture ages both liner and seal faster than use does. Record the storage start date on the maintenance card, and rotate stock so no case sits unused for years. When returning a stored case to service, run the seven point check and a water spray test before trusting it with sensitive cargo again. Once a year, open every stored case for a full inspection day.
Q: Must the whole case be replaced when foam collapses? A: No, replace only the liner. When dent depth exceeds twenty percent of original thickness or crumbs shed, change the foam. For precision instruments, re cut to the device outline using cross linked polyethylene or open cell polyurethane with better rebound; if the original no longer fits, do foam relining and recutting. After replacement, run a simulated drop to confirm cushion margin meets transit standards, and keep the new foam flame rating consistent with the original design to avoid compliance gaps. Keep the old foam until the new one passes inspection, because it may still serve lighter duty jobs. Mark the liner with the device name and revision so future recuts are faster. Store foam sheets flat and away from heat, since curled stock wastes material and fits poorly. Order liners slightly oversized, then trim in stages for a snug, even fit. Label every cut piece clearly. Good labeling saves hours later.
Q: Can I clear a blocked pressure valve myself? A: Yes, a fine needle may clear the vent, but never enlarge the hole or you lose the relief setpoint and the seal behaves abnormally. After clearing, rinse the seat with water and dry, then test lively open close. If it leaks, check the seat seal first rather than swapping the body; replace the rubber diaphragm after two years or five thousand cycles when it hardens. Always fit the original bore size to preserve seal continuity, and raise frequency for frequent air or high altitude transit users who stress the valve most. Never use compressed air at high pressure, because it can drive dirt past the membrane into the case. If the valve rattles or whistles during temperature changes, treat it as a warning and test it with water before the next shipment. Keep one spare valve per ten cases in the kit. A stuck valve can dome a lid during flight.
Q: Can I wipe the case surface with alcohol? A: Engineering plastic shells accept an isopropanol wipe on stubborn marks but avoid long soaking that lifts print; metal shells must be dried and rust protected after washing. Never use gasoline or strong solvents on the seal or the rubber swells. Whatever the material, let shell and seal dry fully before closing to prevent internal condensation. For color coded cases, strong solvents may also strip the identity color, so prefer neutral detergent for routine cleaning and reserve alcohol for spot treatment only. Test any new cleaner on a small corner first, because some plastics craze under strong formulas. Dry wipes work better than wet sprays for dust, since liquid carries dirt into seams. Finish with a plain water wipe to remove residue, then air dry with the lid open in shade, never in direct sun that warps shells. Wear gloves when handling solvents indoors. Ventilation matters as much as the agent itself.
Q: How do I know a case should be retired? A: Retirement criteria fall into three groups: appearance with through cracks, broken ribs or torn hinge seats that cannot be restored; performance where the closed case cannot reach its original rating, the seal has fully hardened, or latches fail to lock; and records where batch failure rate exceeds threshold or cumulative cycles hit design limit. Any one triggers exit from rotation. Engineering plastic cases exceed eight years under good maintenance; retire the shell by material split for recycling and feed lessons into the next purchase review. Photograph the damage before retirement so the record supports warranty or supplier discussions. Separate retired cases from active stock immediately to prevent accidental use. Where shells are still sound but seals are gone, consider refurbishment instead of full disposal, since a new seal kit often restores the rating at a fraction of replacement cost. Trends guide the next tender and justify budget requests to senior management each year.
Q: What spare parts should maintenance keep? A: A minimum safety stock covers six consumables: seal, latch, hinge, wheel, handle and pressure valve. Source from original or qualified suppliers that provide material certificates and test documents, and reorder custom liners or special latches separately. Manage the list with a minimum stock line, following replace over weld and adjust over discard in the field. After repair, do a closed lid air tightness spot check before storage, and record the replaced batch number in the maintenance file for full traceability across the fleet. Store consumables in a dry cabinet with simple bins so field staff can find parts without help. Review stock levels every quarter and after every large shipment. When a part is replaced twice on the same case within a year, investigate the root cause instead of fitting a third unit, since repeat failures usually point to misalignment or overload. Costs stay predictable when the loop is closed.