

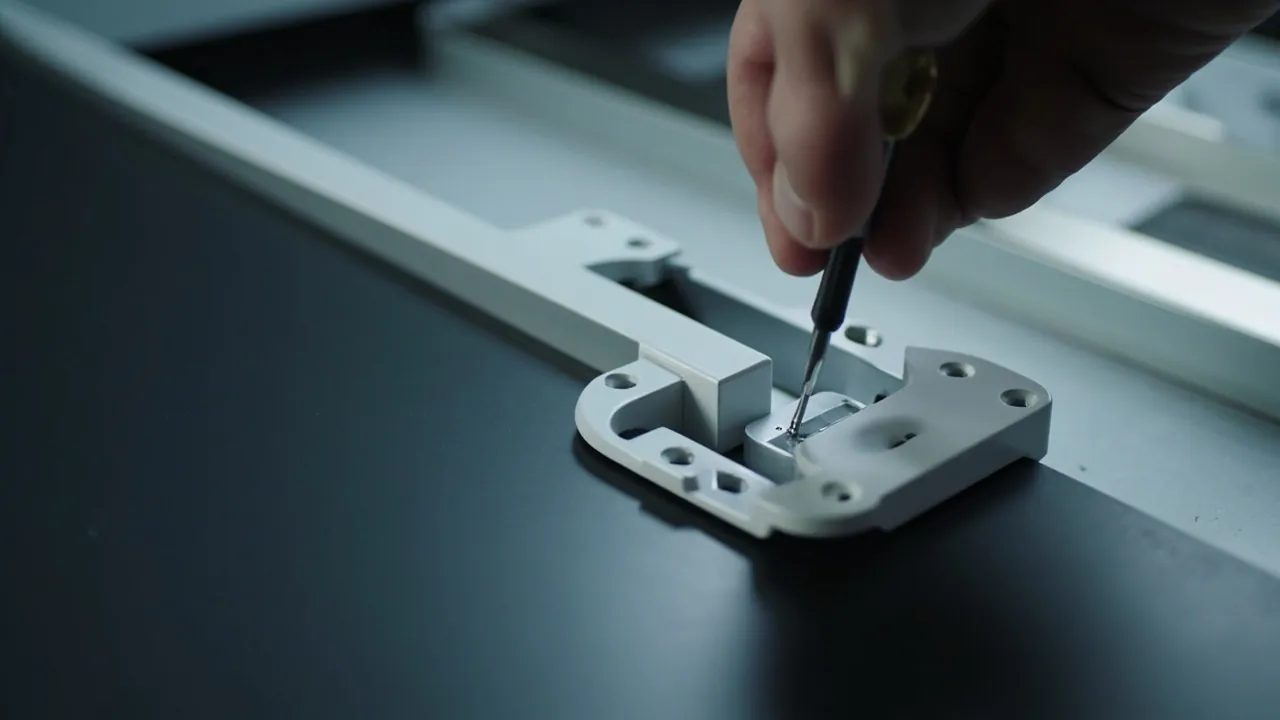
The short answer: whether a hinge can be replaced depends on whether it is a separate part or formed as one piece with the case. A living hinge moulded into the shell cannot be swapped on its own — the lid or the whole case must be replaced. Pin-type, screw-fixed and externally fastened hinges can be replaced, and the difficulty rises from a tool-free pin pull to drilling out rivets. The most common purchasing error is treating "replaceable hinge" as a universal property and writing it into an enquiry without checking, then discovering on the sample that the hinge is a thin moulded web. If that web fatigues, the case is scrap. A second error is comparing price without comparing life: among pin-type hinges, carbon steel versus 304 or 316 stainless, bushed versus unbushed, and a 0.5 mm wall difference can multiply cycle life tenfold.
This article separates "can it be replaced" from "how should it be specified." It starts with a three-minute method for identifying which hinge class a case uses, then gives four selection rules based on cycle life, lid weight and environment. It sets out a six-step replacement procedure and a post-replacement verification routine, and closes with a spare parts and procurement strategy so that long-life design actually shows up in total cost of ownership. Figures are typical or empirical values, and real projects should be confirmed against the case drawing and physical validation.
Contents
- The short answer: four constructions, two replaceable
- Identify which hinge class you actually have
- Living hinges: why they usually cannot be replaced
- Pin-type hinges: the workhorse of replaceability
- Screw fixing versus rivet fixing: where the difficulty lies
- Selection step one: choose the construction from cycle life
- Selection step two: size the hinge for lid weight and load
- Selection step three: choose material and finish for the environment
- Selection step four: designing a detachable lid
- How hinges interact with latches and seals
- Replacement procedure: six steps
- Post-replacement verification: alignment, sealing and force
- Maintenance, spares and procurement strategy
- Frequently Asked Questions
- Conclusion and Related Reading
The short answer: four constructions, two replaceable
By replaceability, protective case hinges fall into four classes with entirely different handling.
| Construction | Typical form | Replaceable alone | Difficulty | Common failure mode |
|---|---|---|---|---|
| --- | --- | --- | --- | --- |
| Living hinge | Moulded thin web | No | Requires a new lid or case | Fatigue cracking from repeated flexing |
| Pin-type separate hinge | Lugs on case and lid, pin through | Yes | Low (pull the pin) | Pin wear, lug bore enlargement |
| Screw-fixed separate hinge | Self-tapping or machine screws | Yes | Medium | Stripped screw threads, cracked bosses |
| Rivet-fixed separate hinge | Rivets or heat-staked joints | Yes, but destructive | High | Loose rivets, cracked hinge plates |
The identification sequence is simple. Open the lid and look at the hinge area for a separate metal or plastic part. If there is none — just a thinned section of the same plastic bridging case and lid — it is a living hinge. If a separate part exists, look at whether it pivots on a single transverse pin, or is fastened with screws or rivets.
Why can a living hinge not be replaced? Because it is not a part. It is a continuous span of material between lid and case whose hinge function comes from the material's own fatigue resistance. Once a crack starts, it propagates along the weak plane and there is no interface to swap. Only two options remain: derate the case by reducing open-close frequency and adding an external limit strap, or replace the lid if the supplier offers it as a spare, or replace the whole case.
The single most valuable line to put in an enquiry is this: the hinge shall be a replaceable separate part and pins or hinge plates shall be available as spares. It costs essentially nothing and can prevent a whole case from being scrapped inside a five-year service life. The link between replaceability and total cost of ownership is discussed in cost reduction levers for custom cases.
Identify which hinge class you actually have
Field identification needs no disassembly. Three checks are enough.
Check one: is there a separate part? Run a fingertip along the joint between lid and case. A distinct part in a different material from the shell means a separate hinge. A continuous thin web in the same material as the shell, noticeably thinner than the wall, means a living hinge.
Check two: find the pin. A separate hinge normally carries a transverse pin. Look at both ends. A cap at one end with a retaining-ring groove or knurling at the other usually means a press fit that can be driven out with a pin punch from the opposite end. Caps at both ends with no visible feature often indicate a riveted pin, which is non-removable or requires destructive removal. A visible hole at one end, or an end that can be gripped with needle-nose pliers, normally means the pin can be pulled straight out.
Check three: look at the fastening. Visible Phillips or hex socket screws make replacement easy. Matching colour and material with the shell, or an obvious rivet head or heat-staked stud, makes it much harder. Heat staking and ultrasonic welding are common on moulded parts, and both are single-use joints.
| Field observation | Conclusion | Recommended action |
|---|---|---|
| --- | --- | --- |
| Continuous thin web in the shell material | Living hinge | Derate or replace the lid |
| Caps at both ends, no groove | Riveted pin, non-removable | Destructive removal, then fit a replaceable pin |
| Cap at one end, groove at the other | Press-fit pin | Drive out with a punch, replaceable |
| Visible Phillips or hex screws | Screw fixed | Direct removal, watch for stripping |
| Separate metal hinge with a pullable pin | Pin type | Easiest to replace |
One frequently missed detail: the lug bore. The usual reason a replacement fails is not that the pin would not come out, but that the lug bore has worn oval. Once the bore enlarges, a brand-new pin still leaves the lid loose, and sealing degrades with it. Measure the bore before replacement: if it has grown by more than about 0.3 mm over the design value, a new pin alone will not restore function, and the hinge plate must be replaced or an oversize pin used.
Living hinges: why they usually cannot be replaced

If they cannot be replaced, why are they so widely used? Because, properly designed, they are genuinely reliable and extremely cheap.
How a living hinge works. The material is reduced to a very thin section at the hinge line, and the excellent flex-fatigue resistance of polypropylene allows that section to bend repeatedly without breaking. No extra parts, no assembly operation, nothing to loosen, no metal to corrode, the whole case in one moulding — the lowest cost of all options.
Its real life depends on three things.
- Material. Homopolymer PP has the best flex-fatigue resistance, copolymer PP is next, and glass-filled grades are markedly worse. Glass-filled material is unsuitable for living hinges — this is a hard material constraint.
- Web thickness and span-to-thickness ratio. Thinner webs over longer spans develop lower strain per cycle and last longer. As an empirical guide, a web of 0.3 to 0.6 mm with a span of at least eight to ten times the thickness performs well.
- Service temperature and open angle. Plastics embrittle in the cold, and flex life drops sharply. Repeated opening in sub-zero conditions is the leading cause of living hinge failure.
How does it fail? Cracks usually begin at the stress concentrations on either side of the web, typically at the parting line or near a weld line close to the gate, and propagate toward the centre until the web separates. Once it separates, the lid is detached and sealing is lost entirely.
If it has already broken, what can be done? Three routes. First, replace the lid, provided the supplier offers the spare and the case-side hinge feature is intact. Second, retrofit external metal hinges fastened to case and lid across the fracture. This requires drilling, counts as post-machining, may affect the ingress protection rating, and must be assessed and re-verified for sealing. Third, replace the case. In most situations, given the risk and labour of post-machining, a new lid or a new case is the more economical answer.
How to avoid this at selection. If use is frequent — several openings per day — the environment is cold, or the service life target exceeds five years, do not choose a living hinge. Choose a separate pin-type hinge instead. It is the cheapest way to remove the risk before it exists.
Pin-type hinges: the workhorse of replaceability
Pin-type hinges offer the best replaceability and deserve the investment in long-life designs.
Basic construction. The case has several hinge lugs, usually two or three, and the lid has matching lugs. They interleave, and a single pin passes through all the bores to form the pivot. Some designs press a bushing into each bore, shifting wear from the plastic bore onto a replaceable sleeve.
Why is replaceability best here? Because the function splits into three independent parts: the lugs belong to the case, which cannot be replaced but lasts the longest; the pin is a replaceable wear part; and the bushing, where fitted, is a replaceable anti-wear part. As long as the pin is designed to be withdrawn, replacement takes minutes.
Four parameters to control in design and in service.
- Pin diameter and material. Common diameters run 3 to 8 mm. Stainless steel 304 or 316 is the first choice, followed by zinc-plated or nickel-plated carbon steel. In outdoor or wet service, zinc-plated carbon steel corrodes noticeably faster and eventually seizes, turning a replaceable design into one that cannot be dismantled.
- Running clearance. The pin needs clearance in the bore. Too little makes opening stiff and accelerates wear; too much lets the lid rock and makes gasket compression unstable. As an empirical guide, radial clearance of 0.1 to 0.3 mm suits most lids, with the exact value depending on lid weight.
- Axial retention. The pin must be axially retained or it will walk out in service. Common solutions are a cap at one end with a retaining ring at the other, heat-staked heads at both ends, a spring dowel, or an end cap.
- Bushings. For high-cycle applications, a bushing — POM, nylon or oil-impregnated bronze — extends life significantly. The value of a bushing is that it concentrates wear in a cheap, replaceable part.
| Parameter | Suggested range (empirical) | Consequence of deviation |
|---|---|---|
| --- | --- | --- |
| Pin diameter | 3–8 mm, matched to lid weight | Too thin bends; too thick adds weight and cost |
| Pin material | 304 or 316 stainless preferred | Carbon steel seizes in damp service |
| Radial clearance | 0.1–0.3 mm | Too tight stiffens and wears; too loose rocks and leaks |
| Axial retention | Ring, staked head, dowel or end cap | Without it the pin walks out |
| Lug count | Three for large cases, two for small | Too few lets the lid twist |
| Bushings | Recommended for high-cycle use | Without them the plastic bore wears oval |
Screw fixing versus rivet fixing: where the difficulty lies
When the hinge is a separate part but fastened to the case, replaceability depends on the fastener.
Screw fixing. Two variants. Self-tapping screws thread directly into plastic bosses or holes. Machine screws with nuts or inserts pass through hinge plate and case into a metal insert. Self-tapping is fast and cheap, but repeated disassembly strips the threads — its greatest weakness. Once stripped, the thread cannot provide clamping force and the hinge works loose. Machine screws into metal inserts are far more reliable, tolerate many assembly cycles, and cost more in inserts and assembly labour. If hinge replacement is anticipated, choose machine screws with metal inserts.
Rivet fixing. Rivets, including blind and solid types, along with heat staking and ultrasonic welding, are single-use or semi-permanent joints. Replacement means destroying the original joint: blind rivets can be drilled out at the head, solid rivets must be drilled, and heat stakes must be re-melted. Whether the joint can be re-made afterwards depends on whether the original hole still offers enough clamping area — if the hole has enlarged, a larger rivet or a switch to screws is usually required.
| Fastening | Repeat assembly | Stripping or loosening risk | Replacement difficulty | Recommendation |
|---|---|---|---|---|
| --- | --- | --- | --- | --- |
| Self-tapping screw | Limited (3–5 cycles) | High | Low | Only where replacement is not expected |
| Machine screw with insert | High (10+ cycles) | Low | Low | First choice when replacement is anticipated |
| Blind rivet | No | Medium | Medium (drill the head) | Single assembly; replacement needs a larger hole |
| Solid rivet | No | Low | High (requires drilling) | Strong but not serviceable |
| Heat staking or ultrasonic welding | No | Low | High | Common on mouldings, single-use joint |
A practical suggestion: write hinge serviceability into the technical requirement at the tooling stage. A usable wording is: "The hinge shall use a removable connection; after disassembly the fastener shall be reusable and retain clamping force, with at least five repeat assembly cycles permitted." That single sentence forces a supplier to consider inserts or a pin design rather than defaulting to heat staking.
Selection step one: choose the construction from cycle life
The first constraint in hinge selection is the life target, not size or price, because construction must be settled before dimensions and materials are worth discussing.
Establish three inputs first: how many times per day the case opens, over how many years, and whether human overload is possible — for instance a lid used as a seat or a step. Multiply the first two for total cycles, then use the third to decide the safety factor.
| Duty level | Opens per day | Service life | Total cycles (empirical) | Recommended construction |
|---|---|---|---|---|
| --- | --- | --- | --- | --- |
| Long-term storage | 0.1 or fewer | 5 years | 200 or fewer | Living hinge acceptable |
| General industrial | 1–3 | 5 years | 2000–5500 | Pin type, zinc-plated steel pin |
| High-frequency field | 5–10 | 3–5 years | 5500–18000 | Pin type with bushing, 304 stainless pin |
| Very high frequency | 20 or more | 5 years | Above 36000 | Pin type, bushing, replaceable plates |
| Harsh environment | Any | Any | — | 316 stainless, fully removable construction |
How should a life claim be written so it can be accepted? State three things in the technical agreement: the cycle count, the open angle, and the pass criteria after cycling. Usable criteria include: change in opening torque within fifty percent of initial; no visible cracking or permanent deformation; axial pin movement within 1 mm; and the case still holding its ingress protection rating after the swap. The type testing framework in acceptance criteria and AQL sampling for custom cases applies directly here.
A counter-intuitive conclusion: more life is not always better. Lifting a target from five thousand cycles to fifty thousand typically requires stainless pins, bushings, metal inserts and thicker lugs, and can double or triple cost. If real use is three thousand cycles, that spend is wasted. Calculate the real requirement first, then apply a factor of two to three.
Selection step two: size the hinge for lid weight and load
Hinge loads come from lid self-weight, anything mounted on the lid such as inserts or instruments, and human overload. Undersizing shows up as cracked lugs, bent pins and a sagging lid.
Estimation approach (empirical). Work out the static load on one side: multiply total lid weight by a safety factor — two to four, depending on the likelihood of human overload — then divide by hinge count. From there, size the pin diameter against its shear and bending capacity.
Simplified engineering bands:
- Lid weight up to 2 kg: pin diameter 3 to 4 mm, two lugs are sufficient.
- Lid weight 2 to 6 kg: pin diameter 4 to 6 mm, two to three lugs recommended.
- Lid weight 6 to 15 kg: pin diameter 6 to 8 mm, three lugs recommended, plus a limit stop or damper.
- Lid weight above 15 kg: use a metal hinge assembly with a gas strut or mechanical limit so the lid cannot fall freely.
How do you detect a sagging lid? A usable field check: open the lid to 90 degrees, apply a light downward force at the far edge, and measure deflection. Significant and non-recovering deflection indicates insufficient hinge stiffness or an already worn bore. This matches the local reinforcement logic in high-strength case structures — the lug root needs adequate wall thickness and ribbing, or the load concentrates on a thin moulded face.
Lug count and placement. Three principles: place lugs near both ends to shorten the lid overhang; space them evenly to prevent lid twist; and align lug roots with vertical ribs in the sidewall so load transfers straight into the structure.
Selection step three: choose material and finish for the environment
Material and finish decide real service life, especially for the pin.
Stainless steel. 304 and 316 are the common choices. 304 suits most indoor and general outdoor service. 316 contains molybdenum for better chloride resistance, which suits coastal, marine, chemical and frequently chlorine-disinfected environments. Note that stainless is not rust-proof — 304 can still pit in chloride-bearing conditions.
Zinc-plated or nickel-plated carbon steel. Low cost and high strength, suited to dry indoor use. In damp, salty or frequently washed conditions the coating is consumed, the substrate corrodes, and the corrosion products expand and seize the pin in its bore — the leading reason a replaceable design becomes a permanent one.
Engineering plastic pins. POM, PA and PEEK resist corrosion, save weight and eliminate galvanic interaction with plastic bores, but their strength and stiffness are lower than metal, so they suit small cases and light loads.
Hinge plate materials. Metal plates are commonly stainless, aluminium or plated carbon steel; plastic plates are frequently PA or modified PP. Watch galvanic corrosion when mixing metals — dissimilar metals in damp service accelerate attack on the more active one. A stainless plate with a stainless pin is the safest pairing.
| Environment | Pin material | Plate material | Finish | Note |
|---|---|---|---|---|
| --- | --- | --- | --- | --- |
| Dry indoor | Zinc-plated carbon steel | Plated steel or PA | Zinc plating | Cost-driven |
| General outdoor | 304 stainless | 304 stainless or modified PP | Passivation | General-purpose choice |
| Coastal and marine | 316 stainless | 316 stainless | Passivation | Chloride pitting resistance |
| Chemical and frequent disinfection | 316 stainless or PEEK | 316 stainless or PVDF parts | Passivation | Confirm media compatibility |
| Food and medical | 304 or 316 stainless | Stainless or POM | Passivation | Avoid crevices that trap soil |
| Low temperature | 304 stainless | Low-temperature PA or modified PP | — | Plastics must resist cold embrittlement |
Gasket and hinge materials also interact, and gasket selection is covered in choosing gasket and seal materials.
Selection step four: designing a detachable lid
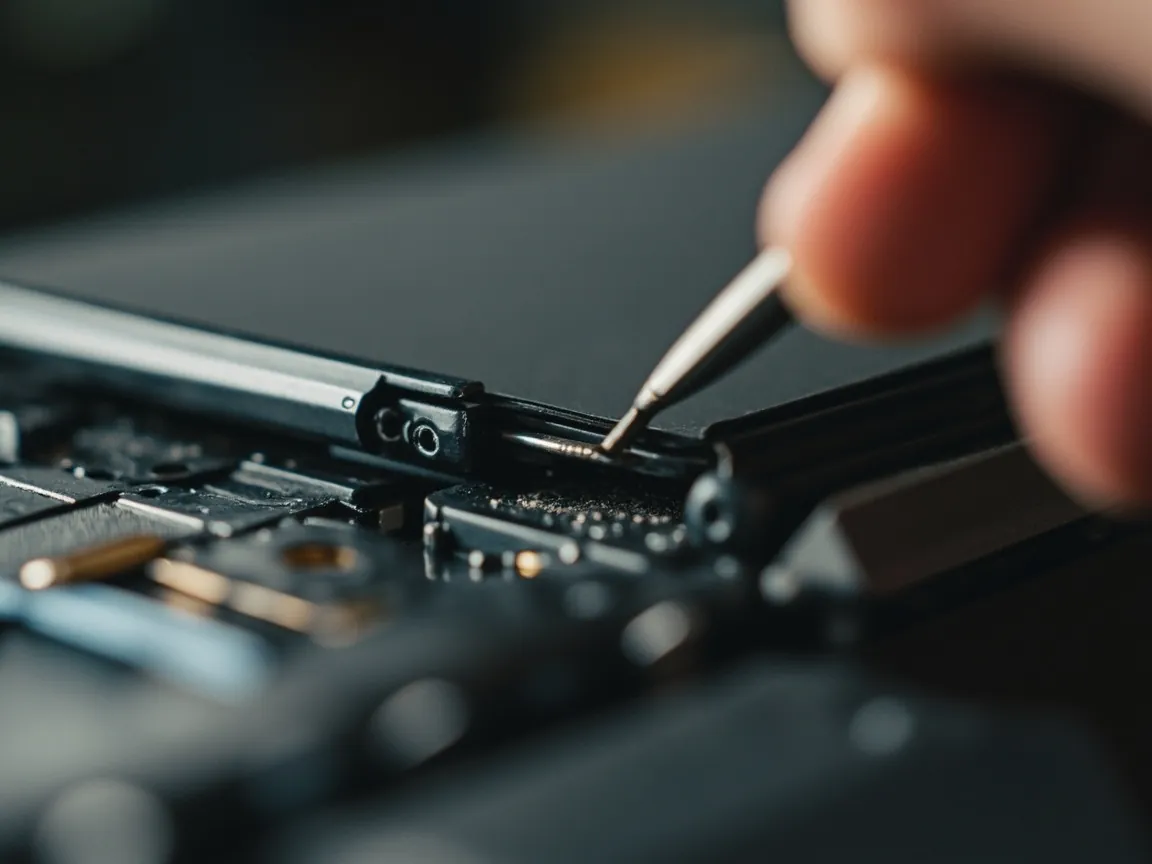
For the best serviceability, make the lid fully removable.
Three ways to do it.
- Pull-pin. The pin can be withdrawn from one end, releasing the lid. Simplest and cheapest, but it needs a tool such as needle-nose pliers or a punch, and the pin is easily lost. Add a loss-prevention feature, such as a drilled pin with a wire ring.
- Tool-free quick release. A pull ring or push catch on the pin allows hand removal. This suits field maintenance. It is the most recommended form, provided axial retention is reliable enough that the pin cannot walk out in service.
- Split hinge. The hinge splits into a case half and a lid half joined by a snap or plug connection. Faster to remove, but more complex and more tolerance-sensitive.
Extra value from a detachable lid. Beyond hinge replacement it delivers three benefits: thorough cleaning with the lid removed, easier repair because the lid can be swapped without unloading the case, and better transport and storage because the parts stack more compactly. For high-frequency and professional use it is worth designing in at the tooling stage.
Three cautions. First, the lid must return to the original gasket compression after reassembly, so the locating feature must be repeatable. Second, separating the lid must not let the gasket fall out or shift. Third, an unsupported lid must not knock against and damage its own sealing face.
How hinges interact with latches and seals
A hinge is not an isolated part. Together with the latch and the gasket it forms one mechanical system, and changing any one affects the other two.
Hinge and seal. Sealing depends on the lid being pressed down evenly. If a worn lug bore lets the lid rock, the relative position of lid and case becomes indeterminate, gasket compression varies around the perimeter, and a local shortfall causes leakage. That is the complete mechanism behind "a loose hinge caused the leak."
Hinge and latch. The latch presses the lid onto the case while the hinge provides location and pivoting on the opposite side. If hinge location fails, the latch takes an eccentric load, which shows up as higher opening force, faster wear, and in some cases self-release. Latch sizing is covered in how to choose case latches.
The matching principles:
- Location from the hinge, clamping from the latch, sealing from compression. Keep the roles separate and never use latch force to compensate for a hinge location defect.
- Hinge radial clearance must match the allowable gasket compression range. Excessive clearance lets the lid move freely, so compression varies with position and the IP rating degrades over time.
- Re-verify overall sealing after replacing any of the three parts. The full relationship is set out in how hinges, latches and seals work together.
Replacement procedure: six steps
Once the hinge is confirmed replaceable and replacement is needed, work through six steps.
Step one: confirm the original specification. Record pin diameter and length, lug count and hole spacing, plate mounting holes and fastener type, and material. Order by part number rather than by dimension wherever possible to reduce mismatches.
Step two: prepare tools and spares. Typical tools are a pin punch slightly smaller than the pin, needle-nose pliers, hex or Phillips drivers, a rubber mallet and retaining-ring pliers. Spares include new pins, bushings, retaining rings or end caps, and hinge plates and fasteners if needed.
Step three: disassemble. For a pull-pin, drive it out with a punch from the end without the ring, or grip the head with pliers and pull, taking care not to let it fly. For screw fixing, release the screws one at a time; if a thread is stripped, tap the hinge plate lightly with a rubber mallet and retry, and if it still will not release, drill it out. For rivets, drill off the head, keeping the drill diameter close to the rivet shank so the hole is not enlarged.
Step four: inspect and clean. Check three things: whether the bore has worn oval (an empirical limit of about 0.3 mm enlargement), whether the plate is cracked, and whether the case boss is cracked. Remove rust, salt and old grease. If the bore is beyond limit, replace the plate or move to an oversize pin.
Step five: assemble. Align first, then insert the pin. Interleave the case and lid lugs, push the pin in slowly from one end, and stop to check alignment if resistance is felt rather than forcing it. Fit bushings with attention to orientation and insertion depth. Apply a small amount of water-resistant grease — silicone or fluorinated — which measurably extends pin life and reduces opening force.
Step six: initial check. Open and close once immediately after assembly to confirm no binding and no abnormal noise, and that the lid seats naturally on the case mouth.
| Step | Key action | Common error | Check point |
|---|---|---|---|
| --- | --- | --- | --- |
| Confirm spec | Record dimensions and part number | Recording dimensions only | Hole spacing, diameter and material |
| Prepare tools | Punch, pliers, grease | Forcing with the wrong tool | Punch slightly smaller than pin |
| Disassemble | Drive out or release fasteners | Punch slipping and scoring the bore | Protect the bore wall |
| Inspect and clean | Measure bore, look for cracks | Overlooking bore wear | Enlargement within 0.3 mm |
| Assemble | Align, then insert | Forcing the pin and cracking the lug | Stop on resistance and check |
| Initial check | Dry open and close | Omitting grease | No binding, no abnormal noise |
Post-replacement verification: alignment, sealing and force
Verification after the swap is essential, or "it works" is just an impression.
One: alignment. Close the lid and check that the gap between lid and case mouth is even. An empirical method is to measure the gap around the perimeter with a feeler gauge; the difference between the largest and smallest gap should not exceed 0.3 mm. A noticeably larger gap in one place indicates poor hinge alignment or a worn lug.
Two: sealing. This is the critical one. Vacuum decay is recommended: establish a defined negative pressure inside the case and measure the decay over a hold period. Without dedicated tooling, a simple immersion check or the immersion conditions of GB/T 4208 and IEC 60529 can be used. Replacing a hinge is a sealing-affecting operation, so at least one sealing confirmation is advisable. Rating requirements are covered in IP67 protective case sealing design.
Three: opening force and torque. Measure peak opening force with a push-pull gauge and compare with the pre-replacement value; measure running torque with a torque wrench to check for uniformity. Empirical criteria: opening force should not change by more than thirty percent, and running torque should show no abrupt steps through the stroke.
Four: free play. Open the lid to about 30 degrees and rock the far edge gently. A clear increase in play means the new pin is too loose in the old bore, and the plate should be replaced or an oversize pin fitted.
| Verification | Method | Criterion (empirical) | Action if failed |
|---|---|---|---|
| --- | --- | --- | --- |
| Alignment | Feeler gauge on the gap | Spread within 0.3 mm | Reassemble, adjust the stop |
| Sealing | Vacuum decay or immersion | Decay within limit, or no water inside | Check gasket and mating faces |
| Opening force | Push-pull gauge | Change within thirty percent | Check grease and alignment |
| Running torque | Torque wrench | No abrupt steps | Check pin and bore fit |
| Free play | Manual rocking | No obvious increase | Replace plate or fit oversize pin |
Maintenance, spares and procurement strategy
Managing the hinge as a life-cycle part cuts cost noticeably.
Three maintenance practices.
- Periodic lubrication. Add a small amount of water-resistant grease to the pin every six to twelve months to reduce wear and opening force. Avoid plain grease that collects dust.
- Check three places periodically. Axial pin movement, hinge plate cracks, and the lid-to-mouth gap. Any anomaly should be addressed.
- Clean promptly. After exposure to salt spray, dust or chemicals, rinse and dry, especially metal parts, so salt does not remain in contact.
Spare parts strategy. Stock wear parts at an empirical five to ten percent of annual usage. The spare list should include pins, retaining rings or end caps, bushings, and where applicable complete hinge plates and fasteners. Spares must be specified at the time of purchase, because many custom hinges are not supplied separately once the project ends.
Procurement strategy. Write four things into the custom contract: the hinge part number and material; the serviceability requirement, including permitted repeat assembly cycles; the spare parts commitment, including supply duration and minimum order quantity; and the life verification method with pass criteria. Those four clauses add almost no cost while turning "long-life hinge" from a marketing phrase into an accept-and-reject clause.
A cost perspective worth keeping in mind. The hinge itself is usually a small share of case cost, empirically three to ten percent, whereas a hinge failure can trigger whole-case replacement, downtime and rework an order of magnitude larger. Spending appropriately on the hinge is therefore one of the highest-return cost reduction moves available. Related reasoning appears in case drawings and technical parameters.
JUNZHJIA, manufactured by KeXin New Materials (Guangdong) Co., Ltd., configures hinge solutions by cycle life, lid load and operating environment for wholesale, distribution and OEM/ODM programs. The company offers pull-pin and tool-free quick-release detachable lid designs, supplies pins, bushings and hinge plates as spares, and provides the corresponding inspection records and test documents.
Frequently Asked Questions
Q: How do I quickly tell whether my case hinge can be replaced? A: Three field checks. First, run a finger along the joint between lid and case. A continuous thin web in the same material as the shell, noticeably thinner than the wall, is a living hinge and cannot be replaced on its own — only the lid or the whole case can. A distinct metal or plastic part means a replaceable design. Second, find the pin and look at its ends: a cap at one end with a retaining-ring groove or knurling at the other usually means it can be driven out with a punch, while caps at both ends with no feature usually means a riveted pin that is non-removable or requires destructive removal. Third, look at the fastening: visible Phillips or hex screws are easiest, while a joint that matches the shell colour and material with no visible screw head is usually heat staked or ultrasonically welded and therefore single-use. One further caution: measure the lug bore before replacing, because if it has enlarged by more than about 0.3 mm, a new pin alone will not restore function.
Q: The living hinge on my case has broken. Is there any way to save it? A: Three routes, in order of preference. First, replace the lid, if the supplier offers it as a spare and the case-side hinge feature is intact; this is the cleanest option. Second, retrofit external metal hinges fixed to both case and lid across the fracture — note that this is post-machining involving drilling or tapping the shell, it can affect the IP rating, and the sealing must be assessed and re-verified. Third, replace the whole case, which given the risk, labour and cosmetic loss of machining is often the more economical answer anyway. As a stopgap, if the crack is slight and the web has not fully separated, an external limit strap that restricts the open angle reduces the bending strain, but this only extends limited service and is not a long-term solution. The best avoidance at selection stage is simple: for high-frequency, cold-environment or long-life applications, specify a separate pin-type hinge from the start.
Q: Why will my hinge pin not come out? A: The most common cause is corrosion seizure, followed by an axial retention feature that has not been found. Seizure typically happens with zinc-plated carbon steel pins, especially in damp, salty or frequently washed environments: once the coating is consumed, the substrate corrodes and the corrosion products expand, wedging the pin in the bore. That is the leading reason a replaceable design becomes permanent. Work through it in order. First confirm the retention method — retaining ring, staked head, spring dowel or end cap — and remove it. If the pin still will not move, apply penetrating rust remover alternately at both ends, leave it for several hours, then tap with a brass drift rather than a steel punch, which can crack the lug or upset the pin. If it still will not move, drilling out is possible, but keep the drill diameter close to the pin to avoid enlarging the bore. Prevention is straightforward: prefer 304 or 316 stainless pins, apply water-resistant grease at assembly, and renew the grease and check for axial movement every six to twelve months.
Q: After replacing a hinge, will the case still hold IP67? A: It depends on three things. First, alignment: after replacement the gap between lid and case mouth must be even, with an empirical limit of 0.3 mm between the largest and smallest gap measured with a feeler gauge around the perimeter. Uneven gaps mean gasket compression varies around the lid, and a local shortfall leaks. Second, clearance: radial clearance between the new pin and the old bore must not be excessive, or the lid will rock and compression will vary with position and time. Third, verification: replacing a hinge is a sealing-affecting operation, so at least one sealing confirmation is advisable, ideally by vacuum decay for a fast verdict, or by immersion at the conditions of GB/T 4208. With alignment, clearance and verification all handled, the rating can be maintained. Conversely, if the lug bore has already worn oval, changing only the pin without the plate will normally fail to restore sealing performance.
Q: What cycle life should I specify for a hinge? A: Work out the real requirement first and then apply a margin, rather than copying an industry number. Multiply openings per day by the number of working days per year and by the expected years of service. For example, eight openings a day, five years and 250 working days a year gives about ten thousand cycles; with a factor of two to three that puts the target at twenty to thirty thousand cycles. Reference bands: long-term storage at fewer than 0.1 openings a day over five years stays under about two hundred cycles, where a living hinge is acceptable; general industrial use at one to three openings a day gives roughly two thousand to fifty-five hundred cycles, where a zinc-plated steel pin suffices; high-frequency field use at five to ten openings a day gives about fifty-five hundred to eighteen thousand cycles, where a bushed pin type with a 304 stainless pin is advisable; and very high frequency above twenty openings a day exceeds thirty-six thousand cycles, where a bushed pin type with replaceable plates is the right answer. Note that more life is not automatically better: going from five thousand to fifty thousand cycles can double or triple cost, and anything beyond the real requirement is wasted spend.
Q: How many hinges should a case have? A: Count follows lid weight and envelope together. Empirically, two lugs are usually sufficient for a lid weighing up to 2 kg; two to three suit 2 to 6 kg; three with a limit stop or damper suit 6 to 15 kg; and above 15 kg a metal hinge assembly with a gas strut or mechanical limit is advisable, so a released lid cannot fall freely. Three placement principles apply: put lugs near both ends to shorten the lid overhang, space them evenly to prevent lid twist, and align lug roots with vertical sidewall ribs so load transfers directly into the structure. A field check for adequacy is to open the lid to about 90 degrees, apply a light downward force at the far edge, and measure deflection: significant deflection that does not recover on release indicates insufficient hinge stiffness or a worn bore. Lug root wall thickness and ribbing matter just as much, because load concentrates at that point and a thin moulded face cracks easily.
Q: What tools and spares do I need to replace a hinge? A: For tools, a pin punch slightly smaller than the pin, needle-nose pliers, hex and Phillips drivers, a rubber mallet and retaining-ring pliers; for a seized pin, add penetrating rust remover and a brass drift. For spares, new pins, bushings, retaining rings or end caps, complete hinge plates and fasteners where needed, and a small amount of water-resistant grease such as silicone or fluorinated grease. Work through six steps: confirm the original specification, covering pin diameter, hole spacing, material and fastener type, and order by part number where possible; prepare tools and spares; disassemble by driving the pin out from the end without a retaining ring, or by releasing the fasteners; inspect and clean, checking bore wear against an empirical 0.3 mm limit, plate cracks and cracked case bosses, and removing rust and old grease; assemble by aligning first and then inserting the pin, stopping on resistance rather than forcing, and applying a little grease; and run a dry open-close check. After assembly, verify alignment, sealing, opening force and free play.
Q: Why does a loose hinge cause a case to leak? A: Because hinge, latch and gasket form one mechanical system with divided roles: location comes from the hinge, clamping from the latch and sealing from compression. The hinge keeps lid and case in a determinate relative position. Once a lug bore wears oval or a pin corrodes thinner, the lid can rock relative to the case, and that rocking changes gasket compression directly. Sealing is extremely sensitive to gap: a local increase of a fraction of a millimetre can open a leak path, and the failure typically concentrates on the hinge side or directly opposite it. At the same time, a failure of hinge location puts an eccentric load on the latch, which shows up as higher opening force, accelerated latch wear and sometimes self-release, further degrading sealing. The right approach is therefore never to use latch clamping force to compensate for hinge location defects, and to re-verify overall sealing whenever a hinge, latch or gasket is replaced.
Q: How do I write hinge serviceability into a custom case technical requirement? A: Four clauses cover it and cost almost nothing, turning "long-life hinge" into an accept-and-reject condition. First, define construction and material: "the hinge shall be a replaceable separate part, the pin shall be no lower than 304 stainless steel, and the hinge plate shall be XX material." Second, define serviceability: "after disassembly the fastener shall be reusable and retain clamping force, with at least five repeat assembly cycles permitted; single-use joints such as heat staking or ultrasonic welding shall not be used." Third, define life and verification: "the hinge shall complete XX open-close cycles at XX degrees, after which opening force shall change by no more than fifty percent, there shall be no cracking or permanent deformation, and axial pin movement shall not exceed 1 mm." Fourth, define spares and after-sales support: "the supplier shall provide pins, bushings and hinge plates as spares, with a supply period of at least XX years and a minimum order quantity no greater than XX." With those four clauses in the agreement, a supplier will take the disassembly structure and material selection seriously from the concept stage.
Conclusion and Related Reading
Back to the question in the title: whether a protective case hinge can be replaced depends on whether it is a living hinge formed with the shell, or a separate pin-type, screw-fixed or rivet-fixed hinge. Living hinges generally cannot be replaced on their own, so the lid or the whole case must go; separate hinges can be replaced, with difficulty rising from a tool-free pin pull to drilling out rivets. Field identification takes three checks: whether there is a separate part in the joint, how the pin ends are retained, and whether the fastening is a removable screw or a single-use weld.
Three things you can act on immediately. First, write "the hinge shall be a replaceable separate part with spares available" into the enquiry — it costs almost nothing and prevents a whole case from being scrapped. Second, set the life target from real open-close counts with a factor of two to three, rather than chasing maximum life or sacrificing serviceability for cost. Third, verify alignment, sealing, opening force and free play after any replacement, and never skip the sealing check, because the mechanical link between a loose hinge and a leak is well established.
JUNZHJIA, manufactured by KeXin New Materials (Guangdong) Co., Ltd., produces protective cases, toolboxes, military-specification storage cases and waterproof junction boxes for wholesale, distribution, OEM/ODM and global supply. The company configures hinges by cycle life and operating environment, offers pull-pin and tool-free quick-release detachable lid designs, and supplies spares and test documents with every program.
Related Reading