

Short answer: cost reduction in a custom protective case comes chiefly from releasing money tied up in over-design, not from switching to a cheaper material. Roughly 70-80% of the cost of a custom protective case is locked in at the tooling and moulding stage, where structural complexity (rib count, slider count, steps and snap features) and material grade are the two biggest levers. Fittings and inserts together typically account for 15-25%, the second tier. Finishing and packaging account for 5-10%, optimizable but limited. The real sequence is therefore: simplify the structure first, then match the material, then standardise the fittings, and only then optimize inserts and batch size. Reverse the order and you often end up with "material downgraded, three extra ribs added to compensate" — a net loss. This article gives a recalculable cost model, a lever-by-lever breakdown of six reduction points, their priority order and mutual conflicts, three red lines that must never be crossed, and a costing table plus question list you can take straight to a supplier negotiation.
A caution before we start: the goal is the lowest total cost at an equal protection level, not the lowest unit price. If unit price is cut at the expense of sealing reliability, the rework and return cost of a single leaking batch can far exceed the tooling and material savings. Every lever in this article therefore assumes that the ingress protection level and the load-bearing safety margin are preserved.
Table of Contents
- Short Answer: Cost Reduction Is Not Material Downgrading
- Build the Cost Model First: Where the Money Goes
- Lever One: Structural Simplification — Fewer Ribs, Steps and Sliders
- Lever Two: Material Selection — Match the Duty, Not the Highest Standard
- Lever Three: Balanced Wall Thickness and Rib Thickness
- Lever Four: Fitting Standardisation — Latches, Hinges and Seals
- Lever Five: Insert Economics — Foam, Thermoform and Dividers Compared
- Lever Six: Process and Batch Size — Tooling, Cycle Time and Finishing
- Priority Order and Mutual Conflicts Among the Six Levers
- Three Red Lines That Cannot Be Cut: Sealing, Load Path and Safety Margin
- Costing Table: From Drawing to Unit Price
- Six Key Questions for Supplier Negotiation
- Scale Effects and Amortisation in OEM/ODM Projects
- Frequently Asked Questions
- Conclusion and Further Reading
Short Answer: Cost Reduction Is Not Material Downgrading
Correct the most common mental model first. When procurement teams look for savings, the first instinct is "change PC to ABS," "change the stainless latch to a plastic one," "change the EVA insert to ordinary foam." These moves do reduce material unit price, but they typically trigger three hidden costs.
Hidden cost one: structural compensation. Once material strength falls, the same load-bearing and impact requirements force thicker walls, more ribs and more metal inserts. That raises tooling complexity and part weight, and the result can be more expensive than the original material. This coupling between material and structure is discussed in more depth in protective case material selection.
Hidden cost two: yield loss. Different materials have different flow, shrinkage and release behaviour, which changes moulding yield. A material with higher shrinkage tends to produce sink marks and warping, and warping directly affects the flatness of the case rim sealing face, which in turn affects the IP test pass rate. For every 5 percentage points of yield lost, the real unit cost typically rises by more than the material price difference.
Hidden cost three: re-verification. Once material or structure changes, the previous IP, drop and stacking test results usually no longer apply and must be repeated. First-article and third-party test costs are very visible when amortised over a small batch.
The logic of this article is therefore: without changing the protection level or the load-bearing margin, eliminate over-design first (redundant structure, inflated specifications, excessive commonality), then optimize material and process. For the tooling cost structure, see custom case mould cost analysis.
Build the Cost Model First: Where the Money Goes
You cannot reduce what you cannot see. The table below gives the cost composition of a typical plastic protective case customization project (empirical values; actual shares vary with size, structure and batch).
| Cost item | Typical share | Main driver | Reduction elasticity | Notes |
|---|---|---|---|---|
| --- | --- | --- | --- | --- |
| Tooling (amortised) | 15-30% | Tool steel, sliders and cores, surface texture, cavity count | Medium-high | Higher volume, lower amortisation |
| Material | 20-30% | Plastic grade, part weight, masterbatch and additives | High | Weight times unit price |
| Fittings | 8-15% | Latches, hinges, seals, handle, lock | High | Largest standardisation headroom |
| Inserts | 5-12% | Foam material, processing method, die | Medium-high | Options differ several-fold |
| Moulding | 8-15% | Tonnage, cycle time, yield | Medium | Strongly tied to structural complexity |
| Finishing | 3-6% | Screen printing, laser engraving, assembly, inspection | Medium | Batch-optimizable |
| Packaging and logistics | 2-5% | Cartons, pallets, transport mode | Low | Limited headroom |
| Testing and certification | 1-4% | IP, drop, stacking, salt spray | Low | Split across first article and annual |
| Management and profit | 8-15% | Project management, warranty, capital | Low | Limited negotiation room |
The most important conclusion from this table is that tooling plus material together typically account for 45-60%, and both are driven by structure and material. In other words, the main battleground is the design stage, not the negotiation stage. Once the drawing is frozen and the tool is cut, the remaining reduction headroom is usually under 15%. "Reduce cost early" is therefore not a slogan but a fact provable from the cost structure.
Note that the shares are empirical ranges used to judge priority; the actual composition of a specific project should be calculated line by line against the drawing and BOM at quotation, with tooling cost stated as one-off or amortised by volume.
Lever One: Structural Simplification — Fewer Ribs, Steps and Sliders
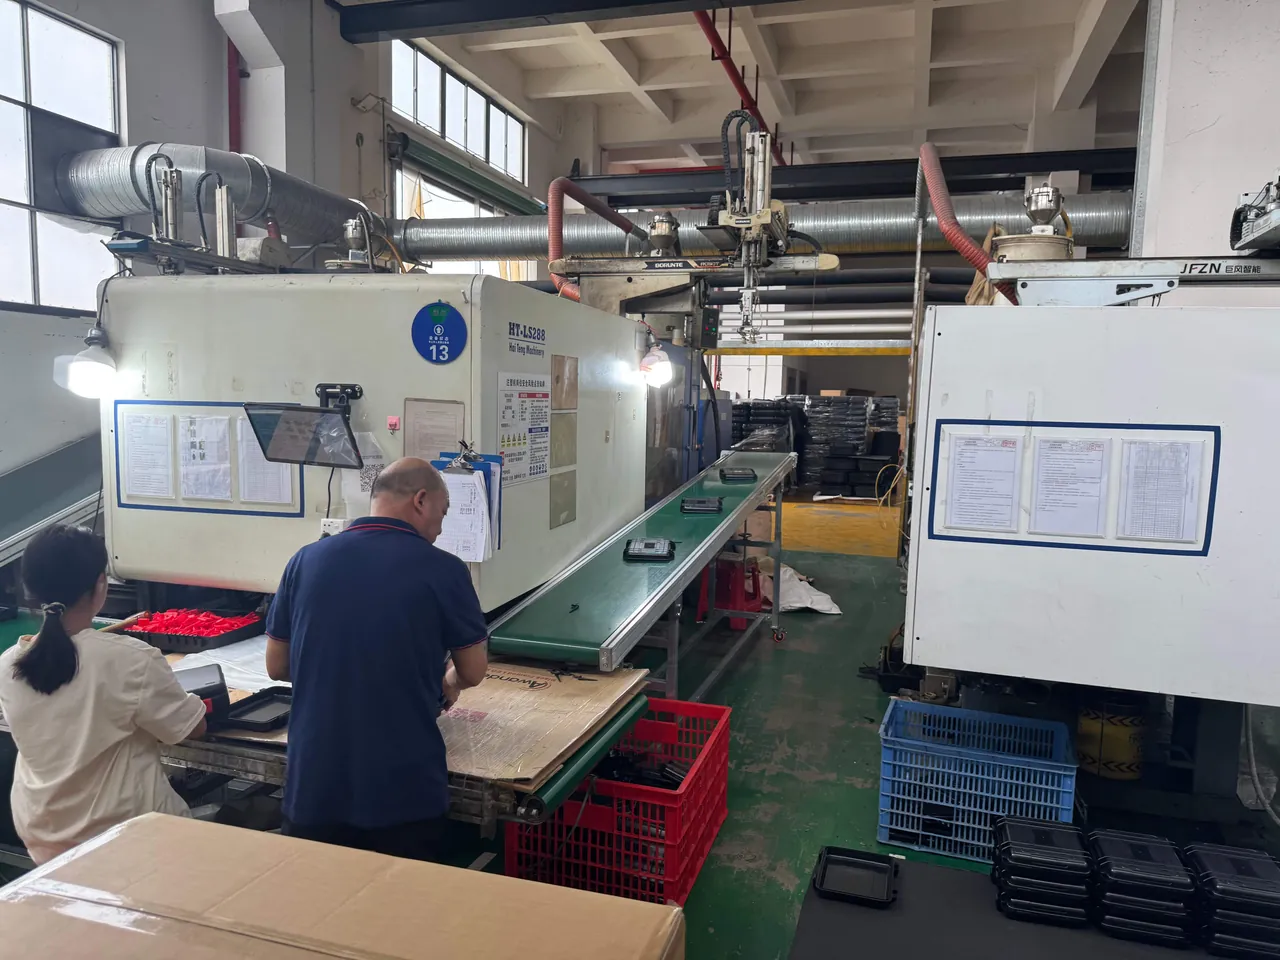
Structural complexity is the first lever, for a direct reason: every additional structural feature adds tool machining time, adds cycle time, and adds defect risk.
Cut sliders and cores. A slider is one of the most expensive single items in a tool. A side slider typically adds 8-20% to tooling cost and can extend cycle time by 5-15%. Many sliders exist to create a "nicer looking" undercut or a "more convenient" snap feature. If those features can be converted to straight-pull structure, or the compromise moved into assembly, significant tooling cost can be saved. As a rule, list every feature that needs a slider and ask of each one: can this be eliminated by changing the parting line, or by adding a separate part?
Consolidate ribs. Ribs are necessary, but too many and too dense creates three problems: more tool machining time and cost; higher melt flow resistance requiring higher pressure and longer cycle; and sink marks at rib roots that hurt appearance and flatness. As a rule of thumb, replacing "many shallow" ribs with "fewer, taller" main ribs plus a few secondary ribs preserves section moment of inertia while reducing tooling and moulding cost. For rib design principles, see protective case reinforcement ribs.
Cut steps and decorative features. Every step, every groove, every decorative line means more tool machining and more complex release. The industrial design should be reviewed together with the cost target, not fixed first and forced onto the tool afterwards.
| Structural feature | Effect on tooling cost (empirical) | Effect on cycle time | Reduction advice |
|---|---|---|---|
| --- | --- | --- | --- |
| Side slider | +8-20% | +5-15% | Convert to straight pull or separate part |
| Core (internal thread etc.) | +10-25% | +10-20% | Use insert or post-machining |
| High-density fine ribs | +5-12% | +5-10% | Switch to fewer, taller main ribs |
| Deep cavity (depth-to-width over 3) | +10-20% | +8-15% | Adjust ratio or split the part |
| Surface texture (high VDI grade) | +5-15% | +2-5% | Lower texture grade as required |
| Multi-cavity (multiple parts per tool) | +20-40% (tool price) | Lower per-part cycle | Calculate total investment by volume |
Lever Two: Material Selection — Match the Duty, Not the Highest Standard
Material is the second lever, and the most misunderstood. The key is not choosing the cheapest, but choosing what just meets the duty.
Define the four duty factors first. Temperature range (minimum and maximum service temperature), chemical contact (oil, solvent, acid, alkali), UV exposure (indoor, outdoor, long-term outdoor), and load mode (static stacking, dynamic drop, lifting). These four set the minimum material requirement; anything above them is over-design.
Where common materials sit. The following is an approximate positioning of engineering plastics in protective cases (typical values; confirm against specific grades and supplier data):
| Material | Relative cost | Impact resistance | Stiffness | Chemical resistance | Weather/UV | Typical use |
|---|---|---|---|---|---|---|
| --- | --- | --- | --- | --- | --- | --- |
| PP (polypropylene) | Low | Medium (poor at low temp) | Medium-low | Good | Medium (needs UV additive) | General storage, light duty |
| HDPE | Low | Medium-high | Medium-low | Good | Medium | Large rotomoulded bodies |
| ABS | Medium | High | Medium-high | Medium | Medium | General industrial cases, cosmetic parts |
| PC (polycarbonate) | High | Very high | High | Medium | Medium (needs UV) | High impact, precision instrument cases |
| PC/ABS blend | Medium-high | High | High | Medium | Medium | Cosmetic plus impact balance |
| PA + GF (glass-filled nylon) | Medium-high | Medium | Very high | Medium | Medium | Load-bearing structural parts, latches |
| PP + GF | Medium | Medium | High | Good | Medium | Structural, chemical resistance |
Three practical judgements:
- Not every part needs the top-grade material. The body can be ABS or PP while load-concentrated parts — latches, hinges, lock seats — use PA+GF or metal inserts. This "downgrade the body, reinforce locally" combination is usually cheaper than upgrading the whole part.
- Do not pay for performance you will not use. An indoor storage case needs no high-grade UV stabiliser; a case that never contacts solvents needs no top chemical-resistance grade.
- Weight matters more than unit price. Unit cost equals weight times unit price. A material 15% more expensive per kilogram that allows a 20% thickness reduction can be cheaper in practice, provided strength and yield permit. For systematic material comparisons, see PP, ABS and PC compared and protective case plastic materials compared.
Lever Three: Balanced Wall Thickness and Rib Thickness
Wall thickness is the direct multiplier of part weight and the core trade-off between cost and performance.
Three constraints on wall thickness. The first is structural: the wall must provide enough section moment of inertia to resist stacking and impact. The second is process: too thin makes filling difficult and weld-line strength inadequate; too thick extends cooling time, which scales roughly with the square of wall thickness and dominates cycle time. The third is sealing: the wall carrying the rim seal groove must not collapse under compression.
Empirical ranges. For small and medium protective cases (long edge 300-600 mm), the main wall is commonly 2.5-4.0 mm; the rim sealing zone is locally thickened to 4.0-6.0 mm; rib root thickness is 0.5-0.7 times the main wall to avoid sink marks. These are empirical values; confirm with structural calculation and trial moulding.
The reduction idea: change "uniform thickness" to "variable thickness." The traditional approach designs the whole part to the most conservative thickness, leaving large areas over-thick. The more economic approach is to thicken only along load paths and sealing zones while thinning elsewhere, recovering stiffness with ribs. This "thin shell plus local thickening plus rib reinforcement" combination can cut weight by 10-20% at equal performance. Note, however, that variable thickness demands more uniform tool cooling and a tighter process window; trial moulding must focus on sink marks and warping. For the structural principle, see high-strength case structural design.
Lever Four: Fitting Standardisation — Latches, Hinges and Seals
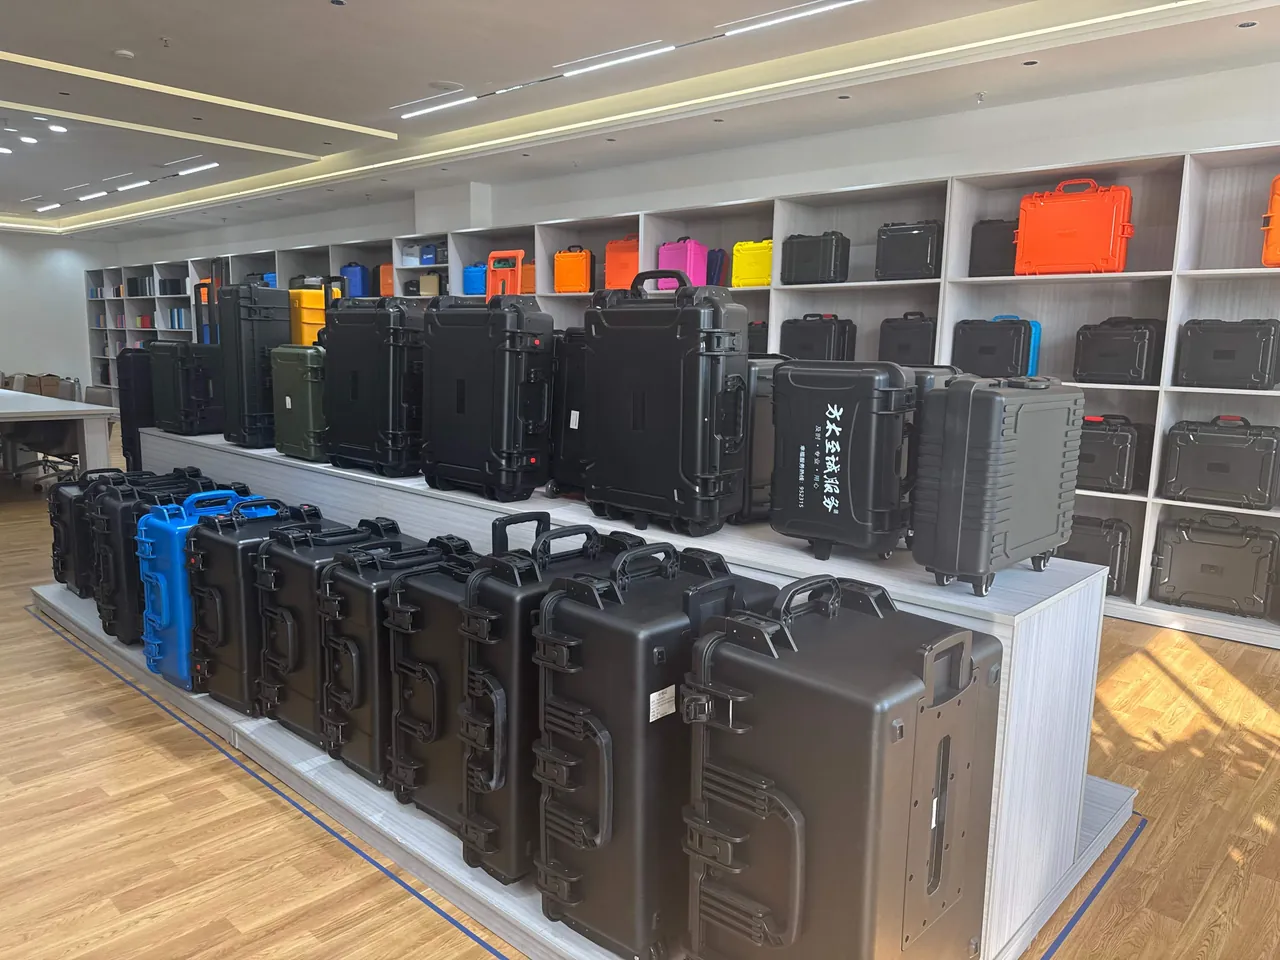
Fittings typically account for 8-15% of cost, but they are the easiest item to reduce and the least risky, because they can share a mature supply chain.
Prefer the supplier's existing standard parts. A custom latch or hinge means a new tool and new verification, whereas a standard part is already in production with stable yield and spare supply. As a rule: look at what standard fittings the supplier catalogue already offers, then adapt the case mounting interface to fit them, rather than drawing an ideal fitting and cutting a tool for it. This step alone often saves development cost in the tens of thousands.
Unify specifications and cut part numbers. If a project has several case models, let them share one latch, one hinge, and one seal cross-section. Unified specifications bring three benefits: concentrated purchasing volume with a lower unit price; simpler spare-parts management; and fewer line changeovers in assembly.
Seals: standard cross-section, custom length. Seals are the classic standardisable item. Choose a standard cross-section (for example a standard O-ring cord diameter series or a standard rectangular seal width), then customize only the length or perimeter, joined or fully moulded. This delivers sealing performance without developing a cross-section tool for every case model. For material choice, see protective case seal materials.
Standardise locks and handles. Locks, handles and castors should likewise be standardised. Handles and castors that carry load especially benefit, since standard parts are far more mature than new developments; see case castors and trolley handles for configuration logic.
A practical rule: if it exists in the standard parts catalogue, do not cut a new tool. The cost of a new tool is not only the tool itself but also verification, yield ramp-up, and a long-term spare-parts burden.
Lever Five: Insert Economics — Foam, Thermoform and Dividers Compared
Inserts account for 5-12% of cost, but options differ several-fold in price, making this the focus of value engineering.
| Insert option | Relative cost | Process | Cushioning | Mass-production consistency | Suitable scenario |
|---|---|---|---|---|---|
| --- | --- | --- | --- | --- | --- |
| No insert | 0 | — | None | — | Contents already packaged |
| Perimeter foam lining | Low | Die-cut and bonded | Medium | Good | General shock and scratch protection |
| Pre-cut EVA foam | Medium-high | Die-cut | High | Good | Precision parts, multiple pockets |
| Laminated foam | Medium | Multi-layer die-cutting | High | Good | Cushioning plus volume balance |
| Thermoformed tray (PET/PVC) | Medium | Thermoform and die-cut | Medium | Very good | Single shape, high volume |
| Rigid divider grid | Medium | Moulded or sheet fabricated | Low (location only) | Very good | Mixed specifications, positioning |
| EVA plus rigid frame | High | Composite processing | Very high | Medium | High-value precision equipment |
Three judgements:
- Set the insert grade by contents value. Low-value, impact-tolerant items need nothing more than perimeter foam; only precision and high-value items need pre-cut EVA or composite inserts. Fitting a high-grade insert to low-value contents is the most common over-design.
- If die-cutting can do it, avoid CNC carving. CNC-cut foam suits prototyping and small runs; for volume, switch to die-cutting, which lowers unit cost markedly. The one-off die cost must be assessed against volume.
- Account for the indirect cost of lost volume. A thicker insert leaves less usable space, often requiring a larger case to hold the same contents, and a larger case means more material and higher freight. Measure insert economics including the increase in case volume. For a systematic foam comparison, see case foam material comparison, and for the customization process, see EVA foam insert custom process.
Lever Six: Process and Batch Size — Tooling, Cycle Time and Finishing
Process and batch size are the last mile: medium elasticity, but frequently overlooked.
Match cavity count to batch. Multi-cavity tools cut per-part moulding time but raise the investment in a single tool. The decision criterion is to minimise total cost of ownership — tooling cost plus moulding cost amortised over the batch — not to minimise the tool quotation. For small volumes (a few thousand per year), a single-cavity tool is usually cheaper; for high volumes (tens of thousands and up), multi-cavity wins clearly.
Optimize cycle time. Cycle time is dominated by cooling, which scales with the square of wall thickness. The variable-thickness design described above therefore saves not only material but also cycle time. Good gate location and cooling channel design can shave a further 10-20% off the cycle.
Consolidate and simplify finishing. Screen printing, laser engraving, assembly and inspection are all charged per piece. Three optimization directions: combine multiple operations into one setup (for example two screen-print locations in one pass); move high-cosmetic operations to a stage where the process is stable; and avoid unnecessary 100% inspection in favour of sampling plus key-dimension control. For branding process logic, see protective case logo printing methods and protective case colour customization.
Link batch size to lead time. A larger single batch lowers unit cost but raises inventory and capital tied up. Split the annual volume into batch quantities in line with the customer's pickup rhythm to balance unit price against inventory. For MOQ logic, see custom protective case MOQ baseline.
Priority Order and Mutual Conflicts Among the Six Levers
The six levers are not parallel; their cost-effectiveness and implementation order differ clearly.
| Priority | Lever | Typical reduction (empirical) | Implementation difficulty | Main risk |
|---|---|---|---|---|
| --- | --- | --- | --- | --- |
| 1 | Structural simplification | 8-20% | Medium | Appearance and function compromise |
| 2 | Material matched to duty | 5-15% | Low | Requires re-verification |
| 3 | Fitting standardisation | 5-12% | Low | Interface must be adapted |
| 4 | Insert optimization | 3-10% | Low | Protection level may drop |
| 5 | Balanced wall and rib thickness | 5-12% | High | Needs trial moulding |
| 6 | Process and batch optimization | 3-10% | Medium | Inventory and capital tied up |
Key warning: these levers conflict, and cannot simply be added up. Three typical conflicts:
- Material downgrade versus thinner walls. Lower material strength often demands thicker compensation, so the two cancel out.
- Structural simplification versus sealing reliability. Removing steps and ribs can reduce rim stiffness and hence the uniformity of seal compression.
- Thinner inserts versus protection level. Thinner inserts save cost but reduce drop cushioning, possibly requiring re-verification.
The correct approach is therefore to simplify the structure first (eliminate over-design), then jointly optimize material and thickness, and only then optimize fittings, inserts and batch size, re-checking at every step that the protection level still holds.
Three Red Lines That Cannot Be Cut: Sealing, Load Path and Safety Margin
Cost reduction must know its boundary. Three items are not recommended for compression.
Red line one: the sealing structure. Seal groove dimensions, seal compression ratio and sealing-face flatness directly determine the IP rating. Relaxing any of the three can cause leakage. Money saved on sealing is usually repaid with tenfold after-sales cost.
Red line two: the load path. Handle roots, hinge seats, latch seats and castor mounting zones concentrate load. Their wall thickness, inserts and ribs must not be cut for cost, or full-load lifting or a drop will cause fracture. See high-strength case structural design.
Red line three: safety margin. An empirical margin should be kept between design strength and actual load (a common practice is checking critical zones against a safety factor of 1.5-2.0). Cutting margin to zero means any manufacturing deviation or overload causes failure.
A pragmatic compromise principle: release cost from places the user cannot perceive, not from places where failure has severe consequences. Appearance texture grade, decorative lines, non-load-bearing zone thickness and packaging grade are all reducible; sealing, load path and margin are not.
Costing Table: From Drawing to Unit Price
Condense the analysis into a table usable for price comparison. Ask the supplier to quote against this structure rather than giving a single lump sum.
| Costing item | Calculation basis | Data to request | Common negotiation point |
|---|---|---|---|
| --- | --- | --- | --- |
| Unit material cost | Part weight including runner loss, times unit price | Weight, grade, unit price, masterbatch ratio | Weight and runner regrind ratio |
| Tooling amortisation | Tool price divided by amortisation quantity | Tool price, cavity count, life, amortisation method | One-off or by-volume |
| Fittings cost | Sum of fitting unit price times quantity | Brand, model, unit price | Standard substitution, consolidated purchase |
| Moulding cost | Machine hourly rate divided by hourly output | Tonnage, cycle, yield assumption | Evidence for cycle and yield |
| Insert cost | Material plus die plus labour | Material spec, die cost, process | Die exclusive or shared |
| Finishing | Operation unit price times quantity | Operation list and unit prices | Operation merging, sampling instead of 100% |
| Packaging and logistics | Per packaging plan and transport mode | Packaging spec, units per carton, freight | Packaging simplification, load factor |
| Testing and certification | Per test item and frequency | Items, standards, frequency, cost | First-article and annual allocation |
| Management and profit | Per agreed ratio | Ratio and scope | Clarify what services are included |
Request two quotations at once: one against the current design, one against the proposed cost-reduced design, with a difference note explaining what changed, whether the protection level is affected, and whether re-verification is needed. Data, not opinion, then decides whether the reduction is worth adopting.
Six Key Questions for Supplier Negotiation
Negotiation is not about squeezing price; it is about clarifying the cost structure.
- "Is tooling charged one-off or amortised, and over what quantity?" This determines the balance between upfront investment and long-term unit price.
- "What is the part weight, and how is runner and scrap regrind handled?" Weight multiplies material cost, and regrind ratio is an often-overlooked grey area.
- "Which fittings are standard, and which need a new tool?" Development cost and lead time for new parts should be listed separately.
- "Which tests does the quote include, and what is done at first article versus production sampling?" Avoid later cost additions for extra test items.
- "If annual volume doubles, how far does unit price fall?" Use the volume-price curve to test whether the scale effect is real.
- "Which design changes trigger re-verification?" Define the verification boundary so you do not pay verification cost for changes that do not affect performance.
These questions also apply to OEM/ODM factory selection; see how to choose a protective case OEM factory. Drawing completeness and discipline also affect quotation accuracy directly; see case drawings and technical parameters.
Scale Effects and Amortisation in OEM/ODM Projects
In OEM/ODM work, cost reduction involves an extra variable: who carries the tooling and development cost, and how it is amortised into unit price.
Three common models:
- Customer pays tooling, supplier quotes per piece. Lowest unit price, but larger upfront investment by the customer; suits stable long-term projects.
- Supplier carries tooling, unit price includes amortisation. Zero upfront, higher unit price; suits pilot projects or uncertain annual volume.
- Hybrid model. Customer pays part of the tooling and the supplier the rest, with unit price between the two; common where annual volume is committed but uncertain.
The real limit of scale effects. Scale effects are not unlimited. Beyond a certain volume, material and moulding costs stabilise, and remaining savings come from automation and yield improvement with diminishing returns. Avoid over-stocking inventory in pursuit of "higher volume."
Linking cost reduction to the protection level. Every reduction change should undergo a protection-level impact assessment: does it touch the sealing structure? Does it alter the load path? Does it require re-running IP or drop verification? Only when the conclusion is "no impact" or "impact controlled and re-verified" can the change be released.
JUNZHJIA, manufactured by KeXin New Materials (Guangdong) Co., Ltd., performs joint structure-and-material optimization to the customer's duty and budget, offering a standard fittings library, insert option comparison and line-by-line costing, and in wholesale, distribution and OEM/ODM projects provides tooling amortisation schemes and verification documentation.
Frequently Asked Questions
Q: Where should I start when reducing the cost of a custom protective case? A: Start with structural simplification, not a material switch. Structural complexity simultaneously drives tooling cost, cycle time and yield, making it the first lever, and its benefit is typically 8-20%, higher than any other item. Specifically: list every feature needing a slider, core or complex undercut and assess each for elimination by changing the parting line or using a separate part; replace "many shallow" ribs with "fewer, taller" main ribs plus a few secondary ribs; and remove unnecessary steps and decorative lines. After structural simplification, jointly optimize material and thickness, then fittings, inserts and batch size. Order matters, because a material downgrade usually needs structural compensation, and downgrading material before adjusting structure easily leads to the "saved on material, added ribs" net loss. Also reduce early: once the drawing is frozen and the tool cut, remaining headroom is usually under 15%.
Q: How much does switching PC to ABS save, and what are the risks? A: Material cost itself may fall 15-30% depending on grade and weight, but the net saving is usually smaller than the headline difference, for three reasons. First, structural compensation: ABS has lower impact resistance and stiffness than PC, so the same impact and stacking requirements often demand thicker walls or more ribs, and the extra weight offsets the price advantage. Second, yield risk: ABS shrinks and flows differently from PC and may produce sink marks and warping, while sealing-face flatness is very sensitive to the IP rating; every 5 percentage points of yield lost typically costs more than the material price difference. Third, re-verification: after a material change the previous IP, drop and stacking results usually no longer apply, and first-article plus third-party test costs are very visible in a small batch. The judgement rule: if the duty is undemanding on impact and stiffness (indoor storage, light transport), switching to ABS is reasonable; if it involves outdoor use, drops or load bearing, prefer a "downgrade the body, reinforce locally" hybrid rather than a wholesale material change.
Q: Why must cost reduction happen early, and why is it hard to reduce later? A: Because most of the cost is locked in during design. From a typical composition, tooling plus material account for 45-60%, both determined by structure and material, and once the drawing is frozen and the tool cut, the structure cannot change and weight cannot fall. What remains optimizable is mainly fittings, inserts, finishing and packaging — usually under 25% in total — and within that, sealing and load-bearing structures are red lines. Real late-stage headroom is therefore often under 15%, well below the 8-20% and up to 30% available at the design stage. A second reason is verification cost: any change touching sealing or the load path forces IP or drop re-verification, which a small batch can rarely absorb. The correct project rhythm is to complete structural simplification and joint material-thickness optimization before the drawing is frozen, moving reduction forward rather than squeezing supplier price at the mass-production stage.
Q: Can fitting standardisation really save that much? A: Yes, and it is one of the highest-value reduction levers because it lowers both direct and hidden costs. On direct cost, standard parts are already in production with stable yield and a mature supply chain; their unit price is usually below a new development, and the one-off tool and development cost is avoided — a new latch or hinge tool typically runs into the tens of thousands. On hidden cost there are three gains: simpler spare-parts management, since the customer stocks only a few items; fewer line changeovers in assembly, cutting labour and time; and lower quality risk, since standard parts have passed volume verification while new developments go through a yield ramp. The method is to prefer catalogue standard fittings and then adapt the case mounting interface to them, rather than designing an ideal fitting and cutting a tool. Seals suit standardisation particularly well: choose a standard cross-section and customize only the length, joined or fully moulded, avoiding a cross-section tool per case model. Note, however, that standardisation is not "use anything" — the strength grade of load-bearing standard parts must still meet the design load.
Q: Are inserts a good reduction target, and how do I judge value? A: Inserts account for 5-12% of cost, but options differ several-fold in price, so this is an important value-engineering target, and the key is setting the grade by contents value. Low-value, impact-tolerant items need only perimeter foam or even no insert; precision and high-value items need pre-cut EVA or EVA with a rigid frame. Three specific judgements: first, if die-cutting can do the job, avoid CNC carving, since CNC suits prototyping and small runs while die-cutting lowers unit cost at volume, though the one-off die cost must be assessed against volume; second, account for the indirect cost of lost volume, because a thicker insert leaves less usable space and often forces a larger case, meaning more material and higher freight; third, re-check the protection level, since thinner inserts reduce drop cushioning and may trigger re-verification. Overall, insert reduction is easiest in low-value and general scenarios and must be handled carefully in high-value precision ones.
Q: Will cost reduction affect IP67 or drop-test results? A: It can, but it can be controlled with red lines plus impact assessment. Three red lines should not be crossed: the sealing structure (groove dimensions, seal compression ratio, sealing-face flatness); the load path (handle roots, hinge seats, latch seats, castor mounting zones); and the safety margin (critical zones commonly checked against a 1.5-2.0 safety factor). Changes that do not touch these red lines — appearance texture grade, decorative lines, non-load-bearing thickness, packaging grade — usually do not affect protection or load results. Anything that touches them must undergo a protection-level impact assessment that states whether IP or drop re-verification is needed. A common failure mode: thinning the whole part to cut weight leaves the rim insufficiently stiff, seal compression becomes uneven, and the case passes a static test but leaks after temperature cycling or a drop. After every reduction round, re-verify the assembly to IEC 60529 / GB/T 4208-2017 and re-check transport performance to the GB/T 4857 series or ASTM D4169.
Q: How should tooling cost be negotiated — one-off or amortised? A: It depends on project certainty and duration, not on which is absolutely cheaper. The three models have different fits: customer pays tooling and the supplier quotes per piece, giving the lowest unit price and suiting long-term stable projects with clear annual volume; supplier carries tooling with amortisation in the unit price, giving zero upfront and suiting pilot projects or uncertain volume; the hybrid model splits tooling between the parties with a unit price in between, suiting projects with a volume commitment that is not guaranteed. When negotiating, clarify four things: total tool price and cavity count; designed tool life in production cycles; amortisation quantity and method; and whether trial moulding and first-article verification are included. A practical calculation is total cost of ownership: annualise the upfront tooling over the project period, add the annual purchase value, and compare the totals across models. Note that a low tool quotation can mean lower-grade steel or a simplified structure, affecting long-term yield and repair cost, so tool price must be read together with life, material and warranty terms.
Q: Does a larger batch always mean a lower unit price? A: The general trend is downward, but there is a limit and it is not unlimited. Scale effects come from three sources: tooling amortised over more pieces, concentrated material purchasing at a lower unit price, and fewer changeovers in moulding and finishing. Beyond a certain volume, material and moulding costs stabilise and remaining savings come from automation and yield improvement with diminishing returns. Larger batches also bring inventory and capital costs, and if the customer's pickup rhythm is slow, inventory cost can eat the unit-price saving. The practical approach is to split annual volume into batch quantities, balancing unit price against inventory rather than maximising single-batch size. A simple signal that the optimum has been reached: when a supplier can only offer a very small concession for a doubling of annual volume, the scale effect is close to saturation.
Q: How do I tell whether a supplier's reduction proposal is genuine or corner-cutting? A: Test it with three questions. First, "does this change touch the sealing structure, the load path or the safety margin?" If it does, require a protection-level impact assessment and a re-verification plan; if it clearly does not, it is usually a genuine reduction. Second, "what are the resulting part weight, fittings list and operation list?" A genuine reduction shows quantifiable changes in material, structure or process; corner-cutting simply removes material without stating the performance impact. Third, "will you write the post-reduction performance into the agreement and stand behind verification?" A supplier willing to commit and verify to standard usually has a proposal that stands up. Request both the current-design and reduced-design quotations with a difference note, judge by data, and where necessary verify the first article to IEC 60529 / GB/T 4208-2017 and re-check transport performance to the GB/T 4857 series.
Conclusion and Further Reading
Back to the title question: cost control in a custom protective case is essentially the elimination of over-design, not the lowering of standards. Tooling and material together account for 45-60% of cost and are determined by structure and material, so the main battleground lies before the drawing is frozen. The six levers, ranked by value, are structural simplification, material matched to duty, fitting standardisation, insert optimization, balanced wall and rib thickness, and process and batch optimization. They conflict and cannot simply be added up.
Three actionable recommendations: first, list every feature needing a slider, core or high-density rib and cut them one by one — this step offers the largest benefit at the lowest risk. Second, make "downgrade the body, reinforce locally" the material strategy rather than upgrading or downgrading wholesale. Third, set three red lines for reduction — sealing structure, load path and safety margin stay untouched while everything else is negotiable, and re-verify after every round to IEC 60529 / GB/T 4208-2017 and the GB/T 4857 series.
JUNZHJIA, manufactured by KeXin New Materials (Guangdong) Co., Ltd., supplies protective cases, tool boxes, military-specification storage cases and waterproof junction boxes for wholesale, distribution, OEM/ODM and global supply, offering joint structure-and-material optimization, line-by-line costing and verification documentation to match the duty and budget.
Further Reading