

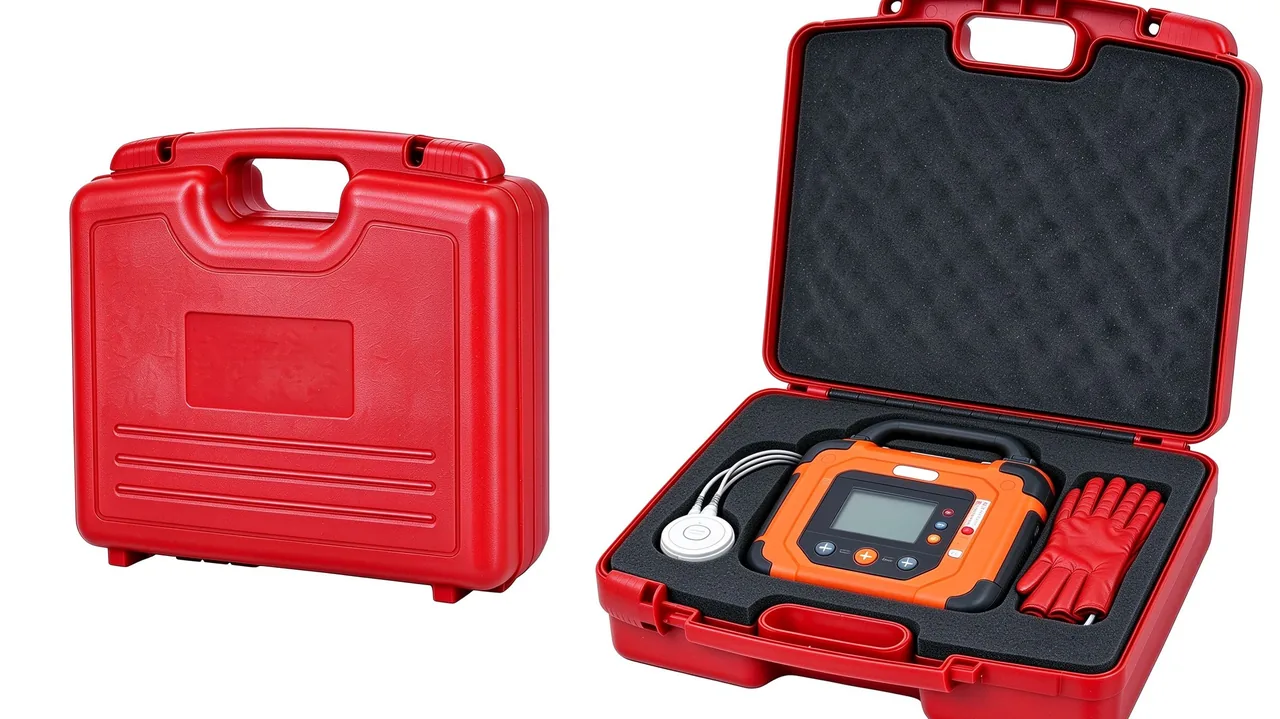
The protective capability of a hard case is never the achievement of the shell alone. Latches, wheels, handles, hinges, seal strips and the pressure equalization valve together form an interdependent accessory system, in which a single bad component choice or a downgraded replacement can degrade the whole box's ingress protection rating, stacking capacity and carrying experience at the same time. This article is written for case modification users, aftermarket accessory dealers and outdoor carrying upgrade buyers. Following the order of latches, running gear, ergonomic parts, pressure management, sealing and auxiliary items, and modification workmanship, it breaks down selection parameters, replacement points and acceptance methods for each accessory, citing IEC 60529, GB/T 4208, MIL-STD-810H and related standards to give actionable judgment criteria. The goal is to turn an accessory upgrade into a documented systems engineering exercise rather than a piecemeal parts swap, so that every change is verified and every rating claim remains traceable to evidence.
1. Plan Accessories as a System
Many modifiers treat accessory upgrades as single point replacements: a loose latch gets a new latch, a worn wheel gets a new wheel. Yet the accessories of a protective case are coupled mechanically and functionally. Latch compression force directly determines seal strip compression and therefore dust and water performance. Wheel and trolley handle layout determines the load path through the handles when the loaded case is lifted. The condition of the pressure equalization valve determines the extra stress that the sealing system carries during altitude and temperature changes. IEC 60529 and GB/T 4208 both judge the ingress protection rating on the complete assembly, which means that after any accessory change, the representativeness of the original factory report for the modified case must be re assessed. A recommended planning flow has three steps. First, list the duty conditions, including maximum stacking layers, drop height, altitude span and salt fog exposure. Second, define the accessory list and material grades against those conditions. Third, run a compatibility check covering hole patterns, screw specifications, torque requirements and seal interference. Skipping the third step is the leading cause of seal failure after modification. For routine upkeep, refer to the Protective Case Maintenance Guide and fold accessory inspection into the periodic service record, building a traceable history per case.
2. Latch Selection: Spring Draw Latches to Over Center Safety Latches
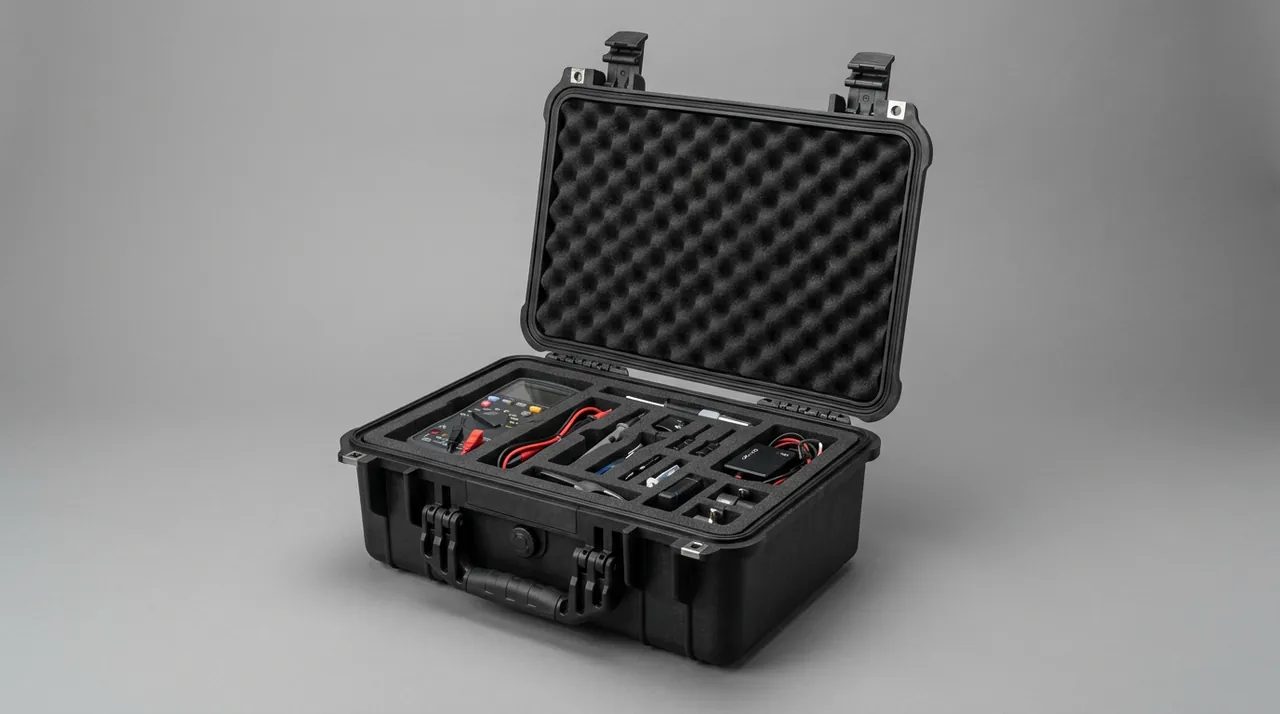
The three most common latch families each have a distinct role. The spring draw latch, an over center design, self locks as the lever passes the dead point, offers a generous compression stroke and compensates for seal thickness loss due to aging. Its two key parameters are holding force and opening force; as a rule of thumb, holding force should exceed the seal rebound force by a comfortable margin. Push button quick release latches maximize operating efficiency and suit high frequency access tool and test equipment cases, but carry a slightly higher risk of accidental opening; in vibration environments, confirm a secondary lock feature. Stainless steel over center safety latches target high stacking and strong vibration duty, such as vehicle transport and palletized consolidated shipments, where salt fog tolerance also matters: for coastal and marine service prefer 316 stainless steel over 304, since their chloride corrosion thresholds differ noticeably. Polymer latches should be checked for UL94 flame rating and low temperature brittleness. Cycle life is another hard requirement; see Latch Cycle Life Testing and the Latch Hardware Material Guide, and write cycle counts and material grades into the technical agreement before purchase to avoid batch failures in service.
3. TSA Locks and Cross Border Inspection Compliance
The core value of a TSA lock is regulatory compliance rather than theft prevention. Customs authorities in the relevant system hold master keys that open TSA lock cores for inspection without destroying the case; with an ordinary combination lock, a routine inspection can end in a forcibly removed lock and a seal strip or lid damaged in the process. For cross border travelers and export accessory dealers, any checked route passing through such customs regimes should default to a TSA core, with the combination function used for everyday tamper deterrence. It must be stated clearly that a TSA lock does not raise the ingress protection rating and does not constitute a true security boundary. The security of high value contents relies on shell strength, tamper evident seals and shipment tracking working together. A lock is a compliance and convenience accessory; evaluating it in the right category keeps expectations aligned with what it actually delivers. For customization options including core type, combination length and multi point locking, see Case Lock Customization Options, and settle these details before ordering rather than retrofitting after delivery.
4. Latch Replacement Practice and Acceptance
Replacing a latch looks simple, but three pitfalls recur. First, hole pattern and screw specification: base plate hole spacing is not standardized across manufacturers, and drilling new holes in the wrong place cuts through structural ribs. Measure the original pattern first and select a same pattern or adapter plate replacement. Second, torque control: over tightening the mounting screws deforms the case wall locally and drags the seal strip into uneven compression. Use a torque adjustable driver and follow the manufacturer's typical torque range; polymer walls tolerate far less over torque than metal. Third, washers and thread locking: in vibration duty add nylon washers and confirm the screws carry pre applied thread lock, otherwise dozens of rough road sections will loosen them. Acceptance after replacement is equally mandatory. Cycle each latch to confirm smooth action, verify compression uniformity at every point of the seal line with feeler stock or pressure sensitive film, and run a short open close sampling cycle to confirm nothing has shifted. For batch conversions, modify one pilot case and pass a seal verification before touching the fleet. Accessory supply matters here: brands typically offer model matched latch kits with installation instructions, and JUNZHIJIA supplies latches and fasteners matched to each case model so users avoid trial and error.
5. Wheels and Wheel Mounts: Bearing Wheels and Off Road Wheels
Wheels are the fastest wearing accessories on any case, and selection is a three way match of diameter, bearing type and tread compound against ground conditions. Bearing wheels roll with low resistance and suit hard flat floors in terminals and exhibition halls; bushing wheels are simpler, cheaper and impact tolerant, fitting short distance worksite moves. Diameter governs obstacle ability: small wheels are nearly unusable over curbs and gravel, so outdoor carriage should move to large off road wheels characterized by big diameter, soft wide treads and a wide track, which handle gravel, mud and grass far better at the cost of added weight and underbody space. Whatever the wheel type, serviceability of the mount matters most for aftermarket economics: quick release axle pins or clip in wheel mounts allow single wheel replacement without swapping the whole base, which lowers after sales cost and raises repeat purchase value. Side load capacity is commonly overlooked; dragging a loaded case over a step exposes the wheel bracket to impact loads several times the static weight, so verify the manufacturer's dynamic load declaration rather than static figures alone. Tread and hub materials deserve the same scrutiny as the bearing. Thermoplastic rubber treads grip hard floors and stay quiet indoors, while polyurethane treads resist oil, cut growth and flat spotting under long static load, which matters for cases stored loaded on their wheels for months. Avoid marking rubber on painted warehouse floors, and avoid hard nylon treads outdoors, since they transmit every curb impact straight into the axle and the case wall. Hub material choices are usually glass filled nylon or die cast metal; nylon hubs tolerate corrosion and cost less, metal hubs survive higher side loads but add weight and need corrosion protection in marine service. Whichever combination you choose, keep a simple wear log per case: record wheel diameter when new, then measure periodically, because tread loss is gradual and easy to underestimate until rolling effort suddenly rises. For the system view, see Case Wheels and Trolley Handle and the Wheeled Case Buying Guide.
6. Ergonomics of Pull Handles and Grips
Handles and pull rods decide how portable a loaded case really is, and placement must start from the center of gravity. An ideal side handle position lets the loaded case hang level when lifted, so the user applies no corrective twisting torque; a badly placed handle turns any long carry into wrist and shoulder fatigue. Soft grips spread palm pressure: rigid plastic handles concentrate load into a narrow band, while thermoplastic elastomer overmolding noticeably improves comfort on long carries. Grip diameter should let an adult hand wrap around it with four fingers naturally curved; too thin cuts the hand, too thick slips. A multi handle layout should serve single carry, two person carry and mechanical lifting, with bottom lifting points tied into the structural frame rather than the wall skin. For telescoping pull rods, watch the number of stages, locking detents and lateral bending strength, since a fully loaded rod sees large side forces and a failed detent destabilizes the whole carry posture. Handle strength must come from data, not appearance; the method is described in Handle Static and Dynamic Load Test, and detailed ergonomic sizing appears in Case Handle Ergonomic Design.
7. Stacking Limits and Stack Safety
Stacking is the most routine and most accident prone duty for protective cases. Stacking limiter accessories route the upper load through designed load paths into the load bearing structure of the lower case, instead of onto a lid or a latch. Common forms include top boss to bottom recess positioning, four side guide blocks and dedicated stacking corner fittings. Uncontrolled stacking carries two risks. Offset sliding: transport vibration walks the upper case sideways until it falls. Load bypass: upper weight presses on the lower latch or handle, deforming accessories or cracking the lid. Long term stacking adds creep: polymer shells deform slowly under sustained load, so stack height should respect the declared stacking limit with margin, derated further in hot warehouses. For accessory dealers, limit blocks and stacking corner fittings are frequently overlooked, high turnover service parts worth stocking. For the systematic treatment, see Stackable Case and the Case Stacking Corner Guide. Adding limit accessories to the modification list is a low cost way to raise warehouse and transit safety without touching the shell itself.
8. Pressure Equalization Valve: Principle and Selection
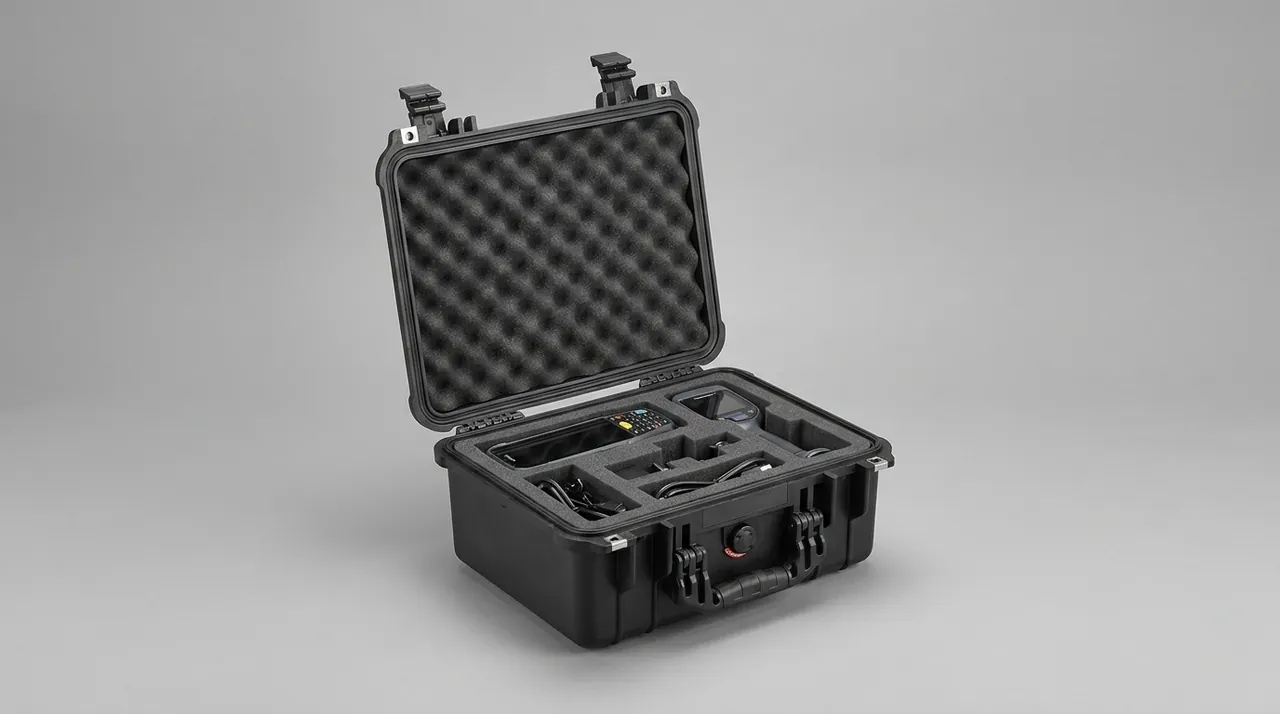
The pressure equalization valve exists to solve pressure difference. When a case travels from plateau to lowland, moves from a cold truck bed into a heated room, or is recovered from depth, a significant differential pressure builds across the shell. In mild cases the door seal is sucked tight and the case becomes hard to open; in severe cases the reverse pressure squeezes the seal strip out of its groove and creates a water path. The valve contains a waterproof breathable membrane, typically expanded PTFE, whose microporous structure passes gas molecules while liquid water, held by surface tension, cannot enter, equalizing pressure while preserving the rating. Three selection points follow. First, airflow capacity must match case volume and the rate of temperature change; large cases or rapidly cycling environments need high flow versions. Second, the valve's own protection rating must not be lower than the case rating; fitting a low grade valve to an IP68 case is installing the weakest hole in the sealing system by hand. Third, temperature and chemical tolerance must cover the real transport envelope. For deeper selection detail see the Pressure Equalization Valve Guide, including membrane pore size and moisture transmission discussion.
9. Valve Installation Position and Maintenance
Placement largely decides whether the valve works at all, and three rules are mandatory. First, avoid low spots where water pools: a valve at the case bottom, or anywhere the liner can form a water pocket, will have its membrane soaked during immersion, the micropores fill with water and the equalizing function fails. Second, avoid liner blocking: the valve depends on gas exchange with the case interior, and a valve buried under foam or pressed against equipment is decorative. Third, keep it inspectable: the membrane is a consumable and should sit where a lid opening reveals it for visual check. For workmanship, mount through a sealed bulkhead fitting with an O ring, torque to the specified range, and afterwards run a simple differential check: with the case sealed, expose it to a temperature change and confirm the valve breathes freely, or watch the valve rear face for leakage during the scheduled immersion verification. Align valve checks with the seal strip service interval: at each routine service, inspect the membrane for dust and damage and test airflow with a light breath, replacing the cartridge rather than running a clogged valve. Field practice for high altitude use appears in Outdoor Case Pressure Valve, with the broader component discussion in Case Pressure Equalization Valve.
10. Hinges: Metal, Polymer and Removable Designs
Hinges fail mainly through pin wear and growing lid play, first felt as slop and noise during opening, later as lid misalignment that leaves part of the seal strip uncompressed. Among metal hinges, stainless steel and zinc alloy die castings dominate: strong and tolerant of frequent cycling, they need attention to corrosion and lubrication retention in salt fog. Polymer hinges resist corrosion, need no lubrication and cost little, but creep and low temperature brittleness limit them; for heavy lids or cold service, verify UL94 flame rating and load behavior first. Removable hinges are the maintenance friendly option: withdraw the pin and the lid separates from the base, so a lid seal or liner service needs no factory return, valuable where the service network is thin. When replacing hinges, match the hinge capacity to lid weight and open close frequency, and apply thread locking to the hinge screws as well. A practical upgrade rule is to replace hinges in pairs even when only one side shows wear, because mismatched wear between left and right hinges skews the lid and loads the seal unevenly, which quietly undoes the compression work you did on the seal strip. Check the hinge torque feel after installation: the lid should hold its position at any opening angle on large cases, or fall gently rather than slam, and a lid that flops freely on a heavy case signals undersized hinges rather than a feature. Grease selection matters for metal pins; a lithium based grease with wide temperature range stays in place across seasons, while ordinary oil migrates away and collects dust. Hinge and latch together define the durability of the lid system; their interaction is analyzed in Hinge Latch Design Durability and Case High Strength Hinge, with step by step replacement in the Case Hinge Replacement Guide.
11. Seal Strip Replacement and Rating Reverification
The seal strip is the most rating sensitive part of the whole accessory system, and three aging criteria should be memorized: hardness clearly rising, permanent compression set exceeding a noticeable fraction of the section height, and surface cracking or shiny stress marks. On materials, EPDM offers strong ozone and weather resistance and is the default for outdoor cases; silicone tolerates a wider temperature range with lower compression set, fitting thermal cycling and food or medical service. A four step replacement flow is recommended: clean the groove of old adhesive and dust completely; replace the full ring rather than patches, placing any unavoidable joint at a non loaded underside area with a scarf splice; verify compression with feeler stock or pressure film after latching; and reverify the rating with an immersion sampling at the declared depth to confirm the replacement introduced no new leak path. Seal compatibility is the classic modifier pain point, since groove cross sections differ by model and generic strip often fails to seal. JUNZHIJIA matches replacement seals to the case model's original cross section and provides change instructions, so users order by model number and skip the trial and error. Aging mechanisms and rejection criteria are detailed in Case Seal Aging, with replacement procedure in the Case Seal Ring Replacement Guide.
12. Nameplates, Labels and Asset Management Accessories
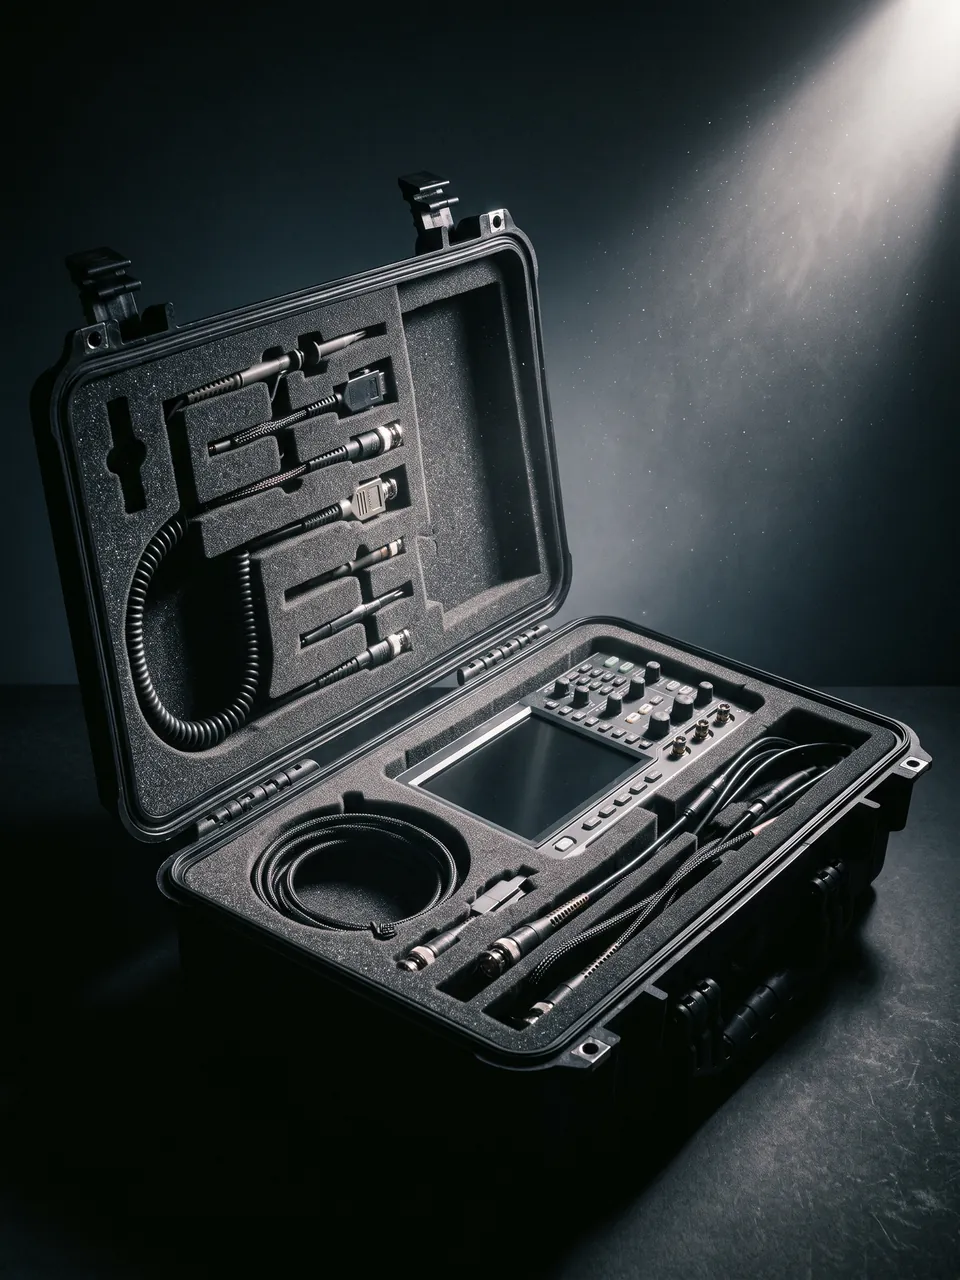
Nameplates and labels are underestimated functional accessories. The nameplate carries model, volume, stacking limit and protection rating, serving as the evidence carrier for service and acceptance; anodized aluminum or laminated polyester stock with laser etching or UV printing outlasts ordinary ink printing by years of outdoor exposure. Asset management accessories serve equipment administration: asset tags, QR codes or RFID labels connect cases into inventory systems for issue logging, inspection records and location tracking, and for fleets of tens to hundreds of cases this low cost investment removes most hidden counting and searching cost. When applying labels, mind surface cleanliness and curvature; a label over the seal groove interferes with compression, and one on the bottom wears out fast, so the upper side wall or lid face is the normal position. Label content should stay separate from transport markings, which follow packaging standards, avoiding ambiguity between asset codes and logistics symbols. Implementation details appear in Case Labeling and Asset Tracking, including a practical comparison table of label materials and placement positions worth copying into your own specification.
13. Desiccant and Humidity Indicator Cards
No matter how high the sealing grade, a case cannot eliminate internal moisture: water carried in by equipment and air exchanged at every opening will condense when temperatures drop. Desiccant and humidity indicator cards are the paired microclimate accessories. Silica gel and montmorillonite are the common desiccants; silica gel absorbs steadily and regenerates by re baking, montmorillonite performs better at elevated temperature. There is no universal dosage formula; engineering practice estimates from free internal volume and expected closure duration as experience values, distributing several charge points around critical equipment in large or long term storage cases instead of dumping a single pack in a corner. The humidity indicator card shows relative humidity bands through color change, so one glance at opening tells whether the desiccant needs service, converting an invisible condensation risk into a managed parameter. Three usage rules: mount the card where it is visible at lid opening; keep desiccant from direct contact with precision metal surfaces to prevent dust contamination; replace or re bake after every wet exposure and check cards periodically during long storage. The combined logic of sealing, drying and temperature appears in Condensation Control in Cases, and adding these two items to the upgrade list materially improves long term storage reliability. A small operating routine ties the pieces together: after each wet mission, open the case in a dry room, read the indicator card, replace or re bake the desiccant, and leave the case open until the liner feels dry before sealing it again; after each dry season opening, glance at the card even if nothing happened, because slow moisture ingress through aging seals shows up here first, weeks before any visible water trace. Fleets can standardize one desiccant pack size and one card type across all case models, which keeps reorder simple and lets staff read any case at sight. Log the card readings in the same service record as the seal and valve checks, and over a year the trend line tells you which cases in the fleet are quietly losing their seal margin while still passing every visual inspection.
14. Modification Workmanship: Hole Sealing and Load Reinforcement
Modification is the highest risk step of an accessory upgrade, and three hole rules are mandatory. If a hole can be avoided, avoid it: prefer the factory grommets and accessory positions. If a hole must be cut, always fit a sealed pass through, such as a waterproof connector, cable gland or gasketed mounting base; a bare hole through the wall is a hand made cancellation of the rating. After any hole, reverify the rating using the relevant method of IEC 60529 or GB/T 4208, confirming the new opening does not leak before claiming the original class. For load reinforcement, any bracket, tie down point or heavy fixture mounted on the wall must spread its load through a metal backing plate or embedded insert across a larger wall area rather than hanging on single screws; the internal ribs are the natural load path, so align mounting points with ribs instead of the thin wall between them, and chamfer polymer holes to stop crack propagation under vibration. For batch conversions or special interface needs, folding the requirement into the design and tooling stage beats secondary machining on a finished shell. JUNZHIJIA provides OEM/ODM customization that reserves interfaces, reinforcements and accessory mounting positions at the design stage and ships with the corresponding test documentation, turning modification from remedial work into a one pass design outcome. For seal strip selection support see the Case Seal Strip Guide.
FAQ
Q: After replacing a third party latch, the seal got worse. Where is the problem? A: The most common cause is a mismatch between the latch compression stroke and the original seal strip. The factory latch compression force is designed around the seal cross section and its compression curve. A third party latch with a shorter stroke leaves the strip under compressed, creating micro gaps along the seal line that are hard to see; a latch with excessive or uneven force over compresses local zones, which looks tighter at first but accelerates permanent set, and after a few months the fit degrades instead. Start diagnosis with a compression uniformity check: latch everything closed, then measure point by point along the seal line with feeler stock, or press pressure sensitive film to read the force distribution. Next, check the hole pattern and seat flatness, since a floating or shimmed base tilts the lever force direction. Finally, confirm the latch count and positions were not reduced, because even one missing latch changes the loading of the whole ring. The fix is either returning to the same specification or selecting a model whose stroke covers the original seal compression range with adjustment capability, and after any change, run an immersion sampling at the declared depth to verify.
Q: When should wheels be replaced, and can I change only the wheel without the mount? A: Judge replacement from four observations. Tread wear: when the pattern is gone or the diameter has shrunk visibly, obstacle ability and shock absorption have dropped with it. Play: clear lateral wobble or sticky rotation indicates worn bearings or bushings. Cracks: any crack in the tread or spokes means immediate replacement, because a wheel shattering under load topples the whole case. Noise: rhythmic rolling noise is usually the precursor of bearing failure. Whether you can change the wheel alone depends on the mount design. Mounts with quick release axle pins or clip in wheels accept same specification replacement wheels as single parts; riveted or one piece mounts require changing the whole bracket, and during such work, keep the original shims and check the mounting screw condition. Record the wear part specifications while the case is healthy and stock spares in advance, so a worn wheel never interrupts a deployment. Treat wheels as consumables and schedule a visual inspection every six to twelve months according to usage frequency, which covers nearly all realistic risks without burdening the maintenance plan.
Q: Can a pressure equalization valve let water in, and how do I tell the membrane has failed? A: A qualified valve within its declared rating does not let liquid water through, because the waterproof breathable membrane passes gas while surface tension holds liquid water out; failure requires either a rating mismatch or a damaged membrane. Several practical checks exist. Visual: look for dust, oil film or physical damage on the membrane; a mud coated membrane loses most of its airflow. Airflow test: on a well sealed case exposed to a temperature change, the valve should show a faint inhale or exhale, which you can detect by holding a thin paper strip at the port and watching for movement. Pressure feel: if opening the case suddenly meets strong resistance and the lid seems sucked down, the differential is not being equalized and the membrane is probably blocked. Immersion verification: during the routine rating check, inspect the valve rear face for seepage traces. Note that a blocked membrane does not leak immediately; instead, every altitude and temperature swing becomes extra stress on the sealing system, aging the strip prematurely. Put valve checks into the same service interval as the seal strip, and replace the cartridge whenever the airflow test fails rather than running the valve degraded.
Q: Can I drill my own ports for charging or antenna connectors? A: Technically feasible, but three conditions must hold, otherwise leave it to professionals. First, position the hole away from load bearing ribs and away from the seal compression zone; the thin wall between ribs and the area near the seal groove are both unsafe, and the hole must be chamfered to prevent crack growth under vibration. Second, use a qualified sealed pass through, such as a waterproof cable gland or dedicated base rated to the protection class you need, installed exactly per its instructions; a bare hole plugged with ordinary sealant fails quickly under temperature cycling and water pressure. Third, reverify the rating after cutting, because the old IP67 or IP68 report no longer describes a case with a new opening; run the relevant rain or immersion test from IEC 60529 or GB/T 4208 and confirm no leakage before continuing to claim the original class. One more point is often missed: cutting debris that falls inside will contaminate the liner and equipment, so mask the interior before work. For high value cases or batch conversions, asking the original manufacturer to reserve the interface during production is the safer route, since both sealing and structural risks stay controlled.
Q: How often should the seal strip be replaced, and what aging signs are visible? A: There is no fixed interval, because material, climate and usage frequency all drive the aging rate. As experience values, EPDM strips in frequent outdoor service deserve a full assessment every one to two years, while silicone strips age more slowly and can run longer, but coastal salt fog, strong ultraviolet exposure and wide temperature cycling all shorten life noticeably. The visible signals include: surface losing gloss with fine crazing cracks; slow rebound after pressing and a clear rise in hardness; permanent indentation marks that persist after the latches are opened; and local gaps along the seal line, confirmed by water traces in a rain test. Any one of these signals justifies replacement, and waiting for total failure only risks the contents. Replace the full ring rather than partial sections, put any unavoidable joint at the unloaded underside with a scarf splice, verify compression uniformity with feeler stock or pressure film, and close with an immersion sampling. Keeping a one page seal history card per case, recording replacement dates and inspection findings, is the most effective management habit for long term sealing reliability.
Q: Does a TSA lock actually prevent theft, and what matters in daily use? A: A TSA lock is a cross border compliance accessory, not a security device, and keeping that boundary clear is the first thing to understand. Its core answers the customs master key system so inspectors can open the case without cutting or breaking anything, which is the entire reason it exists; against a determined opener its physical resistance is limited, and it must never be treated as the security boundary for high value contents. In daily use, four points matter. Use a TSA core when the checked route passes through the relevant customs regime; for domestic carriage, an ordinary combination lock or a steel shackle lock with higher mechanical strength is fine. Change the combination away from factory defaults and avoid simple patterns, and vary passwords across a fleet rather than unifying them. Maintain the mechanism, since dust in the keyway causes sticky operation, so clean after sandy environments. Finally, real security comes from the combination: shell strength, cable locks, tamper evident seals and shipment tracking form the chain, and the TSA lock solves exactly one link, the inspection compliance one. Placed in the right role, it delivers its benefit without false expectations.
Q: How much desiccant should go in, and how often is replacement reliable? A: There is no standard formula; engineering practice estimates dosage from the free internal volume, the moisture carried by the liner and the expected sealed duration, treating the result as an experience value. Small cases usually need a few packs, while large cases and long term storage should have several charge points distributed around the equipment rather than one pile in a corner, which dries the near zone while leaving the far side exposed. The reliable trigger for replacement is the humidity indicator card: when the color band shows relative humidity above the threshold safe for your equipment, replace or re bake the desiccant; below threshold, keep it in service. The general rhythm is to service the desiccant after every wet exposure, including rain, immersion, transport through humid regions or extended open time, and to check the cards monthly or quarterly during long storage. Three cautions apply: keep desiccant from touching precision optics and metal surfaces to avoid dust contamination; cool re baked silica gel to room temperature before returning it to the case so it does not import fresh moisture; and mount the indicator card where it is visible the moment the lid opens, otherwise the check routine erodes. Condensation control is always the combination of sealing, drying and temperature management, never one measure alone.
Q: After accessory upgrades, does the original IP67 or IP68 rating still count? A: Strictly, once any sealing related accessory has been changed, the original report becomes reference information rather than an acceptance basis. IP ratings are judged on the complete assembly under IEC 60529 and GB/T 4208; swapping latches, seal strips or hinges, adding an equalization valve, or cutting a port all alter the integrity of the seal line, so the as tested sample state no longer exists. Handle the situation by grading the change. For like for like replacement of identical specification parts with no seal structure touched, a simplified verification is reasonable: an immersion sampling at the declared depth to confirm no leakage. For seal strip or valve replacement, run a full immersion verification in the loaded condition. For holes, added ports or wall structural changes, the rating must be retested by the relevant method through a qualified laboratory, with a new report. For commercial and export use, record the change list and the reverification conclusion in the acceptance file so every modified case's rating status stays traceable. In short, an accessory upgrade is not finished when the parts are installed; reverification is the closing step, and skipping it leaves the rating printed on the case with nothing behind it.