

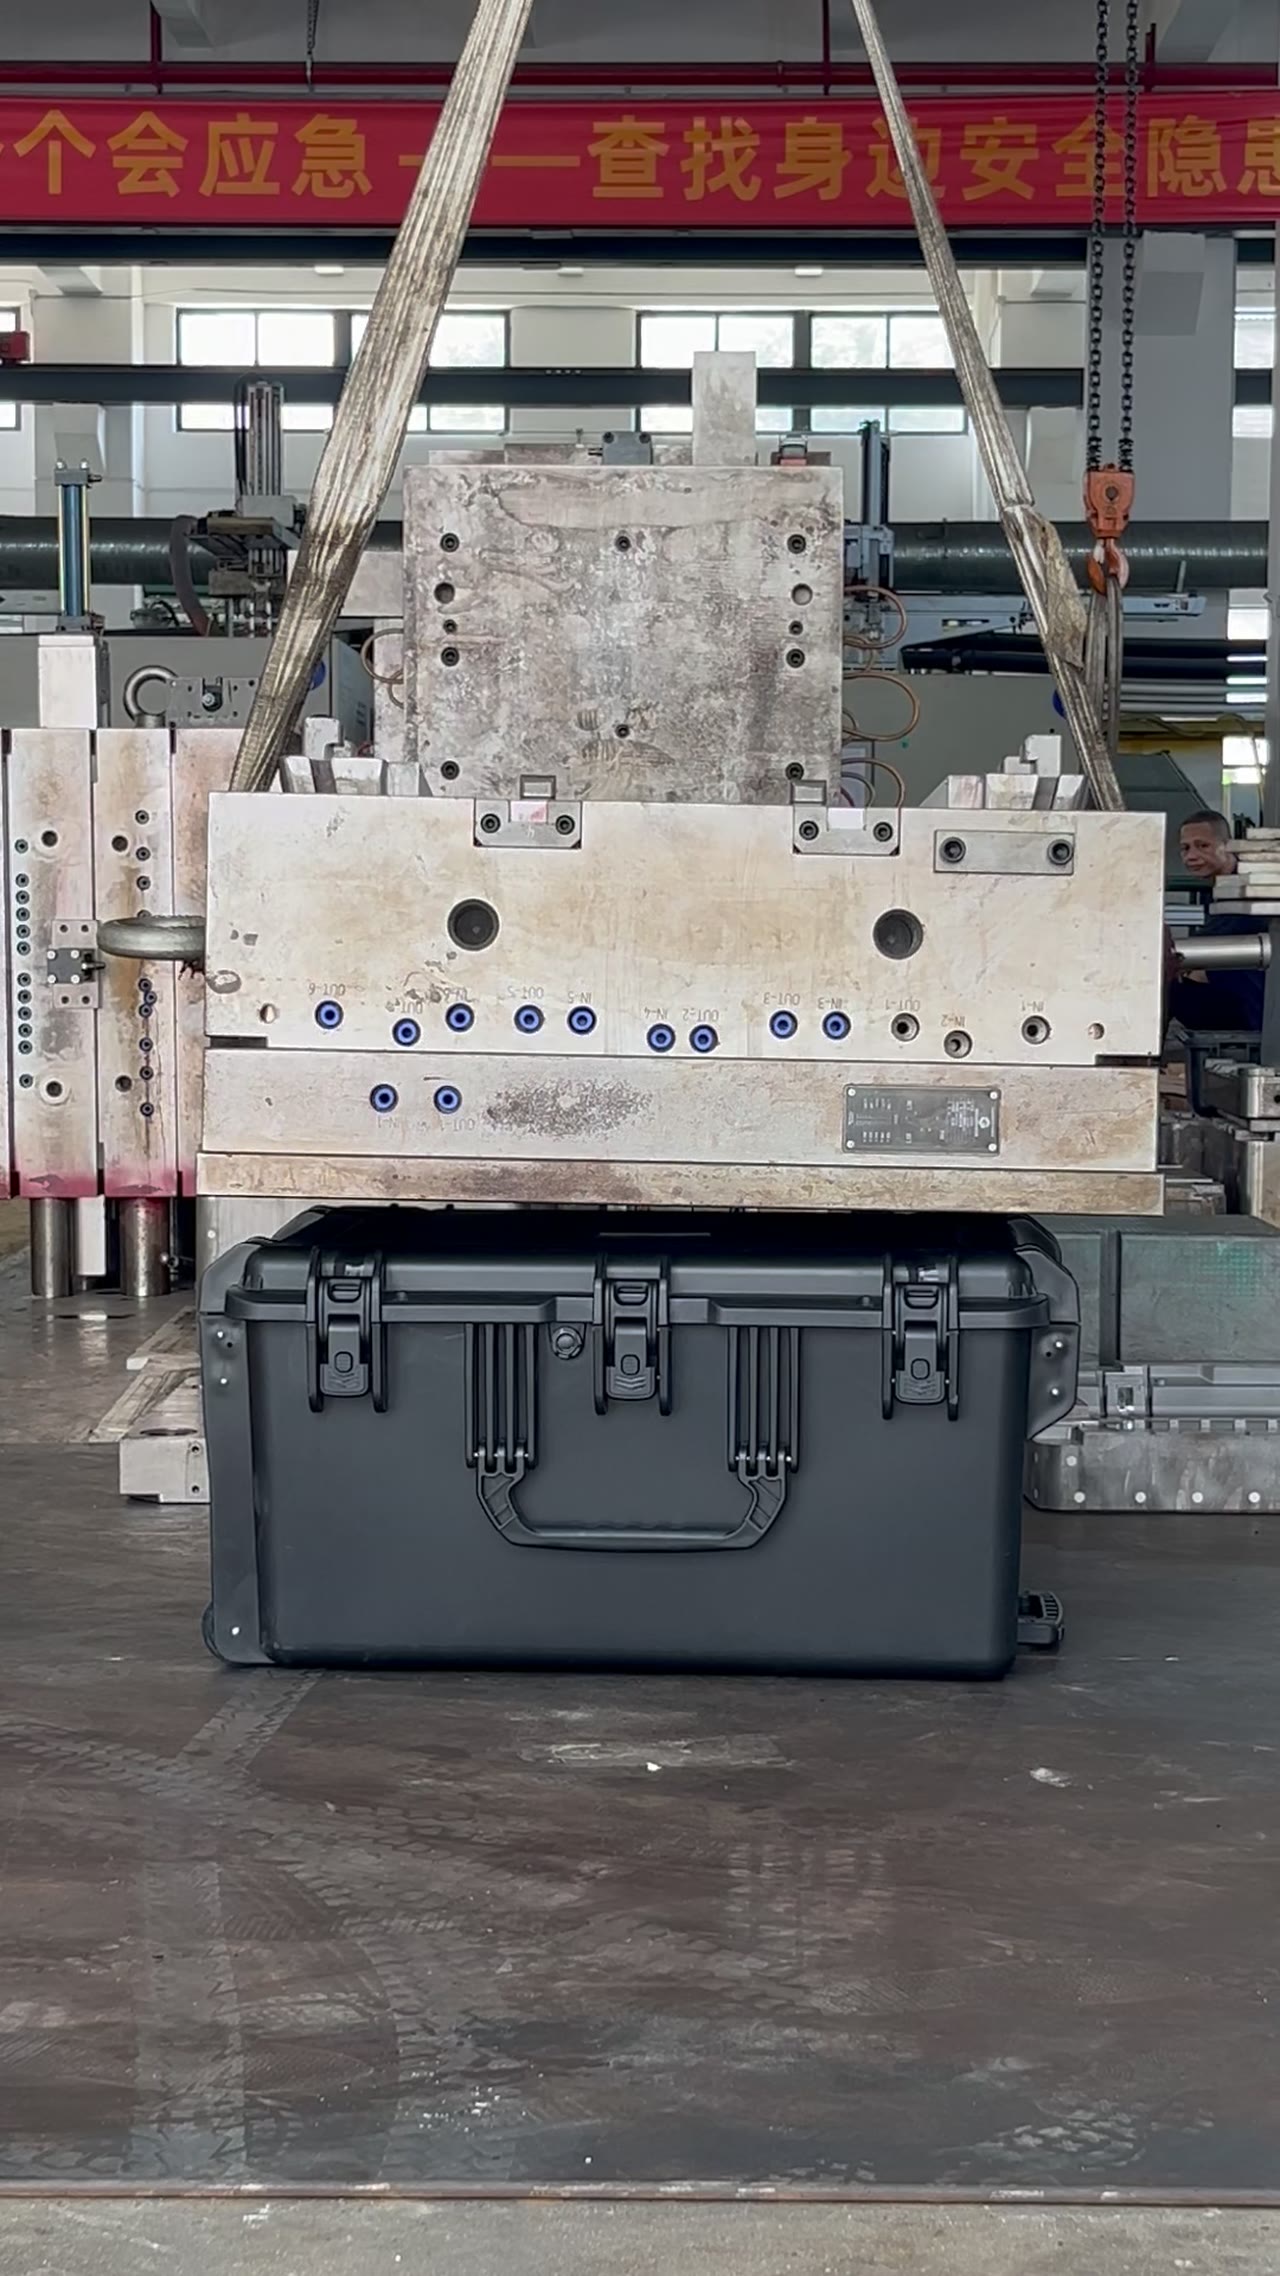


Does This Case Really Keep Water Out?
Whether the gasket is actually being squeezed is something you cannot feel your way to. Carbon paper turns it into a picture. Lay a sheet on the gasket, cover it with plain paper, close the case, open it, and the marks left behind map compression along the entire seal line. Width, continuity and the exact place a mark stops tell you more than any snap of a latch. The clip covers two seconds of closing and opening. This page is about reading that sheet, and about what to change once you have.
01Marks on Paper: Width from 1.5 mm to 5 mm
Mark width is a direct readout of compression. On one case it runs from 1.5 mm to 5 mm: wide where the cord is flattened hard, narrow where it barely touched, absent where it never made contact at all. The spread is the finding. A line that sits at 1.5 mm everywhere says closing force is low; a segment that spikes to 5 mm says that spot is over-compressed and the rubber will not come back.
Compare within one sheet, never across cases. Carbon thickness, paper weight and how hard you press all shift the darkness, so a different paper stack means a different scale. Fix one paper set per case, take a baseline at a stretch you know is well seated, then judge the rest against it. Width is a relative number and stays useful only while the paper stays the same.
02Continuity Above 90 Percent: A Gap Is a Leak Path
Continuity is easier to read than width. A closed mark should be unbroken, and measured continuity needs to sit above 90 percent. The short breaks are where contact is missing, and water uses exactly those. Breaks cluster at the four corners, mid-span between latches and at both ends of the hinge, because lid stiffness is lowest there and rebound after closing is greatest, so the mark dies there first.
Read the shape of the break too. A soft, rounded end usually means compression never arrived. A frayed edge or torn paper usually means the cord was sheared sideways in its groove: pressed, but no longer in the right place. The fixes differ. The first wants more closing force or another latch; the second wants a look at groove width and how the cord was fitted. Treat them as one problem and the break returns.
03Four Closing Sequences, Four Different Patterns
The order you close latches in reshapes the pattern. Four sequences are common: ends first then centre, centre first then ends, diagonals alternating, and a sweep from the hinge side toward the latches. On a long case the difference is obvious. Centre first seats the middle and lifts the ends; ends first seats the ends and leaves the middle hanging. Which one wins depends on how stiffness is distributed across the lid, not on habit.
The test is crude and it works. Run all four sequences on the same case, compare continuity, and write the best one into the work instruction. Within a production batch the winner is usually the same, since mould and wall thickness are shared. Change the mould or the gasket batch and the comparison has to be redone, because the old answer belonged to the old hardware.
04Latch Force 30 N to 90 N, Gap Within 0.3 mm
Single-latch closing force belongs between 30 N and 90 N. Below 30 N there is no sense of arrival, so people press again and again and in real use close only one side. Above 90 N it cannot be done one-handed, a knee gets involved, and the cord takes a permanent set from the abuse. The window follows the cam profile, which is why reshaping the cam usually beats swapping the gasket.
The gap after closing is the one check anyone can make. Slide a feeler gauge in; within 0.3 mm reads as seated, beyond it means some segment is not being pressed. Work around all four edges, since testing one edge easily misses the opposite corner. Gap is the outcome and the mark is the cause. Read them together and you can tell insufficient force from a cord sitting in the wrong place.
05After 50 to 200 Closures: Set of 8 to 20 Percent
A clean pattern on a new case does not stay clean. After 50 to 200 closures the gasket takes a compression set, measured at 8 to 20 percent: the cord no longer returns to full height, so the same force produces a narrower mark and lower contact stress. It is gradual, fastest over the first 50 cycles and flattening out afterwards.
So take the print at least twice, once before shipping and once after real use, and treat the difference in width as the price of that service. The segment that lost the most width is usually the first to seep. Keeping the sheet on file beats writing that the seal looked good. The footage documents the run, release depends on the formal record, and nothing on screen stands as a protection claim.
| Mark width | 1.5 mm–5 mm |
|---|---|
| Mark continuity | ≥90% |
| Gasket compression | 0.6 mm–2.5 mm |
| Single latch force | 30 N–90 N |
| Closing sequences tested | 4 sequences |
| Gap after closing | ≤0.3 mm |
| Compression set | 8%–20% |
| Repeated closures | 50–200 cycles |
FAQ
What if I have no carbon paper?
What you need is a transfer layer, not that particular product. Thin pressure-sensitive paper or single-sided carbon works; heavy card does not, because it cannot record fine detail. The rule that matters is one paper set per test series. Swap the paper and you have swapped the scale, and widths from before and after stop being comparable.
Is a wider mark always better?
No. Between 1.5 mm and 5 mm is healthy. Under 1.5 mm the cord is not reached, at 5 mm it is crushed. Crushing costs resilience: after repeated closures the set climbs toward the top of the 8 to 20 percent band, and the same force no longer yields the width it once did.
Does closing order really change the seal?
On a long case it does. Lid stiffness varies, so whichever side closes first decides how much the middle finally gets. Print all four sequences, compare continuity, adopt the best and hold it, so every case in the batch closes the same way. Consistency is half the value; the rest is picking the sequence that suits the lid.
Six months in, the mark has narrowed. Now what?
Compare with the sheet from build. Narrow everywhere points to a gasket that has taken a set, so replace it. Narrow in a few segments points to force or contamination. Once width drops below 1.5 mm and continuity falls out of the 90 percent band, schedule the change at that segment rather than waiting for water to prove it.