

Game Console Case: Console, Controllers and Cables
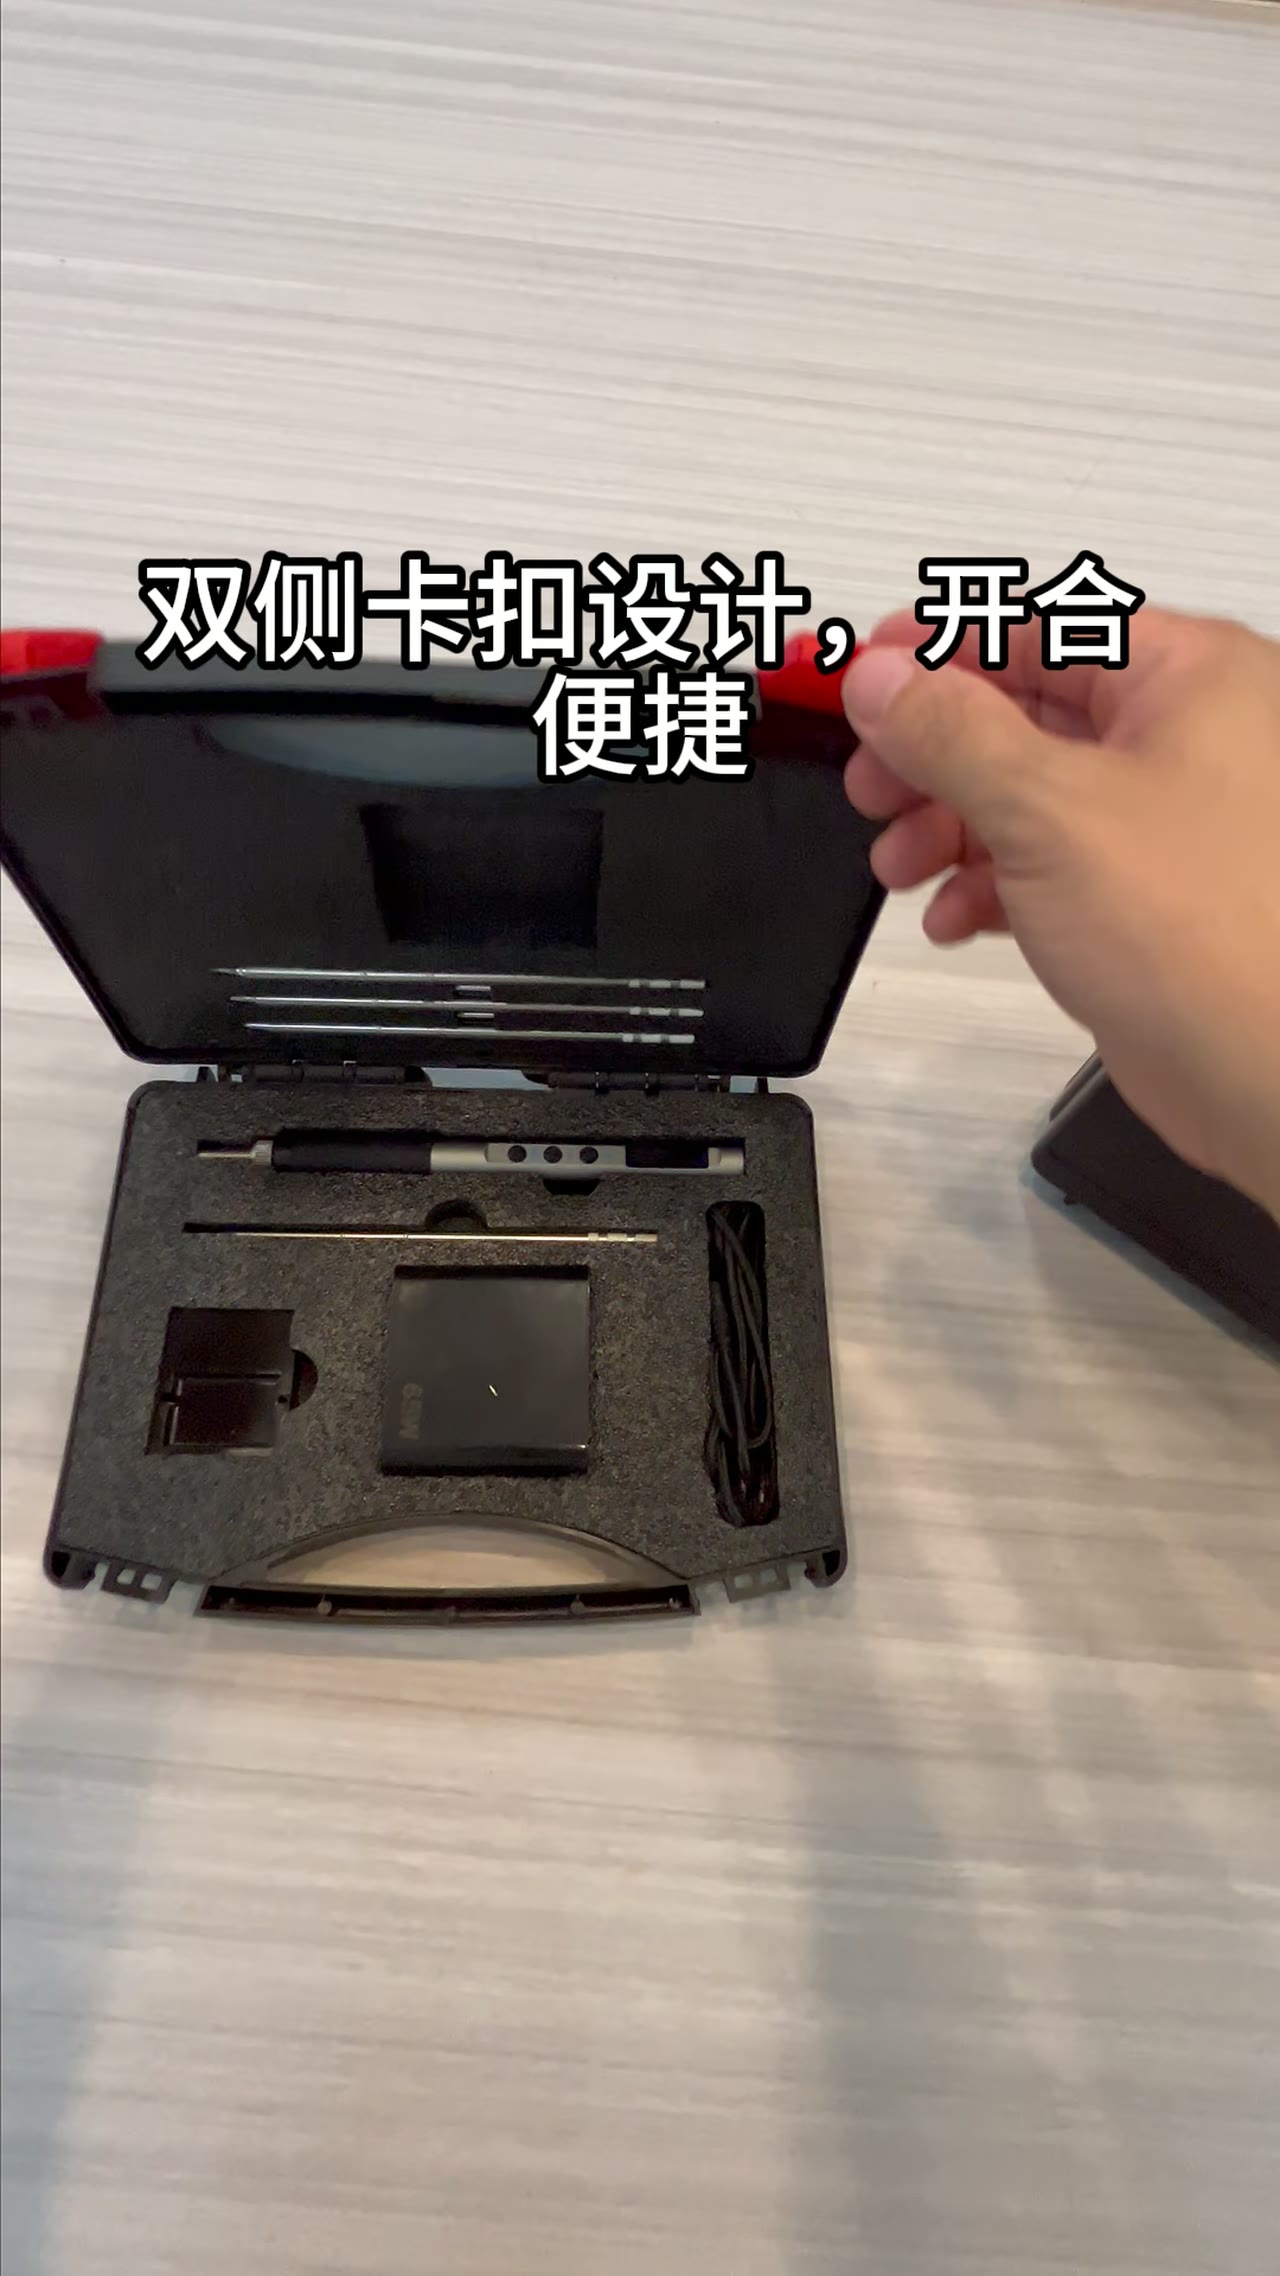
The clip is short: lid up, controller out, console lifted, cable pulled, lid down. Four moves, three bays, thirteen seconds. What the footage cannot tell you is why the bays sit in that order, how much clearance each slot gives away, or what keeps a coiled power lead from migrating into the console bay between trips. Those three decisions set how fast the case opens, and whether the console is still seated when you arrive. None of it shows on camera; all of it shows up the tenth time you pack the case.
01Bay Order: Nearest Hand First, Deepest Last
The first thing your hand reaches should be the thing you use most. Controller at the front by the lid opening, console in the middle, cable bay pushed to the back or into the lid. That order turns four actions into a straight line with no doubling back. Put the cables outermost and you part a nest of lead before you can grab a controller: 15 to 20 seconds of extra handling.
Dividers between bays run to the floor and stand at least 1.2 times the height of the shortest item, or contents ride over the wall in transit. The front opening needs 90 mm to 110 mm of hand clearance; below 80 mm you cannot get a gloved hand in. Before cutting any foam, walk the sequence with empty hands and your eyes shut.
02Console Slot: What 3–5 mm of Depth Buys
Cut the console slot 3 mm to 5 mm deeper than the chassis. Under 3 mm the part interferes and every removal turns into a pry; over 5 mm it slides fore and aft, hits the wall first on a drop, and the rebound lands harder than a snug fit would. The test is a one-hand drop-in: release it, and the console settles on its own without catching.
Relieve the floor for rear ports and feet, 2 mm to 3 mm, otherwise the console rests on three bumps and the clearance around it means nothing. Chamfer the slot mouth 1 mm to 2 mm, not for looks but to stop fingernails tearing crumbs off the edge. An insert shedding debris in three months usually has a square mouth, not a density problem.
03Controller Slot: 2–3 mm Wide, Held Not Pinched
Make the controller slot 2 mm to 3 mm wider than the measured body, split across both sides, so 1 mm to 1.5 mm per flank. That is enough to seat without rattle and not enough to need force. Zero clearance still assembles, but removal means spreading the walls with both hands, and after a few dozen cycles the foam takes a set and the controller spins in its pocket.
Depth stops at one half to two thirds of the controller thickness; the lid insert closes the rest. Clamping from both faces is what stops it leaping out when the case is carried upside down. A 2 mm to 3 mm soft pad on the lid touches the face without polishing it, and two controllers side by side need an 8 mm to 10 mm divider.
04Cable Bay: 0.8–1.2 L, Sized by Volume
Size the cable bay by litres, not by how many leads you can cram in. A full set coils to roughly 0.8 L to 1.2 L, and the power brick dominates because the plug end cannot be folded tight. Four to six plug pockets, each a shallow well that captures the head, let the cable be coiled afterwards. Skip them and the leads negotiate their own space into a knot.
Two mesh pockets sewn into the lid, 60 mm to 80 mm deep with elastic mouths, hold the manual and a spare lead. Loose accessories thrown into the cable bay migrate into the seams around the console and controller slots and polish marks into the foam. A 15 mm radiused notch in the divider lets the charging lead exit without unpacking the whole coil each time.
05Stopwatch Acceptance: 25–40 s Open, 60 s Shut
Time it. From hand on the latch to console powered and playable, 25 to 40 seconds is a sane band; past 50 and one step involves hunting. Closing runs from shutdown to latch engaged in under 60 seconds, with the cooldown wait excluded. Have three people run it three times each and take the middle figure, which beats any estimate made at the bench.
Two insert layers or three depends on case depth. Two means base and lid, cheap and simple. Three adds a mid frame that fully separates cable bay from console slot, paid for with 10 mm to 15 mm of internal height. The usual three-layer failure is misregistration: the frame is not pressed home, the lid closes over a bulge, and the insert rides out with the console.
| Console slot depth allowance | 3–5 mm |
|---|---|
| Controller slot width allowance | 2–3 mm |
| Cable bay volume | 0.8–1.2 L |
| Insert EVA density | 30–38 kg/m³ |
| Insert layers | 2–3 |
| Plug pockets | 4–6 |
| Open to playable | 25–40 s |
| Close and latch | 45–60 s |
FAQ
Why does the controller bay sit nearest the lid?
Because of use frequency. The controller comes out every session, the console is placed once, the cables mostly stay put. Putting the most-used item on the shortest path keeps the sequence linear. Sort by size instead and the console blocks the way, costing 15 to 20 seconds before the controller is even in hand.
Can the console slot be cut to 1 mm of clearance?
Not advisable. One millimetre fits on paper but binds in reality once foam cutting tolerance and chassis tolerance stack up. The 3 mm to 5 mm band exists for assembly error and fingers. If you go under 3 mm, test fit three units from the same batch; one that catches kills the number.
Why is the cable bay measured in litres, not lead count?
Cable bulk varies too much. One coiled power lead can occupy the space of three thin data cables. Design by count and a thick lead will not fit; reserve 0.8 L to 1.2 L, add four to six plug pockets to anchor the heads, and let the slack coil itself.
Two insert layers or three?
Depends on depth and zoning. Under 90 mm of internal height, stay at two, because a mid frame eats the access space. If loose parts must never reach the console slot, go to three and accept 10 mm to 15 mm less height. After assembly, check the layer seams; 1 mm of mismatch bulges the lid.