

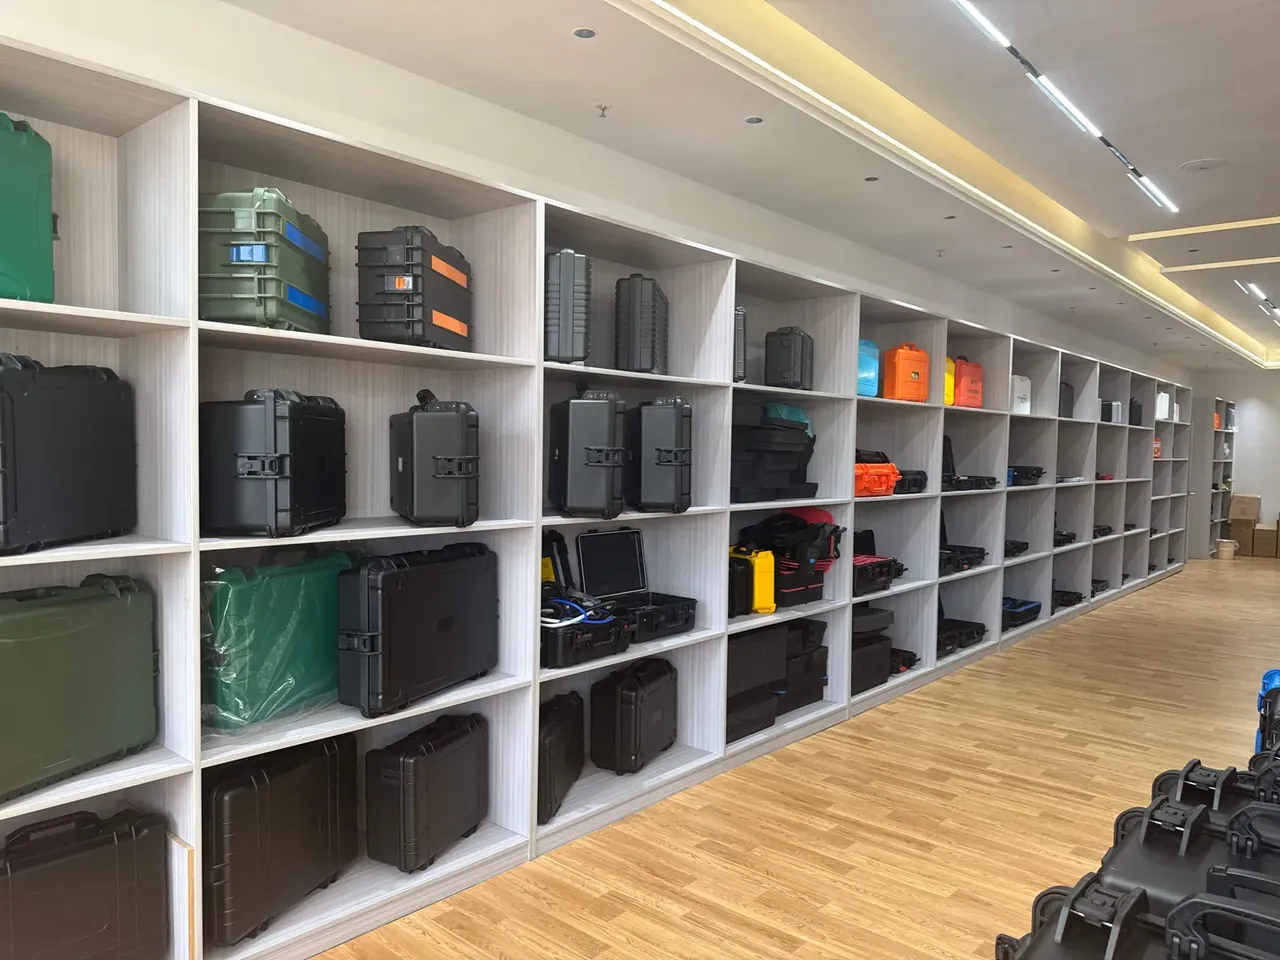
Quick answer: A case seal failure diagnosis starts at one number: hold 0.3 kPa for 60 s and a decay above 0.05 kPa fails the case, so work gasket, valve, latch, seam and ports in that order.
Table of contents
- Reading the decay before opening anything
- Step one: appearance and gasket compression
- Step two: valve seat return
- Step three: latch preload
- Step four: shell and seam
- Step five: ports and plugs
- FAQ
1. Reading the decay before opening anything
A case that passed at the end of the line returns with a 0.12 kPa decay, more than twice the limit. Do not open it: re-pressurise to 0.3 kPa, hold 60 s, read again. A repeatable figure means a stable leak; a figure that changes every run means the gasket was pinched at closing.
Only the difference over the 60 s counts: starting at 0.32 or 0.28 kPa changes nothing, and a 0.4 class gauge on a 2 kPa span reads 0.05 kPa at a glance.
Temperature writes false readings: a case moved from a 5 ℃ store into a 25 ℃ bay needs 30 min to equalise, and the gauge drifts 0.02 kPa meanwhile.
Repeat three times, venting to zero between runs with 2 min gaps; a spread above 0.03 kPa points at the fixture rather than the case.
| Decay in 60 s (kPa) | Verdict | Next move |
|---|---|---|
| 0.02 or less | Pass | Record and release |
| 0.02–0.05 | Borderline pass | Repeat three times, take the median |
| 0.05–0.15 | Fail | Enter the five steps |
| Above 0.15 | Gross fail | Check whether the gasket left its groove |
The fixture leaks too: aged O-rings on couplers decay on every case, so blank the line with a solid plate; under 0.01 kPa means the reading belongs to the case.
2. Step one: appearance and gasket compression
Four minutes, two questions: is the gasket in its groove, and how far is it compressed. A closed lid should leave the strip 3.15 to 3.40 mm high, 25% to 30% compression and the first guarantee of tightness.
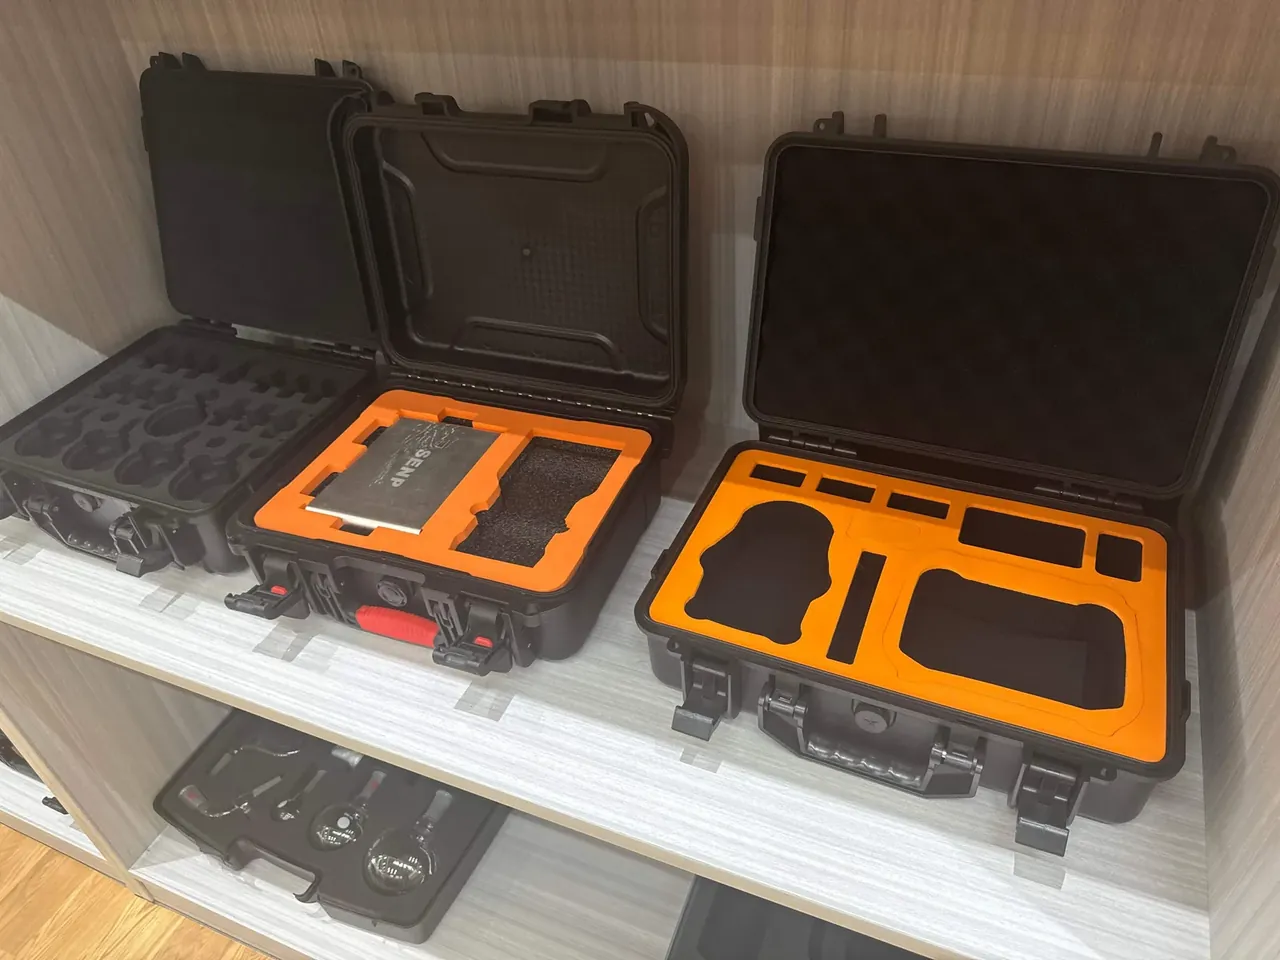
The arithmetic is short: a 3.2 mm groove with a 4.5 mm strip must lose 1.1 to 1.35 mm at the joint. Check eight points with calipers; any point above 3.40 mm never compressed, and a failed diagnosis lands there.
A strip bulging out of its groove was never seated at assembly, and a flat spot means it was trapped the last time the lid shut; a gloss line at full height means the leak is elsewhere.
Joint evenness says more than any single reading: a gap varying over 0.5 mm means a skewed lid, and a strap offcut holding the strip 0.3 mm off the bottom is cleared by compressed air, not a new gasket.
3. Step two: valve seat return
Three minutes on the pressure-equalisation valve: the disc is 14 mm across, opens near 0.3 kPa, and must sit back on its seat, or the case carries a 14 mm hole.
Press the disc for 2 s and release: it should seat within 1 s with a light click. A slow return, a visible gap, or a 0.05 mm feeler under the edge all fail, and a spring that has lost 1 mm of free length is replaced rather than adjusted.
Soap solution is the judge: coat the mouth, pressurise to 0.3 kPa and watch 30 s; clustered bubbles mean grit between disc and seat, one large bubble a distorted disc.
The threaded joint between body and shell stays invisible until disturbed: grip the body and try to turn it, and movement means it was never torqued, so re-tighten and re-soap.
4. Step three: latch preload
Five minutes across four latches, each travelling 6 mm and, fully closed, loading the lid by 1.0 to 1.5 mm of interference; less means a lid shut but not closed.
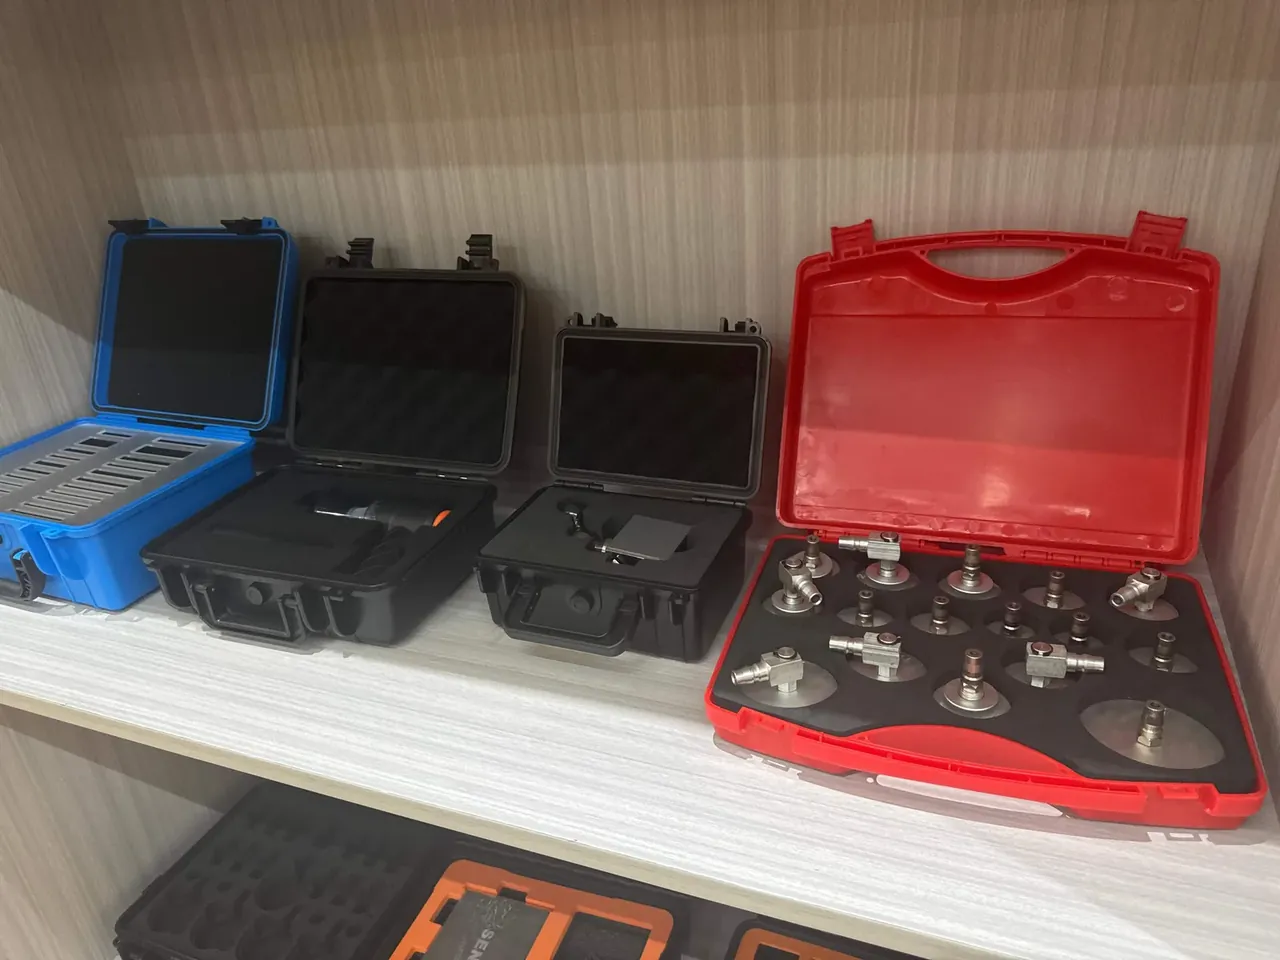
Test with the pull-gap method: with every latch down, pull the lid joint outward. A gap of 0.3 mm or less passes; at 0.5 mm the latch rests on the keeper, the strip never reaches 25% compression and the check fails.
Three sources explain a latch that will not load: a loose base, a worn hook, or a lid deformed in transit, so re-torque the base, inspect the hook and check the lid against a surface plate.
Close the long-side latches first and the end latches last, so displaced air has a path out. A steady 0.03 kPa decay after every latch is down usually means a gap under the base, which a 0.5 mm shim normally closes.
5. Step four: shell and seam
Five minutes on shell and seam, the leak most often misread as a gasket problem. Most cases are two mouldings joined on a 3 mm seam sealed by ultrasonic welding or adhesive, and any unwelded stretch leads straight to a failed airtight check.
Work in segments: tape off a stretch, pressurise to 0.3 kPa, soap for 30 s. Segments of 200 mm mean eight stops around a 1.6 m perimeter.
Bubble shape separates the two causes: a cold weld gives a fixed line of clustered bubbles, a shell pore a single bubble in a random spot. Cavities between liner and shell carry air sideways, so a liner-edge leak surfaces centimetres away and the edge needs soap as well.
Start at the hinge side, which takes the highest load every time the lid closes and carries the highest share of cold welds.
6. Step five: ports and plugs
Three minutes on every point that penetrates the shell, the smallest part of a case seal failure diagnosis.
All seal on an O-ring or grommet lip 1 to 2 mm wide, so slight eccentricity leaks; soap each at 0.3 kPa and watch 30 s, and the bubble marks the leak without a strip-down.
| Port | Check | Pass criterion | Time (min) |
|---|---|---|---|
| Pressure valve | Press disc, release, soap | Seats within 1 s, no bubble in 30 s | 1 |
| Threaded plug | Re-torque to 1.5 N·m, soap | No bubble in 30 s | 1 |
| Cable grommet | Lift lip and inspect | No rolled lip, compression 25% or more | 0.5 |
| Relief port | Press three times, soap | Normal rebound, no bubble | 0.5 |
Plugs fail on torque: 1.5 N·m suits an M12 plug on a 2.5 mm O-ring, and either too little or too much ends in a failed check. Walk the ports from the drawing, or one missed plug turns a 20 min location into 40 min of rework.
Conclusion
The five steps matter less as a list than as five judgeable actions inside 20 min, each ending in a number or a feel, ordered by leak share: gasket, valve and latch carry about 70%. Once all five are done and the case still fails, three outcomes remain: repair it when strip and latches measure in tolerance and the leak sits in a seam or port that opens; downgrade it when leaks scatter and the structure no longer suits its rating; scrap it when the shell shows a through-crack or several cold welds and labour passes 40 min.
| Step | Criterion | Time (min) |
|---|---|---|
| 1. Appearance and gasket | Strip 3.15–3.40 mm at the joint, 25–30% compression | 4 |
| 2. Valve return | Seats within 1 s, no bubble at 0.3 kPa in 30 s | 3 |
| 3. Latch preload | Pull gap 0.3 mm or less | 5 |
| 4. Shell and seam | Segmented taped test, no continuous bubbles in 30 s | 5 |
| 5. Ports and plugs | Soap each port, no bubble in 30 s | 3 |
| Total | Leak located to a single point | 20 |
This article discusses container-side specifications and design implications only, and does not cover any handling, loading or use of the contents.
Related Reading
- Timing and method of a field airtight retest
- Where the 0.3 kPa decay criterion comes from
- Handling decay readings in a pressure test
- Pairing an air test with leak location
Related Products
- 8 Series — Gun Cases; Military Equipment Cases; Camera Equipment Cases; Drone Cases; Watch Cases; Knife Cases; First Aid Cases; Electronics Equipment Cases
- WL8-2812 PP Gun Case — model WL8-2812
- All protective cases and toolboxes: 7 series, 158 models