

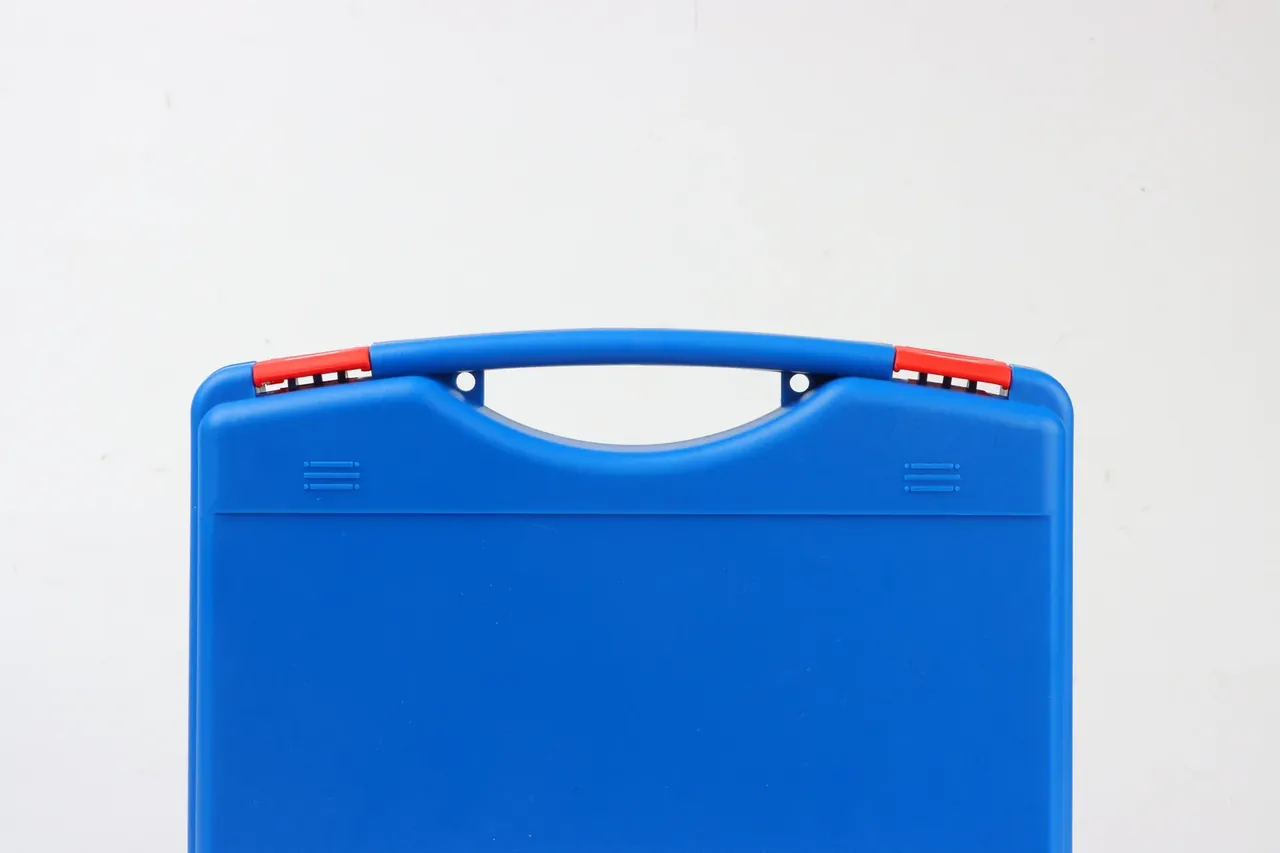
Quick answer: The protective case customization process starts in four places: medical work by cavity tolerance, instruments by panel cut-outs, field equipment by opening seconds, broadcast gear by rack height. Fix cavity, latches and time limit before tooling.
Table of contents
- Where the Process Starts in Four Trades
- Medical and Instrument Tolerances
- Fast Access for Field and Broadcast
- Four Assembly Steps That Decide Fit
- Mistakes by Trade
- FAQ
1. Where the Process Starts in Four Trades
The protective case customization process starts by turning a working condition into measurable numbers. One outline can serve four buyers and still need four interiors: a wipe-clean wall, a panel window, a gloved one-hand opening time, a cavity for a rack section.
Cavity figures below are references; the working number is the equipment envelope plus 5 mm per side.
| Trade | Cavity (mm) | Latches | Interior | Prototype (days) | Main risk |
|---|---|---|---|---|---|
| Medical | 430 × 320 × 160 | 4 | 30 mm EVA cells | 3 | Disinfectant in seams |
| Instruments | 480 × 360 × 210 | 4 | Egg-crate foam, divider | 4 | Off-centre window |
| Field gear | 520 × 380 × 220 | 5 plus lock | 20 mm dense foam | 5 | Pins seize after salt spray |
| Broadcast | 600 × 450 × 260 | 6 | Three-layer dividers | 4 | Wall bulge under stack |
The last column sets lead time; the earlier a risk sits there, the more hand-fitting the first article needs: 1.5 mm medical, 0.8 mm field, 2 mm broadcast.
2. Medical and Instrument Tolerances
Medical cavities are held to ±1.0 mm, twice as tight as a general case. The protective case customization process fixes the interior first here, because foam does the damage: cut a compartment 3 mm wide and the instrument slides until the lid liner wears a scar.
Instrument cases fail at the panel. The faceplate needs a moulded window held to ±0.5 mm with a 1.2 mm chamfer, or the corners load unevenly and the glass cracks first. Project that window from the model; scaling a flat drawing puts it 2 mm out.
Lead time follows the change: interior only, 3 days for a CNC hand sample; cavity change, 5 days; new tool, the full moulding schedule.
3. Fast Access for Field and Broadcast
Opening time is the headline figure in the field. Three latches and one lock, thick gloves, one hand, first touch to fully open lid under 42 seconds, timed at acceptance.
Four hardware decisions carry it:
- Sink the latch seats 2 mm so none cuts the strap
- Use 304 stainless hinge pins at 5 mm with nylon bushes
- Mould the lock into the body instead of drilling later
- Add a 3 mm rim lip so the closed lid forms a water step
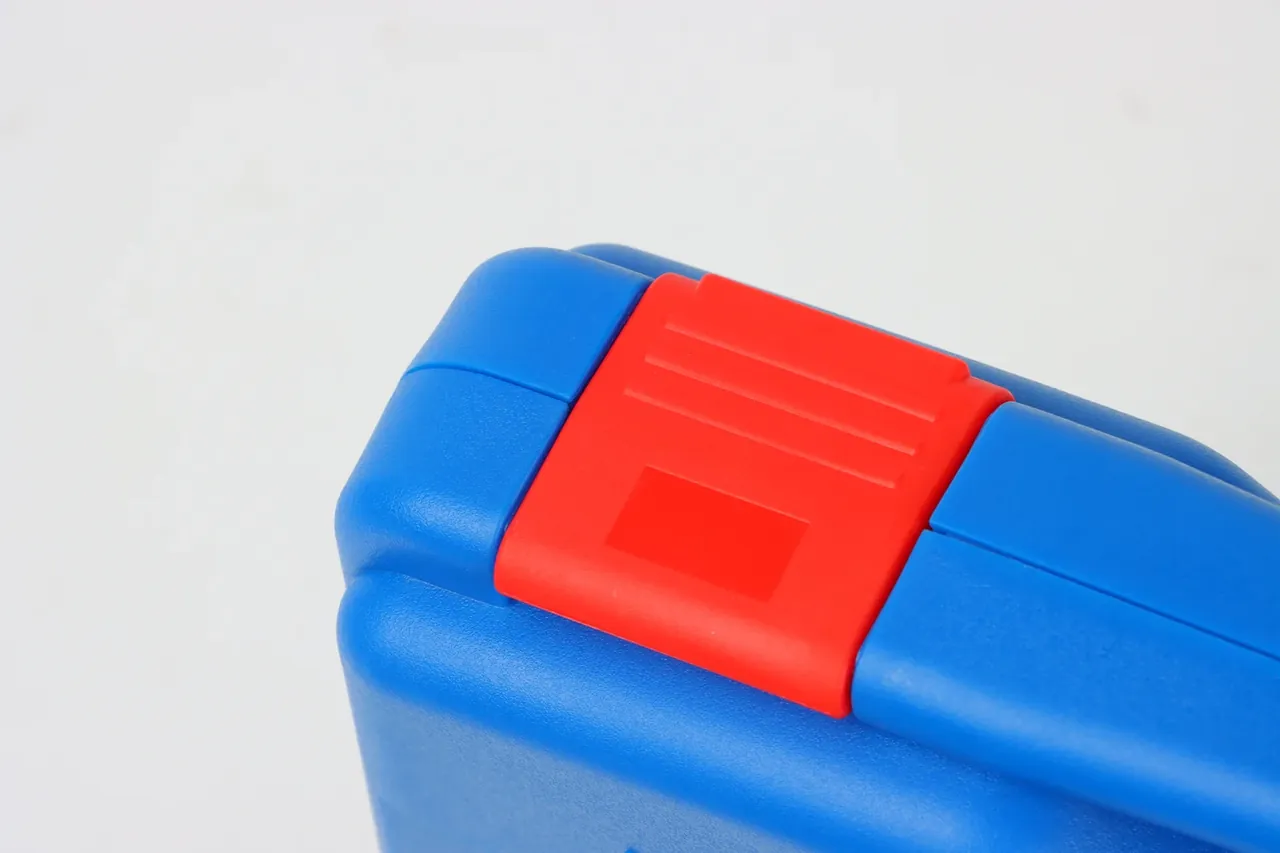
Coastal users add 72 hours of neutral salt spray with no pin seizure within 2 hours of removal. That changes the bill of materials: plain carbon pins fail, so the choice is 304 or zinc flake. The protective case customization process books that coating into the tooling quote.
Broadcast cases follow rack sections instead. A 6U section goes in whole: 600 × 450 × 260 mm cavity, 15 mm cable channels each side, a stack designed for three high. A fourth layer bows the wall.
4. Four Assembly Steps That Decide Fit
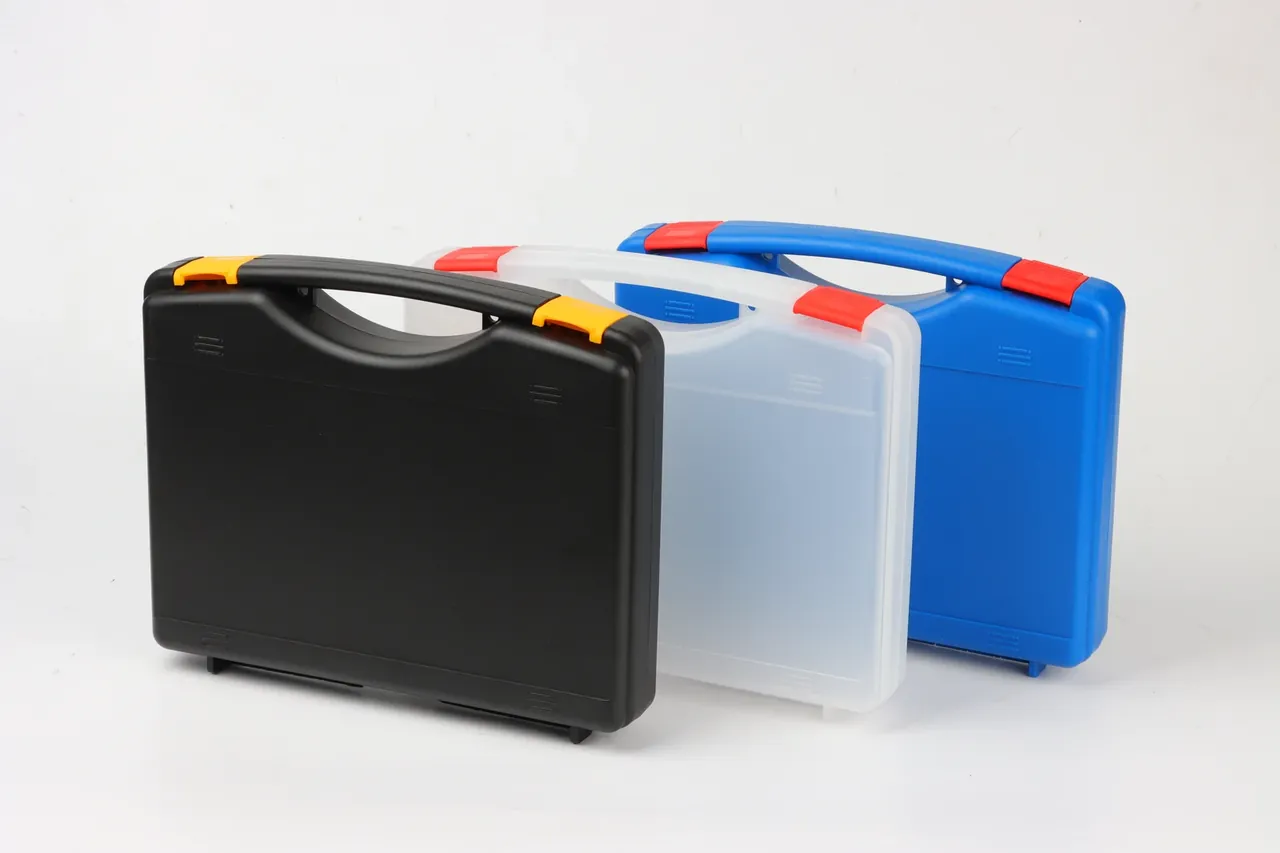
At assembly the protective case customization process stops being about putting things inside a box. Four ordered actions decide fit.
First, seat the interior at 0.5 mm interference, corners first. Second, close the rim from the hinge side outward so air escapes and the gasket is not pinched into an S. Third, pre-tension the latches diagonally so each body sits flat. Fourth, torque the M6 screws to 9 N·m; at 11 N·m the boss strips.
| Step | Setting | Pass criterion | Failure sign |
|---|---|---|---|
| Seat interior | 0.5 mm interference | Corners flat, lid drops freely | 5 mm of hand pressure |
| Close rim | Sweep from hinge outward | Even gasket compression | Leak in rain test |
| Pre-tension latches | Diagonal order | Body flush with seat | 0.8 mm gap on one edge |
| Torque screws | 9 N·m | Wrench within range | Boss stripped at 11 N·m |
5. Mistakes by Trade
The first mistake is cutting the interior to nominal cavity size. It will not go in, so someone trims foam by hand, the walls end up uneven, and the device sits tight on one side and loose on the other.
The second is locating panel windows from outside dimensions. A 2 mm offset leaves 40 faceplates unseated; opening the hole plus shimming doubles build time.
The third is shipping without a colour standard. A batch that drifts to ΔE 2.0 gives the customer two blues on one shelf.
All three share a root: a measurable number was left to a verbal agreement. Interference, datum and colour limit are numbers, and a signed sheet ends the argument early. Rework costs days: a new foam die takes 5, opening panel holes 2, respraying a batch 7. Stack them and a 40-day delivery becomes 54. Worse, each reworked batch repeats first-article comparison, tying up two engineers for two days. In this protective case customization process the expensive part of a mistake is the queue behind it.
Conclusion
Four trades, three numbers: cavity tolerance of ±1.0 mm against ±2.0 mm, four latches against six, a prototype in 3 days against 5. Written down, they build the configuration table and turn opinions into pass criteria; that discipline, not the craft, is what the protective case customization process really is.
This article discusses only the container (case body) side of specifications and design intent, and does not cover any handling, loading or use of the contents.
Related Reading
- The six gates of a custom case project
- Drawings a custom case needs
- OEM case configurations by industry
- Applications for large protective cases
Related Products
- 8 Series — Gun Cases; Military Equipment Cases; Camera Equipment Cases; Drone Cases; Watch Cases; Knife Cases; First Aid Cases; Electronics Equipment Cases
- WL8-2812 PP Gun Case — model WL8-2812
- All protective cases and toolboxes: 7 series, 158 models