

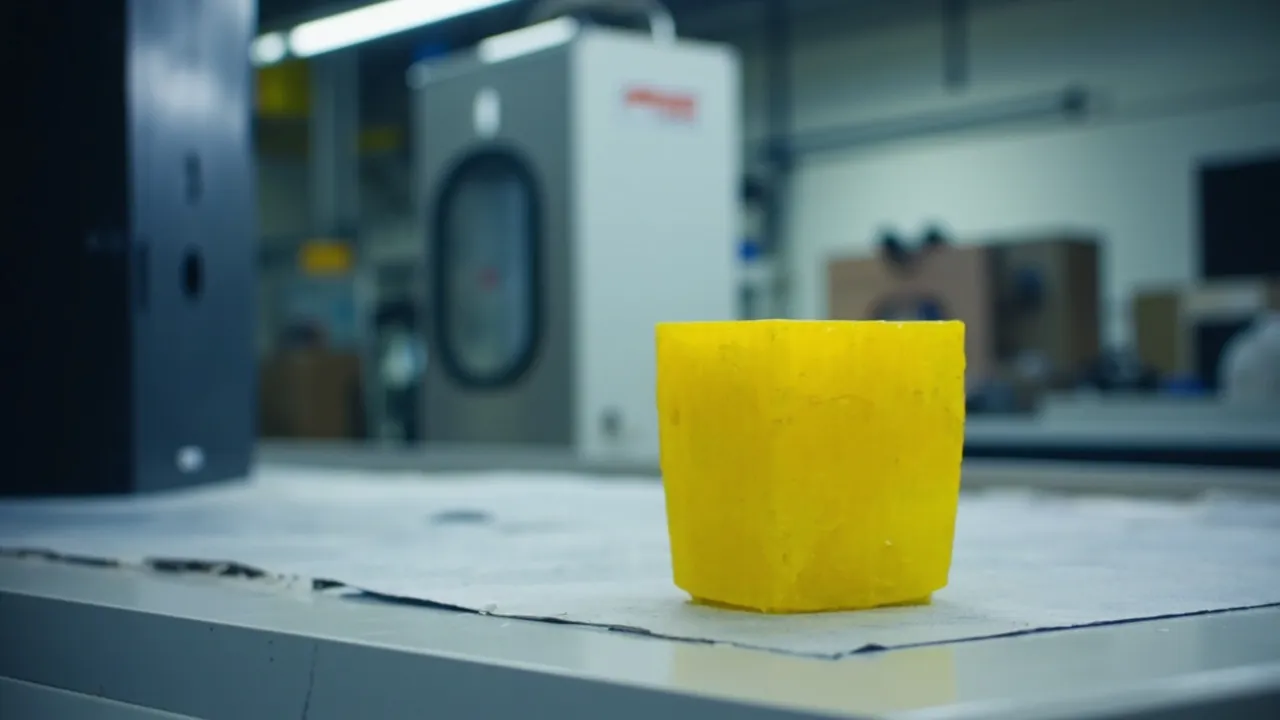
A case mold trial run is the critical gate where a new protective case goes from drawings to mass production. A mold goes from design and machining to the machine trial in stages such as T1 and T2 that progressively validate dimensions, flow, structure and protective performance. When the mold trial run is done well, mass production is stable, assembly is smooth and sealing is reliable. Conversely, leaving problems to mass production usually multiplies the cost in mold repair, scrap and delivery loss.
Conclusion: case mold acceptance should follow "stage-by-stage validation + first-article confirmation + protective testing + document archiving": T1 checks dimensions, appearance and flow, T2 checks structure and function, then IP, drop and temperature cycling tests are added, and finally first article inspection (FAI), SPC and capacity ramp-up complete mass-production validation; only when trial issues are closed on the mold can mass production deliver reliably.
Many buyers treat a trial run as "shoot a few shots and look", ignoring the knock-on effects of weld-line strength, warpage, latch fit and seal-channel dimensions, and end up with mass-production cases that fail sealing, stack unsteadily and take long to assemble. The following walks through stage division, preparation, T1/T2, protective testing, defect rectification, mass-production validation and mold acceptance, covering typical steps such as protective case trial run, mold trial run, T1 trial run, mass-production validation and case mold acceptance. Related tooling investment and amortization can follow custom case mold cost analysis, and the route difference between injection and rotomolding can follow injection-molded case and rotomolded protective case.
Table of Contents
- Application Scenarios and Development Flow Overview
- Trial Stage Division: T0/T1/T2 and Mass-Production Validation
- Preparation Before Trials: DFM, Steel and Equipment
- T1 Trial Run: Dimensions, Appearance and Flow
- T2 Trial Run: Structure and Function Validation
- Protection Performance Validation: IP, Drop and Temperature
- Common Defects and Rectification: Sink, Weld Line, Warpage
- Liner and Accessory Fit Validation
- Mass-Production Validation: FAI, SPC and Capacity Ramp-Up
- Mold Acceptance and Document Package
- OEM/ODM and JUNZHJIA Customization
- Procurement and Project Management Checklist
- Cost and Cycle Control
- Selection Parameter Comparison
- Frequently Asked Questions
- Summary and Further Reading
Application Scenarios and Development Flow Overview
Case mold trial runs apply to three development scenarios: developing a brand-new case type, modifying an existing case type (adding or removing holes, adjusting wall thickness or internal structure), and refurbishing or duplicating a mold. In every case the core goal is the same: verify whether the mold can stably produce a case that meets the drawing and performance requirements. A mold trial run is not a one-off "sample shot" but a validation chain from design to mass production.
Around the protective case trial run, this section first gives a development flow overview for scheduling and responsibility division.
The typical flow is: requirement and drawing confirmation, DFM manufacturability review, mold design and machining, T0/T1 first trial run, issue rectification, T2 trial run, protection performance testing, first-article inspection and mass-production validation, and mold acceptance and handover. Each step should have clear outputs and acceptance criteria, avoiding a "fix as we go" approach that blurs responsibility and loses schedule control.
The project management point is "signable nodes": T1 outputs a first-article report and issue list, T2 outputs a function validation conclusion, mass-production validation outputs FAI and SPC data, and mold acceptance outputs an acceptance report and document package. Write these nodes into the development agreement, and rework between the T1 trial run and mass-production validation can be caught and controlled in time, giving case mold acceptance a firm basis.
It is worth noting that a trial run is not an isolated technical activity but the result of collaboration among procurement, design, mold shop and molder. The buyer should appoint a project owner to coordinate drawing changes, the issue list and acceptance conclusions; information transfer between the mold shop and the molder should be "written, data-based and reproducible", so a verbal promise is not lost at a shift change or a factory transfer. With a collaboration mechanism in place, trial-run rework and disputes drop markedly and responsibility is clearer.
Trial Stage Division: T0/T1/T2 and Mass-Production Validation
Trial stages usually proceed as T0, T1 and T2, then enter mass-production validation. T0 is often a dry cycle or short shot after mold assembly, confirming mold actions, slides and ejection; T1 is the first complete sample shot, focusing on flow, appearance, dimensions and fit; T2 is the re-test after T1 rectification, focusing on structure, function and protective performance; mass-production validation, after the mold is fixed, uses batch production to verify stability and capacity.
The focus and outputs of each stage are shown below, and the project team should sign off stage by stage without skipping or omitting.
| Stage | Main Goal | Key Checks | Output |
|---|---|---|---|
| --- | --- | --- | --- |
| T0 | Mold action and initial flow | Slides, ejection, short-shot position | Dry-cycle record |
| T1 | First-article dimensions and appearance | Wall thickness, warpage, weld line, sink | First-article report and issue list |
| T2 | Structure and function | Seal channel, latches, stacking, assembly | Function validation conclusion |
| Protection testing | IP/drop/temperature | Sealing, impact, stability | Protection test record |
| Mass-production validation | Stability and capacity | FAI, SPC, cycle time, yield | Mass-production validation report |
It must be stressed that a T1 trial run is not "can we shoot it" but "are we shooting it correctly". Many defects already appear at T1, such as weld-line position, sink marks and warpage trends; if not recorded and rectified at T1, they only become more obvious at T2. The value of stage division is precisely to move problems earlier and converge layer by layer.
Preparation Before Trials: DFM, Steel and Equipment
Preparation decides trial efficiency. First is the DFM manufacturability review: check draft angle, wall-thickness uniformity, fillets, rib proportions, seal-channel shape, latch and hinge assembly clearance, and whether the gate position is reasonable. A small design change often saves a great deal of later mold repair. For a protective case, the dimensional chain of the seal channel and mating face is especially critical, directly deciding the IP rating.
Second is steel and mold structure: cavity and core material, heat-treatment hardness, cooling-channel layout, ejection and slide design, and venting and insert arrangement. Uneven cooling causes warpage, poor venting causes burning and short shots, and uneven ejection causes ejector marks or deformation. On equipment, confirm whether the machine tonnage, screw and temperature control match the case size and material.
Preparation should also agree the material grade and color, drying and process window, and prepare inspection tools (calipers, CMM, plug gauge, thickness gauge). Confirm the DFM conclusion, steel and equipment list, and inspection plan before the trial, so the T1 trial run focuses on validation rather than patching conditions on the fly. Related material and structure selection can follow the selection logic of plastic protective box.
Another easily overlooked preparation item is the "trial goal list": list the questions this trial must answer, such as whether the seal-channel compression can meet the target, whether latch clamping force is even, whether the weld line avoids load-bearing areas, and whether demolding is smooth. With a goal list, the trial does not just stare at appearance and miss key items, and the trial report more easily judges whether "this trial succeeded". Aligning the goal list with the later issue list makes the rectification direction obvious.

T1 Trial Run: Dimensions, Appearance and Flow
The T1 trial run is the first complete sample shot, focusing on three things: whether flow is balanced, whether appearance is acceptable and whether dimensions are on target. On flow, check whether filling is even, whether there is short shot or burning, and whether the weld-line position falls in a weak load area; on appearance, check sink marks, flow marks, silver streaks, gas marks, color difference and ejector marks; on dimensions, measure key dimensions such as outline, wall thickness, seal-channel width and depth, holes and mating faces.
Dimension and appearance problems are often interrelated: uneven wall thickness both sinks and warps, and an unreasonable gate both creates flow marks and affects strength. So the T1 record must be "with location, with values, with photos", mapping each defect to a specific structure and process parameter to form an issue list and rectification advice, rather than vaguely saying "appearance is not good".
T1 should also do a preliminary assembly: close the lid and body, test latch closure, hinge rotation, stacking stops and liner placement, observing interference, misalignment and interference fit. Assembly problems exposed early are the cheapest to fix. The importance of seal fit can follow the dimensional-chain description of case seal materials.
At the T1 stage, a "failure scenario" exercise is also recommended: assume seal leakage, latch breakage or stacking instability, trace back which mold structures would cause these consequences, and flag them in the issue list in advance. This makes hidden issues visible and helps schedule targeted validation before T2. For load-bearing and sealing structures, better to test once more than to let it pass by experience; writing down "where it might go wrong" is a low-cost way to control later risk.
T2 Trial Run: Structure and Function Validation
T2 is the re-test after T1 rectification, shifting focus from "appearance and dimensions" to "structure and function". On structure, validate corner strength, ribs, wall-thickness uniformity and impact behavior; on function, validate seal-channel compression, latch clamping force and multi-point pressure evenness, hinge durability, stacking location and forklift-hole load; on fit, validate lid-body clearance, misalignment and closing smoothness.
Sealing is the core of T2. Measure the seal-channel dimensions and gasket compression, and check the channel mouth for flash, short shot and burrs; flash lifts the gasket and causes leakage, while short shot sinks the gasket and loses compression. Latch clamping force should be even: too loose leaks, too tight is hard to open and damages the gasket. Multi-point latches especially require checking pressure consistency, avoiding "one corner tight, one corner loose".
T2 should also do assembly cycle-time and ergonomics validation: whether it opens and closes with gloves, whether it can be operated one-handed, and whether it stacks conveniently. For a case type opened and closed frequently, hinge and latch durability should get an initial test at T2. Related structural grading can follow the design points of injection-molded case.
In addition, T2 should validate the consistency of appearance standards: determine what is acceptable appearance (such as slight flow marks) and what is a fatal defect (such as cracks, short shot, seal-channel damage). Quantify the appearance criteria and form a picture-text comparison, so mass-production inspection has a unified scale and the same case is not judged differently by different inspectors. Once the appearance standard is fixed at T2, later batch acceptance and customer communication become smoother.
Protection Performance Validation: IP, Drop and Temperature
Protection performance testing is the key validation distinguishing a protective case from an ordinary case. For IP, run dust and water tests per IEC 60529 / GB/T 4208 to confirm the declared IP65/IP67; for drop, drop per MIL-STD-810H Method 516.8 or an agreed height and attitude, checking corners, latches and shell for cracking; for temperature, run high-low cycling to verify seal and material stability within the temperature band.
Testing should be completed before the mold is fixed, avoiding the passive situation of "mold fixed, performance not up to standard". If sealing fails, rectification usually returns to seal-channel dimensions, gasket spec and latch pressure; if drop cracks the case, rectification returns to wall thickness, fillets and material toughness. Each test should have a record, conclusion and closed-loop rectification.
For export projects, salt spray, flame retardancy (UL94) and transport (ISTA) can be brought into the validation scope to form a complete test document package. Related IP grading and validation methods can follow IP67 protective case.
Common Defects and Rectification: Sink, Weld Line, Warpage
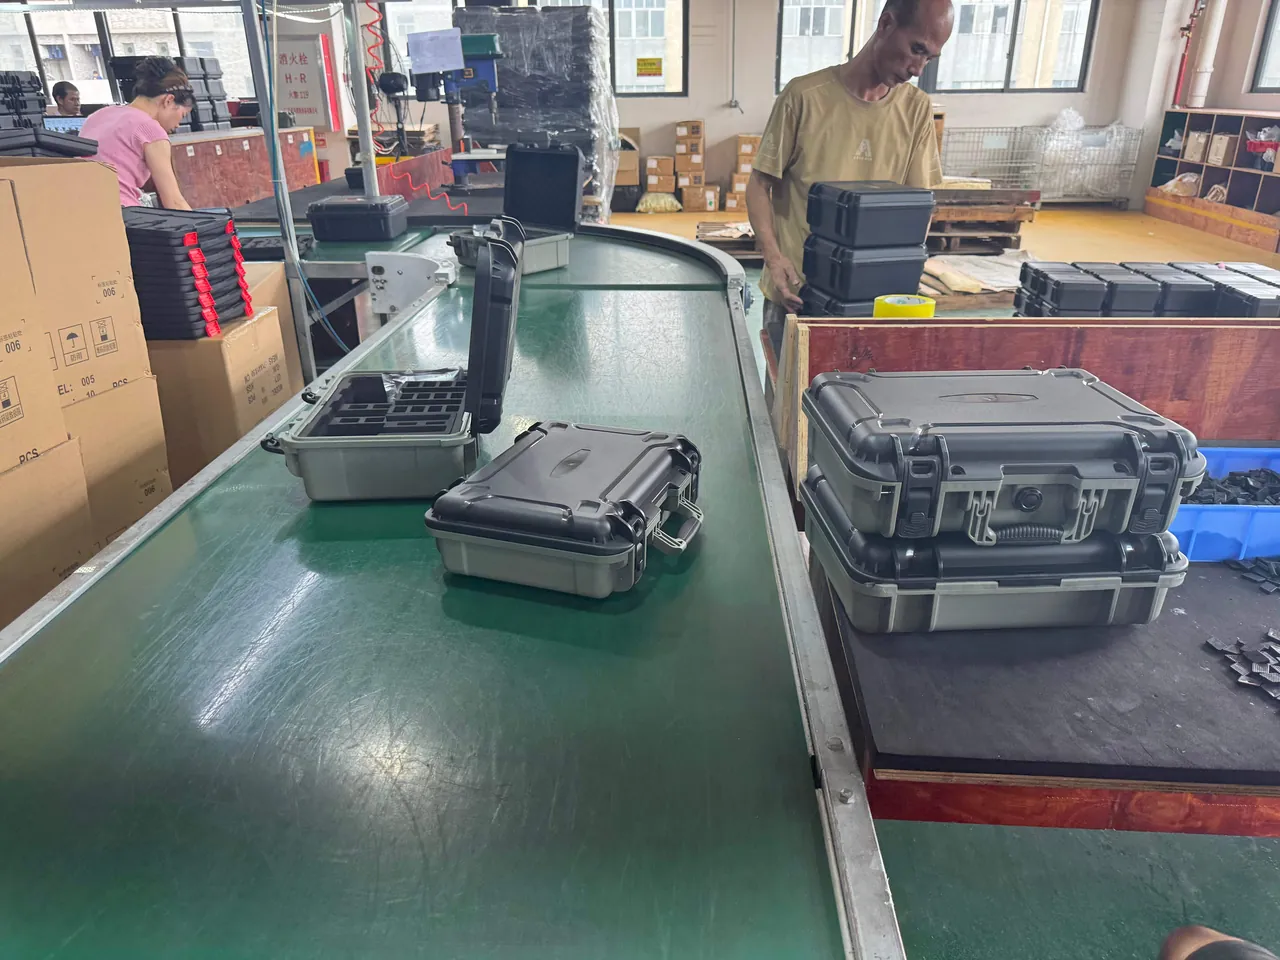
Rectification of trial defects needs a "defect-cause-countermeasure" mapping rather than repeated machine adjustment by experience. Common defects and rectification directions are shown below, usable as a T1/T2 issue-tracking template.
| Defect | Common Cause | Rectification Direction |
|---|---|---|
| --- | --- | --- |
| Sink mark | Uneven wall, low packing | Balance wall, adjust packing and gate |
| Weld line | Flow confluence, low melt temp | Optimize gate position, raise melt/mold temp |
| Warpage | Uneven cooling, uneven shrinkage | Optimize cooling channels, adjust process |
| Flash | Low clamping force, parting-line gap | Raise clamping force, repair parting line |
| Ejector mark/crack | Small ejection area, late demold | Enlarge ejection area, adjust demold timing |
| Color/flow mark | Poor mixing, high shear | Adjust mixing, optimize speed and gate |
Rectification should distinguish "mold change" from "machine adjustment": structural problems (gate position, cooling layout, wall thickness) must change the mold; process problems (melt temp, mold temp, packing, speed) can be validated by machine adjustment first. Confirm whether the problem can be solved by process before changing the mold, avoiding unnecessary repair; but for seal-channel and mating-face defects of a protective case, better to change the mold than to make do with process.
For weld lines, pay special attention to position: if it falls in a load or sealing area, change the mold even if appearance is acceptable, because the weld line is a strength weak point. For warpage, assess its effect on sealing and stacking, since warpage often causes fit misalignment and leakage. Related structure and material selection can follow plastic protective box.
Liner and Accessory Fit Validation
The value of a protective case depends heavily on the liner and accessories, so fitting should be validated at the trial stage too. On the liner, CNC-cut or foam-molded to the equipment's three-dimensional shape, validate one slot per object, smooth loading and unloading, no interference and no suspension; for high shock requirements, validate whether the full wrap and critical-part hard compartment are in place and whether foam density and rebound are suitable.
On accessories, validate the assembly and function of latches, hinges, handles, wheels, the pressure-equalization valve and seals; validate the fit clearance between liner and case, and between liner and equipment; validate whether the accessory assembly holes match the mold. If accessory problems are found at the trial stage, the mold can adjust hole positions or strengthen structure, avoiding post-mass-production repair.
Maintainability should also be validated: whether the gasket and liner can be replaced separately, whether replacement is convenient, and whether parts are common. Bringing liner and accessory fit into the trial validation makes case mold acceptance complete. Related liner and seal matching can follow case seal materials and modular case system.
Mass-Production Validation: FAI, SPC and Capacity Ramp-Up
Mass-production validation is the last gate of the trial run, aiming to prove "the mold can stably produce qualified cases". Key actions include: first article inspection (FAI) confirming the first article's full dimensions and performance; process capability analysis (SPC) using consecutive batches to evaluate the stability of key dimensions (such as Cpk); cycle-time and yield validation confirming production capacity; and appearance standard confirmation for consistency.
FAI should cover all key dimensions and appearance requirements and agree with the drawing and T1/T2 conclusions; SPC selects the key dimensions affecting sealing and assembly (such as seal-channel width and depth, latch-seat position, wall thickness), sets control limits and tracks the trend. If Cpk is low, the process or mold is fluctuating and rectification should continue rather than forcing production.
Capacity ramp-up should verify mold stability under continuous production: whether cooling is stable, whether there is sticking, whether ejection is reliable, whether the cycle meets target and whether the scrap rate is controlled. At the ramp-up stage, a small batch trial and sampling of protection performance are recommended to confirm agreement with the trial conclusions. Related mass-production cost and amortization can follow custom case mold cost analysis.
Mold Acceptance and Document Package
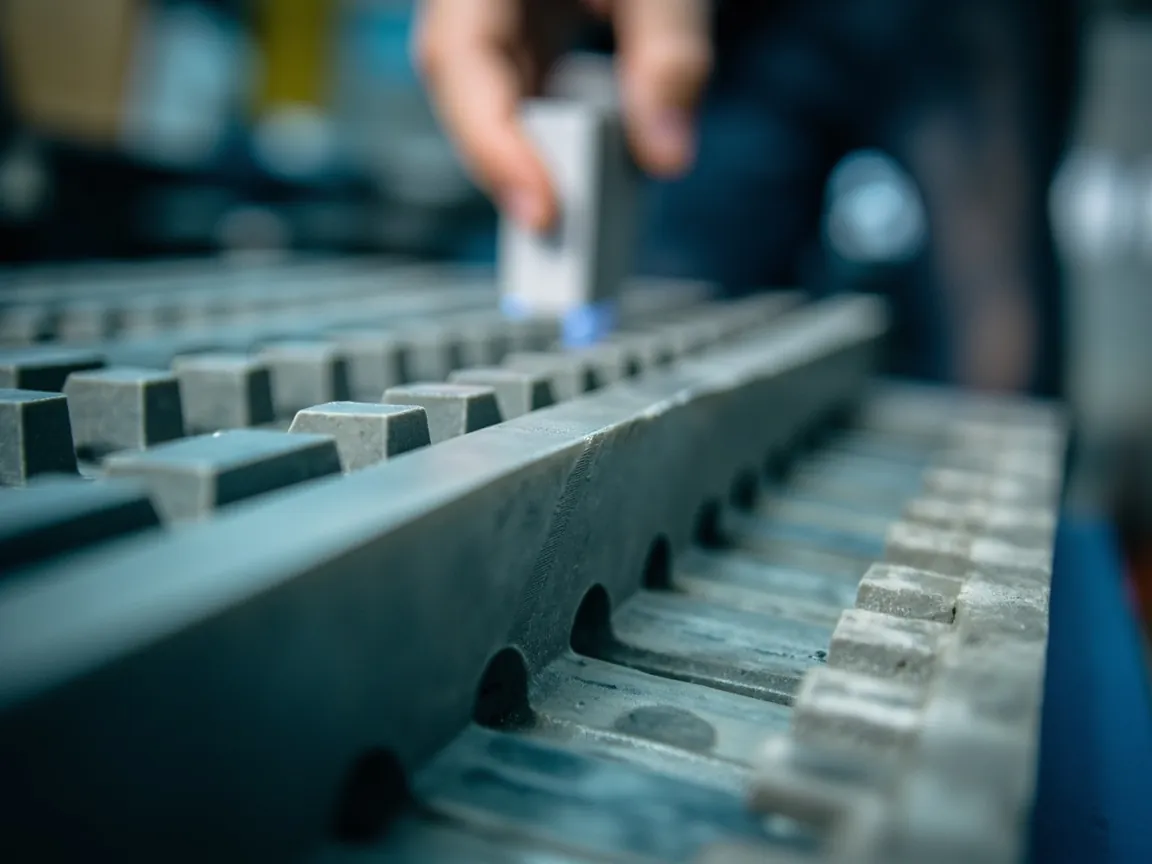
Mold acceptance should be based on "documents + physical + data" all complete. On the physical side, confirm the mold acts smoothly with no jamming or abnormal wear, and that spares and wear parts (slides, inserts, ejector pins, springs) are complete; on data, confirm FAI, SPC, protection testing and process parameter records are complete; on documents, confirm mold drawings, material certificates, heat-treatment records, an acceptance report and a maintenance manual.
Acceptance should also agree the handover content: mold ownership and custody, maintenance cycle and owner, wear-part list and replacement cycle, and repair response mechanism. For projects produced elsewhere, clarify mold upkeep and overhaul requirements to avoid accuracy loss and sealing failure after long use. Once case mold acceptance passes, the mold file should be archived as the basis for later repair and duplication.
For the buyer, the acceptance report is evidence of quality and responsibility; for the maker, it is proof of delivery capability. Write the acceptance criteria and document list into the development agreement, and both sides share a common language at each node of the T1 trial run and mass-production validation, so case mold acceptance is no longer a vague "feels OK".
The value of the document package shows over long use: when the mold needs repair or duplication years later, complete drawings, material and heat-treatment records, trial data and acceptance conclusions let the new mold avoid detours. So archive the package electronically with dual backup, and record each repair's changes and reasons to form the mold's "medical record". This is an important habit that gives a one-time tooling investment long-term returns and maintains technical continuity when suppliers change.
OEM/ODM and JUNZHJIA Customization
JUNZHJIA provides integrated capability from DFM review, mold design and machining, trial run to mass-production validation. We can do structural review and process planning by your case type, size and performance requirements, organize T1/T2 trial runs and issue a first-article report and issue list; support OEM/ODM color, silk-screen and structural modification by industry; and for export projects provide IP, flame-retardant and transport test documents for tendering and system audits.
For clients with an existing mold, JUNZHJIA can assist with repair assessment, defect rectification and mass-production validation, helping upgrade "can shoot it" into "stably shoot it well". Related injection and rotomolding route selection can follow the comparison notes of injection-molded case and rotomolded protective case.
Procurement and Project Management Checklist
The procurement and project management checklist should include: requirement and drawing confirmation records, DFM review conclusions, mold material and heat-treatment certificates, a trial plan and node sign-off sheet, T1/T2 first-article reports and issue lists, protection performance test records, FAI and SPC data, cycle-time and yield reports, an acceptance report and document package, and a mold maintenance and wear-part list.
Node management points: set a clear pass standard and owner for each stage; the issue list must be closed-loop, and unclosed issues must not enter the next stage; mold changes need a change record and re-test conclusion; mass production must not start before mass-production validation passes. Solidify the checklist and nodes, and the efficiency and controllability of the mold trial run and mass-production validation improve markedly.
Cost and Cycle Control
Trial cost comprises mold cost, trial cost, material cost, testing cost and mold-change cost, while the cycle is affected by design, machining, trial and rectification. The key to cost control is "moving problems earlier": spend more time at the DFM stage and you change the mold less at T1/T2; solve dimensions and flow at T1 and you rework less at T2; put protection testing before mold fixing and you avoid major changes after fixing.
Mold change is the main variable in cycle and cost. Distinguish "necessary mold change" from "machine-solvable" problems to avoid over-repair, while avoiding leaving structural problems to mass production. In practice, closing weld-line, warpage and seal-channel problems before T2 greatly reduces mass-production risk and total cost. Related tooling investment and amortization can follow custom case mold cost analysis.
Another often-overlooked cost is "hidden rework": entering mass production before trial issues are closed leads to batch sorting, repair and customer complaints, at a cost far above staying a few more trials at the trial stage. Making the T1/T2 issue list and closed-loop records a precondition for mass-production release is an effective way to make hidden cost visible. For mold duplication and modification projects, keep the original trial data as a baseline for the new mold, so success is reusable and failure is avoidable.
It is also worth planning the trial budget as a range rather than a single number. A first mold run rarely needs only one pass, and a realistic allowance for two or three iterations keeps the project honest and prevents the temptation to skip a stage to save a trial. The money saved by skipping T2 is almost always spent again in mass production, usually with interest. Presenting the range to management up front avoids the pressure that pushes teams into shortcuts, and it frames the trial run as an investment in stability rather than an avoidable expense.
Selection Parameter Comparison
| Parameter | Trial Stage | Mass-Production Validation | Acceptance Standard |
|---|---|---|---|
| --- | --- | --- | --- |
| Dimensions | T1 full-dimension check | SPC key dimensions | Within drawing tolerance |
| Appearance | T1 defect record | Consistent appearance standard | No fatal defect |
| Flow | T1 fill and weld line | Stability confirmed | Weld line off load area |
| Sealing | T2 channel size and compression | IP test reproduced | Declared IP reached |
| Structure | T2 latches, hinge, stacking | Durability and cycle time | No interference, durable |
| Data | First-article report | FAI/SPC | Cpk met |
Pushing through item by item with the table above makes the trial process quantifiable and traceable. The essence of a trial run is to trade small-batch validation for mass-production stability, exposing problems early so cost and risk stay late. Related grading and validation can follow IP67 protective case.
Frequently Asked Questions
Question: What is the difference between a T1 and a T2 trial run?
Answer: T1 is the first complete sample shot, validating flow, appearance and dimensions, answering "are we shooting it correctly"; T2 is the re-test after T1 rectification, validating structure and function, including seal-channel compression, latch clamping force, hinge durability, stacking and assembly. T1 finds and records problems, and T2 confirms they are closed and validates protective performance. The two must not be merged or skipped; carrying T1 problems into T2 only multiplies rework cost.
Question: Why do a DFM review before the trial run?
Answer: A DFM manufacturability review finds issues in draft angle, wall-thickness uniformity, gate position, seal-channel shape, rib proportions and assembly clearance at the design stage, and a small design change often saves a great deal of later mold repair. For a protective case, the dimensional chain of the seal channel and mating face directly decides the IP rating, and if it is not optimized at design, it is hard to compensate by process at the trial. So DFM is the first guarantee of trial efficiency and success rate.
Question: At what weld-line position must the mold be changed?
Answer: A weld line is where flow fronts meet and is weaker in strength. If the weld line falls in a load area (corners, clip seats, load-bearing ribs) or a sealing area (seal channel, mating face), change the mold even if appearance is acceptable, because it is a strength weak point that may crack or cause leakage under long load. If the weld line sits on a non-load, non-sealing cosmetic face, improve it first by raising melt and mold temperature and optimizing gate position and injection speed, then decide on mold change.
Question: How does warpage affect a protective case?
Answer: Warpage causes lid-body fit misalignment, seal-channel dimension change and unstable stacking, directly affecting the IP rating and user experience. It is mostly caused by uneven cooling and uneven shrinkage. Rectification optimizes cooling-channel layout, balances wall thickness and adjusts packing and mold temperature. When assessing warpage, consider the functional effect: slight warpage is acceptable if it does not affect sealing and stacking, but if it causes leakage or assembly difficulty, solve it on the mold rather than forcing it shut with greater latch force.
Question: When should protection performance be tested?
Answer: Before the mold is fixed. If IP, drop and temperature tests find non-compliance after fixing, you usually have to change structure and repair the mold at high cost. The correct order is to schedule protection testing right after T2, and only enter mass-production validation once it passes; if it fails, return to rectification of seal-channel dimensions, gasket spec, latch pressure, or wall thickness and material toughness, then re-test after closure. Export projects can add salt spray, flame retardancy and transport validation at the same time.
Question: What data does mass-production validation require?
Answer: The core is first article inspection (FAI), process capability (SPC), cycle time and yield. FAI covers all key dimensions and appearance and confirms agreement with the drawing; SPC selects the key dimensions affecting sealing and assembly, tracks the trend and evaluates Cpk; cycle time and yield verify stability and capacity under continuous production. If Cpk is low or yield fluctuates, the process or mold is fluctuating and rectification should continue rather than forcing production. These data are also the baseline for later batch acceptance.
Question: What documents and spares should mold handover include?
Answer: Documents include mold drawings, material and heat-treatment certificates, trial records, FAI and SPC data, protection test reports, an acceptance report and a maintenance manual; spares include wear parts such as slides, inserts, ejector pins and springs, with a wear-part list and replacement cycle. Agree the mold ownership and custody, maintenance cycle and owner, and repair response mechanism. When documents and physical items are complete, case mold acceptance is complete and later repair and duplication have a basis.
Question: How do I control cost and cycle at the trial stage?
Answer: The key is moving problems earlier. A thorough DFM review, solving dimensions and flow at T1, closing weld-line, warpage and seal-channel problems at T2, and putting protection testing before mold fixing greatly reduce mold change and rework. Also distinguish necessary mold changes from machine-solvable problems, avoiding over-repair or misjudging structure because of process issues. Solidify node sign-off and closed-loop issues, and the cycle and cost of the trial run and mass-production validation become predictable and controllable.
Summary and Further Reading
The core method of a protective case trial run and mass-production validation is "stage-by-stage validation + first-article confirmation + protective testing + document archiving": T1 checks dimensions, appearance and flow, T2 checks structure and function, then IP, drop and temperature tests are added, and finally FAI, SPC and capacity ramp-up complete mass-production validation. Close issues on the mold and mass production becomes stable. Every step of case mold acceptance should have outputs and acceptance criteria, making the chain from T1 trial run to mass production clear and controllable.
Further Reading
- Custom Case Mold Cost Analysis: Tooling Investment and Volume Amortization
- Injection-Molded Case: Structure and Process of Injection-Molded Shells
- Rotomolded Protective Case: One-Piece Shell and Impact Resistance
- IP67 Protective Case: Waterproof and Dustproof Ratings and Selection
- Case Seal Materials: Gaskets, Rings and Compression Design
- Plastic Protective Box: Material Selection and Structural Design