

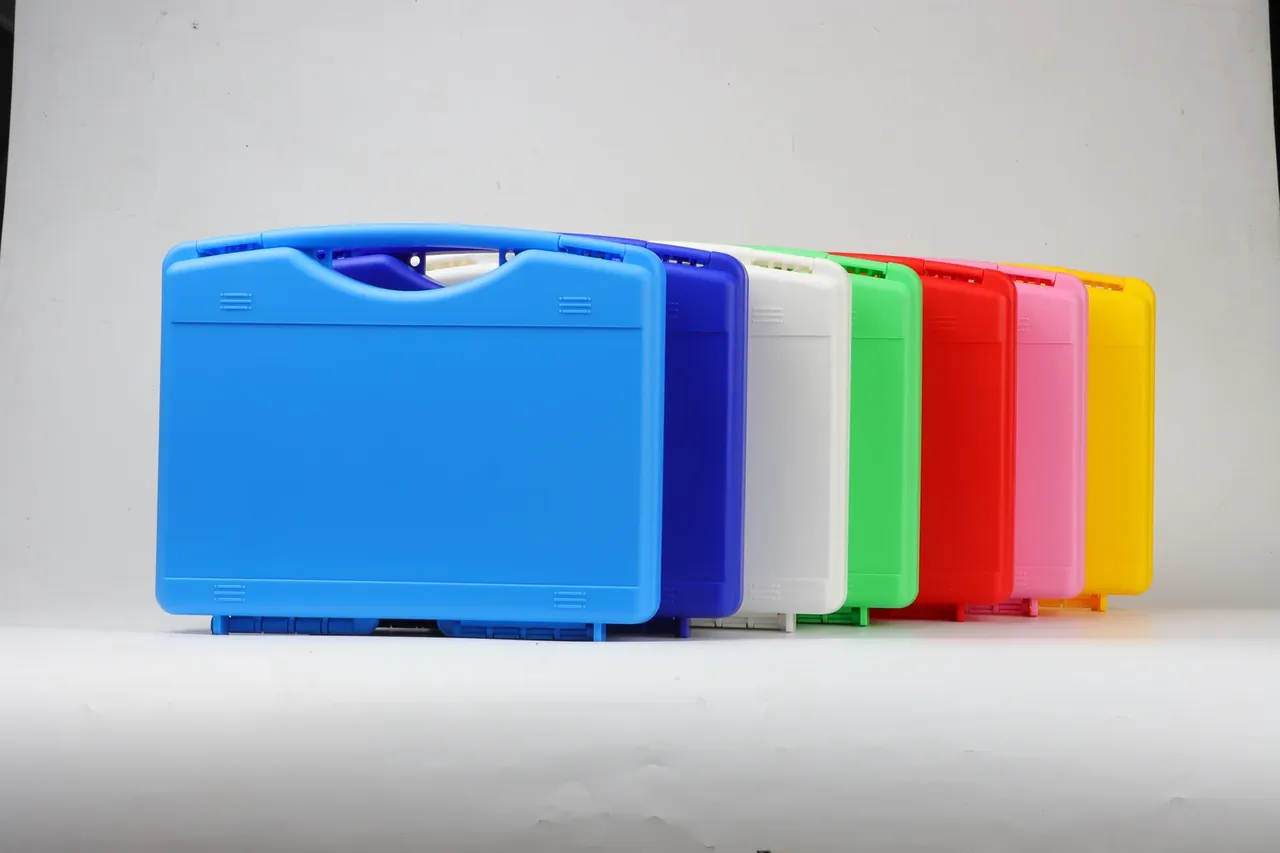
Quick answer: A Drop Test treats six faces unequally: the base carries the case weight plus 2.5 kg of payload inertia over the largest projected area, and a 1.2 m fall lands at about 4.85 m/s, stopping in 8 ms at roughly 60 g. Cracks start where the base ribs end.
Table of contents
- Why the Base Cracks First
- Running the Faces: Top First, Base Fifth
- Corner Radius R6 versus R2
- Reading the Break After Cold Conditioning
- FAQ
1. Why the Base Cracks First
Start with the energy. A 1.2 m free fall reaches about 4.85 m/s at contact and stops within roughly 8 ms, so peak acceleration sits between 55 g and 65 g. The outcome depends on which face meets the floor.
Projected area is the first reason: a 620 mm × 420 mm × 280 mm case presents 0.26 m² on the base against 0.17 m² on a side. A larger patch spreads impact but lengthens the span, and its middle bulges first.
Load path is the second: the base holds case weight and payload inertia at once, and a 2.5 kg mass at 60 g pushes 1.5 kN through the liner into it, while a top face fall lets handle boss and lid ribs share that load.
Moulding is the third: the base fills last, so weld lines land in the bottom corners, and where a rib stops short of the edge the stress concentrates and the crack opens.
| Face down | Projected area | Main load | Typical failure |
|---|---|---|---|
| Base | 0.26 m² | Weight plus payload inertia | Rib end at base corner |
| Top | 0.26 m² | Lid ribs and handle boss | Handle root radius |
| Long side | 0.17 m² | Wall bending | Mid wall bulge |
| Short side | 0.12 m² | Bending plus latch impact | Latch housing |
| Edge | Line contact | Local crushing | Edge whitening |
| Corner | Point contact | Three way crushing | Corner collapse above 3 mm |
2. Running the Faces: Top First, Base Fifth
The sequence is not arbitrary: top face first, then four sides, base fifth, closing with 3 edges and 1 corner. The base waits until second last because once it splits, edge and corner readings lose meaning.
Three drops per face, aim moved from centre to long edge third to short edge third.
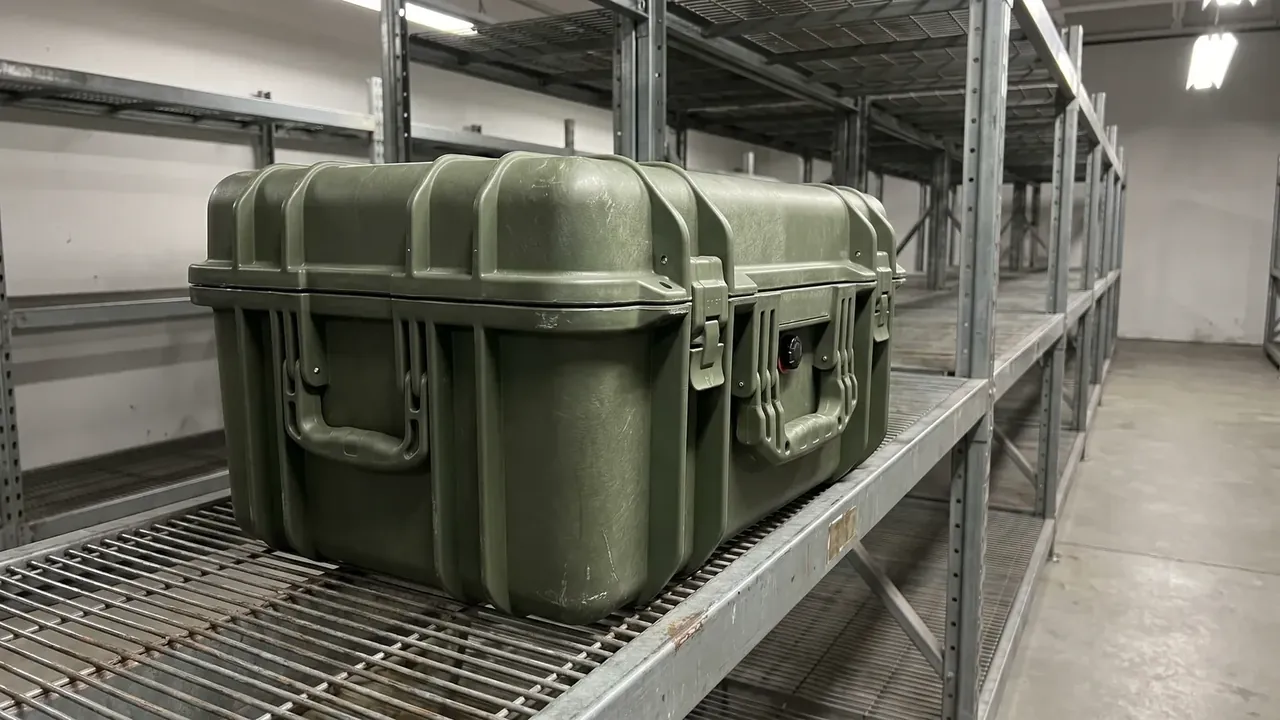
Height steps down with mass: 1.2 m up to 21 kg, 0.9 m to 45 kg, 0.6 m above. Energy explains it, since a 38 kg case carries 447 J at 1.2 m and 335 J at 0.9 m.
Write the criteria before the run: a dent to 5 mm and a corner collapse to 3 mm pass, while a through crack, a sprung latch or a seal offset beyond 1 mm fails. Record the base separately, since its dent hides behind the liner.
3. Corner Radius R6 versus R2
The bottom corner radius is the easiest feature to cut and the costliest to lose. R6 spreads stress over a 6 mm arc against 2 mm for R2, and the concentration factor runs about 1.8 times higher at R2, moving the crack origin into the root.
Wall thickness acts faster: a 3.2 mm base at 1.2 m after cold conditioning shows an 18 mm hairline on the first impact, while a 4.5 mm base survives three drops with whitening only, at 0.4 kg and under 6% in cost.
| Corner radius | Base wall | Three base drops | Crack origin |
|---|---|---|---|
| R2 | 3.2 mm | Cracks 18 mm on drop 1 | Radius root |
| R2 | 4.5 mm | Cracks 9 mm on drop 3 | Rib end |
| R6 | 3.2 mm | Cracks 12 mm on drop 2 | Rib end |
| R6 | 4.5 mm | Whitening only | None |
More ribs do not mean more strength: above three times the wall height with roots under 0.5 mm, shrinkage leaves a stress line that guides the crack. Keep ribs 8 mm to 12 mm high with 1 mm roots and a 5 mm transition at the wall.
4. Reading the Break After Cold Conditioning
Cold takes most of the margin. Conditioning at -18 °C for 4 hours soaks the whole wall and polypropylene impact strength falls to 40% to 60% of room temperature, so a case that whitens three times warm opens at the base corner on the first cold drop.
The fracture surface records load direction: radiating lines converge on the initiation point, a smooth mirror zone means slow growth before the final break, and a rough face without one means a single brittle event.
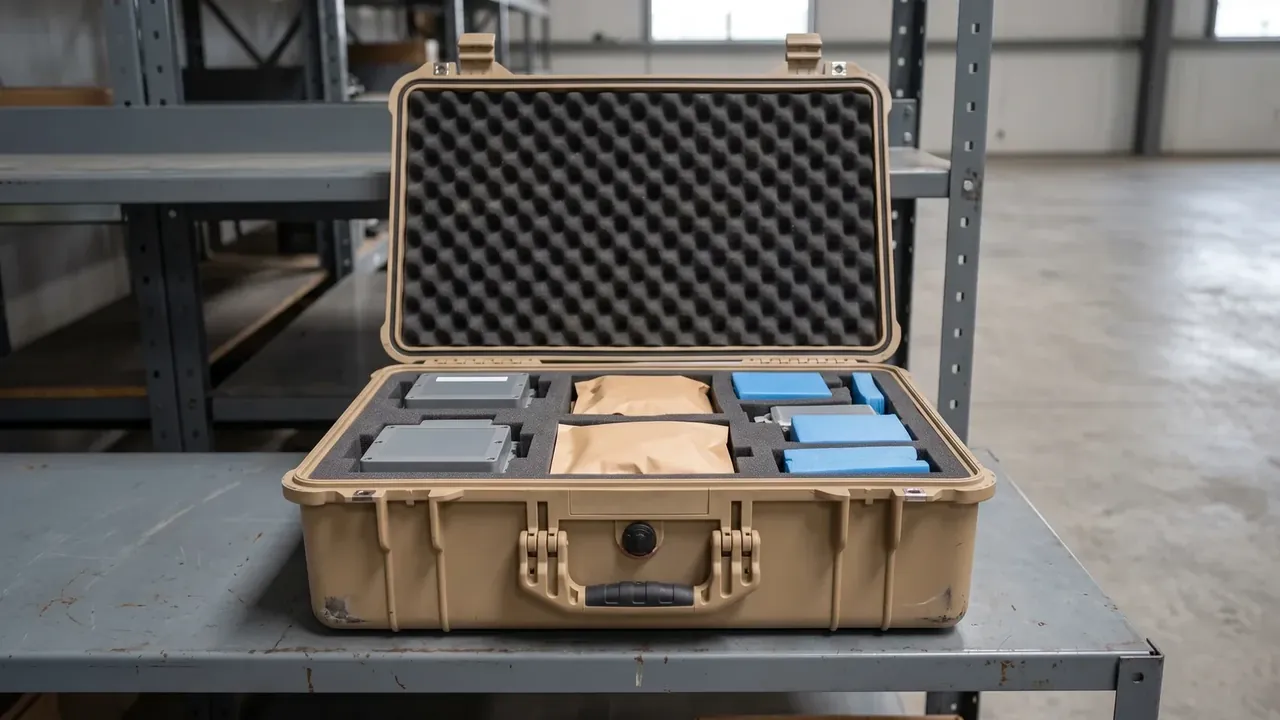
Payload restraint changes the verdict: a 2.5 kg mass held only by foam slides 8 mm in a base drop and shifts the impact toward the base to side transition, while compartmented foam cuts travel to 2 mm.
| Result | Condition | Next step |
|---|---|---|
| Pass | No through crack, latches cycle 3 times, seal within 1 mm | Release the batch |
| Conditional | Whitening or a dent to 5 mm | Add one immersion test |
| Fail | Any through crack or sprung latch | Revise ribs and retest |
Conclusion
The six faces deserve separate reading, and the base carries the argument: largest projected area, weight and payload inertia at once, weld lines in the corners. A workable protocol is 1.2 m, three drops per face, -18 °C for 4 hours and a 2.5 kg payload restrained to within 2 mm, passing when no through crack appears, latches still cycle 3 times and the seal stays within 1 mm. Hold the base corner at R6 and the wall at 4.5 mm: under 6% in cost buys three drops without a crack.
Related Reading
- How a drop test is built: items, order and pass criteria
- Drop height bands by case weight
- Choosing an impact resistant plastic case
- Stacking load and corner stress
Related Products
- 8 Series — Gun Cases; Military Equipment Cases; Camera Equipment Cases; Drone Cases; Watch Cases; Knife Cases; First Aid Cases; Electronics Equipment Cases
- WL8-2812 PP Gun Case — model WL8-2812
- All protective cases and toolboxes: 7 series, 158 models