

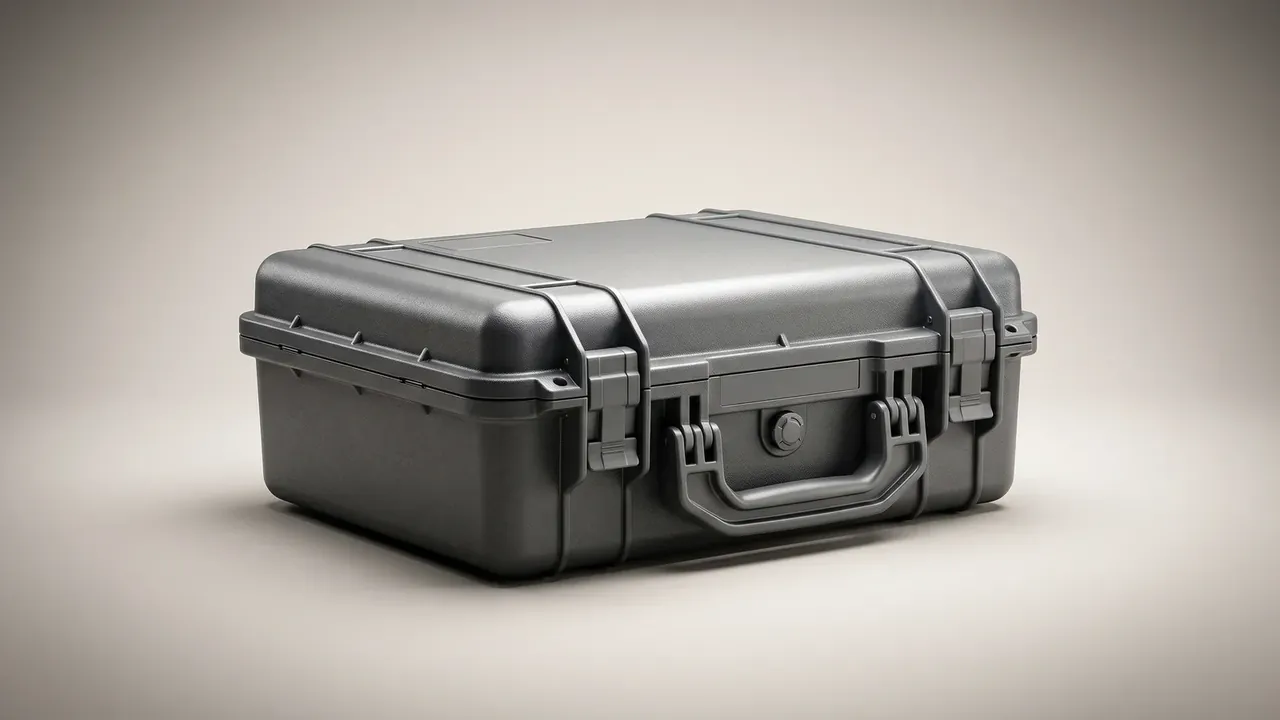
Quick answer: Foam insert installation can be judged in a -15 °C cold store with five bare-handed actions: press 5 mm and count two seconds of rebound, peel a corner to check adhesive transfer, slide a 0.5 mm feeler gauge along four edges, close the lid until it takes 3–5 mm, and sample 5% for 0.8 mm cavity clearance.
Table of contents
- When the Case Ships at -15 °C: What to Check
- Thumb Pressure and Rebound: Reading Fit in Thirty Seconds
- Cavity Clearance: Sizing Position with a Feeler Gauge
- Lid Resistance and Seal Marks: The Indirect Evidence
- Batch Consistency: Sampling Rate and a Temperature Window
- FAQ
1. When the Case Ships at -15 °C: What to Check
A pallet of handheld analyser cases, 320 × 240 × 120 mm each, spent six hours at -15 °C in a cold store, then twelve hours of highway from -18 °C to 8 °C.
Cold changes the material first. The same 45 kg/m³ polyurethane that rebounds in 0.8 seconds at 25 °C needs more than two at -15 °C. Once rebound slows, the eye cannot separate "never bonded" from "just slow", and that is where field calls go wrong.
Checks must work in the cold store, with no instruments.
| Check | Bare-handed method | Pass line |
|---|---|---|
| Rebound | Press 5 mm, release, count | Back to 90% of height in two seconds |
| Bond | Peel one corner | Foam tears, fibres stick to adhesive |
| Edge gap | Slide a 0.5 mm gauge around the rim | Enters, does not rattle |
| Lid close | Lower the lid slowly | Needs 3–5 mm of pressure to latch |
Three checks turn a feeling into a number; the other two read failure modes. Together they cover the bonding and cutting lines behind any foam insert installation.
2. Thumb Pressure and Rebound: Reading Fit in Thirty Seconds
Rebound is the cheapest test in foam insert installation: no consumables, and the most information per second.
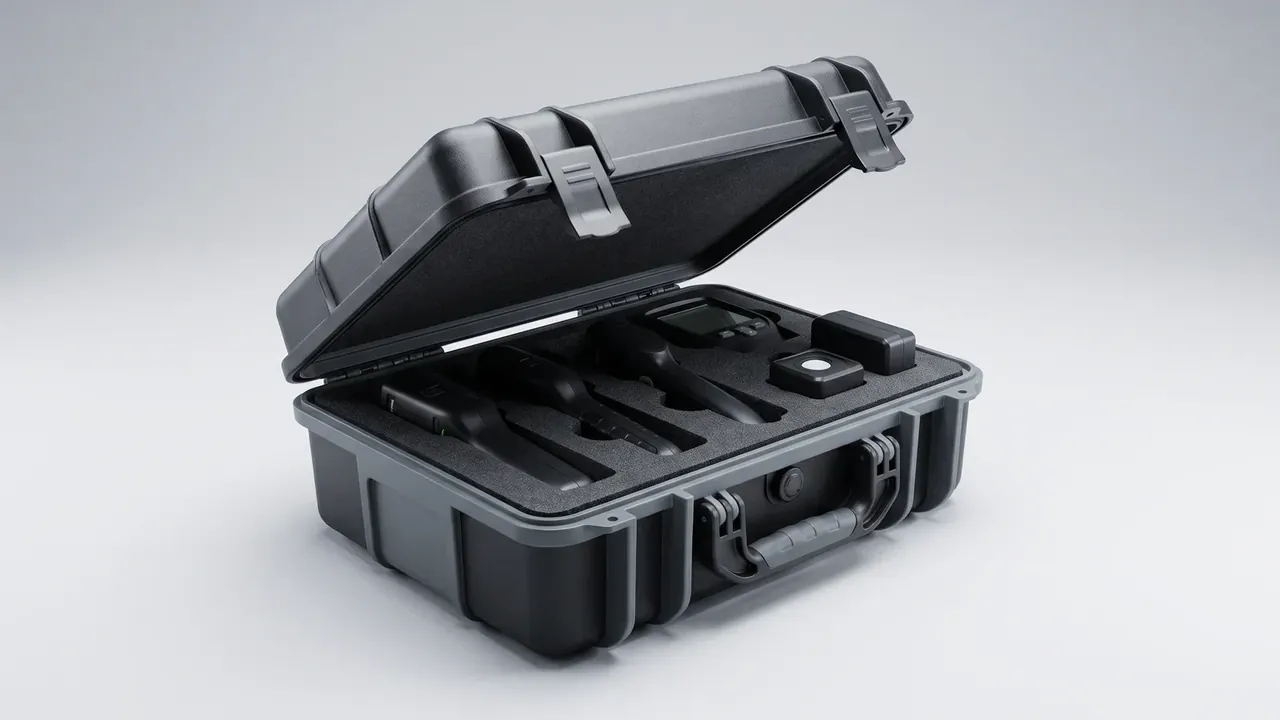
Press on a rib, never over a cavity. The 8–12 mm strip between two pockets carries the load and is the strip a cutter thins out first.
Counting replaces the stopwatch; "one, two" is accurate to half a second, inside the tolerance of a pass or fail. Gloves come off in freezing air, because a cotton liner dulls the hand until slow foam reads as firm.
The adhesive line matters next. If foam lifts away clean and the wall shows bare plastic, the glue never wetted the substrate, so the fault sits in volume or press time. If foam tears and fibres hang off the glue, the bond is stronger than the material, which is the direction you want. Pressing under 20 seconds leaves adhesive unable to penetrate, and the edge lifts overnight in a cold store where glue has gone brittle. Keep the winter workstation at 18–25 °C and 40–70% humidity, glue-to-press under 20 seconds, hands off the case for ten minutes. None of that appears on a drawing, yet it decides whether a run behaves like one product or two hundred.
3. Cavity Clearance: Sizing Position with a Feeler Gauge
Cavities look like one question, whether the cutter hit the right place. Three dimensions sit behind it:
- Single-side clearance of 0.8 mm: push the sample sideways. A slight shift without knocking the wall is right; past 1.5 mm it walks in transit.
- Bottom allowance of 3 mm: the pocket stays 3 mm shallower than the part, so foam compresses and the sample cannot float.
- Rib width of at least 8 mm, or a rib cut to 5 mm between pockets cracks first in cold air.
The order is the logic: clearance first, allowance second, strength last. Reverse it and a pocket cut too wide gets blamed on soft foam.
4. Lid Resistance and Seal Marks: The Indirect Evidence
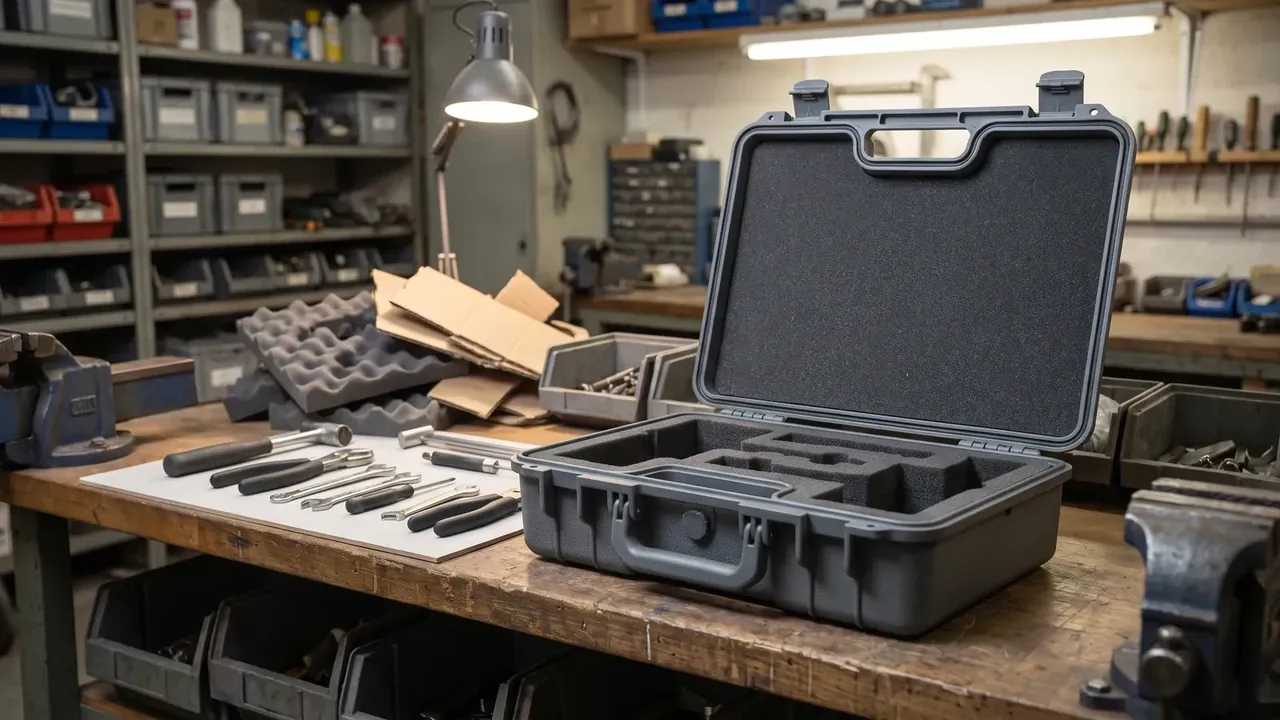
Closing the lid is the only step that tests foam and case together. There are three outcomes on the hand: loose, right, too tight.
| Feel when closing | What it means | What to do |
|---|---|---|
| Latches with no effort | Gap too large, foam not preloaded | Add a 3 mm self-adhesive layer |
| Latches after 3–5 mm | Compression at 10–15%, correct | Release, log the sample |
| Needs real force | Over-compressed, glue will creep | Thin the foam or deepen pockets |
The seal mark is supporting evidence. A continuous imprint 2–3 mm wide means foam spread load evenly across the gasket; a broken imprint points to uneven foam thickness, not an aged gasket.
5. Batch Consistency: Sampling Rate and a Temperature Window
Consistency separates a sample from a production run. One good unit proves craft; two hundred identical units prove the parameters were locked.
Sample at 5%: ten units out of two hundred, three cavities each, recording clearance, bottom allowance and lid feel. Hold density variation within ±5 kg/m³, since a ten percent spread moves rebound by roughly 0.6 seconds and takes the benchmark with it. A failed sample is worth tracing to tool compensation before anyone blames the foam.
Conclusion
Field judgement in foam insert installation trades five actions for five numbers: two seconds, 0.5 mm, 3–5 mm, 0.8 mm, and 5%. When the numbers line up, rework rates become a conversation worth having; when they do not, better foam simply ends up inside a case. Print the checks on a card by the cold store door, and foam insert installation becomes something a shift can repeat.
This article discusses only the container (case body) side of specifications and design intent, and does not cover any handling, loading or use of the contents.
Related Reading
- How the three steps of foam insert installation are ordered
- Foam insert layouts for different transport scenarios
- Dimension and tolerance tables for custom foam inserts
- Checking insert structure in person at a showroom
Related Products
- 8 Series — Gun Cases; Military Equipment Cases; Camera Equipment Cases; Drone Cases; Watch Cases; Knife Cases; First Aid Cases; Electronics Equipment Cases
- WL8-2812 PP Gun Case — model WL8-2812
- All protective cases and toolboxes: 7 series, 158 models