

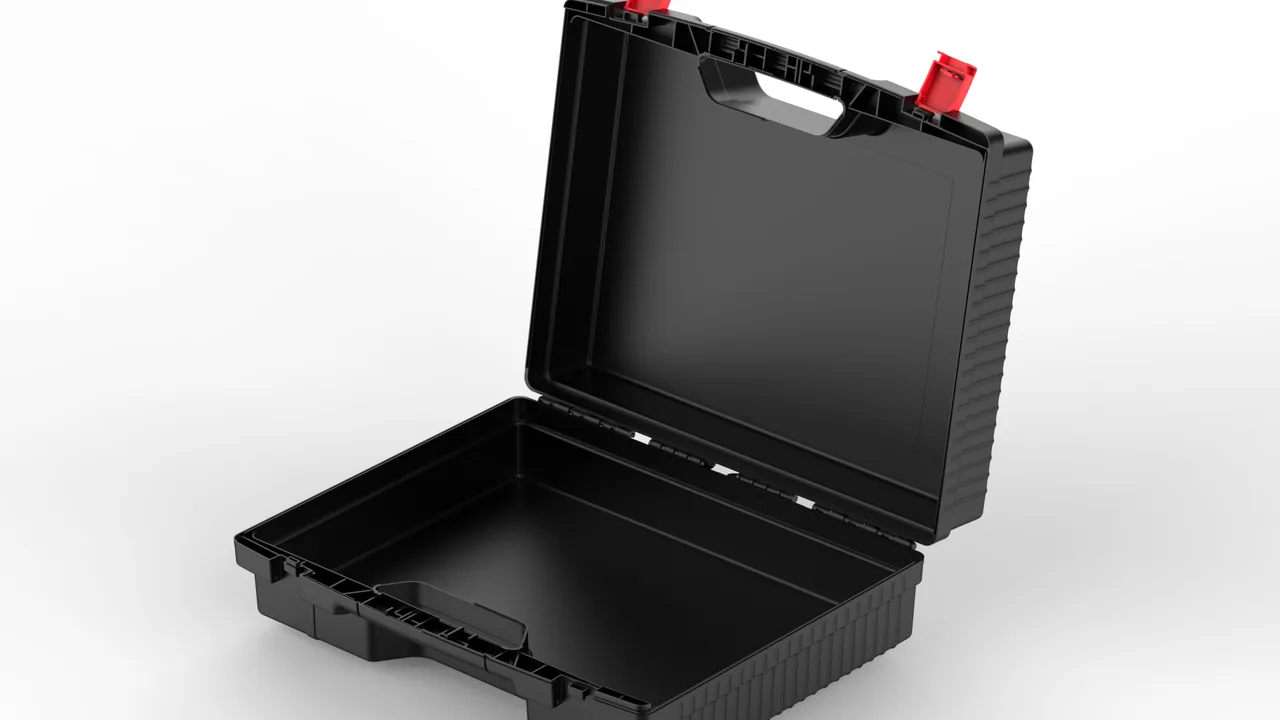
Industrial robot arms hold repeatability in the range of plus or minus 0.02 to 0.05 mm, and behind every axis sits a precision drive train: a harmonic or RV reducer, a crossed roller bearing, a servo motor, an absolute encoder and a fail-safe brake. Any link in that chain that is knocked or shifted in transit costs far more than the component itself. At best the arm has to be re-mastered, and at worst the reducer backlashes out of tolerance or a crossed roller bearing takes raceway brindling, and the whole joint module is replaced. Yet relocation, a second plant build, a return to the builder or a resale shipment is often handled by wrapping the arm in stretch film on a pallet, or by removing the joints and stowing them loose in one case with harnesses and tooling. What arrives shows drift, lost zero positions, joint noise and pinched harnesses.
JUNZHIJIA industrial robot arm cases follow three lines: shock control, zero displacement and calibration preservation. Joint modules and reducers are compartmented against their allowable shock limits, harnesses and conduits follow a large-radius fixed route so they cannot fatigue, and mastering data, mechanical zero positions and transport locking states become shipped documents and in-case placards. After a long road and sea leg the case can be energised and checked against the recorded zero rather than being sent straight into a full mastering routine.
Table of Contents
- Zero-Backlash Accuracy in Harmonic and RV Reducers
- Flexspline and Crossed Roller Bearing Protection in Joint Modules
- Joint Harnesses and Conduit: Anti-Kink Packaging
- Preserving Mastering Data and Mechanical Zero Position
- Managing Fail-Safe Brakes in the Transport State
- Separating Servo Motors and Absolute Encoders
- Long-Part Cradles for Upper Arm and Forearm
- Wrist and Tool Flange Precision Face Protection
- Shock Design: Allowable Acceleration and Cushion Layers
- Whole-Arm Posture and Transport Locking Tooling
- Moisture, Dust and Clean Assembly Requirements
- Unpacking Acceptance and Zero Position Verification
- Custom Liners, Tooling and Shipped Documentation
Zero-Backlash Accuracy in Harmonic and RV Reducers
Harmonic and RV reducers are the accuracy core of a robot joint. A harmonic reducer uses a flexspline, a circular spline and a wave generator, converting elastic deformation of the flexspline into motion, and factory backlash is normally held within one arc minute. An RV reducer uses cycloidal discs and pins with a planetary stage, matching that backlash figure while offering higher stiffness and load capacity. Neither design fears slow compression; both fear shock. The harmonic flexspline is a thin-walled cup, and an impact costs it roundness, which appears as increased backlash and transmission noise. In an RV reducer the cycloidal disc and pin contact faces are lapped pairs, and an impact leaves depressions on the raceways and pins, producing periodic vibration in service.
The first protection principle is to restrain the joint module's degrees of freedom rather than relying on foam to absorb energy. If a joint module can rotate inside the case, its gears repeatedly engage and disengage slightly under vibration, which produces fretting wear. Each module should therefore sit in a rigid seat matched to its flange, so the housing and flange carry the entire load and the reducer input and output shafts carry none.
| Joint element | Sensitive feature | Typical figure | Shock risk | Protection focus |
|---|---|---|---|---|
| --- | --- | --- | --- | --- |
| Harmonic flexspline | Roundness and backlash | Backlash within 1 arc minute | Deformation, backlash drift | Rigid flange seat, axial locking |
| RV cycloidal disc | Tooth flanks and raceways | Backlash within 1 arc minute | False brinelling | Four-point support, no side shock |
| Crossed roller bearing | Raceway and rollers | Radial runout within 5 micrometres | Raceway brinelling | Axially clamped, inner ring unloaded |
| Wave generator | Elliptical bearing fit | Stable interference | Bearing damage | No dismantling, ship as a set |
| Output flange | Face runout and dowel holes | Face runout within 0.02 mm | Damaged precision face | Face suspended, guard fitted |
One point deserves emphasis. Harmonic and RV reducers must never be dismantled in the field. They depend on specific assembly interference and preload, and once opened, backlash and stiffness rarely return to the factory condition even if everything is refitted as found. Treat each joint module as a non-separable unit when packing, and never split the wave generator, flexspline and output flange simply to save space.
Flexspline and Crossed Roller Bearing Protection in Joint Modules
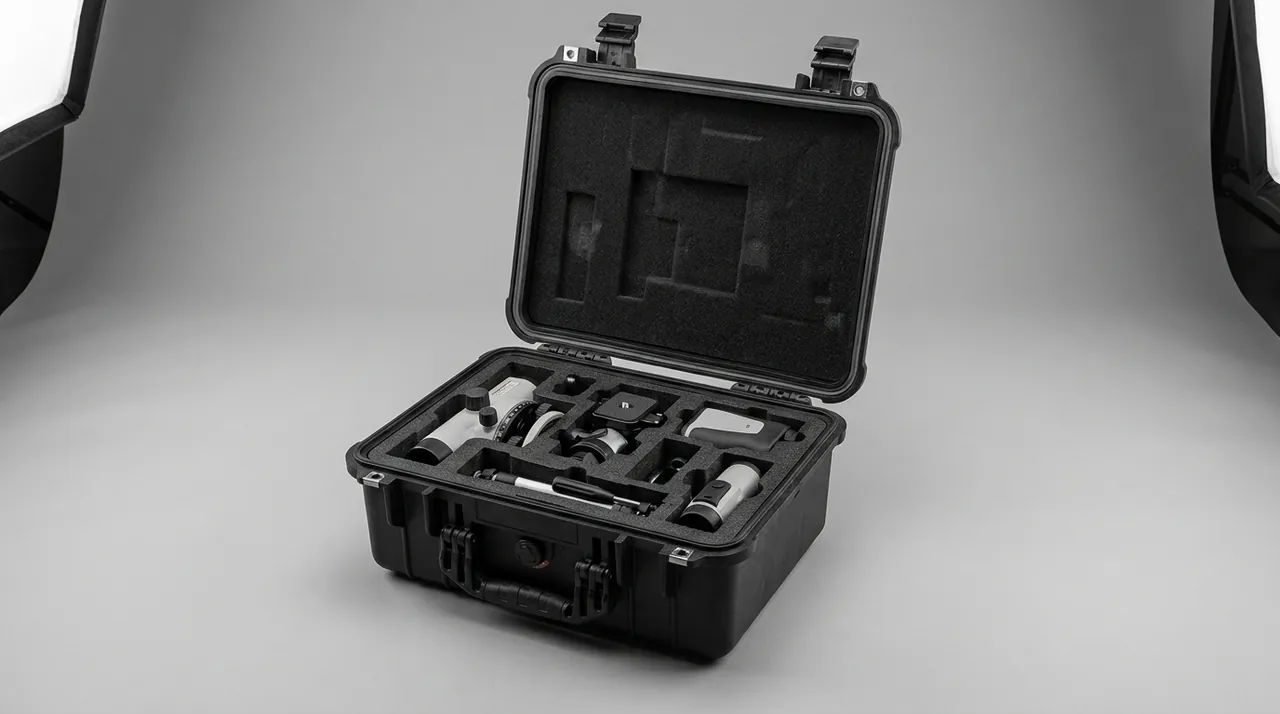
A joint module normally integrates reducer, bearing, motor and brake, and its output uses a crossed roller bearing that carries both bending moment and axial load. In a crossed roller bearing the rollers sit at 90 degrees to one another, giving line contact and high capacity, but the design is very sensitive to the flatness and parallelism of its mounting faces. If the module takes a lateral shock in transit, the rollers press local depressions into the raceways, and even a few micrometres of brinelling produces periodic vibration and noise that later develops into pitting.
The core of the protection is to route bending moment into the case rather than the bearing. Fit a rigid locating ring between the module output flange and the case so the housing bears directly on the case and transmits load. Leave the input end unsupported so it carries nothing. Locate the module axially with stops on both sides and keep the clearance within 0.2 mm. Never rely on soft foam as the only support, because foam compresses under vibration and releases its restraint, allowing the module to move.
Where the flexspline is exposed, as on some modules shipped without a cover, it is a thin-walled element and must not be touched directly. Slide a cylindrical protective sleeve over it with an inside diameter 1 to 2 mm larger than the flexspline outside diameter, made from a softer material such as polyoxymethylene or PE, long enough to cover the full flexspline with chamfered ends so it cannot score the tooth flanks.
A joint module also contains grease. Grease thickens at low temperature, and after a long cold leg the soap and oil can separate slightly. A joint that has travelled cold should be turned slowly, by hand or at low power, for a few minutes before it runs at speed, so the grease redistributes; starting directly at high speed risks local starvation and tooth flank damage.
Joint Harnesses and Conduit: Anti-Kink Packaging
Robot joint harnesses carry power, encoder signals, brake power and earth, and where they pass through a joint bore they are protected by corrugated or braided sleeve. Their failure modes are conductor fatigue fracture from repeated bending and shield damage from over-extension. A harness pinned under a heavy part in transit, or pulled back and forth as the joint rotates, may show up after reassembly as an intermittent fault, which is the hardest class of fault to find because the break usually sits inside the sleeve.
Package harnesses with a large radius, in one direction, secured at both ends. Coil to a radius at least ten times the harness outside diameter, and respect the sleeve maker's minimum bend radius, generally five to eight times its outside diameter. Secure the coil with releasable ties that are snug rather than tight, and put each connector in its own small box so pins cannot be deformed against metal parts.
Rigid or semi-rigid conduit through a joint bore must never carry axial compression. Take it out and lay it axially in a cradle with end caps, and if it must stay inside the module, add stops at both ends so it cannot slide and rub the bore.
| Harness feature | Failure mode | Cause | Packaging measure |
|---|---|---|---|
| --- | --- | --- | --- |
| Joint feed-through | Conductor fatigue fracture | Repeated bending | Large-radius coil, both ends fixed |
| Connectors | Bent pins, dust ingress | Contact with metal parts | Own box, dust caps |
| Corrugated sleeve | Cracking, abrasion | Tight bends, rubbing | Radius five to eight times OD |
| Cable chain section | Link deformation | Left hanging under load | Lay in a cradle, never suspended |
| Earth conductor | Broken strands | Tension | Coil separately, never load bearing |
On an arm shipped assembled, harnesses should be secured at the transport lock position and left slack, and must never be used as an anchor point. Where a site habitually ties harnesses to the body for handling, replace the ties with a wrap band marked for removal before commissioning, so that long-term compression does not damage the sleeve.
Preserving Mastering Data and Mechanical Zero Position
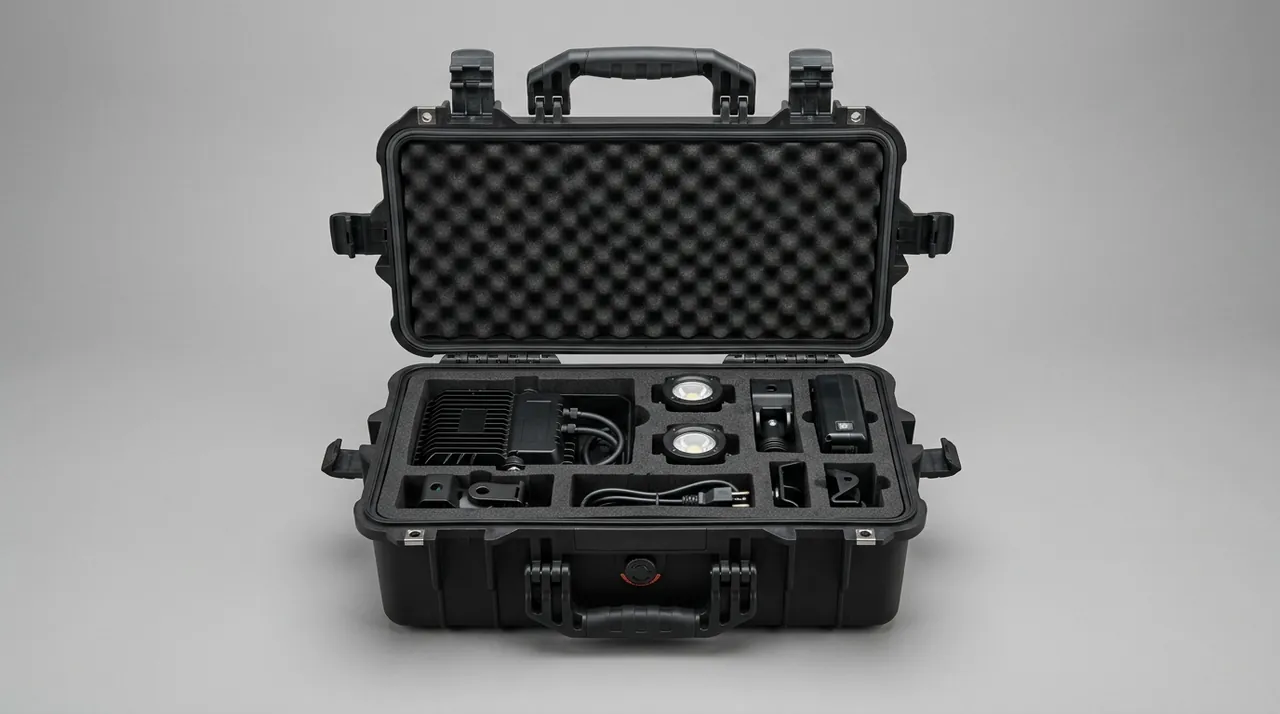
Robot repeatability depends on two things: the mechanical zero, or mastered position, and the encoder offset data held in the controller. The mechanical zero is a physical reference, usually set by scribe marks, dowel pins or dedicated mastering tooling, while the encoder offset is stored in the controller or the encoder itself. Transport does not move the mechanical zero, but it can break the agreement between zero and data in three ways: an encoder battery running flat during extended power-down and losing multi-turn data; a joint turned by external force so the encoder count no longer matches the mechanical position; and parts replaced or dismantled without re-mastering before the robot runs.
Protection therefore focuses on preserving data and recording state. Export and back up the complete mastering data, zero offsets, gear ratios and tool frames before packing, and deliver them both electronically and on paper. Put a prominent placard inside the case stating that all axes were confirmed at their mechanical zero before packing, with numbered photographs of each axis scribe mark attached.
Absolute encoders need specific battery handling. Most rely on a battery to maintain multi-turn counting, and on a long shipment the battery can run flat, meaning a re-mastering routine is required on power-up. There are two accepted approaches. Remove the battery as the maker requires, store it separately and state the replacement and verification procedure in the documents. Or keep the battery, measure and record its voltage before packing, and measure again before first power-up on arrival. Either way, write it down so the site team does not misread the condition as a fault.
Incremental encoder machines depend entirely on the physical reference, so the scribe mark and dowel pin need protection. Cover the face carrying the scribe mark and never place weight on it, and gauge the dowel hole for distortion, replacing the pin if needed rather than trying to repair it.
Managing Fail-Safe Brakes in the Transport State
Servo motors on robot axes normally carry fail-safe brakes that engage when power is removed. Leaving a brake engaged throughout transport causes two problems: friction faces pressed together for weeks take a set and can adhere, and vibration makes the brake slip marginally and re-engage repeatedly, wearing the friction surfaces.
The principle is to replace electrical braking with mechanical locking. Before packing, fit dedicated transport locking tooling, whether mechanical stops or link rods, so the axis posture is held by rigid parts, then release the brake as the maker specifies so the friction faces separate. Where the maker requires the brake to stay engaged, record the state at packing and state the release sequence in the shipped documents.
Release methods vary. Some machines release from the controller, some need an external 24 V DC supply applied manually, and some have a mechanical release screw. Put a release and reset procedure card inside the case stating the voltage and polarity required, because burning out a brake coil through a wrong connection is a common site error.
One easily missed detail is brake wear monitoring. Some designs carry a wear indicator or a travel sensor, and the state before and after transport should be recorded as evidence of whether the axis moved abnormally in transit. If an indicator has changed on arrival, treat that axis as suspect and inspect the joint closely before running it.
Separating Servo Motors and Absolute Encoders
The servo motor itself is robust, but the encoder at its non-drive end is far more shock-sensitive. The encoder is normally mounted on the shaft through an elastic coupling or a direct fit, so any axial shock passes straight to the code disc and its bearings. A code disc is a glass or thin metal element, and once it cracks it is a replacement item with no repair route.
Pack motors with the output shaft down or horizontal so the housing carries the support and both the shaft and encoder end are unloaded. Where motor and reducer ship separately, fit a protective sleeve over the output shaft and pocket the key and retaining ring separately. Cover absolute encoder connectors with a dust cap and wrap them in a moisture barrier bag.
On integrated servo motors with a built-in drive, the power board carries electrolytic capacitors. At low temperature the equivalent series resistance rises, and powering up directly after a cold shipment can produce a large inrush current. Let the unit stand at ambient temperature for four to eight hours before power-up, and state this in the shipped documents. Together with the encoder battery requirement, these are the two instructions most often overlooked on site and most likely to cause damage.
Motors and joint modules belong in separate compartments. Where they must share a case, keep at least 30 mm of soft isolation between them and never place a motor above a joint module, because stacking load would then transfer into the reducer. Backing up drive parameters and encoder offsets follows the same logic described for servo motion controller cases.
Long-Part Cradles for Upper Arm and Forearm
The upper arm and forearm are long structural members, often 1 to 2 metres, usually hollow castings or fabrications. They do not fail by breaking; they fail by bending and twisting. Once an arm is permanently bowed, the position accuracy of the tool flange cannot be recovered by calibration, because mastering compensates encoder offsets and cannot compensate geometry.
Support long parts on multiple cradles, placed sensibly, with no long unsupported span. Put cradle points near stiffening ribs or bearing housings rather than at thin-walled mid-sections, keep spacing to no more than one third of the arm length, and fit a stop at each end to limit axial movement. Never support only at the two ends and leave the middle free, because deflection under self-weight accumulates with vibration into permanent set.
On arms with internal cable routing, the cradle must not press on the access cover. Covers are thin-walled and will dent under load and pinch the harness inside. Where a cover is removable, take it off, ship it flat and number it by position so nobody fits it to the wrong holes on site.
Tool flanges and joint mounting faces are precision surfaces and must face upward or inward with a guard fitted. Dowel holes should carry temporary pins or plugs so nothing enters and the hole mouths are not knocked. On a whole arm shipped with the wrist fitted, set the wrist posture so the centre of gravity falls within the arm footprint and the cradles see less bending moment.
Wrist and Tool Flange Precision Face Protection
The wrist concentrates three axes in one small volume and is the densest joint and harness area on the machine. Its failures are usually combined: a knocked precision face puts the tool centre point runout out of tolerance, a pinched harness causes intermittent faults, and damaged flange threads prevent the end effector from being fitted.
Protect the wrist by loading it as a whole, suspending its faces and keeping the harness unloaded. The wrist belongs in a pocket matched to its outline that touches only non-functional surfaces. The tool flange should face upward under a guard with a soft liner covering the whole face, including dowel holes and threaded holes. Never ship an end effector mounted on the wrist, because its mass applies a standing bending moment to the wrist joints and causes fretting wear in the reducer under static load.
Thread protection is often overlooked. A damaged or contaminated threaded hole on the flange leads to a joint that will not torque down or that strips on site. Fit a plastic plug in every threaded hole before packing, include a note to remove all plugs before commissioning, and list the plug count on the packing list so the check can be itemised.
Where the wrist carries pneumatic and signal ports, the quick connectors are plastic and crack under load. Cap the ports, vent the air lines and disconnect the supply so residual pressure cannot load the tubing in transit.
Shock Design: Allowable Acceleration and Cushion Layers
Robot builders normally state an allowable shock limit for the transport condition in the manual, commonly expressed as a peak acceleration such as 5 m/s squared, or 0.5 g, and values differ significantly between models. The limit in the supplied documentation is the governing figure. The design task is to attenuate the transport environment below that limit, not to choose foam by feel.
Attenuation is achieved in layers: an outer layer that resists puncture and compression, a middle layer that absorbs energy and an inner layer that locates and isolates. The outer layer can be a rigid PE or engineering plastic shell carrying stacking and puncture loads. The middle layer uses EPE or expanded polyurethane, with thickness derived from the allowable acceleration and the heaviest component mass. The inner layer is routed EVA for location and local isolation. Thickening any one layer alone rarely helps much, because energy absorption and displacement are coupled: the softer the structure, the greater the displacement, and the more likely a secondary impact inside the case.
| Cushion layer | Material | Function | Typical thickness | Selection basis |
|---|---|---|---|---|
| --- | --- | --- | --- | --- |
| Outer shell | PE, PP or engineering plastic | Puncture and stacking resistance | 4 to 12 mm | Total mass and layer count |
| Energy absorption | EPE or expanded PU | Attenuate shock energy | 20 to 40 mm | Derived from allowable acceleration |
| Location | EVA | Constrain parts, isolate locally | 15 to 25 mm | Routed to the outline |
| Contact facing | IXPE or silicone | Protect precision faces | 3 to 5 mm | Closed cell, no shedding |
Validate by physical drop and vibration testing rather than calculation alone. Drop height is set by weight class, typically between 100 and 600 mm, vibration can follow the GB/T 4857 series or an ISTA procedure, and a shock recorder inside the case provides the measured acceleration trace that shows whether the maker's limit was respected. The recorder data also becomes key evidence in a discussion with the carrier or insurer.
Remember that a shock recorder has its own range and response characteristics. A low-range unit clips under severe shock and under-reports the peak, so choose a range that covers the expected value and record the range and sampling rate on the packing list. The layered approach itself follows the logic of shockproof case design, with the difference that a robot has a tighter acceleration limit and is more sensitive to displacement.

Whole-Arm Posture and Transport Locking Tooling
When an entire arm is shipped, posture directly determines joint loading. The general principle is to lower the centre of gravity, shorten moment arms and bring heavy masses close to the support surface. Two postures are common: folded upright, with the upper arm and forearm folded near vertical to give a low centre of gravity and a small footprint, or laid flat, which lowers the centre of gravity further and reduces tipping risk. Take the maker's recommended transport posture as governing and record the posture and axis angles in the shipped documents.
Transport locking tooling is mandatory for a whole-arm shipment. Its job is to lock each axis mechanically so vibration or gravity cannot turn it. Good tooling satisfies three conditions: no axis can rotate once fitted, the tooling itself cannot work loose under vibration, and the release sequence is clear and error-proof. Use fasteners with locking features and include a locking and release position drawing that colour-codes each locking point.
The release sequence must not be improvised. If a base axis is released before a distant axis, the remote joint can swing suddenly under gravity and strike the case wall or an operator. The standard practice is to release from the outermost axis inward, confirming at each step that the axis is still supported by other tooling or by a prop.
On a long sea shipment, add moisture and mould control inside the case and mark the exterior with no-inversion, no-stacking and lifting point information. Where the arm shares a container with other equipment, fit a shock or tilt indicator so the environment can be assessed on arrival.
Moisture, Dust and Clean Assembly Requirements
Robot arms are rated to IP54 or IP67 depending on model and axis, but the rating during transport is not the same as the factory condition, particularly after a wrist has been removed, an end effector taken off or a harness cover opened. Packaging must therefore provide an additional moisture and dust barrier.
For moisture, keep breathing valves clear or blank them temporarily as the maker requires, cap harness connectors, wrap the arm in a moisture barrier film and add desiccant sized to the packed volume and adjusted for the humidity on the route. On a humid sea leg, include a humidity indicator card and read it before deciding whether dehumidification is needed on arrival.
Dust matters just as much. A robot destined for a cleanroom or a paint shop that picks up grit in transit will release particles from joint gaps for weeks afterwards and affect the cleanliness class. Pack such machines in a clean environment, specify closed-cell non-shedding liners, and wipe the case interior with a lint-free cloth before closing.
Where cleanliness requirements are strict, the liner and clean packing practice described for precision instrument cases is a good model, and material shedding, static and humidity should all appear in the acceptance criteria. Where a teach pendant travels with the arm, the keypad and screen protection approach used in cobot teach pendant cases complements this layout. For projects that must open the case inside a cleanroom, supply a clean unpacking instruction covering the area class, the wiping method and the disposal route for packaging waste.
Temperature affects both reducer grease and encoder batteries, since grease consistency and battery discharge capacity both change with temperature. Avoid prolonged exposure to extremes, mark a temperature range on the exterior where a route crosses a very cold region, and state the standing time required before power-up.
Unpacking Acceptance and Zero Position Verification
Acceptance of a robot arm needs measurable, repeatable criteria rather than a general judgement that it looks intact and powers up. Work through appearance, data, geometry and function, in that order.
On appearance, confirm the shell is undistorted and undamaged, the liner has not collapsed or shifted, joint module surfaces show no impact marks, harnesses are free of pinch marks and abrasion, connector pins are straight, and the count of protective caps and plugs matches the packing list. On geometry, use a dial gauge to confirm tool flange face runout within 0.02 mm, a straight edge and feeler gauge to check upper arm straightness, and compare scribe marks against the photographs taken at packing.
On data, compare the backup mastering data with the values in the controller, check absolute encoder battery voltage against the permitted range, look for multi-turn loss alarms on any axis, and cross-check gear ratios, tool frames and the packing record. If the data disagree, do not overwrite the site values before establishing whether transport or a site error caused the difference.
On function, release the transport locking tooling and turn each axis by hand, feeling for binding and listening for noise, then run slowly for a few minutes and watch current and temperature. Measure repeatability where it is safe to do so and compare with the factory figure. If repeatability is out of tolerance while mechanical zero and data are both correct, inspect reducer backlash and the crossed roller bearing. If zero is off while data are intact, verify the mechanical reference before re-mastering.
Re-mastering has a cost of its own: it overwrites existing data, and its accuracy depends on on-site tooling and ambient temperature. Before running a full mastering routine, confirm the mechanical zero, and verify single axes first.
Custom Liners, Tooling and Shipped Documentation
Robot models and joint dimensions are highly fragmented. Two brands of the same payload class rarely share flange diameters, harness exit positions or wrist outlines, so a standard liner will not work. The value of a custom liner is not simply that everything fits, but that the load path, harness route and protection requirements for each joint are fixed, so that packing is consistent between batches and between sites.
Use a five-step process: supply the model and joint list, allowable shock limits per axis, individual weights and centres of gravity, and flange and interface drawings; agree the compartment layout, cushion layers and transport locking arrangement; produce the first-article liner and a sample case; trial-load and validate by drop, vibration and shock recording; then release to production and freeze the documentation templates. The first-article stage must include one full pack-and-unpack rehearsal, checking that harness coiling, protective plug counting and the locking tool release sequence all work in practice.
As the manufacturer, JUNZHIJIA supplies routed and vacuum-formed liners, moulded shells, joint compartment design, harness retainers, transport locking tooling interfaces, marking and a complete documentation package, with OEM and ODM support and multilingual delivery. The usual shipped set includes the packing list, compartment layout and centre-of-gravity drawing, mastering data backup with zero position photographs, a transport locking tooling position drawing, the allowable shock limit statement, and an unpacking and power-up instruction.
Related to this subject, where collaborative robots and teach pendants travel together, the compartment layout and pendant protection chapters in collaborative robot transport cases apply; where the controller ships separately from the arm, the moisture and cable management practice in robot controller cases carries over directly; and where end effectors are shipped in the same consignment, the precision face protection approach used in robot end effector cases is the right model.
Frequently Asked Questions FAQ
Q: The origin was lost after shipping the robot. Is transport always to blame?
A: Not necessarily, and the cause should be isolated step by step. The origin consists of two parts: the mechanical zero and the encoder offset data. The mechanical zero is a physical reference that normal transport does not move, so the vulnerable element is the data. Three causes dominate. An absolute encoder relies on a battery to maintain multi-turn counting, and after a long powered-down shipment the battery can run flat, so the controller reports lost multi-turn data on start-up. A joint turned by external force during transit leaves the encoder count no longer matching the mechanical position. A part replaced or dismantled without re-mastering before running leaves the two permanently out of agreement. Check the mechanical zero scribe marks against the packing photographs first, then the battery voltage and multi-turn alarms, and only then decide whether mastering is needed. If the mechanical zero matches and the data are simply gone, restoring the offsets from the backup is usually enough, and a full mastering routine, which overwrites existing data and depends on site tooling and temperature, can be avoided.
Q: What damages harmonic and RV reducers most in transit, and how is it prevented?
A: The dominant threat is shock rather than compression. In a harmonic reducer the flexspline is a thin-walled cup, and an impact costs it roundness, which appears as increased backlash and transmission noise. In an RV reducer the cycloidal discs and pins are lapped pairs, and an impact leaves false brinelling on the raceways and pins, producing periodic vibration that develops into pitting over time. Both designs leave the factory with backlash within one arc minute, so there is very little margin. The first protection principle is to restrain the joint module's freedom of movement rather than absorb energy with foam. Fit a rigid seat matched to the flange so the housing and flange carry the entire load, leave the input and output shafts completely unloaded, and locate the module axially with stops holding the clearance within 0.2 mm. Remember also that both reducer types must never be dismantled on site, so the joint module has to travel as a non-separable unit and the wave generator, flexspline and output flange must not be split apart to save space.
Q: What harness faults appear after transport, and how should a harness be packed?
A: The most common faults are conductor fatigue fracture from repeated bending and shield damage from over-extension. These have a difficult characteristic: they may not show up immediately, and instead appear after some running time as intermittent faults that are hard to trace because the break sits inside the corrugated sleeve. Pack with a large radius, in one direction, secured at both ends. Coil to a radius at least ten times the harness outside diameter, respect the sleeve maker's minimum bend radius of roughly five to eight times its outside diameter, and secure the coil with releasable ties that are snug rather than tight. Put each connector in its own small box so pins cannot be bent against metal parts. Rigid conduit must never carry axial compression, so take it out and lay it axially in a cradle with end caps. On an arm shipped assembled, keep harnesses secured at the transport lock position and slack, never use them as anchor points, and avoid long-term cable ties on the body.
Q: Should the brakes be released before shipping a robot?
A: It depends on the maker's instruction, and the underlying principle is to substitute mechanical locking for electrical braking. If a fail-safe brake stays engaged for weeks, the friction faces take a set and can adhere, and vibration makes the brake slip marginally and re-engage repeatedly, wearing the surfaces. The usual approach is to fit dedicated transport locking tooling on each axis so the posture is held by rigid stops or link rods, then release the brake as the maker specifies so the friction faces separate. Where the maker requires the brake to remain engaged, record the state at packing and state the release sequence in the shipped documents. Put a release and reset procedure card in the case showing the supply voltage and polarity, because the wrong connection burns out a brake coil and is a common site error. Where a wear indicator or travel sensor is fitted, record its state before and after transport as evidence of whether the axis moved.
Q: How should long members such as the upper arm and forearm be supported?
A: Long members fail by bending and twisting rather than breaking. Once an arm is permanently bowed, the tool flange accuracy cannot be recovered by calibration, because mastering compensates encoder offsets and not geometry. Support with multiple cradles at sensible points and no long unsupported span. Place cradle points near stiffening ribs or bearing housings rather than at thin-walled mid-sections, keep spacing to no more than one third of the arm length, and fit a stop at each end to limit axial movement. Never support at the two ends only and leave the middle free, because deflection under self-weight accumulates with vibration into permanent set. On arms with internal cable routing, keep the cradle off the access cover, since the cover will dent under load and pinch the harness inside; where the cover is removable, ship it flat and number it by position so it cannot be fitted to the wrong holes. A dial gauge reading taken along the top face before and after shipment is the simplest way to prove that no permanent set occurred.
Q: How is cushion thickness determined, and can it be estimated by experience?
A: Estimating by experience alone is unwise, because energy absorption and displacement are coupled: the softer the structure, the larger the displacement, and the more likely a secondary impact inside the case. Robot builders usually state an allowable peak acceleration for the transport condition, commonly around 5 m/s squared depending on model, and the supplied documentation governs. Design to attenuate the transport environment below that figure using layers. The outer shell resists puncture and stacking, the middle layer of EPE or expanded polyurethane absorbs energy with thickness derived from the allowable acceleration and the heaviest component mass, the inner EVA layer locates and isolates, and a 3 to 5 mm IXPE or silicone facing covers any precision face. Validate by physical drop and vibration testing and fit a shock recorder whose range covers the expected peak; the trace shows whether the limit was respected and becomes key evidence when discussing a claim with a carrier or insurer.
Q: Does the absolute encoder battery need attention before shipping?
A: Yes, and along with the pre-power-up standing time it is one of the two instructions most often missed on site. Most absolute encoders rely on a battery to maintain multi-turn counting, and on a long shipment the battery can run flat so the controller reports lost multi-turn data at start-up, which the site team may misread as a hardware fault. Two approaches work. Remove the battery as the maker requires, store it separately, and state the replacement and zero verification procedure in the shipped documents. Or keep the battery, measure and record its voltage before packing, measure again before the first power-up, and replace it if the reading is below the specified figure. Either way, include a voltage record sheet. The companion instruction concerns integrated servo motors with a built-in drive, whose electrolytic capacitors have higher equivalent series resistance at low temperature; let the unit stand at ambient for four to eight hours before power-up to avoid an excessive inrush current.
Q: What information is needed to specify a custom robot arm case, and what ships with it?
A: Provide the model and joint list, the allowable shock limit for each axis, individual weights and centre-of-gravity positions, joint flange and harness interface drawings, wrist outline and tool flange dimensions, the transport posture and whether the whole arm ships assembled, the transport route with temperature and humidity conditions, and whether the case will be opened in a cleanroom. For export, state the label language and the document language required. The sequence is compartment and cushion design, first-article liner and sample case, trial loading with drop, vibration and shock recording validation, then production with frozen templates. The first-article stage should include one full pack-and-unpack rehearsal covering harness coiling, plug counting and the locking tool release sequence. The shipped set normally covers the packing list, compartment layout and centre-of-gravity drawing, mastering data backup with zero position photographs, a locking tooling position drawing, the allowable shock limit statement and an unpacking and power-up instruction, with OEM and ODM customisation.
Conclusion and Related Reading
Protecting a robot arm means preserving accuracy, not merely avoiding dents. Restrain joint freedom, coil harnesses widely, lock the calibration state, and use mechanical locks in place of brakes. JUNZHIJIA builds liners and documents to order.
Related Reading