


Short answer: choosing a tool box size comes down to three moves: list your tools and estimate total volume, set capacity at "tool volume × 1.3–1.5" for headroom, then fix the external dimensions and carrying method from how you will use it (hand-carried, vehicle-mounted, or fixed at a workstation). Too small and things do not fit, forcing multiple boxes; too large and it becomes immovable and wastes space. A practical rule: 30–45 cm for personal daily carry, 45–60 cm once power tools are involved, 60 cm or more for crew or transport use. The final size must satisfy three conditions at once — it fits, you can reach it, and you can move it.
The article follows the order: why size matters more than you think, the five-step selection method, capacity calculation, scenario size charts, coordination with load and mobility, common mistakes, and FAQ.
Table of Contents
- Why Size Matters More Than You Think
- Five Steps to Choosing a Size
- How to Calculate Capacity (With Formulas)
- Size Charts by Scenario
- Coordinating Size With Load and Mobility
- Common Mistakes in Choosing a Size
- Frequently Asked Questions (FAQ)
- Conclusion and Selection Advice
- Further Reading
Why Size Matters More Than You Think
Many people look at appearance or price first and consider size last, which usually produces one of two failures: too small, so the tools do not fit and you end up with two or three boxes; too large, so it sits half empty, is a chore to carry, and takes up space.
1.1 Too small: nothing fits and boxes multiply
Tools accumulate. Today it is one wrench; six months later it is a socket set and a multimeter. Size for "now" and it fills fast, ending in the inefficient pattern of "two half-full boxes, a bit in each, hunting across boxes." Leaving 30% headroom noticeably delays that split.
1.2 Too large: immovable and wasted
An industrial case is not light to begin with. Oversized and fully loaded, one person cannot carry it, and it ends up in a corner gathering dust. Empty space also lets contents crash around in transit, accelerating wear. "Just right" is more reassuring than bigger.
1.3 Size affects sealing and protection
The larger the case, the longer the gasket perimeter and the less even the compression, raising the demands on structure and latches. Too small and there is no room to layer the liner. Size therefore indirectly affects protection reliability.
1.4 Size and liner layering
Size determines how many layers you can have. Under 30 cm you usually get a single layer plus a lid organizer; at 45 cm you can run two layers; above 60 cm you can comfortably build a three-tier arrangement of small parts on top, heavy items below, and parts bins inside the lid. If you need fine layering, the case cannot be too small, or the layered design has nowhere to go.
1.5 Size and transport cost
For teams that ship by courier, carry in vehicles, or fly, size affects freight and whether the case can go with you. Oversized cases often need separate freight; standardized mid-size cases stack and share vehicle space. Thinking about "how will this be shipped later" while sizing saves hidden cost.
1.6 Size and ergonomics
Case height affects centre of gravity: a tall narrow case tips easily when towed, while a short wide one makes you stoop to reach in. A good ratio is roughly "height between one half and two thirds of width" — stable and easy to handle. This is why two cases of equal capacity can feel very different in use.
1.7 Size and asset management
Once sizes are standardized, asset records become manageable: cases in the same tier share numbering, liners, and parts bins, making inventory efficient. With sizes all over the place, spares never match the right tray and management cost doubles.
1.8 The tool "growth curve"
Tool counts do not grow linearly; they step up with projects. Win a new contract and you may add a dozen items at once. When sizing, ask yourself whether a new line of work is likely in the coming year; if so, take headroom at the upper end, 1.5 or more. Many people size for "now" and are overtaken by a project within six months.
1.9 Size and "visible at a glance"
Visibility also relates to size: a transparent lid or shallow case shows everything at once, whereas a deep case means digging. For high-frequency daily carry, choose shallower with clear layering. "Easy to find" matters as much as "fits it all" — which is why 30–45 cm personal boxes are most popular.
1.10 The "minimum viable" principle
If you genuinely cannot decide, follow the minimum-viable approach: buy one standard 40 cm mid-size case covering 80% of scenarios, run it for a month or two while noting what does not fit and what never gets used, then add specific sizes. That is steadier than buying a full set at once and avoids paying in advance for imagined needs. Sizing can be iterative; it does not have to be perfect on the first pass.
Five Steps to Choosing a Size
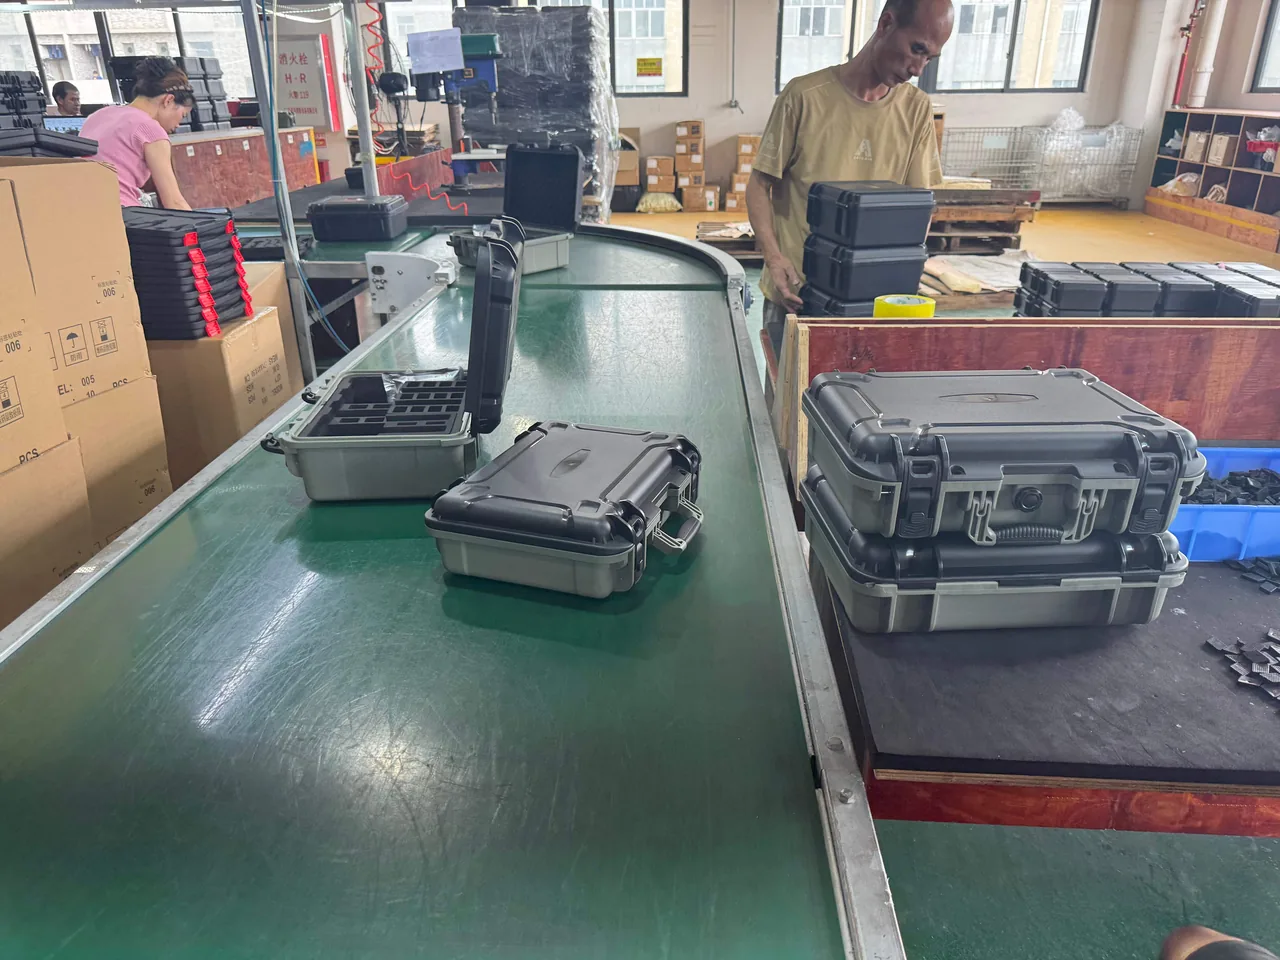
The following process can be followed as written:
| Step | Action | Output |
|---|---|---|
| --- | --- | --- |
| 1 | List the tools (name / quantity / dimensions) | Tool inventory |
| 2 | Estimate the volume of each item and sum it | Total tool volume V |
| 3 | V × 1.3–1.5 to get target capacity | Target net capacity |
| 4 | Set the external shape by scenario (portable / vehicle / workstation) | Length, width, height range |
| 5 | Verify load and mobility | Final case type |
2.1 Step 1: list everything
Register each existing tool with its length, width, and height. It looks tedious, but it underpins every calculation that follows, and it often reveals that you own tools you have never actually used.
2.2 Step 2: estimate volume
For irregular tools, estimate by "bounding box" — the smallest box that would contain them — and err on the large side. Power tools and chargers take up more space than people expect, so list them separately.
2.3 Step 3: apply headroom
Target net capacity equals total tool volume × 1.3–1.5. Use 1.3 if your tool set has stabilized, 1.5 if it is still growing. Note this is *net* capacity: case structure (wall thickness, dividers) consumes part of it, so the nominal capacity must be larger.
2.4 Step 4: fix the shape
The same capacity can be "short and wide" or "tall and narrow." For carrying, prefer something close to a cube with a low centre of gravity; for vehicle mounting, choose dimensions that can stand upright and be secured; for a fixed workstation you can relax. Length, width, and height must also fit through doors, into cabinets, and into lifts.
2.5 Step 5: check load and mobility
Once capacity is set, work backwards to loaded weight: if it exceeds a sensible one-person carry limit (roughly 15–20 kg), you need a shoulder strap or wheels, otherwise even a well-chosen size will be awkward to live with.
2.6 Worked example: from list to size
Suppose a mechanic's list is: three adjustable wrenches (about 1.5 L total), one socket set (about 3 L), six screwdrivers (about 1 L), a torch and a multimeter (about 1.5 L), and miscellaneous items (about 1 L) — roughly 8 L of tools. Multiply by 1.4 for headroom: target net capacity 11.2 L. Allow for the liner taking 30%, giving roughly 16 L nominal. Add room for future purchases and a 20–25 L, roughly 40 cm case is the safe choice. If power tools must come along, total volume multiplies and you jump straight to the 45 cm tier. The point is that size is derived from the numbers on the list, not guessed.
2.7 Common failure cases
Someone buys a 60 cm case for ten household tools, leaves 80% empty, decides after one carry that it is too heavy, and never uses it. Another buys a 25 cm case for a full automotive set and splits it across three boxes. Both come from not listing first.
2.8 A reusable list template
Turn step 1 into a table template — name / quantity / length / width / height / volume / powered or not / irregular or not — and fill it in before every purchase. It gives you volume and simultaneously audits redundancy. Once the template exists as a team asset, new staff can follow it, so experience does not walk out the door and cause the same mistakes again.
2.9 Simple digital aids
Volume summing is a one-line spreadsheet formula; a step further is simulating with a cardboard box and photographing the result. What matters is not how sophisticated the tool is but that the estimate becomes a reviewable record. When a size turns out wrong, the list tells you which step under-estimated — usually power tools or long bars.
2.10 Items most often under-estimated
Experience says four categories are under-counted most often: power-tool bodies and batteries, cable coils on corded tools, over-long bar-shaped tools, and "things I might buy later." Flag these and force the estimate upward, which removes most of the bias toward too small. Headroom is reserved for *planned* growth, not a licence for unlimited hoarding.
How to Calculate Capacity (With Formulas)
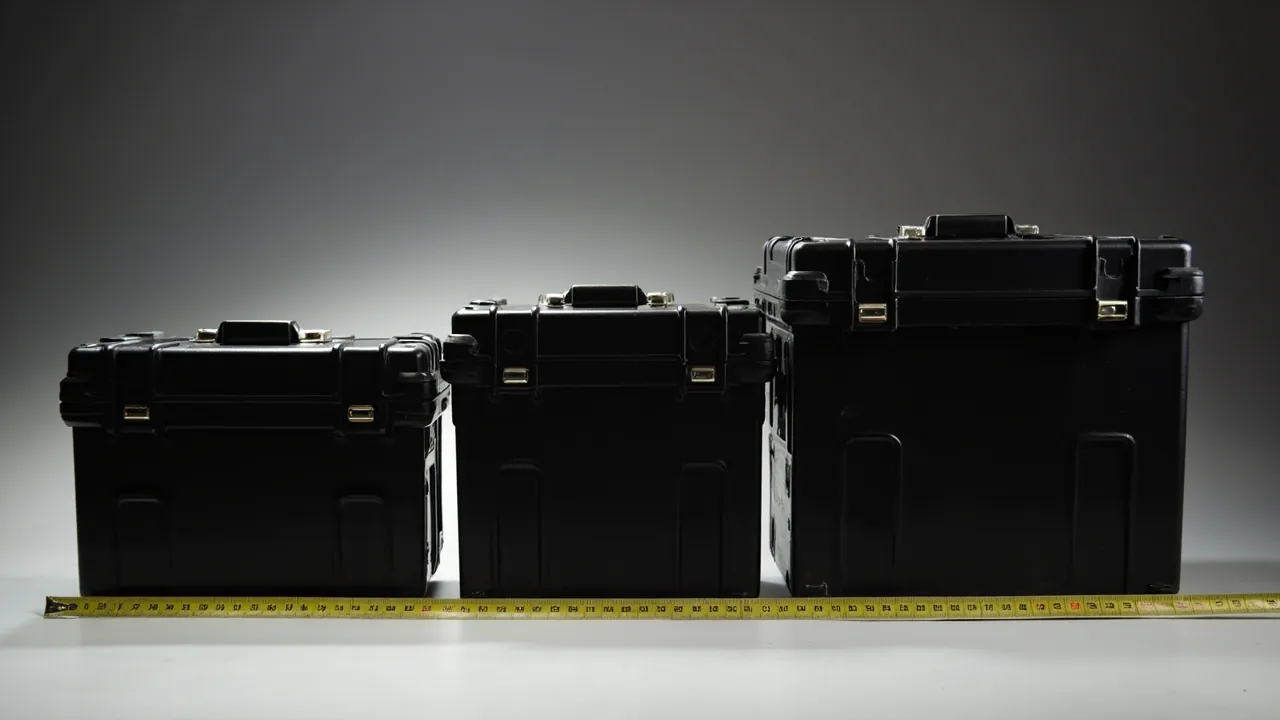
Capacity calculation has two traps: counting "number of items" instead of volume, and ignoring the space the liner consumes.
3.1 The base formula
`` Target net capacity (L) = Sum of individual bounding-box volumes (L) x headroom factor (1.3-1.5) Actual nominal capacity (L) ≈ target net capacity / 0.7 // liner and dividers take about 30% ``
Example: total tool volume 12 L, headroom 1.4 gives target net capacity 16.8 L, so nominal capacity is about 24 L. Choose a 25–30 L case.
3.2 Why 0.7 rather than 1.0
A case's nominal capacity is usually its external envelope volume, while what actually holds tools is the net cavity. Wall thickness (2.5–4 mm), dividers, liner, and lid taper all consume space, totalling roughly 30%, so net capacity is about 0.7 of nominal. With a complex liner — multiple EVA layers, an array of parts bins — the ratio can drop to 0.6. Estimate conservatively rather than discovering that "the nominal figure was enough but nothing actually fits."
3.3 Validate with a packing simulation
After the calculation, simulate once with a cardboard box: put the real tools in and see whether there is room and whether layering works. Many calculate accurately but discover the "feel" problem only in physical packing — for instance a long bar that will not go into a shallow case.
3.4 Count parts bins and consumables separately
Standard items such as screws, terminals, and fuses live in arrays of small parts bins, which also take volume and are best placed in the lid or top layer so they do not crowd the main cavity. List bin volume separately so consumables do not fill the main space.
3.5 Estimating irregular tool volume
Round bars, elbows, and corded tools are hard to measure directly, so use the "substitute box" method: find the smallest carton the item fits into and measure that. For corded tools, include the coiled cable; many forget it and then cannot close the lid.
3.6 Handling long bars and odd shapes
Tape measures, laser rods, and extended-reach wrenches will hit the lid if forced into a shallow case. Two options: choose a taller case that allows upright storage, or give these items a separate holster or external pouch instead of the main cavity. Decide "inside upright or outside hanging" while totalling volume, so you do not discover the problem at the end.
3.7 Capacity units and conversion
Tool volume is usually quoted in litres (L) or cubic decimetres (dm³), where 1 L = 1 dm³ ≈ 1000 cm³. Cases are often marked in litres while tools get measured in centimetres, so keep units consistent: length (cm) × width (cm) × height (cm) ÷ 1000 = litres. Mixed units are a common source of estimation error.
3.8 Spotting inflated capacity claims
Some low-cost cases quote capacity including the lid organizer or hollow cavities, so the real main cavity is smaller. Verify by measuring internal clear dimensions, or compare against the usual range for a mainstream case of the same size — a 45 cm mid-size case typically offers 20–30 L net.
3.9 How capacity and protection interact
The larger the capacity, the stronger the gasket and latch design must be for IP67 sealing, which makes the case heavier and more expensive; wanting both raises cost non-linearly. The sensible response is to raise utilisation inside a smaller case through layering and parts bins rather than scaling up to buy capacity.
3.10 The other side of headroom: do not overdo it
The 1.3–1.5 range is already an empirical upper bound; going beyond it edges into the "buy too big" mistake. If growth is genuinely uncertain, pick the middle of a size tier and add a larger case from the same series later.
Size Charts by Scenario
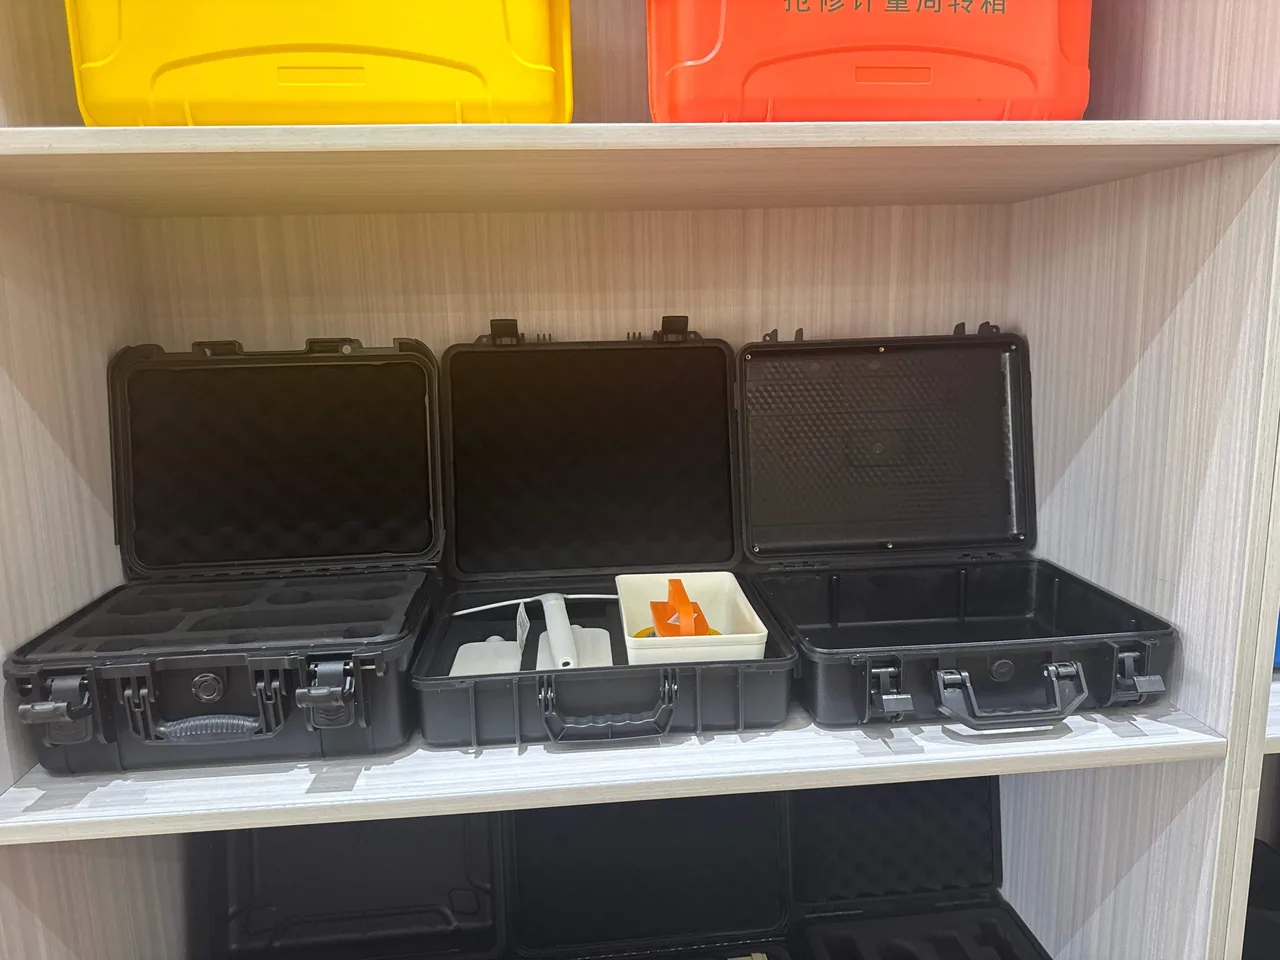
| Use scenario | Tool scale | Recommended external size | Recommended capacity |
|---|---|---|---|
| --- | --- | --- | --- |
| Household / personal carry | Up to 10 items | 20–30 cm | 5–10 L |
| Personal daily repair | 20–40 items | 30–45 cm | 15–25 L |
| Including power tools | 40–60 items | 45–60 cm | 25–45 L |
| Crew shared / transport | 60+ items | 60 cm and above | 45 L and above |
| Vehicle-mounted fixed | Depends on vehicle | Stand upright and secure | Per tool list |
4.1 Personal daily carry
What matters most is "grab and go." Around 30 cm, liftable with one hand, is the most comfortable. Too heavy and people stop taking it, so the tools sit idle.
4.2 Including power tools
Drills, angle grinders, and batteries take real space, so 45 cm is the starting line; if accessory boxes come too, moving up toward 60 cm is more comfortable.
4.3 Crew and transport use
When multiple cases are stacked and shipped, dimensions must be "standardized" — different sizes from the same series should latch together, otherwise everything rolls around in the vehicle. Choose case types with stacking locating grooves.
4.4 Special-scenario sizes
- Airline carry-on: must meet the airline's cabin baggage limits, commonly around 20 × 30 × 40 cm, so personal small cases should be chosen in a size that can be taken aboard.
- Explosion-proof or clean rooms: may require shapes that do not collect dust and rounded corners that clean easily, so material matters alongside size.
- Vehicle mounting: work backwards from the clear space in the boot or cabin; choose a size that stands upright, can be secured, and does not rise above the seat back or block the view.
In these scenarios the right size is not the largest but the one that fits inside the constraint.
4.5 A suggestion on standardizing sizes
If an organisation works across several people and sites, converge on two or three standard size tiers, such as 40 cm, 50 cm, and 60 cm, so liners, parts bins, and labels are interchangeable and spares and training cost less. Standardization serves long-term management better than letting everyone pick their own size.
4.6 Trading height against width
At equal capacity, a tall case saves floor space but tips easily, while a short case is stable but takes more bench area. Choose short and wide for fixed workstations, tall and narrow for carrying or vehicle mounting where it can stand upright. Decide on the basis of "where does it mainly sit and how does it move," not capacity alone.
4.7 Coordinating size with a custom liner
Only once the size is fixed can the liner be tooled or cut; the larger and more irregular the case, the more complex and costly the inner tray. With a standardized mid-size case, a manufacturer with moulding and injection capability — such as kexinMaterials with its JUNZHJIA line, whose range covers more than 150 specifications — can offer existing liner and parts-bin options with faster delivery and better pricing.
4.8 Matching size to a parts-bin system
A parts-bin range of more than 150 specifications is a modular language for "filling a big case with small compartments." If the case size aligns with the bin module — an integer multiple in each direction — main-cavity utilisation is highest. Choose dimensions arbitrarily and bins will not fit, wasting space. Ideally, work backwards from "how will the bins be arranged."
4.9 Balancing size against sealing cost
As noted, large capacity with high protection raises cost non-linearly. A practical test: for "dust and splash" protection (IP54) you have wide freedom on size; for immersion-grade IP67, prefer a standard protective-case size over a custom oversized shape, since the former has a mature sealing structure at a controllable price.
Coordinating Size With Load and Mobility
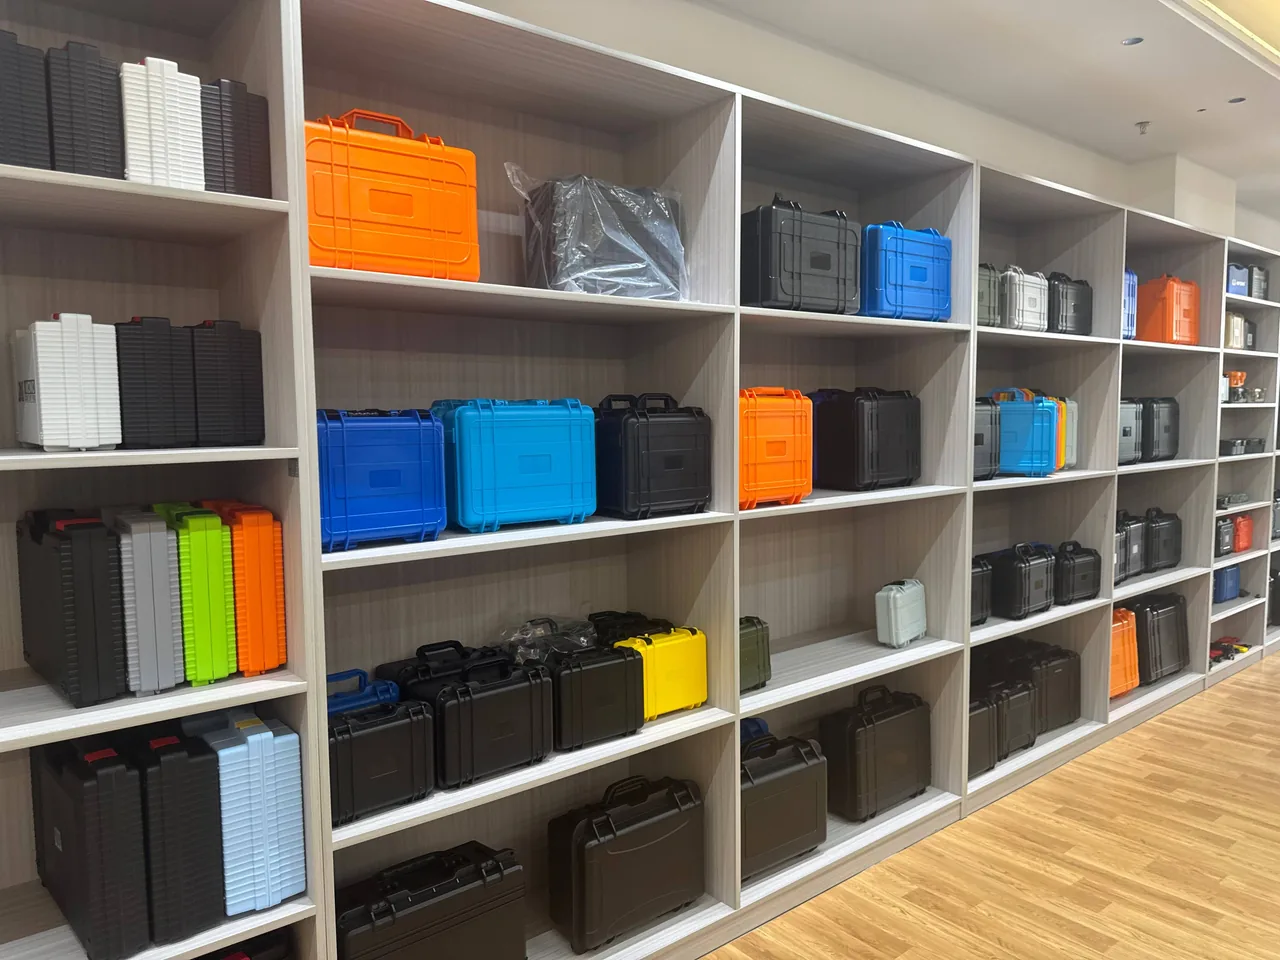
Size is never isolated; it is tied to load and how the case moves:
| Size band | Typical loaded weight | Recommended mobility |
|---|---|---|
| --- | --- | --- |
| Up to 30 cm | Up to 10 kg | Hand-carried |
| 30–45 cm | 10–20 kg | Hand-carried / shoulder strap |
| 45–60 cm | 20–40 kg | Shoulder strap / wheels |
| 60 cm and above | 40 kg and above | Wheels / tool cart |
This table shows that the size band dictates how you will shift it. Choosing 45 cm or more with only a carry handle means that after a few trips a day people avoid it, so mobility has a vote in the size decision.
Once you pass the comfortable hand-carry zone, roughly 15–20 kg, consider a shoulder strap or wheels, otherwise even a well-chosen size is awkward to use.
5.5 A simple weight-estimation formula
Loaded weight ≈ tool weight + liner and parts-bin weight + empty case weight. Engineering-plastic mid-size cases run roughly 2–4 kg and large cases 4–8 kg; aluminium alloy is lighter but more expensive. Put the estimate into the list template and you can predict whether wheels are needed before the size is finalised.
5.6 The cost of switching scenarios
If one case moves frequently between carry, vehicle, and workstation, take the intersection of all three: liftable, stands upright, fits on a shelf. That general-purpose mid-size case, around 40 cm, is often the greatest common denominator for organisational purchasing; use it for most scenarios and add special cases for extremes.
5.1 The comfort zone for hand-carrying
Ergonomics studies indicate that one-handed carrying becomes tiring above roughly 10–15% of body weight, around 7–10 kg, and that 15–20 kg is the short-distance limit for most adults. Beyond that you need a shoulder strap or wheels. The chain "size to capacity to weight" always ends at "can a person move it."
5.2 The lower limit for wheels
Wheels suit cases of 45 cm and above with heavier loads; on a small case they just add bulk. Under 40 cm with manageable weight, a handle or strap is more efficient — do not add wheels just to look professional.
5.3 What stacking requires of size
For stacked transport, cases should be the same size or share one modular series, otherwise a smaller case on a larger one slides off. Prefer sizes from one series with locating grooves so mixed sizes still lock together.
5.4 Size and human measurement
Beyond weight, grip dimensions affect feel: wider than about 45 cm cannot be held in one hand and needs two arms; deeper than about 25 cm means reaching down for items at the bottom. For a carry case, a width of 30–40 cm and a depth of 15–20 cm feel best. These fine dimensions affect daily experience more than total capacity does, yet they are often overlooked.
Common Mistakes in Choosing a Size
Almost everyone has made these mistakes, and they all stem from "buy the case first, think about size later." They are listed after the process so you can run through them once more before paying:
- Sizing for today's tools with no headroom: full in six months, forcing a second box.
- Counting items instead of volume: power tools and long bars get under-estimated.
- Simply going bigger: too heavy to carry when loaded, so it ends up unused.
- Ignoring external fit: the case will not go through a door, into a cabinet, or into a lift.
- Forgetting the liner: nominal capacity is not net capacity, so it holds less than you think.
- Neglecting stacking standards: different case sizes scatter during transport.
- Buying the case before the tools: the order is reversed, so it does not fit or wastes space.
- Ignoring grip dimensions: enough capacity but too wide or deep, making daily access awkward.
- Overlooking transport constraints: oversized cases cost more to ship and will not fit in the vehicle.
Read the nine backwards and you have the "positive nine": leave headroom, calculate volume, respect the shape, measure clearances, subtract the liner, unify sizes, list first, mind the feel, and check transport. Pass all nine and the size will rarely be wrong.
6.1 A quick counter-check
Before paying, ask: have I calculated the volume of my tool list? Will the case fit through the door or into the cabinet? Can I carry it alone when loaded? If any answer is "had not thought about that," do not order yet. The check need not be perfect — a rough volume and one door measurement beat pure instinct.
Frequently Asked Questions (FAQ)
Q: Surely buying a bigger tool box is always safe? A: No. Oversizing makes it immovable, wastes space, and lets contents crash around in transit, lowering how often you use it. "Tool volume × headroom" giving a just-right size is more practical.
Q: How can I estimate tool volume quickly? A: Fit each tool into an imaginary bounding box, listing power tools and long bars separately; sum them, multiply by 1.3–1.5, then validate with a cardboard-box simulation.
Q: How much does a case marked 30 L actually hold? A: Liner and dividers take roughly 30%, so net capacity is around 20 L. Work backwards from actual net capacity rather than the nominal figure.
Q: What size do I need if power tools are included? A: Drills, angle grinders, and batteries are bulky, so 45 cm and 25–45 L is the starting point; with many accessories, move up toward 60 cm.
Q: How do I unify sizes across several cases? A: Choose different sizes from the same series with stacking locating grooves, so they lock together for transport and are managed as one asset set.
Q: What should I watch for with a vehicle-mounted tool box? A: Measure the clear space in the boot or cabin, choose a size that stands upright and can be secured without blocking the view, and use straps to limit movement.
Q: Do parts bins count against main-cavity capacity? A: List them separately and keep them in the lid or top layer; count their volume separately when totalling capacity.
Q: Does size relate to the protection rating? A: Yes. A larger case has a longer gasket perimeter with less even compression, raising the demands on structure and latches, so confirm sealing and load figures for a large case.
Q: How should two people sharing one case size it? A: Calculate on "the union of both tool sets × headroom," usually a shared case of 60 cm or more with parts-bin layering; if the sets differ greatly, give each person a personal case and add one shared case.
Q: Can I buy a second-hand or stock case by its nominal size? A: Yes, but measure the internal clear dimensions and inspect the latches and gasket, since a used case may be deformed, reducing real capacity and breaking the seal.
Q: Should I leave empty space inside the case? A: Leave around 20%–30%, which gives room to add items and reach in; packed full, the lid will not close properly and tools collide in transit.
Q: Should I buy the case first or decide the size first? A: Reversed: list the tools, calculate volume, fix the size, then buy to that size. Buying first easily leads to not fitting or wasted space.
Q: For many types in small quantities, one large case or several small ones? A: If the tools differ and belong to different people, several standard small cases, one per person, beat one giant case; for central management add one shared large case for common items.
Q: I have few tools but need waterproofing — what size? A: A waterproof case needs minimum structural dimensions for its gasket and latches, so high-protection cases rarely go below about 20 cm; choose the smallest tier, around 30 cm.
Q: How do I decide between headroom of 1.3 and 1.5? A: Use 1.3 if the tool set is stable for six months; use 1.5 if the business is expanding and new project types keep arriving; if unsure, take 1.4 and keep room to add from the same series.
Conclusion and Selection Advice
Tool box size is not a case of "bigger is better"; "just right" causes the fewest headaches. Use the five-step method — list, estimate volume, apply headroom, fix the shape, check load — to turn size into something calculable and verifiable rather than a guess. Remember: it fits, you can reach it, and you can move it — those three together make a good size.
8.1 A checklist for purchasers
Before ordering, confirm: have you listed the tools and estimated volume? Applied headroom of 1.3–1.5? Validated with a cardboard-box simulation? Confirmed the case fits through doors and into cabinets? Checked loaded weight and mobility? Accounted for liner space and stacking standards? Pass all of these and the size is settled.
8.2 Working with a supplier's size system
Prefer a manufacturer with a complete size ladder, so you can add different sizes from the same series later with interchangeable liners and parts bins. KeXin New Materials (kexinMaterials / JUNZHJIA) is one example: its product line covers plastic tool boxes, safety protective cases, sealed cases, hardware tool boxes, machinery parts cases, and parts bins across more than 150 specifications, with mould manufacturing and one-stop OEM/ODM customization, so you can configure a ladder from the 30 cm portable tier up to the 60 cm-plus transport tier against a real tool list, complete with inner trays and a parts-bin system that reduces later expansion cost. This combination of "size ladder plus interchangeable liners" turns sizing from a one-off purchase into smooth expansion as the business grows.
8.3 One-sentence summary
The answer is not "large" or "small" but "the just-right size derived from your tool list." Run the five steps, avoid the nine mistakes, and consider mobility and protection alongside, and the size you arrive at will fit, be reachable, and move.
8.4 Quick-reference size card
- Personal carry or household: 20–30 cm, 5–10 L, hand-carried.
- Personal daily use: 30–45 cm, 15–25 L, hand-carried or shoulder strap.
- Including power tools: 45–60 cm, 25–45 L, shoulder strap or wheels.
- Crew or transport: 60 cm and above, 45 L and above, wheels or a tool cart.
- Always calculate volume × headroom first, then fix the shape, then check weight.
Pin this card to the purchasing desk and it will block most "I just picked a big one or a small one by feel" decisions at the source. There is no standard answer for size, only the relative optimum for your tool set, scenario, and people. Run the process, list the constraints, and the answer appears. If you are still unsure, start with that minimum-viable 40 cm mid-size case and iterate on real feedback, which is more reliable than deliberating on paper.
Sizing ultimately serves the goal of tools being easy to use; when a case is one you are happy to carry every day and can reach into without thinking, its size is right — the balance point where it fits, is reachable, and moves.
For specifications, samples, or a size configuration built from your own tool list, please use the contact form on this site.
Further Reading
- What Is the Difference Between an Industrial Tool Box and an Ordinary Household Tool Box?
- How Should Tool Box Capacity Be Calculated?
- Which Industries Suit a Trolley Tool Box?
- What Kind of Tool Box Suits Industrial Maintenance Personnel?
- Why Does a Tool Box Need a Modular Internal Design?
- Wheeled vs Ordinary Tool Box: Which Should You Choose?