

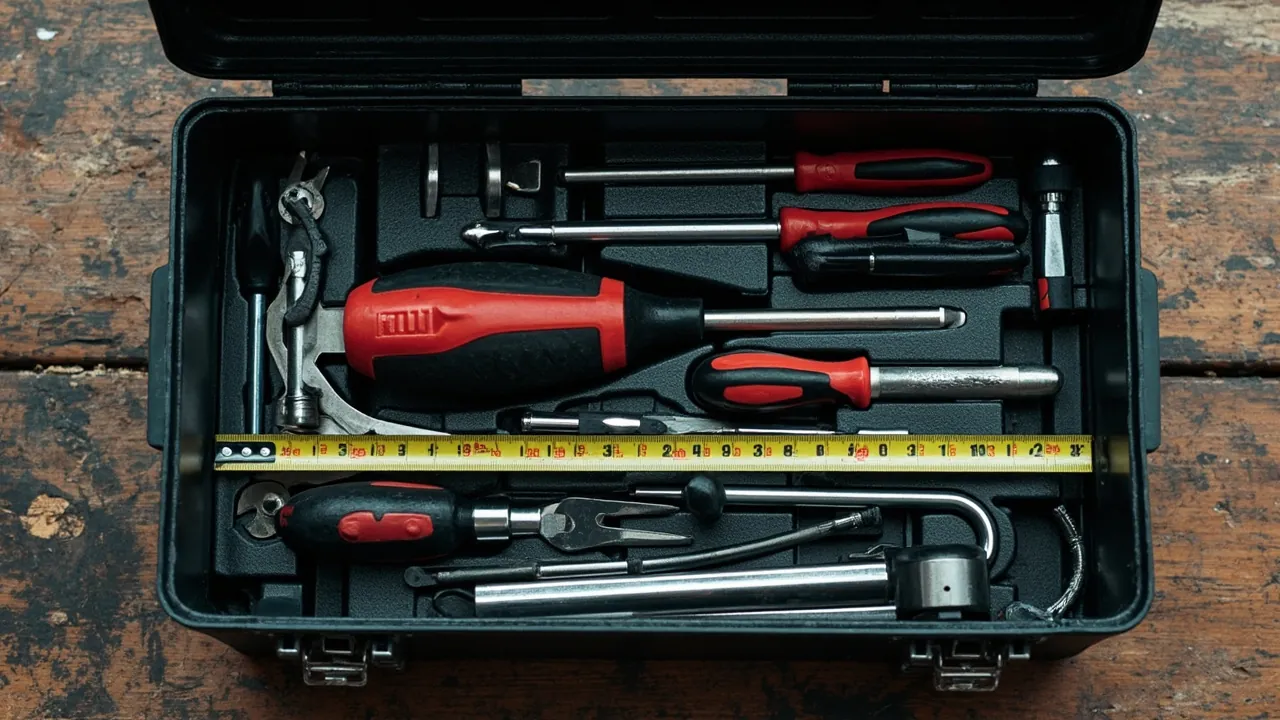
The correct way to calculate tool box capacity is this: **multiply the internal clear dimensions (length x width x height, in centimetres) to get the nominal volume, then subtract the volume taken by dividers, trays, latch mechanisms, and liner foam, and finally apply the real packing efficiency of your actual tool shapes — typically only 50% to 75% — to arrive at usable capacity. In short, tool box capacity = (internal length x internal width x internal height) − structure − foam, and when buying you also work backwards from "tool volume ÷ packing efficiency" to the box volume you need. The sections below walk through the steps and give a calculation template plus several worked examples you can copy directly.
In this article:
- What Tool Box Capacity Means (and Why It Is Not the External Size)
- The Core Capacity Formula
- How to Measure Internal Clear Dimensions Accurately
- Deducting Internal Structure and Foam Occupancy
- Tool Shape Packing Efficiency: Why Nominal Is Not Usable
- How to Estimate Tool Volume
- Unit Conversion and Common Capacity Bands
- Capacity Calculation Points for Different Box Types
- Balancing Capacity, Weight, and Portability
- Calculating the Capacity You Need by Scenario
- A Capacity Planning Checklist Template
- Common Mistakes in Capacity Calculation
- Frequently Asked Questions (FAQ)
- Worked Example: From Tool List to Box Selection
- Conclusion
- Further Reading
What Tool Box Capacity Means (and Why It Is Not the External Size)
Many people treat tool box capacity as whatever number of litres the seller printed on the label, or simply estimate from the outside dimensions, and then find that their tools do not fit. To calculate it properly you first have to separate three concepts:
- External envelope volume: The geometric volume from the outside length, width, and height. It includes wall thickness, reinforcement ribs, latch housings, and other structure, so it is noticeably larger than the space you can actually use.
- Internal clear volume: The volume of the effective loading space with the lid closed, calculated from the clear internal dimensions. This is the basis of capacity calculation, and it is what most serious manufacturers mean when they state "litres (L)."
- Usable capacity: The internal clear volume minus fixed trays, dividers, and liner foam, and minus the space your irregular tools simply cannot fill. This is the effective loading volume.
A typical industry marking such as "20L tool box" usually refers to an internal clear volume of about 20 litres. But if the box has a non-removable two-tier tray and module boxes, or if it is lined with 2 cm of EVA foam, the space left for tools is often only 15–17 litres or less. So the first rule of capacity calculation is: always work from internal clear dimensions and never treat external size as capacity.
For protective and sealed cases, where walls are thick and gasket grooves and latch housings eat into the corners, the gap between outside and inside is even larger. Take the protective cases commonly used by military, police, fire, and electronics-instrument transport: walls, gasket grooves, and ribs can make the internal clear dimension 1–2 cm smaller per side, so the internal clear volume may be only 70%–80% of the external envelope. That is why professional brands such as JUNZHJIA, which offers more than 150 specifications and supports liner customisation, give both external and internal dimensions in their selection material — the difference is significant, and looking only at the outside is seriously misleading.
One more detail that is frequently missed: many boxes state capacity using the maximum internal geometric dimensions, while real loading is limited by latch bosses, handle mounts, and hinges at the corners. The usable loading space is the regular region that remains after those odd protrusions are removed. The conservative approach is to calculate with the "smallest usable rectangle" — better to under-estimate than over-estimate.
The Core Capacity Formula
Capacity is volume at heart. Once you have the internal clear dimensions, the calculation is simple:
Capacity (cubic centimetres, cm³) = internal length x internal width x internal height
Converting to litres:
Capacity (litres, L) = internal length (cm) x internal width (cm) x internal height (cm) ÷ 1000
Example: a tool box with internal clear dimensions of 40 cm long x 28 cm wide x 18 cm high gives:
40 x 28 x 18 = 20,160 cm³ ≈ 20.2 L
That is the internal clear volume. If the box contains a non-removable tray whose own thickness and volume occupy about 1.5 L, and it is lined with 1.5 cm EVA foam (base area 40 x 28 = 1120 cm², thickness 1.5 cm, about 1.68 L), then structure plus foam takes roughly 3.2 L, so the net usable capacity is about 17 L.
One point deserves special attention: if the foam is a "recessed, embedded" type, where tools sit down inside machined pockets, the foam itself occupies almost none of the tool storage space; if it is a "flat base layer," where tools simply rest on top, the foam thickness eats directly into the internal height. Later sections cover this in detail, because it decides whether your tall tools fit at all.
To use the formula flexibly, record capacity in three tiers:
- Envelope capacity (from external dimensions): only for comparing box sizes, never for selection.
- Internal clear volume (from internal dimensions): the baseline for selection, and the nominal litre figure.
- Effective loading capacity (clear volume − structure/foam − packing loss): the tool volume you can actually get in.
These three tiers are useful in purchasing discussions, inventory management, and cross-box comparisons, so it is worth labelling every case in service with a small tag.
How to Measure Internal Clear Dimensions Accurately
Where no data is published, or you want to verify it, a tape measure is the most reliable tool. Measure as follows:
- Internal length: The maximum horizontal distance from one inner wall to the opposite inner wall, avoiding latch housings and hinge bosses, taking the straight-line clear distance.
- Internal width: The distance between the left and right inner walls, perpendicular to the length, again taking the clear space.
- Internal height: The vertical distance from the inner surface of the floor to the inner surface of the lid in the closed state, deducting central latches, handle mounts, and other protrusions; if the lid is recessed or the floor has a tray step, measure the available height separately for each region.
- Irregular shapes: For tapered, round-cornered, or sloped boxes, take the "smallest usable rectangle" for the internal clear dimension — the regular space that can hold tools stably. Be conservative rather than measuring to the outermost edge.
Use a millimetre tape and read to the nearest 5 mm; tools themselves have dimensional tolerances, so extra precision has little meaning. A recommended record format is: internal L x internal W x internal H = ___ cm x ___ cm x ___ cm.
For a two-tier box with an upper tray and a large lower space, calculate each tier separately and add them: upper tray clear volume + lower clear volume = total internal clear volume. Note, though, that while a two-tier box has a large nominal capacity and tools are spread across two spaces, a single oversized tool such as a wrench or a spirit level may be limited by the smallest dimension of one tier, so the actual packing efficiency is lower. When measuring a two-tier box, always record the length, width, and height of each tier rather than looking only at the total.
For round-cornered and chamfered bodies there is one more practical correction: if the four corners have large radii, the effective internal loading region can be approximated by a slightly smaller rectangle. A rough correction is to subtract 0.6–0.8 times the corner radius from each side before multiplying. For example, with an internal length of 40 cm and a corner radius of 2 cm, the effective internal length can be taken as 40 − 2 x 1.5 = 37 cm. This correction is not exact, but it avoids the embarrassment of calculating from maximum dimensions and finding things do not fit, which matters especially for instrument and protective cases.
Deducting Internal Structure and Foam Occupancy
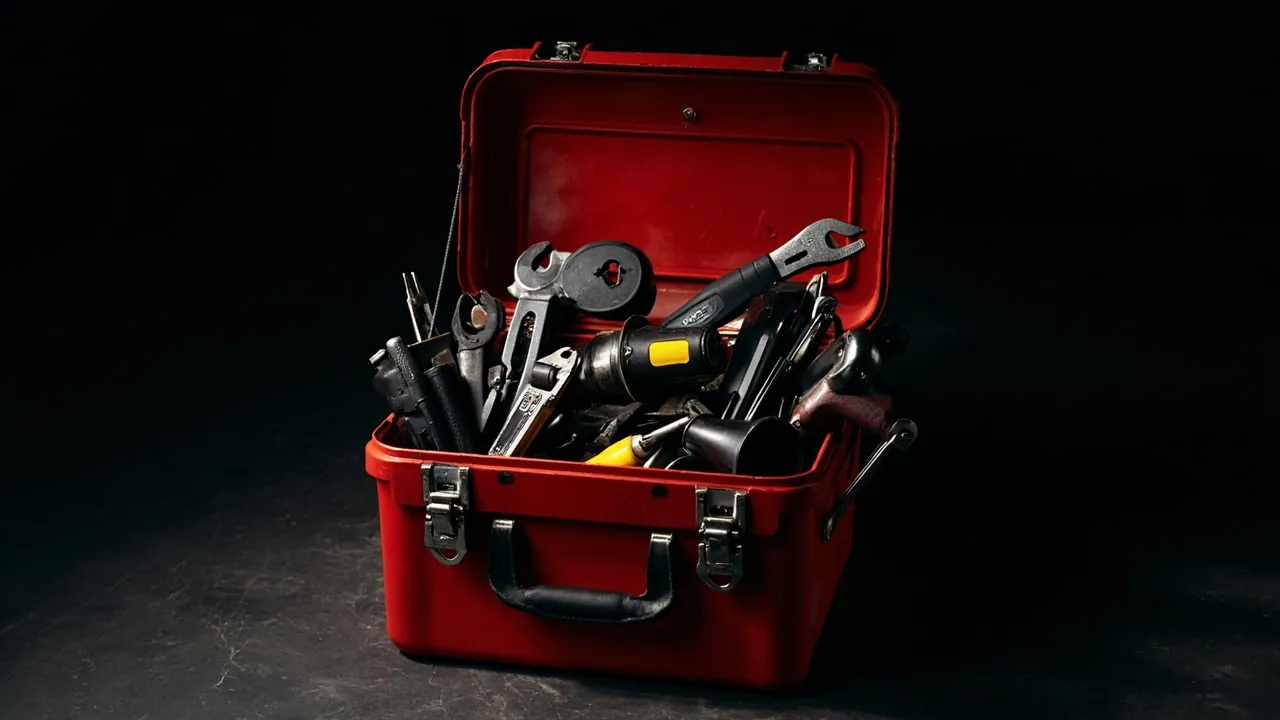
To calculate true usable capacity you must deduct two kinds of "hidden occupancy."
(1) Fixed-structure occupancy
- Non-removable tiered trays and small-parts grids: add up their own external volumes.
- Latch housings, hinge seats, and rib bosses: usually scattered around the edges; individually small but cumulatively 0.3–1 L. Estimate roughly with an "edge occupancy rate" of about 3%–5% (lower for regular rectangular boxes, higher for shaped ones).
- Recessed handles and nameplate seats: count them if they sit inside the loading area.
(2) Liner foam occupancy
Foam behaves differently depending on its form:
- Flat base layer or wall lining: Foam volume = covered area x thickness, deducted directly. For example, 40 x 28 x 1.5 cm of foam is about 1.68 L.
- CNC-machined recesses: The tool sits down into a pocket in the foam; the foam mainly wraps and restrains it, and the tool's space is "exchanged" with the foam, so almost no extra capacity is consumed. In this case do not deduct the whole foam block — only allow for the small compression of usable height from the total foam thickness, typically 1–3 cm.
A practical test: is the tool "resting on the foam" or "sunk into the foam"? Resting on top means the foam thickness eats height and must be deducted; sunk in means almost nothing is deducted beyond the surface layer. When customising liners, brands such as JUNZHJIA typically use machined recesses precisely to preserve as much effective loading space as possible.
Structure occupancy can also be estimated quickly: for a common injection-moulded tool box, the fixed tray plus latch and hinge bosses together take roughly 8%–15% of the internal clear volume; for a thick-walled protective case, ribs and gasket grooves may take another 5%–10%. Keep these percentages in mind and you can judge "roughly how much a nominal 20 L really holds" even without exact data.
Tool Shape Packing Efficiency: Why Nominal Is Not Usable
This is the point most often overlooked in capacity calculation, and the one that matters most in practice. Internal clear volume is a "regular rectangular volume," while your tools come in all shapes — wrenches have long handles, drills have protrusions, parts boxes have rounded corners. Tools cannot fill a box perfectly; gaps are inevitable.
That "proportion you can genuinely use" is called packing efficiency. Typical reference values:
| Tool type / loading method | Typical packing efficiency | Notes |
|---|---|---|
| --- | --- | --- |
| Loose small parts, screws (poured in) | 60%–75% | Granular material flows to fill, few voids |
| Regular block tools, module boxes stacked neatly | 65%–80% | Close to rectangular prisms, high utilisation |
| Mixed hand tools (wrenches, pliers, hammers) loose | 45%–60% | Very different shapes, many voids |
| Fixed in shaped foam recesses | 70%–85% | Foam cut to the tool, optimal space planning |
| Long or odd-shaped tools (spirit levels, pry bars) | 35%–50% | Large single-piece footprint, hard to stack |
The practical reverse formula:
Required internal clear volume ≈ (total tool volume ÷ packing efficiency) + structure and foam occupancy
Suppose the tools you want to carry total about 9 L, loaded loose as mixed hand tools (packing efficiency 55%), with 2 L of structure and foam occupancy:
Required clear volume ≈ 9 ÷ 0.55 + 2 ≈ 16.4 + 2 ≈ 18.4 L
In other words, you should choose a box with a nominal clear volume of at least 19–20 L rather than "seeing 9 L of tools and buying a 10 L box." Leaving 15%–25% headroom is sound engineering practice: it avoids cramming and leaves room for tools you add later.
Packing efficiency can also be raised deliberately: using module boxes to consolidate loose small parts into near-cubes can lift the efficiency of loose items from 50% to over 70%; using recessed foam to "frame" odd-shaped tools into a regular arrangement can push it towards 80%. So packing efficiency is not a fixed value but a variable you optimise through loading method — which is exactly where modular design and custom liners create capacity value.
How to Estimate Tool Volume
Before applying packing efficiency you need a total tool volume. Exact volume can be measured by water displacement, but in practice three estimates are more common:
- Bounding box method: Measure the longest x widest x highest of the tool and multiply to get a "maximum volume." This over-estimates and suits conservative planning, especially for single large tools.
- Equivalent volume method: For regular items (blocks, cylinders) use the matching formula — cylinder V = πr²h, block V = L x W x H. Batch small parts can be put into a parts box of known volume and counted by the box.
- Water displacement (exact): Fill a container, note the level, submerge the tool completely (non-absorbent items only), and read the increase; the difference is the volume. Suitable for accurate loading calculations with precision instruments.
In engineering practice the "bounding box volume" is often multiplied by a 0.6–0.8 "fill factor" to get an "equivalent solid volume," which is then used in the reverse calculation. For example, a drill with a bounding box of 25 x 8 x 20 cm = 4000 cm³ = 4 L, at a fill factor of 0.7, has an equivalent solid volume of about 2.8 L. Estimating this way is fast and does not drift far from reality.
Unit Conversion and Common Capacity Bands
Tool box capacity is usually expressed in litres (L) and cubic centimetres (cm³), where 1 L = 1000 cm³. Some older or imported products use gallons: 1 US gallon ≈ 3.785 L, 1 imperial gallon ≈ 4.546 L. Converting everything to litres and to internal dimensions in centimetres avoids misjudgement from mixed units.
By internal clear volume, common tool boxes fall roughly into these bands:
| Capacity band | Internal clear dimensions (approx.) | Typical use | Representative form |
|---|---|---|---|
| --- | --- | --- | --- |
| Micro 1–5 L | Around 20 x 12 x 8 cm | Personal repair kit, jewellery/eyewear tools, first-aid items | Portable small box, belt pouch |
| Small 5–12 L | Around 30 x 20 x 12 cm | Household hardware, electrician's carry kit, camera accessories | Small hand case, parts-box set |
| Medium 12–25 L | Around 40 x 28 x 18 cm | General maintenance, plumbing and electrical, outdoor work | Plastic tool box, protective case |
| Large 25–50 L | Around 50 x 35 x 25 cm | Professional technicians, instruments, multiple categories | Large protective case, trolley case |
| Extra large >50 L | Around 60 x 40 x 30 cm | Engineering teams, military and police, equipment assembly | Wheeled / trolley protective case |
Note that the internal dimensions in the table are typical ranges; the actual figure for a specific model comes from measurement or the manufacturer's data. Different brands with the same "litre" figure can have quite different internal dimensions, because it depends on the external proportions — a flat case versus a tall case. When buying, look at internal length x width x height first, not just litres. Two 20 L cases, one 45 x 30 x 15 (flat) and one 35 x 25 x 23 (tall), hold completely different "longest tools": the flat one suits laying long tools out, the tall one suits upright storage.
Capacity Calculation Points for Different Box Types
- Rectangular flat case: Straightforward length x width x height.
- Tapered or sloped case: Take the smallest usable rectangle and calculate from the minimum internal length, width, and height; do not use the larger dimensions at the upper edge.
- Round-cornered or heavily chamfered case: Subtract 0.6–0.8 times the corner radius from each side before multiplying (see the correction above).
- Wheeled or trolley case: Wheels and the handle often occupy space at the bottom or back; deduct this "dead zone" from usable capacity, and note that a collapsed handle may still protrude into the loading area, so measure height with it pressed fully down.
- Multi-drawer case: Calculate each drawer's clear volume and add them, but remember that the smallest side of each drawer limits the largest single item it can hold; a large total does not mean long items fit.
- Protective case (thick wall): The gap between outside and inside is the largest; always use the manufacturer's internal dimensions, and when self-measuring, focus on deducting gasket grooves and ribs.
Balancing Capacity, Weight, and Portability
Bigger capacity is not automatically better. The box has its own weight, and the total with tools inside affects handling:
- A plastic case typically weighs 0.5–3 kg on its own, increasing with capacity; fully loaded, the total may reach 10–25 kg.
- The comfortable limit for one-handed carrying is about 8–12 kg; beyond that, choose a shoulder strap, trolley handle, or wheels.
- Airlines and couriers limit single-piece weight and dimensions; outbound instrument transport often requires a single case of 23–32 kg or less and a three-side sum of 158 cm or less, common checked-baggage limits, so leave margin when choosing.
So when calculating capacity, also calculate "is the loaded total weight within what can actually be carried." A twenty-person engineering team and a single electrician define "suitable capacity" completely differently: the former can consolidate into a 50 L wheeled case, while the latter works more efficiently with a 12–15 L hand case. Capacity planning is essentially a compromise between "loading requirement" and "carrying conditions."
Calculating the Capacity You Need by Scenario
What counts as "enough" differs by scenario. Here is the reverse logic for each:
- Occasional household repair: Total tool volume is small — a screwdriver set, pliers, tape measure, glue gun — so 8–12 L is enough; reversing at 55% packing efficiency gives a clear volume of about 10–14 L, so choose a small case.
- Plumbing and electrical contractors: Drills, impact drivers, cable reels, and pipe wrenches are bulky; total tool volume is often 12–18 L, and at 50% packing efficiency you need 24–36 L clear, so choose a medium-to-large protective case.
- Outdoor work and survey: Besides tools you also carry sample bottles, data loggers, and batteries, with emphasis on water and dust resistance (an IP67-rated body is more appropriate); take total volume plus 20% headroom and choose 25–40 L.
- Precision instrument transport: Cameras, survey instruments, and sensors are usually fixed in recessed foam, so packing efficiency is high (75%+), but each piece is delicate and needs its own pocket, so capacity is calculated from "pocket layout" rather than volume; 20–50 L protective cases are typical, and for demanding transport MIL-STD-810H is used as a product-line environmental test basis rather than as a military certification.
- Military, police, fire, and emergency response: Equipment is varied and numerous and must be reached fast, so the tendency is towards large capacity with modular dividers; wheeled or trolley cases above 50 L are common.
When calculating, make a "tool list table": tool name / external dimensions (L x W x H) / estimated volume / whether it needs separate restraint. Add up the volumes, reverse through packing efficiency, and you are far more reliable than choosing by feel.
A Capacity Planning Checklist Template

Before buying, fill in the following steps and you will rarely go wrong:
- List every tool to be carried, enter L x W x H, and use the bounding box method to get each one's volume.
- Single volume x 0.7 (fill factor) ≈ equivalent solid volume; sum them to get "total tool volume."
- Decide the loading method and fix packing efficiency: loose 0.55 / module boxes 0.70 / recessed foam 0.80.
- Required clear volume = total tool volume ÷ packing efficiency + structure and foam occupancy (roughly 10%–15% of clear volume).
- Add 15%–25% headroom to get the "target nominal clear volume."
- Check that the longest and tallest single items are smaller than the internal length and height (including foam thickness).
- Estimate whether the loaded total weight is within carrying capability; if not, move to a wheeled or trolley case.
Record the conclusions of this table — target clear volume, internal length, internal height, total weight — in the purchase request, then compare against manufacturers or selection material.
Common Mistakes in Capacity Calculation
- Using external dimensions: Walls, gaskets, and ribs consume 20%–30% of the space, so the result is badly over-estimated. Always use internal clear dimensions.
- Looking only at litres, not internal dimensions: Two 20 L cases, one flat and one tall, differ enormously in the longest tool they accept. Long-handled tools need internal length; tall tools need internal height.
- Ignoring foam occupancy: Laying 2 cm of foam into a case with 18 cm of internal height eats 11% of the height at once; recessed foam can be ignored. Distinguish the foam form.
- Assuming 100% packing efficiency: Loose hand tools really fill only about half the space; skip the efficiency factor and nothing will fit.
- Leaving no headroom: Packing to 100% makes the lid hard to close, compresses the foam, and makes items hard to reach. Leave 15%–25%.
- Treating a two-tier box as one space: The upper tray is small, and oversized tools will not go into a single tier; check the smallest dimension of each tier.
- Mixing units: Inches, gallons, and centimetres together invite error. Standardise on cm and L, with 1 L = 1000 cm³.
- Forgetting total weight: The capacity is enough but the loaded box is too heavy to move; switch to a wheeled or trolley case, or split the kit.
Frequently Asked Questions (FAQ)
Q: The box is marked 20L, so why can I not close it once I have 15L of tools in it? A: A nominal 20 L is usually the internal clear volume, but fixed trays, parts grids, or laid-in foam inside can occupy 2–5 L; on top of that hand tools are irregular and packing efficiency is only 50%–60%, so the tool volume you can pack tightly is often only about 60% of the clear volume. So struggling to close at "15 L of tools" is normal for loose loading. Plan on 55%–70% of clear volume, and consider recessed foam for higher packing efficiency.
Q: How do I work out whether long tools such as long wrenches or spirit levels will fit? A: These depend on "internal clear length" and "minimum pass-through height," not on total capacity. Measure the tool's longest dimension and compare it with the internal length, remembering to deduct the end space taken by latch housings and hinge bosses. If the tool must lie flat, also confirm that the internal height is sufficient, foam included. If a single item exceeds the internal length, no amount of extra capacity will help; consider a longer or split body.
Q: Does foam count as occupied capacity or not? A: It depends. Foam laid flat on the floor or attached to the walls occupies space directly by area x thickness and must be deducted. Foam with CNC-machined recesses lets the tool sit inside the pocket and "exchange" space with the foam, so it takes almost nothing extra; only 1–3 cm of surface thickness is deducted. The rule of thumb: tool resting on the foam, deduct; tool sunk into the foam, mostly do not deduct.
Q: Is there a quick way to estimate capacity without measuring every time? A: Yes. Measure the internal clear dimensions once, calculate the clear volume (L x W x H ÷ 1000) and write it on the lid. After that, estimate "usable load ≈ clear volume x packing efficiency (0.55 loose, 0.75 with module boxes) − structure and foam occupancy." Build the habit of keeping a tool list and noting clear volumes, and both selection and top-up purchases get faster.
Q: How do I calculate the total capacity of a two-tier tool box accurately? A: Calculate each tier independently and add them: upper tray clear volume + lower clear volume = total internal clear volume, then deduct each tier's structure and foam occupancy. But the key is not the total — it is that the longest or tallest tool is limited by the smallest dimension of whichever tier it sits in. So when choosing a two-tier box, first decide which tier each single item goes into and whether that tier's clear dimensions are sufficient, then talk about total capacity.
Q: How do litres and cubic centimetres convert, and what if an imported box is marked in gallons? A: 1 L = 1000 cm³; internal clear volume = length (cm) x width (cm) x height (cm) ÷ 1000 gives litres. If an imported box is marked in gallons, 1 US gallon ≈ 3.785 L and 1 imperial gallon ≈ 4.546 L. Convert everything to litres and internal dimensions in centimetres to avoid misjudgement from mixed units.
Q: Why can some 20L boxes take long tools while others cannot? A: Because the litre figure only reflects total volume, not the internal proportions. A flat case with a large internal length but small internal height suits laying long-handled tools out but cannot stand anything upright; a tall case with generous height suits upright storage but not very long items. Always look at internal length, width, and height together rather than litres alone.
Q: What should I watch for with a wheeled trolley case? A: Wheels and the handle occupy a "dead zone" at the bottom or back, so deduct it from usable capacity; a collapsed handle may still protrude into the loading area, so measure internal height with it pressed fully down. Wheeled cases are also heavier on their own, so check the loaded total against pushing and check-in limits at the same time.
Q: Why do boxes from different brands with the same nominal 20L hold such different amounts? A: Because the litre figure represents only the sum of internal clear volume; it says nothing about internal proportions, wall thickness, or the space taken by latches and ribs. A thick-walled protective case sacrifices some internal space for strength and sealing, such as IP67, while a thin-walled household product looks more generous but protects and seals poorly. Compare internal L x W x H, structural occupancy, and the foam approach, not just litres, and measure back using the method in this article when necessary.
Worked Example: From Tool List to Box Selection
Here is a realistic case worked through end to end so you can follow along.
Background: A plumbing and electrical maintenance technician with 12 frequently used tools wants a better box. First, list the tools and measure their bounding dimensions:
| Tool | L x W x H (cm) | Bounding volume | Fill factor | Equivalent solid volume |
|---|---|---|---|---|
| --- | --- | --- | --- | --- |
| Drill | 25 x 8 x 20 | 4000 cm³ | 0.7 | 2800 cm³ |
| Impact driver | 22 x 7 x 18 | 2772 cm³ | 0.7 | 1940 cm³ |
| Adjustable wrench | 30 x 5 x 2 | 300 cm³ | 0.8 | 240 cm³ |
| Pipe wrench | 35 x 8 x 4 | 1120 cm³ | 0.8 | 896 cm³ |
| Screwdriver set (box) | 20 x 12 x 5 | 1200 cm³ | 0.85 | 1020 cm³ |
| Tape measure | 14 x 7 x 4 | 392 cm³ | 0.8 | 314 cm³ |
| Pliers x2 | 20 x 6 x 2 | 480 cm³ | 0.8 | 384 cm³ |
| Cable reel | 18 x 18 x 10 | 3240 cm³ | 0.7 | 2268 cm³ |
| Electrical tape x3 | 12 x 6 x 6 | 432 cm³ | 0.8 | 346 cm³ |
| Test pens and small items | boxed 800 cm³ | 800 cm³ | 0.8 | 640 cm³ |
| Safety glasses | 18 x 8 x 6 | 864 cm³ | 0.7 | 605 cm³ |
| Spare parts box | 15 x 10 x 6 | 900 cm³ | 0.85 | 765 cm³ |
Total equivalent solid volume ≈ 2800 + 1940 + 240 + 896 + 1020 + 314 + 384 + 2268 + 346 + 640 + 605 + 765 = 12,218 cm³ ≈ 12.2 L.
Step 1: fix packing efficiency. The technician consolidates small items into module boxes and leaves large items loose, so take 0.65. Required clear volume ≈ 12.2 ÷ 0.65 ≈ 18.8 L.
Step 2: add structure and foam occupancy. Choosing a box with one tray and 1.5 cm of flat EVA takes about 12% of the clear volume: 18.8 x 1.12 ≈ 21.1 L.
Step 3: add headroom. Allow 20%: 21.1 x 1.2 ≈ 25.3 L.
Conclusion: Buy a box with a nominal internal clear volume of at least 25 L, and check that the longest single item (the pipe wrench, 35 cm) is shorter than the internal length and that the tallest (the cable reel, 18 cm including foam) is lower than the internal height. A medium-to-large protective case of 50 x 35 x 25 cm (clear volume roughly 26–28 L) is the safest choice: it covers today's kit and leaves room to grow.
This example shows why 12 L of "tool volume" actually needs a 25 L box — the gap comes from packing efficiency and occupancy stacking up, and skipping the calculation means buying too small. Had the technician bought a nominal 15 L box on instinct, at 0.65 efficiency it would hold only about 8–9 L of equivalent tools, so 12.2 L would certainly burst it and the lid would not close. Conversely, switching to recessed foam and lifting efficiency to 0.80 drops the requirement to roughly 12.2 ÷ 0.80 x 1.12 x 1.2 ≈ 20.5 L, so a mid-size case of just over 20 L would do — which is the real leverage that loading method has over capacity. Selecting a box is not about buying ever bigger; it is about calculating accurately first and then raising packing efficiency through modular design and liners.
Conclusion
Tool box capacity is not something you settle by glancing at a litre figure; it is a repeatable calculation: measure internal clear dimensions → multiply for clear volume → deduct structure and foam → reverse through packing efficiency → add 15%–25% headroom → check single-item dimensions and total weight. Keep two error-prone points in mind — external dimensions are not internal capacity, and nominal capacity is not usable capacity, since it must be multiplied by a packing efficiency of 50%–75%. The great majority of "bought too small, nothing fits" problems come from ignoring packing efficiency and the hidden deduction for foam and structure, not from the nominal litre figure itself.
Making capacity calculation a routine brings extra management benefits too: label every case with its clear volume and load list, and when the team changes or items are reallocated between projects you can judge at a glance whether a case is big enough, avoiding duplicate purchases and confusion on site. For instrument transport that needs precise restraint, prefer recessed foam to raise space utilisation and protection together; for multi-category professional work, a protective-case range such as JUNZHJIA, which offers more than 150 specifications and supports liner customisation, lets you work backwards from the real tool list. Turning "calculate the capacity" into a standard action markedly reduces the odds of buying the wrong box, of things not fitting, and of lids that will not close — and it keeps equipment management orderly. As teams grow and tool lists change frequently, this template particularly prevents repeat purchasing based on impressions, and puts every case's real utilisation on the record. If you would like help sizing a case against your own tool list, please use the contact form on this site and we will come back to you.
Further Reading
- How Should You Choose a Tool Box Size?
- What Are the Common Types of Tool Boxes? How to Choose by Scenario
- What Is a Tool Box? Main Types, Materials, and Applications
- What Kind of Tool Box Suits Industrial Maintenance Personnel?
- How Should You Select the Internal Foam of a Tool Box?
- Tool Box Modular Internal Design: Making Every Item Count