

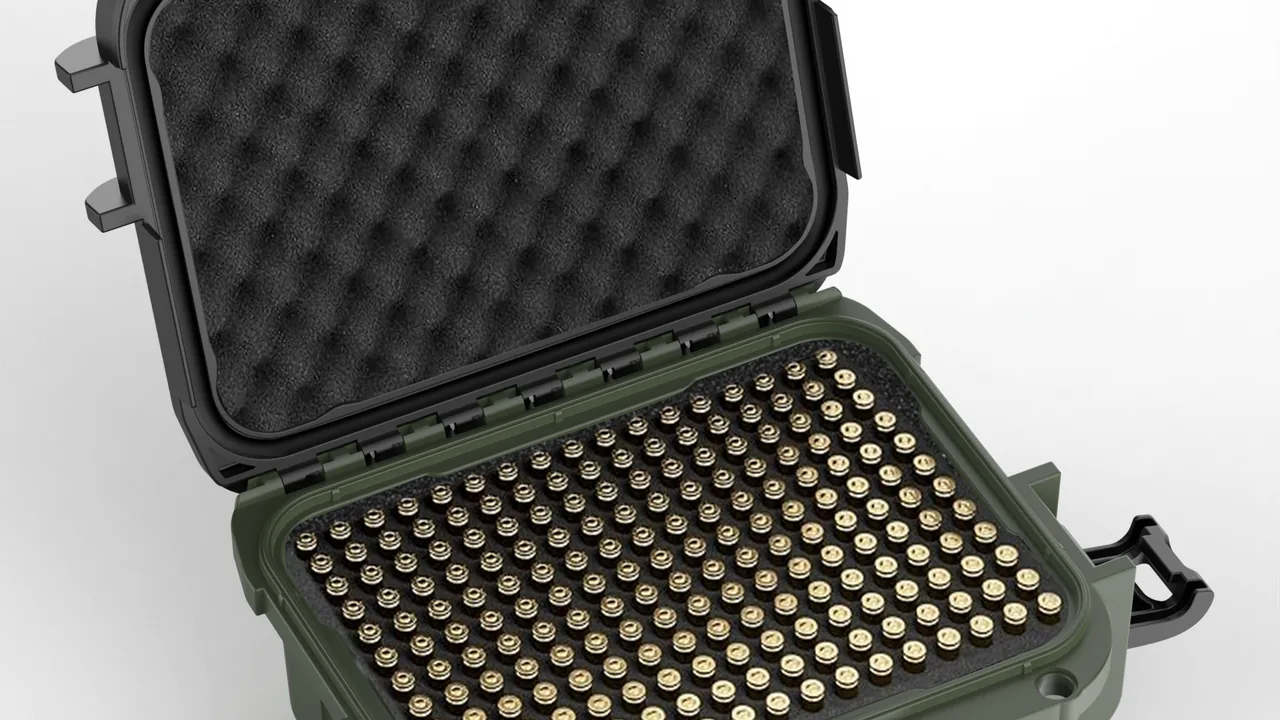
Among soft carriers for complete tool sets, the tool roll is a remarkably restrained object. It has no rigid frame, no lock, and rarely any elaborate divider hardware. Unrolled, it is simply a rectangular panel carrying a rank of pockets; coiled, it is tied shut with a cord. That austerity is exactly why a tool roll achieves storage density few other formats can match. Coiled, its cross-section approaches a cylinder with no projecting corners, so it slides into the gap beside a machine, the space behind a cabinet, the void under a vehicle seat or the side pocket of a pack, positions where a regular box simply will not go.
The same austerity creates two persistent difficulties. First, weak location: with no rigid compartments inside, whether each tool stays in its place depends entirely on pocket sewing accuracy and mouth restraint. Second, heavy loss exposure: once unrolled, every tool is exposed at the same time, and if the wrap-up at the end of a job is hurried, a single omission goes unnoticed. JUNZHJIA approaches custom tool roll projects by attacking those two points directly, solving compactness through geometry and stitching, and solving loss through mouth design and a numbering system. This discussion stays with the container: roll body, pockets, ties, fasteners and marking.
Why a Tool Roll Packs a Full Set into a Small Volume
The storage efficiency of a tool roll becomes clear in geometric comparison with a rigid box. A hard toolbox loses usable volume to liner thickness, wall thickness and tray structure, so the space actually available for tools is only a portion of the external envelope; and once the footprint grows, the container no longer fits into tight surroundings at all. A tool roll works differently. It arranges tools in parallel along one axis, separated only by a single ply of fabric, so radial dead space almost disappears and storage density per unit volume rises sharply.
The second advantage is compliance. A soft roll can be squeezed, bent and deformed to the shape of the space it occupies, settling into a narrow cavity instead of demanding a clean rectangular volume of its own. That matters in equipment maintenance kits, where a technician often needs one specific tool family and can tuck the roll into whatever clearance the equipment case still offers rather than opening a dedicated package.
The third advantage is mass. With no wall, liner, hinge or lock, a tool roll is usually the lightest carrier for a given tool load, which counts heavily at sites reached on foot or by climbing. The costs are equally clear. A tool roll has almost no compression resistance: load it under a heavy object and the pockets flatten, pushing tools into each other. It also has no sealing capability and can only resist splashes. Estimating the trade between capacity and mass follows the reasoning set out for calculating toolbox capacity, converting a tool list into a required flat area and a coiled diameter.
Roll Geometry: How Flat Dimensions Determine Coiled Diameter
A tool roll design starts from two dimensions: the unrolled length and width, and the coiled diameter. Unrolled length sets the longest tool the roll can carry, normally taken from the measured length of the longest item plus an allowance above the mouth. Unrolled width sets how many pocket positions fit, and that relates directly to tool shaft diameter. Coiled diameter is not a free variable; it is a derived result of those two dimensions plus fabric thickness and tool diameter.
A simplified model estimates diameter by summing the diameters of all inserted tools, adding the accumulated fabric thickness per layer, and treating the total as the coil circumference, from which diameter follows. The model exposes a frequently ignored rule: coiled diameter grows roughly linearly with the number of tools carried and cannot be squeezed small at will. When a buyer specifies a maximum coiled diameter, that figure must be reconciled against the tool list, because no amount of fabric engineering can satisfy an impossible target.
The core insert is the detail that governs coiled form. Without one, a soft roll drifts off centre as it winds, producing a cone that is thick at one end and thin at the other: awkward to tie and prone to springing open. Common practice adds a semi-rigid narrow spine at the starting end, or sews a sleeve that accepts a small-diameter tube, so winding begins from a stable axis. A larger core reduces the bending stress on the innermost fabric and produces fewer creases, but it enlarges the overall diameter. In a small roll the inner ply sits permanently at a tight bend radius, which makes flex fatigue resistance of both fabric and coating a selection requirement rather than a nicety.
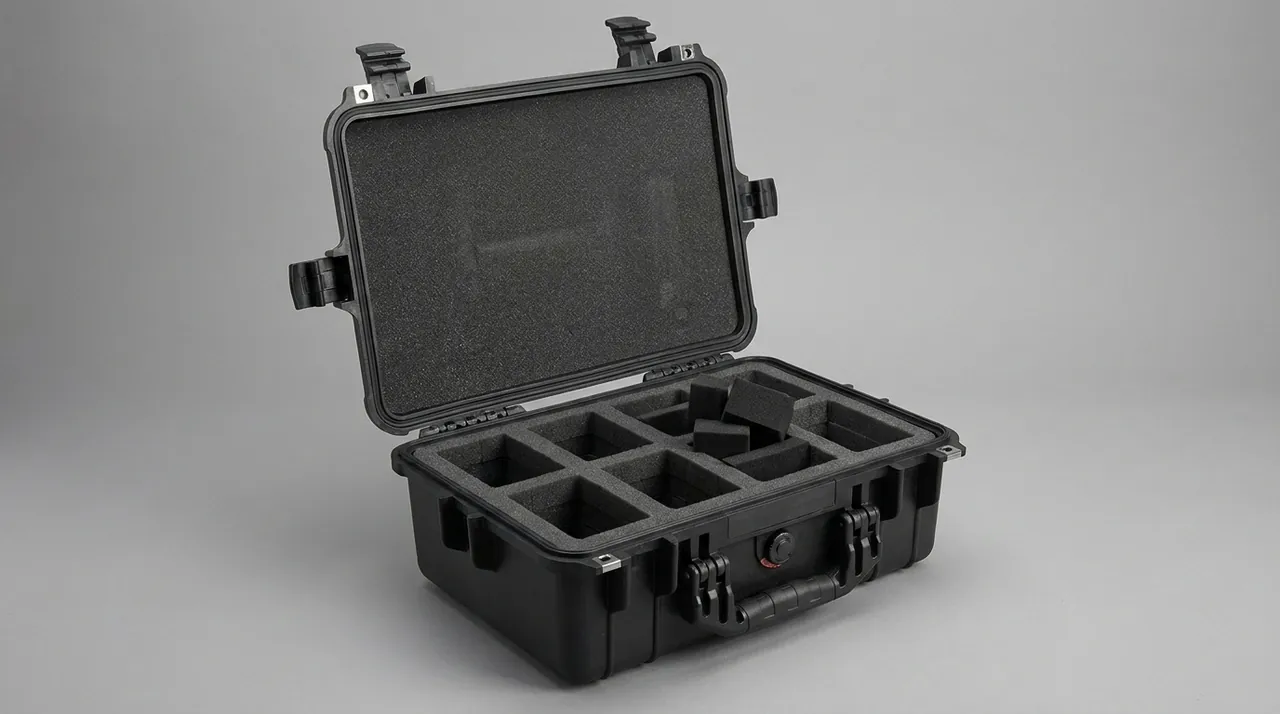
Pocket Rank Layout: Uniform, Stepped and Grouped
The pocket rank is the functional heart of the roll, and its layout determines both how naturally tools come out and how evenly the roll wraps. A uniform layout is the most obvious: every pocket the same width at a fixed pitch, well suited to sets whose shafts share a diameter, such as a matched hex key series or a family of driver shanks. Uniform layout keeps sewing simple and produces even thickness when coiled, but it wastes space when diameters vary widely and grips poorly at both extremes.
A stepped layout increases pocket width from one end to the other, placing large pockets at the outer wrap and small ones at the inner wrap. Because each layer's circumference then matches the radius it occupies, the coiled cross-section approaches a true circle, coiled diameter shrinks and internal stress spreads more evenly. The price is a fixed pocket order: tools cannot be rearranged freely, and replacing one model may leave a pocket that will not accept or hold the newcomer.
Grouped layout is the compromise. The set is divided by usage frequency or function into several groups, each internally uniform or stepped, with a wider spacer band between groups. The spacer serves double duty: it acts as a fold line so the roll turns along a designed position, and it visually separates zones to make counting easier. Grouping is particularly useful where maintenance tasks are dispatched in batches, because only the relevant group needs to be unrolled while the rest stays furled. Whichever layout is chosen, pocket width tolerance must be held tightly, since accumulated variation shows up as visible misalignment and bulging once the roll is wound.
Loss Prevention One: Pocket Depth and Elastic Gripping
The first line of loss defence is the pocket mouth. A shallow pocket lets tools slide out when the roll is unrolled, turned or inverted, while an over-deep pocket sinks the head out of reach of the fingers. The engineering answer derives depth from the exposed section of the tool: keep enough gripping length above the mouth for the hand, and fully enclose everything below, so that no axial play remains when the roll is furled.
Gripping force comes from three constructions. A tapered mouth is narrower at the opening than the pocket body and holds the tool through fabric elasticity, which is simple to make but limited in force and tends to relax with repeated insertion. An elastic band added across the throat presses on the shaft once inserted, with grip determined by elastic recovery and pre-tension, and it is the most stable performer, though the band itself ages and loses rebound. A folded stiffened lip turns a firmer strip into the mouth to form a geometric clamp that does not rely on material elasticity; it lasts longer but adds insertion resistance.
The three can be combined in one roll. Put the slimmest, most escape-prone items behind elastic banding, put frequently cycled tools behind tapered mouths, and put thicker shafts behind stiffened lips. To judge whether a mouth design is adequate, unroll the carrier completely, invert it and shake gently, checking for any tool that drops free; then coil it and shake laterally, checking for tools that migrate axially out of the ends. Neither test needs equipment, yet between them they expose most mouth design faults.
Loss Prevention Two: Tethers, Ties and Numbering
The second line of defence links tools to the roll body. The most direct method is a tether: a small webbing loop beside the pocket, paired with an elastic or nylon cord joining the tool's tail to the roll. Tethers suit high-value, drop-prone small items such as a speciality wrench, a torque head or a test probe. Cord length needs control. Too long and it tangles into a knot every time the tool is inserted; too short and the tool cannot be withdrawn fully, which defeats the purpose. A workable rule sets cord length as a sensible multiple of pocket depth and adds a stowage clip near the mouth so the cord lies flat when the tool is not in use.
Ties handle closure of the roll itself. Once furled, the roll must be held by a tie, or it springs open the moment it is released. Tie formats fall into single-point, two-point and encircling bands. A single-point tie is simplest but lets layers shift under load. Two-point ties at both ends stabilise the coil far better. An encircling band wraps the whole circumference and closes with a buckle or hook-and-loop tape, giving the easiest open and close but requiring extra hardware. The tie must attach through a sewn webbing loop with bar-tack reinforcement rather than being stitched straight into the panel, which would seed a tear point where stress concentrates.
Numbering is the most overlooked and most effective element in a loss-prevention system. Print a fixed number on each pocket position and supply a tool list keyed to the same numbers; before furling, a glance along the pockets reveals any gap instantly. Where a roll is shared across a crew, numbers can also tie into an issue ledger, creating traceability. The numbering scheme has to be fixed at the design stage alongside the pocket layout, because retro-fitted labels peel off and cannot be mapped precisely onto the holder count. Where a roll is used together with a milled rigid liner, align the two numbering systems, following the approach described for EVA foam insert customisation.
Loss Prevention Three: Compression and Locking in the Coiled State
The coiled state is the weakest link in the chain, because every tool is wrapped inside at once and any item with marginal grip can migrate out of the open ends. Compression and locking design solves three problems: the roll must not unwind on its own, tools must not travel inside it, and the coiled form must leave no visual blind spot.
The first problem depends on tie pre-tension and fabric friction. As the middle of the roll winds, friction between plies becomes the main force holding the coil tight, which means the tension applied during the first turns effectively sets how stable the finished bundle will be. A common solution runs a longer tightening strap at the tail, giving the operator enough leverage to draw the last turn tight before fastening. That strap doubles as a carry handle.
The second problem depends on pocket arrangement working with the core. If all tools face the same direction with mouths outward, each turn presses the previous layer down and axial play is minimal. If mouth directions alternate, the coiled body develops local voids where tools can shift. Consistency of orientation is therefore a structural requirement, not a tidiness preference.
The third problem concerns whether a loss check is even feasible. If both ends of the coil are completely closed, the operator cannot verify a full set without unrolling everything, and unrolling everything takes too long. A practical compromise leaves an observation zone at one end, or aligns all tool tails to one side so a short length remains visible when furled. Counting then becomes a matter of checking that the tail row is flush, an approach far faster for a crew to sustain than item-by-item verification, and therefore far more likely to survive daily routine.
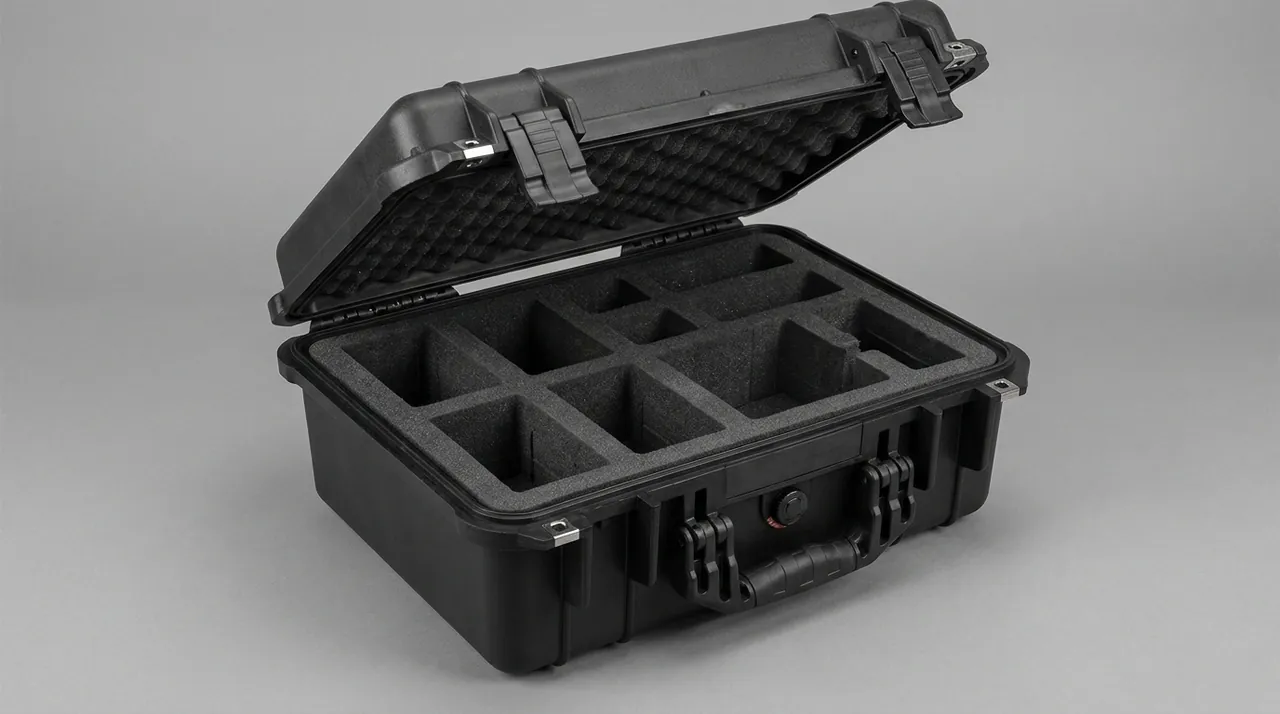
Fabric Choice: Waxed Canvas, Coated Polyester and Leather
Because the form is so reduced, fabric all but defines the character of a tool roll. Three families dominate, each with clear boundaries that should be weighed against environment, cleaning method and budget. Waxed canvas is the traditional option: cotton duck impregnated with wax gains splash resistance and shape retention, feels substantial, resists wear and tolerates light oil, and keeps its coiled form without slipping. Its drawbacks are mass and cleaning. Waxed canvas is heavy, the wax can migrate onto tools when warm, and it cannot be machine washed, only wiped and spot re-waxed, while splash performance declines over years of service and needs periodic renewal.
Coated polyester delivers the best value for industrial use. A polyester base cloth with PU or PVC coating gives acceptable splash resistance, oil tolerance and UV stability, at low mass and controllable cost, and it can be wiped clean. Specification should state base denier, whether the weave is ripstop and the coating chemistry, because quality varies enormously within this category. Its weaknesses are heat and flex fatigue: some coatings soften and turn tacky when hot, and repeated coiling can crack the coating along crease lines. Where a roll will live inside a vehicle, confirm the temperature window of both fabric and any foam component, using the reasoning in toolbox heat deformation in a car.
Leather is the longest-lived and most expensive of the three. Full-grain leather resists abrasion and cutting, sheds fine debris, and over time moulds itself into a soft, tool-conforming shape. Its drawbacks are mass, cost and maintenance in damp conditions: leather that gets wet must be dried promptly and oiled, or it hardens, cracks and grows mould. Rather than choosing the most durable option on principle, match the fabric to the corrosive media present on site and the cleaning frequency, and decide on lifetime cost rather than purchase price.
Construction: Binding, Core Insert and Sewing Sequence
Tool roll construction has a special constraint: the object's primary motion is repeated winding, so every seam and edge treatment has to tolerate continuous flexing. Binding comes first. An unbounded folded edge sheds yarns as the roll is worked, whereas edge binding with topstitching wraps every yarn and adds abrasion resistance. Binding tape should match the body fabric or come close to it, because a mismatch in shrinkage produces a wavy edge after washing or damp exposure.
The core insert is the second point, as described earlier: winding needs a stable starting axis. The spine is normally sewn into the laminated layers at the starting end, made from stiff webbing, PP strip or thin sheet. Its length should be slightly shorter than the roll width so the ends do not punch through the binding, and its corners must be rounded to avoid pressing sharp points into the fabric.
Sewing sequence is the third point, and it is where process planning most affects finished quality. A sensible order completes the pocket rank and mouth treatment first, sews the pocket assembly to the base panel next, then binds the outer perimeter, and finally installs ties, fasteners and marking. Binding before the pockets would let later operations crush and misalign the bind seam; installing ties too early lets them get caught in subsequent steps and forces rework. The sequence belongs in the work instruction rather than in a sewer's discretion, because in volume production the variation between sequences gets amplified.
Unrolled as a Work Surface: Lay-Flat Stability and Visibility
The distinctive value of a tool roll is that, unrolled, it is simultaneously a container and a work surface. The technician lays the panel on the ground, a bench or a mat beside the equipment, tools stand in a single row, retrieval travel is minimal and no rummaging is needed. Making that surface genuinely usable requires dedicated attention to lay-flat stability and tool visibility.
Lay-flat stability means the panel conforms to the surface without curling or lifting at the edges. Three factors govern it: the coiling memory of the fabric, the stiffness of the core spine, and the distribution of mass across the panel. Fabric held coiled for a long time develops a set, and the ends lift when the roll is opened. Remedies include choosing a weave less prone to coiling set, adding weighted or thicker binding at both ends, and avoiding long-term storage in the fully furled state. In normal use a roll should be kept flat or half-rolled and furled tightly only for transport and carry.
Visibility means the operator can read every pocket at a glance once the panel is flat. Improvements come mainly from orientation and colour contrast: mouths facing the same way with tool heads aligned into a neat row; a binding or webbing strip at the mouth in a colour that contrasts with the body to outline each position; and frequent tools placed in the outer segment nearest the operator. None of this adds cost appreciably, yet all of it shortens search time. Visibility also drives counting efficiency, which is the same underlying logic expressed in the numbering system described above.
Carrying Options: Tie Straps, Hanging Loops and External Mounts
How a tool roll is carried sets its working radius. Unlike a tool bag, it has no built-in handle or shoulder strap, so the carry interface is usually added on. The commonest approach uses the tightening tie as a handle: furled and bound with a wider padded webbing strap, the roll is carried by gripping the strap. The structure stays simple, but the grip point moves around and the coil rotates slightly in the hand, which makes long carries uncomfortable.
The second approach adds hanging loops. Several webbing or metal loops along one edge let the roll hang from a wall hook, an equipment side panel or a hook rail on a service cart. Loop placement must account for the loaded centre of gravity, normally with a suspension point near each end so the roll hangs level; single-point suspension causes tilt and stretches the fabric.
The third approach is an external mount, designing the roll to attach to a belt, a back panel or a webbing-system carrier. This demands extra attention to interface compatibility and load direction: loop spacing and width must match the host carrier, the mounted roll must not interfere with body movement, and the attachment must carry the dynamic pull of a full load. Because external mounting usually signals a demanding environment, mount points should be reinforced and, where necessary, use metal rather than stitched-only construction.
Oil Contamination and Cleaning: Where a Tool Roll Gets Dirty
A tool roll inevitably meets machine oil, grease, cutting fluid and swarf, and cleanability is one determinant of whether it survives long service. The dirty areas follow a clear pattern. Pocket interiors blacken first, because oily shafts slide in and out and the fibre absorbs the residue. Mouth binding follows, abraded by both hands and tools. The outer face of the panel comes last, though laying the roll on an oily floor contaminates it broadly.
Cleaning should be layered by severity. Light contamination calls mainly for dry methods: a soft brush or compressed air to clear swarf and grit from the pockets, avoiding a wet cloth that simply spreads the oil. Moderate contamination tolerates a neutral detergent and soft cloth on the mouth area and pocket interiors, followed by drying in the shade rather than under direct sun. Heavy contamination implies soaking and deep cleaning, which is only appropriate for fully washable fabric, and afterwards the coating, stitching, ties and fasteners must all be confirmed intact and functional.
Fabric selection should anticipate the cleaning method. Where oil contamination is unavoidable and severe, coated polyester or leather generally outperforms waxed canvas, because the first two can be wiped while the third cannot be washed and its wax blends with oil into a tacky surface that is hard to manage. Cleanability also depends on structure: a removable pocket assembly can be cleaned or replaced separately without disturbing the main body, which adds process steps but lowers lifetime maintenance cost.
Protection Rating and the Limits of Use
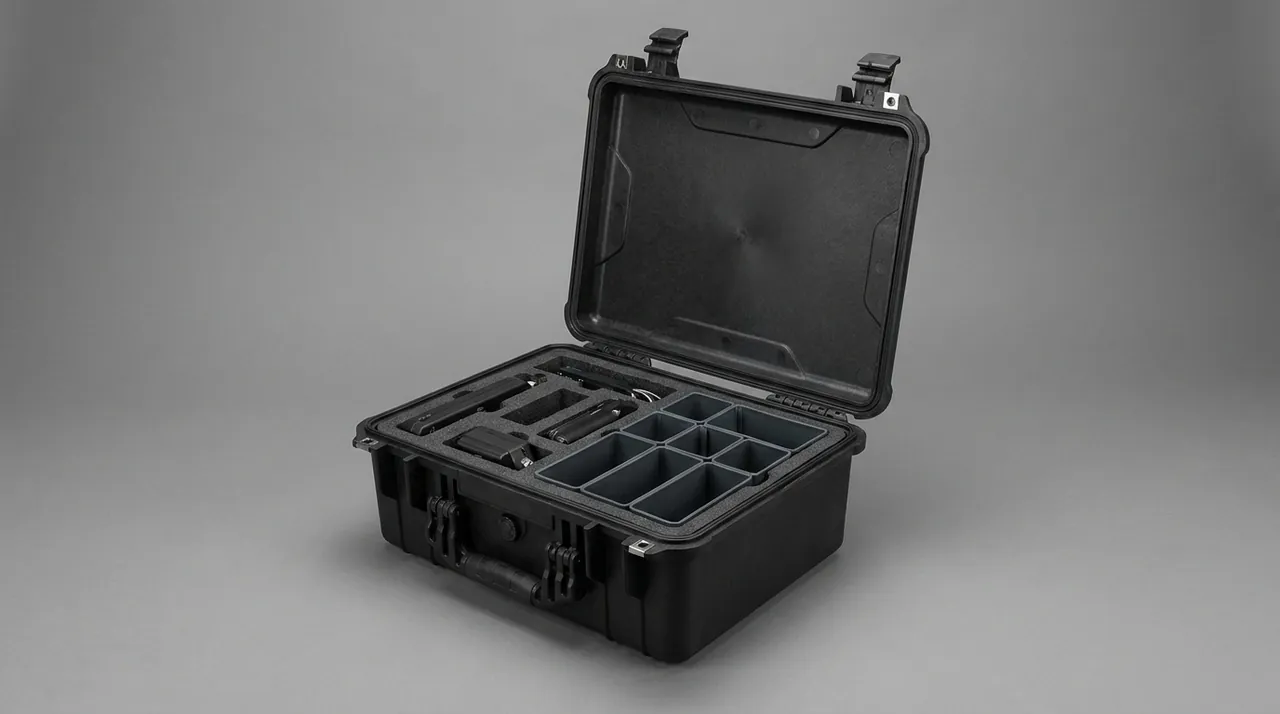
The protective capability of a tool roll must be stated honestly, or users will deploy it in unsuitable conditions. What it does provide: prevention of direct contact and edge-on scoring between tools, exclusion of larger particulate matter, short-term splash resistance, and containment of tools when correctly furled. Those capabilities sit in the organisation and light-protection tier, not the sealing and compression tier.
What it cannot provide: immersion protection, long-term exclusion of fine dust, resistance to compression or stacking, and impact absorption in a drop. Stitch perforations are pathways for water and dust; a soft body under load loses internal volume so tools press directly against each other; and in a drop the shock is borne almost entirely by the tools and the roll together with no cushioning structure to absorb it. Any application involving moisture, fine dust, heavy compression or significant impact should therefore use a rigid container with sealing and cushioning, or use the roll inside such a container as a secondary divider.
The combination is worth emphasising, because placing a tool roll inside a rigid case is a genuinely practical scheme: the roll handles separation and location between tools, the case handles sealing, compression and cushioning. Capacity calculation for that combination differs from a roll used alone, since the coiled diameter and the case internal envelope must be reconciled jointly. For liner and zoning options inside the case, see modular toolbox interior design and toolbox internal foam selection. Where mass and volume must be cut further, a lower-density foam scheme can replace the denser liner, and the difference is set out in EPE foam versus EVA foam in a toolbox.
Inspection and Acceptance: Tool-Roll-Specific Checks
Tool roll acceptance shares ground with tool bag inspection but includes several checks that apply only here. The first group covers dimensional accuracy: measure unrolled length and width, pocket count and width, mouth depth, and the coiled diameter and end alignment. Coiled diameter is the single most important functional figure, and it must be measured with the specified tool list actually loaded rather than empty. End alignment reveals the quality of pocket layout and core design, because a visibly uneven coil will run off centre throughout its life.
The second group covers pocket function: test gripping force position by position using a standard gauge pin or the specified tool, then invert and shake to confirm nothing escapes; verify that elastic banding recovers consistently, since large variation across one roll indicates poor assembly; and check binding at the mouth for wrinkles, skipped stitches and loose thread. The third group covers attachment and closure: examine tie stitching and bar-tack reinforcement, buckle retention and opening force, loop rated load and attachment method; and for tethered designs, verify cord length, knot security and stowage clip function.
The fourth group covers material and marking: confirm fabric specification and coating chemistry, check for colour deviation and skew, and verify that numbering is legible and matches the tool list. Records should note batch, sample size and verdict. For volume purchasing, draw a small number of units per batch for destructive checks, such as cutting open binding to confirm ply count or cutting open a tie root to confirm the reinforcement method. Those steps cost little and effectively suppress downgrading. Fixing these four groups as acceptance procedure narrows quality variation considerably.
Failure Modes and Procurement Traps
Tool roll failures appear in a fairly predictable order. Mouth relaxation comes first, showing as tools that no longer sit firmly and can be rocked by hand; it usually starts in the elastic banded section, where the band has lost recovery. Thread abrasion and lifted binding follow at mouth edges and tie roots, and if they are not re-stitched a joint failure develops. Fabric and coating crease cracking comes third, showing as fine fissures along the repeated fold lines, followed by coating loss and reduced water resistance.
Tie and fastener failure comes fourth, showing as a torn tie root or a fractured or self-releasing buckle; at that point the roll may spring open in transit and scatter its contents. Marking wear comes fifth. It looks cosmetic but it directly weakens counting and loss prevention, because a position without a readable number has abandoned the most effective missing-item indicator available.
Procurement traps centre on writing functional figures into the technical agreement. A common first omission is stating only the fabric denier while leaving out weave and coating chemistry. A second is failing to state the mouth restraint method, whether tapered, elastic banded or stiffened lip, which lets grip and feel drift between batches. A third is not agreeing how coiled diameter will be verified, so the empty-roll measurement and the fully loaded measurement diverge. A fourth is excluding ties and fasteners from warranty even though they are the highest-wear components. A fifth is neglecting the numbering scheme and the matching tool list, without which the numbering cannot support daily counting. Closing these gaps turns tool roll purchasing into something that can actually be verified.
Frequently Asked Questions
Q: Which tools suit a tool roll, and which do not? A: The organising principle of a roll is parallel alignment with layer-on-layer compression, so it suits shaft-like and flat items of broadly similar length: hex key sets, driver sets, open-end wrench sets, bit shanks, twist drills and some speciality torque tools. Those shapes are regular, they align at a fixed pitch, and the resulting coil has even thickness without bulges. What a roll handles poorly is irregular bulk: large ratchets, pneumatic tools, instruments with protruding handles and loose small parts. Such items cannot be held stably in a pocket, and once furled they push the roll into localised humps that distort adjacent pockets and alter the coil diameter. Where an irregular tool must be carried, the practical answer is a separate small rigid insert box, or reworking a segment of the roll into a lidded compartment sized for it. When mixing categories, also watch mass distribution: heavy tools should sit near the core rather than at the outer wrap, which reduces eccentricity and bending radius in the finished coil.
Q: Can the coiled diameter be made very small, and is there a lower limit? A: There is a lower limit, and it is set mostly by the tools rather than the fabric. Coiled diameter depends approximately on the sum of tool diameters plus accumulated fabric thickness, so more tools and thicker shafts mean a larger coil, and fabric tuning can only improve the margin. What can genuinely be controlled is the minimum inner bend radius. Once the core spine or starting tube is fixed, the innermost ply sits permanently at that radius, and the smaller it is, the higher the bending stress and the more likely crease cracking becomes. Before setting a maximum diameter target, therefore, reconcile it with the tool list and reserve a sensible minimum core size. Where a smaller bundle is essential, the workable routes are reducing the tool count per roll, splitting the set across two rolls, or moving part of the set into a rigid case liner. Simply thinning the fabric does not deliver a reliable diameter reduction and it sacrifices abrasion resistance and structural stability.
Q: Which holds tools more securely, an elastic mouth or a stiffened lip? A: The two fail in different ways, so the choice follows usage frequency and maintenance conditions. An elastic mouth presses the shaft with a band, giving stable initial grip and a smooth insertion feel across a range of diameters, which makes it the strongest all-round performer; its weakness is that the band ages, and grip decays gradually after extended use or prolonged compression, with the decay hard to notice until a tool is lost. A stiffened lip turns a firmer strip into the mouth to create a geometric clamp, relying on shape rather than elasticity, so it lasts longer and degrades more slowly; the trade-offs are higher insertion resistance and a narrower diameter window, since slim tools sit loosely and thick ones will not enter. The more practical engineering answer combines both by segment: frequently cycled tools behind elastic banding, slim escape-prone items behind stiffened lips, and high-value small parts additionally tethered. Either way, acceptance should rest on two tests: inverting the unrolled carrier and shaking for escape, and coiling it and shaking laterally for axial migration.
Q: How should waxed canvas, coated polyester and leather be compared? A: The three have distinct boundaries, and the working environment should drive the decision. Waxed canvas feels substantial, holds its shape, resists abrasion and tolerates light oil, and it keeps its coiled form without slipping, which suits drier settings where traditional hand feel and stable form matter; its drawbacks are mass, the impossibility of machine washing, wax migration when hot, and the need for periodic re-waxing. Coated polyester is the value choice for industrial use, combining low mass with splash resistance, oil tolerance and wipe-clean maintenance, which fits maintenance sites where oil and damp coexist; specification must state base cloth, weave and coating chemistry, because quality varies widely within the category, and the coating's stability at high temperature should be confirmed. Leather offers the longest life and best hand feel, resisting cuts and shedding fine debris, which suits high-value tool sets used heavily and often; the cost is mass, price, and the discipline of prompt drying and oiling after damp exposure. Converting purchase price into an annualised lifetime cost often shows leather is not materially more expensive in heavy service, and clearly uneconomic in light service.
Q: Can a tool roll replace a rigid toolbox? A: In specific situations yes, but not universally. A tool roll substitutes for a rigid box where three conditions coincide: a broadly controlled environment, a tool set dominated by shafts and flat items, and a working style that spreads tools out in place. Under those conditions the roll is lighter, smaller and more direct in retrieval, so overall efficiency beats a hard box. Conversely, wherever sustained moisture, abundant fine dust, stacking pressure, drop risk or fragile instruments are present, a roll cannot carry the protection duty alone and a rigid container is required. A frequent misconception holds that furling equals closing. In reality a furled roll only gathers tools together; it neither seals nor cushions, and in a drop the shock reaches the tools directly. The more accurate mental model treats the roll as one functional layer in a container system: it owns separation, location and loss prevention, while the rigid case owns sealing, compression resistance and cushioning. Matching the two is a matter of reconciling the coil geometry with the case interior.
Q: How should numbering and the tool list be designed so they actually work? A: For a numbering scheme to function it must satisfy three conditions: each position is uniquely identified, cross-referencing is trivial, and updates are controlled. Unique position means exactly one number per pocket, marked where it is legible in both flat and furled states; printing the number on the binding beneath each mouth, in a colour that contrasts with the body and at a size readable under normal site lighting, does the job. Trivial cross-referencing means a tool list keyed one-to-one to the numbers, ordered to match the physical sequence of pockets when the panel is flat, so counting becomes a linear scan rather than a search; the list itself should be water-resistant or laminated so oil cannot render it unreadable. Controlled updates mean the numbering scheme and list version move together, with a version number recorded whenever tool models or quantities change, so an old list is never used against a new roll. The single most effective shop-floor habit is the flush-tail check: align every tool tail to one side, and after furling the tails should form a straight line, which verifies a complete set in seconds rather than item by item.
Q: Where do problems most often appear in volume purchasing of tool rolls? A: Problems cluster in three places: how geometric figures are defined, consistency of mouth restraint, and completeness of accessories and lists. The first is definition of geometric figures. Coiled diameter is the classic dispute, because an empty measurement and a fully loaded measurement differ widely, and a contract that states a number without measurement conditions leaves both sides arguing at delivery. Acceptance clauses should require measurement with the specified tool list loaded, and should state the measurement position and how the value is determined. The second is mouth restraint. Technical agreements often say only "pockets", while tapered, elastic banded and stiffened lip constructions differ materially in grip and service life; once batches vary in process, users feel the change in feel and reliability immediately. The third is completeness of accessories and lists. Ties, fasteners, elastic banding and the tool list keyed to the numbering are all part of the product's function, yet they are frequently excluded from warranty or from the delivery schedule, leaving a serviceable body whose function is degraded by missing parts. With those three points fixed, plus a sealed reference sample and sampling regime, purchasing risk stays well controlled.
Q: How should a tool roll be stored and maintained to last longer? A: Everyday storage practice affects tool roll life more than most users expect. The single most important rule is to avoid long-term storage in the tightly furled state: fabric held under continuous bending develops a set, elastic banding under continuous compression loses recovery, and coating cracks accelerate along fold lines. The ideal is flat or half-rolled storage, with tight furling reserved for transport and carry. The second rule is environment control: avoid prolonged sun exposure, since ultraviolet light ages the coating and weakens the fabric; avoid persistent high humidity, which encourages mould and corrodes metal parts; and where the roll must live in a vehicle, confirm the temperature window of both fabric and elastic components. The third rule is cleaning rhythm: clear swarf and grit from pockets after heavy use so abrasives do not grind inside the fibre, and treat oil promptly with a neutral detergent rather than soaking it or attacking the coating with strong solvents. The fourth rule is a periodic check of three weak points: whether mouth binding has lifted, whether tie roots have loosened, and whether elastic banding has lost recovery. Re-stitch pulled threads immediately and replace the pocket assembly when banding slackens. A simple use-and-maintenance log reliably extends the serviceable life of a roll by a substantial margin.