

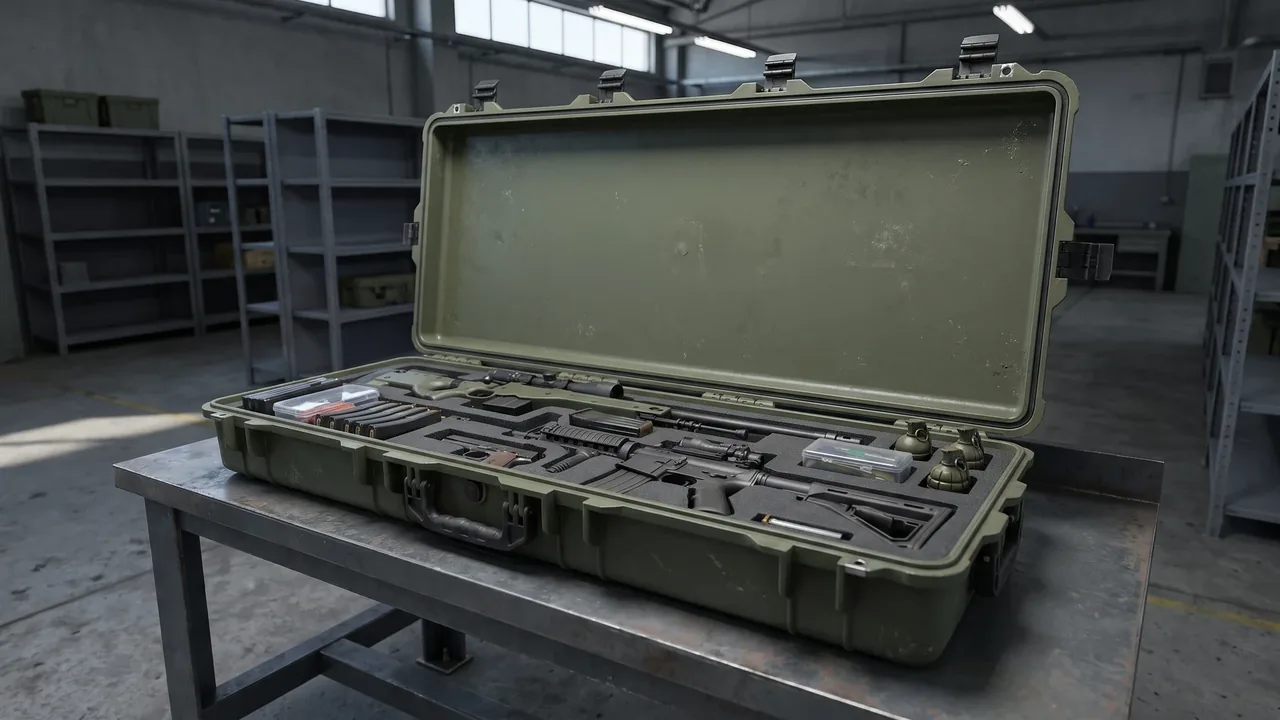
The latch is the protective case accessory that carries two jobs at once: clamping and security. It must pull the lid firmly against the body to deliver even compression to the seal strip, and it must resist accidental opening and theft during transit and storage. This article examines the latch from a container engineering perspective, covering classification, material, layout, travel, corrosion resistance, and maintenance, so purchasers and retrofit shops can select, fit, and rely on this Case Accessory, and understand how it works with Case Shell: Structural Materials and Molding Process of Protective Cases and Case Seal Strip: The Key Waterproof and Dustproof Accessory for Protective Cases. For latch selection detail, also read How to Choose a Protective-Case Latch: Types, Compression Points, and Selection Checklist.
The Role and Classification of Latches
A protective case latch is far more than a clip that holds the lid. In the closed state it is the load bearing link that turns the body and lid into one rigid assembly; in the open state it must allow fast access. By function, latches roughly divide into compression latches that mainly generate clamping force, security latches that mainly add opening resistance, and combination latches that do both, which are the default for most professional cases. The distinction matters because each type is engineered around a different failure mode.
As a Case Accessory, latch selection must answer two questions first: how much clamping force does the body need to seal, and what theft resistance does the environment require. The weighting differs, and so does the right structure. Ignoring either dimension exposes a weakness later, either poor sealing or easy opening during transit, and the two failures are not interchangeable. During procurement review, the latch should be listed alongside the seal and shell as a key technical item, with the supplier asked for clamping curve, fatigue life, and mount strength rather than only price and appearance. From a maintenance view, the latch is also the accessory most prone to small faults: a slightly sticking hinge, a tired spring, or a loose thread can let the case down at the worst moment. A routine of open close checks and lubrication intercepts most latch failures before they happen, avoiding accidental opening that loses equipment or admits water during transit.
How Latches Provide Lid Clamping Force
A case seal depends on the lid continuously pressing the seal strip, and that pressing force is exactly what the latch generates when it pulls the lid closed. The hinge and catch of the latch form a lever or cam that amplifies a small hand force into a larger normal clamping force, distributing it around the lid to the seal. The magnitude of clamping relates directly to latch count, layout, and travel, so these three must be specified together rather than independently.
Design should place the latch force inside the band the seal strip needs for its compression: too little fails to compress, too much fatigues the shell under sustained load. Engineers often lay pressure film or carbon paper along the seam to observe the post closure pressure distribution, then add or move latches. As a Case Accessory, the latch clamping capacity must be calculated together with the seal parameters at the drawing stage, not adjusted by feel after the fact. In trial production, measure the actual closure pressure and confirm both straight runs and corners land inside the strip's required interval.
Coordination Between Pressure and Sealing
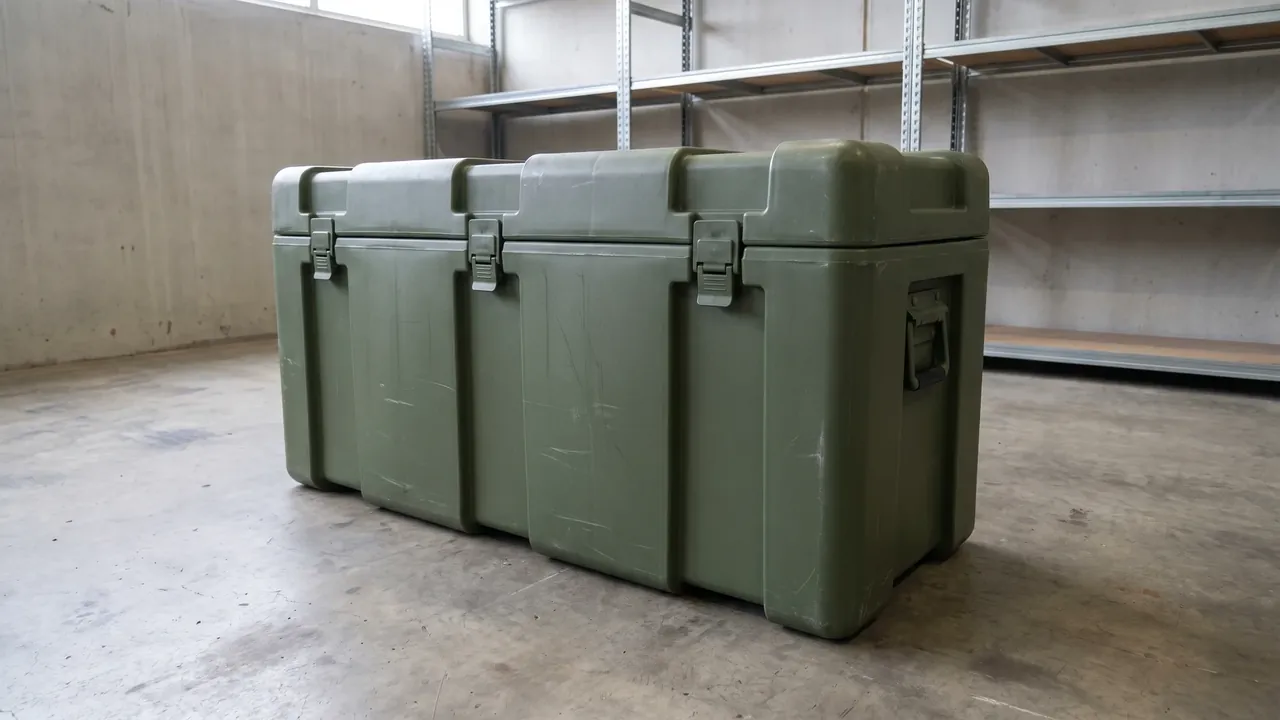
The latch and the seal strip are a paired system. Without enough clamping force, even the best strip never reaches design compression; without a reliable strip, clamping only squeezes a leaking gap into a thinner leaking gap. Pressure and sealing must therefore be designed as one. In heavy duty and Equipment Cases: General Instrument & Gear Transport Protection where loads are larger, this coordination matters most, because a small mismatch is amplified by the heavier contents and rougher handling.
The concrete method is: first fix the strip compression and contact pressure, then back calculate the clamping each latch must provide, and finally check the local shell strength at the latch points. The four corners and the midpoints of long sides are where local under pressure first appears, so place latches or reinforce the shell there first. Only when latch, strip, and shell match can the whole case seal stay stable under real duty, and only then does the theft resistance mean anything, since a case that leaks is also a case that fails its mission. It is worth stating that the clamping force the latch provides also decays with use. Hinge wear and spring fatigue mean the same hand effort yields less compression over time, so the maintenance log should record open close cycles and schedule preventive replacement before design life ends. Treating the latch as a part with a finite life, not a permanent fitting, is the basic discipline of professional case management and prevents the slow creep toward unreliable sealing that goes unnoticed until a failure occurs.
Forms of Theft Resistance Design
Theft resistance needs vary widely. A field work case mainly prevents accidental springing open in transit, while a warehouse or vehicle case must stop casual access. The latch forms differ accordingly. Basic security uses a self locking catch that locks on close. A step up adds a padlock eye for an external padlock. Higher grades use embedded lock cylinders or combination mechanisms, sometimes integrated with the shell so the body cannot be easily pried off.
As a Case Accessory, theft resistance is not only about the lock body but also about the strength of its attachment to the shell. If the lock is screwed to a thin shell, even a strong cylinder can be ripped off with it. Effective security makes the latch, its mounting, and the shell share load so that defeating the lock costs more than the contents are worth. This is a key divide between professional and cheap cases, and the difference usually shows in the mounting, not the badge on the cylinder. A useful field test is to ask what happens if someone tries to pry the latch with a screwdriver: on a professional case the force transfers into a reinforced shell and the latch survives, while on a weak case the mount tears out and the case opens regardless of cylinder quality. Specifiers should therefore request a pry or pull out test on the assembled case, not only a datasheet on the lock body, because the system is what the thief or the accident actually meets.
Latch Materials: Stainless Steel, Aluminum, and Engineering Plastic
Latches sit long term in outdoor, salt spray, and impact environments, so material decides life. Stainless steel resists corrosion and is strong, the first choice for coastal, vehicle, and outdoor cases, though cost and weight are higher. Aluminum balances strength and weight, suiting lightweight carry cases. Engineering plastic is lightest and cheapest but needs careful evaluation for high load and low temperature brittleness, where it can crack rather than bend.
Specify by returning to the environment: long coastal exposure, frequent drops, or large clamping force. As a Case Accessory, latch material should also harmonize with the shell to avoid galvanic corrosion, for example a steel latch on an aluminum shell can corrode electrochemically in salt spray. When needed, add an insulating pad or surface treatment at the contact face to extend overall life. For export or cross climate transit, also confirm the material meets destination environmental and hazardous substance rules so the case is not rejected at port. The load capacity of the latch should also match the shell material. Fixing a heavy latch on an injection or thermoformed shell by simply adding screws is often insufficient; the more reliable approach is to embed metal inserts or locally thicken so the clamping spreads across a larger shell area. Ignore this and the screws will pull through the thin shell after repeated loading, leaving irreversible structural damage that no latch upgrade can repair afterward.
How Butterfly Latches and Snap Catches Work
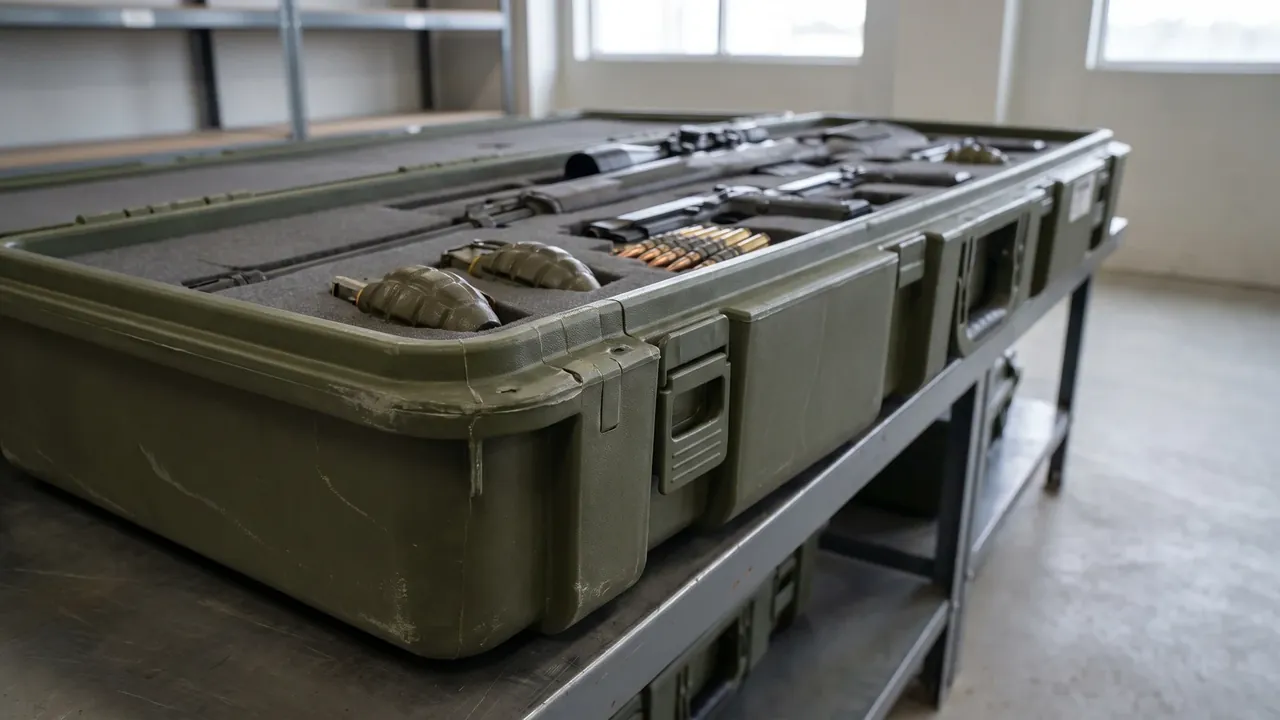
Butterfly latches and snap catches are the two most common compression latches. A butterfly latch uses a two ear handle rotated to compress, with a large lever ratio and ample clamping force and a clear open close feel, suiting heavy cases needing high compression. A snap catch relies on a spring tongue that auto locks past a critical point, opening fastest, suiting tool and gear cases with frequent access where seconds matter at the job site.
The two suit different scenes: butterfly clamps more reliably but slower, snap is quick but limited per point force. As a Case Accessory, choose by balancing access frequency and compression need. For Instrument Cases: Precision Meter Transport & Protection that need both sealing and quick access, a mixed layout of several snaps plus one butterfly is common, gaining speed and compression together. The hybrid idea assigns frequent access to snaps and reliable compression to the butterfly, each doing what it does best, while keeping travel and strip compression coordinated across both types. In military, emergency, or other scenes that need one hand quick opening, the human factors of the latch also matter: the opening force, the unlock direction, and whether two hands are needed all affect field efficiency. Selection should simulate the opening motion against the use scene, confirming smooth operation even with gloves, in low temperature, or on a bumpy surface, rather than only testing feel in a calm lab where conditions are unrealistically kind.
Latch Layout and Even Pressure Distribution
More latches is not automatically safer; what matters is whether the layout spreads pressure evenly along the seam. Too few latches leave the middle of a long side under compressed, a water entry point. Too many concentrate load points, raise local stress, and add cost and failure rate. The sound approach is equal spacing along the seam with denser placement at corners and complex load points, then fine tune after measuring distribution with pressure film.
Layout should also follow shell stiffness, because pressure distribution depends as much on shell rigidity as on latch count. If a seam segment is flexible, even a good layout sags there and under compresses. Coordinate the layout with shell ribs so clamping lands on rigid areas, eliminating weak segments structurally. For very long cases, adding latches alone may still leave the mid span under compressed, so consider a central butterfly or transverse rib, and grade the latch plan by case size rather than applying one template to all lengths. It is also worth noting that an even force field is not only about latch count but about the shell stiffness distribution beneath the seam. If a seam segment lacks rigidity, even a correct layout sags there and under compresses, so layout and shell ribs must be designed together to remove weak segments at the structural level. For extra long bodies, adding latches alone may still leave the mid span soft, so a central butterfly or transverse rib should be considered, and the latch plan should scale with case dimensions from the design stage rather than being retrofitted after a leak appears in the field.
Latch Travel and Closure Tolerance
Latch travel is the distance the latch can move from catch to full lock. Too short, and shell tolerance or seam variation prevents full engagement. Too long, and the shell stays pulled tight and fatigues. Design should let travel cover the actual shell manufacturing tolerance and seam fluctuation with margin, not fight it, because real shells vary and the latch must absorb that variation reliably every time.
As a Case Accessory, latch travel must also match seal strip compression: it must be enough to compress the strip to design yet not over compress and fail the seal. In trial production, verify closure tolerance with samples of different thickness to simulate shell variation, confirming the latch still locks and seals under the worst tolerance combination. Ignoring tolerance fit is a leading root cause of field latch failure and should be tested, not assumed, before a case is released to service with a specified rating. A practical check is to build three sample shells at the extreme ends of the tolerance band, plus one at the nominal, and confirm the same latch locks and seals all four. If the worst case will not engage, either widen the latch travel, tighten the shell tolerance, or add an adjustment shim at the mount. Resolving the mismatch at the design stage is far cheaper than a recall or a field retrofit after cases have already shipped to customers and started to fail.
Corrosion Resistance and Environmental Adaptability
Metal latch parts age in salt spray, humidity, and ultraviolet, showing as hinge sticking, thread seizing, and spring failure. Stainless still pits in long salt exposure, aluminum needs anodizing or similar treatment, and plastic needs UV stabilization against brittle cracking. As a Case Accessory, environmental adaptability goes into the technical requirement: coastal, vehicle wash, or outdoor sun should be declared explicitly so the right finish is specified up front.
Maintenance keeps hinges and pivots lightly lubricated to avoid sticking, and rust is cleaned and retreated promptly. In Heavy-Duty Protective Case: Structure and Load Design where loads are high, latch corrosion directly bears on long term pressure safety, so inspection frequency should rise with duty severity rather than stay fixed by calendar. A latch that looks fine on the outside can have a seized pivot inside, so function testing the open close action is more informative than a visual glance alone.
Latch Maintenance and Replacement
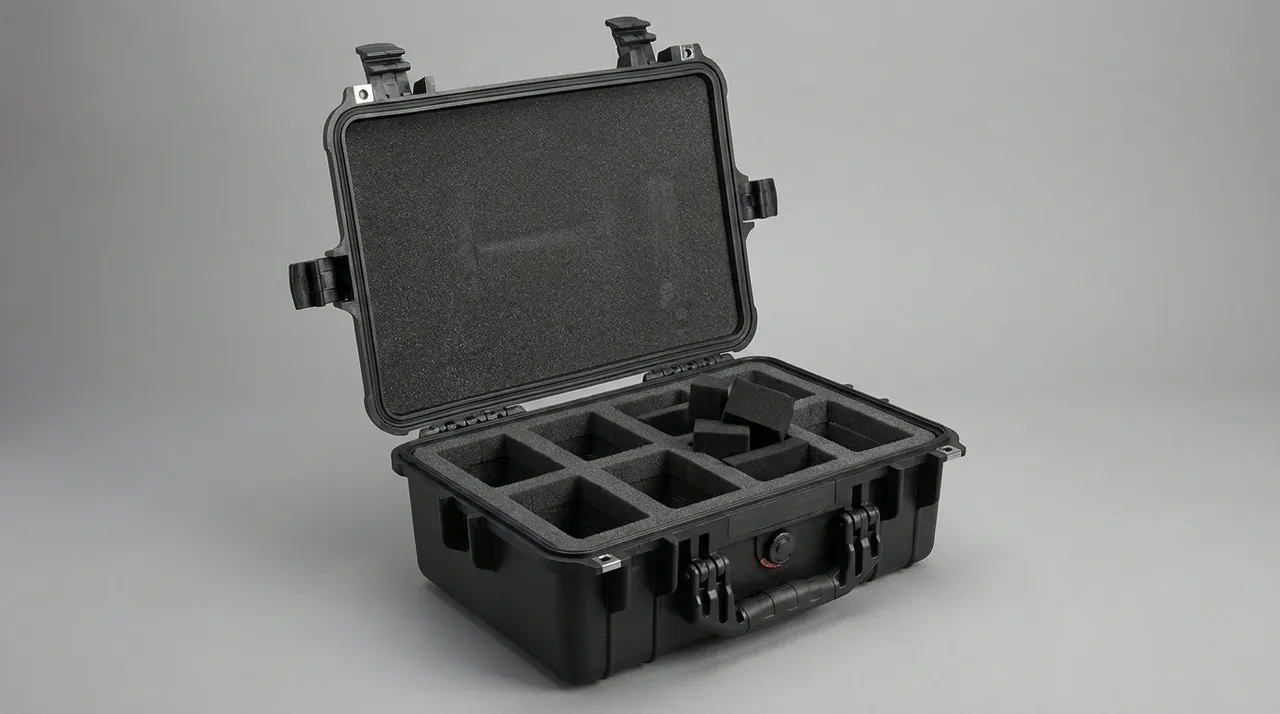
Latches are moving parts that wear at hinges, fatigue at springs, and loosen at threads. Maintenance focuses on keeping motion smooth, fasteners tight, and bodies crack free. A pre dispatch and post return open close check confirms the latch engages cleanly with no play or noise, catching problems before transit rather than after a failure on the road. Records of open close cycles help predict when fatigue will set in.
When replacing a latch, keep the original model and mounting to avoid hole mismatch that lowers strength. For screw fixed types, tighten to original torque and confirm no loose gap between body and shell. As a Case Accessory, latch spares belong in the maintenance log with model, batch, and fit date so wear is replaced proactively instead of failing open mid shipment. For security cases, also inspect the padlock eye, cylinder, and mount for wear together, avoiding the trap of a new lock on a loose seat that still fails in service.
Interface Strength With the Case Shell
However strong the latch, it transmits force through its interface with the shell. If the mount is thin walled, sparsely screwed, or floating, clamping cannot become lid compression and may instead pull the mount apart. The mount is therefore the bottleneck of whole case pressure, and must be jointly reviewed with the latch supplier at shell design time, because a strong latch on a weak mount is no stronger than the mount itself under load.
As a Case Accessory, latch mounts often use local thickening, embedded metal nuts, or built in steel plates to gain strength. Trial production should run pull out and fatigue tests to confirm the mount holds under worst loading. For bodies where Case Stacking Corner: Load-Bearing and Alignment Hardware for Stacked Cases also needs reliable fixing, the mount strengths of latch and corner together decide the safety margin of the whole case during stacking and handling, because both transmit external loads into the shell and both can become the failure point if under built. For injection or thermoformed shells, simply increasing screw count at the mount is rarely enough; embedding a metal nut or molding a local steel plate spreads the load and resists pull out far better than threads in plastic alone. The mount should be reviewed with the same seriousness as the latch itself, because in a drop or stack the peak load arrives exactly at the latch and corner, and a weak mount there turns a survivable shock into a catastrophic open. Treating the interface as a designed joint, not an afterthought, is what separates cases that last from cases that crack.
Coordination With the Seal Strip
The latch and seal strip are the two ends of one closure system: the latch supplies force, the strip converts it to sealing. Latch layout decides how pressure spreads along the seam, and the strip turns that spread into actual dust and water protection. If the two are specified apart, the result is the awkward case of a tightly latched box that still leaks at a corner because the force never reached the strip there.
The coordination points are: latch count and position must cover the whole seal ring, corners first; latch travel must match strip compression; the shell at latch points must be rigid enough to avoid local sag that causes under pressure. As a Case Accessory, replacing a latch during retrofit must re check strip compression, never swapping only the latch or only the strip, or the whole case seal will not improve no matter which single part is changed. Treat the closure as a system and verify it as a system after any change.
Selection Checklist and Common Mistakes
When buying a latch as a Case Accessory, confirm by checklist: define clamping need and strip parameters, set theft grade, pick material and finish, plan count and layout, verify mount strength, confirm travel covers tolerance, and set a maintenance interval. Address each item to avoid the triple embarrassment of loose lock, easy theft, and seized rust, and to keep the case serviceable across its whole life rather than only on delivery day.
Common mistakes include assuming more latches mean safer, ignoring mount strength, fixing heavy latches with ordinary screws, rating only the cylinder while neglecting overall connection, and buying on price instead of specs. Correcting these means thinking of the latch inside the shell, seal, latch system rather than as a randomly swapped fastener. Only system matching lets a protective case both clamp tight and stay shut, and only then does the accessory earn its place in a professional kit.
Frequently Asked Questions
Q: Are more latches always better for a protective case? A: No. What matters is whether the layout spreads pressure evenly along the seam, not the raw count. Too few latches leave the middle of a long side under compressed, a water entry point, while too many concentrate load points, raise local stress, and add cost and failure rate. The sound approach is equal spacing along the seam with denser placement at corners and complex load points, then fine tune after measuring distribution with pressure film. First fix the strip compression and contact pressure, back calculate the clamping each latch must provide, and check the local shell strength at latch points. Put force where the shell is rigid and avoid thin suspended walls; that is how a truly even force field is achieved rather than by bolting on extra latches that may do more harm than good to the shell. A helpful field rule is to start from the seal strip's required contact pressure, divide it by the number of latch points you plan, and confirm each latch can deliver that clamping within its travel, then stop adding once the distribution is even. This discipline keeps the case light, cheap, and strong instead of heavy with latches that fight each other for no benefit.
Q: Does stainless steel latch mean it will never rust? A: Not necessarily. Stainless resists corrosion better than ordinary steel, but under long salt spray, humidity swings, or chloride contact it can still pit or crevice corrode, especially where it touches a dissimilar metal and triggers galvanic corrosion. Even a stainless latch used at coast, vehicle wash, or chemical proximity should be passivated or insulated and inspected regularly for rust at hinges and threads. Maintenance keeps moving parts lubricated and cleans rust spots promptly with retreatment to keep corrosion acceptable. Material choice should also harmonize the latch with the shell to avoid galvanic corrosion of a steel latch on an aluminum shell, a detail often missed until failure appears after a season of coastal service. The practical takeaway is to specify the finish together with the base material, for example passivated stainless or anodized aluminum, and to include a salt spray test in acceptance rather than trusting the grade name alone. A latch that passes the catalog but fails the coast is not a stainless latch in any sense that matters to the user who depends on it.
Q: How should I choose between butterfly latches and snap catches? A: They suit different scenes. A butterfly latch rotates a two ear handle to compress, with a large lever ratio and ample clamping force and a clear feel, suiting heavy cases needing high compression. A snap catch uses a spring tongue that auto locks past a critical point, opening fastest, suiting tool and gear cases with frequent access. Choose by balancing access frequency and compression need: heavy sealing favors butterfly, frequent access favors snap. For instrument cases needing both, a mixed layout of several snaps plus one butterfly is common, gaining speed and compression together. Either way confirm the latch travel covers shell tolerance and compresses the strip to design, never sacrificing clamping reliability just for convenience of opening, because a quick but leaky case helps no one in the field. In practice the choice also depends on who opens the case and how often; a case opened dozens of times a day rewards snap catches, while a case sealed for months favors the secure feel of a butterfly. Match the mechanism to the duty cycle and the environment rather than to a generic preference, and the latch will still work when it matters most.
Q: What is the relation between latch travel and closure tolerance? A: Latch travel is the distance from catch to full lock, and it must cover the actual shell manufacturing tolerance and seam variation. Too short, and shell tolerance or seam deviation prevents full engagement, the field complaint of a loose lock. Too long, and the shell stays pulled tight and fatigues, even deforms. Design should let travel cover the tolerance band with margin and match strip compression: enough to compress the strip to design yet not over compress and fail the seal. In trial production verify closure tolerance with samples of different thickness to simulate shell variation, confirming the latch still locks and seals under the worst combination. Ignoring tolerance fit is a leading root cause of field latch failure and should be tested on real samples, not assumed from a drawing that never reflects process variation. Document the tested tolerance band in the build standard so every future batch is checked against it, and treat the latch travel as a controlled characteristic rather than a casual fit. When the shell process drifts, the first symptom is usually a latch that feels loose or binds, and catching that early protects both seal and security before a case ships defective.
Q: What happens if the latch mount is not strong enough? A: The mount is the bottleneck that transmits clamping to the shell, and weak strength directly fails whole case pressure and sealing. A thin walled, sparsely screwed, or floating mount cannot turn clamping into lid compression and may instead rip the mount apart or loosen screws, letting the case open accidentally in transit. A more hidden result is local sag causing seam under pressure, seen as a tightly latched box that leaks at a corner. Strengthen with local thickening, embedded metal nuts, or built in steel plates, and run pull out and fatigue tests in trial production. When retrofitting, confirm the new latch mount matches the shell; never drill carelessly and fix a heavy latch with ordinary screws, or you leave a structural hazard that no lock quality can compensate for under load. In stacked storage the mount also carries the weight of every case above it, so an under built mount becomes a collapse risk beyond sealing. Many specifications require the latch mount to pass the same pull out test as the shell corner, and the acceptance record should name the actual value rather than a generic pass.
Q: What daily maintenance does a case latch need? A: Latches are moving parts, and maintenance focuses on keeping motion smooth, fasteners tight, and bodies crack free. Do an open close check before dispatch and after return to confirm clean engagement with no play or noise, lubricate hinges and pivots lightly to avoid sticking, and clean and retreat rust promptly. Screw fixed latches should be torqued to original spec with no loose gap between body and shell. As a Case Accessory, latch spares belong in a log with model, batch, and fit date so wear is replaced proactively. For long outdoor duty, raise inspection frequency so sudden opening risk is killed at the bud rather than discovered after a failed shipment, and function test the action rather than only glance at the hardware for hidden pivot seizure. The interval between checks should scale with duty: a case in daily vehicle use earns a weekly glance, a clean room case only a monthly one, and the schedule belongs in the maintenance plan. After salt spray, heavy rain, or sand exposure, check promptly, because those conditions silently corrode a pivot or pack a catch with grit until it seizes at the worst moment.
Q: How do I choose a theft resistant latch that truly secures? A: True security is not only the lock body but whether latch and shell share load as one. Basic practice is a self locking catch that locks on close; a step up adds a padlock eye for an external padlock; higher grades use embedded cylinders or combination mechanisms so the body resists prying. The key is connection strength: a lock screwed to a thin shell can be ripped off with the cylinder intact. The right idea is to make latch, mount, and shell share load so defeating it costs more than the contents. Also harmonize latch material with the shell to avoid galvanic corrosion that weakens the body over time. The divide between professional and cheap cases often shows exactly in this integrated security design rather than in the cylinder grade alone, which is why mounting deserves as much review as the lock. A buyer who specifies only the cylinder grade while ignoring how it is attached is like buying a strong door and hanging it on a weak frame, and the result is predictable. Ask the supplier for the pull out and pry resistance of the assembled case, and treat those numbers as the real security spec rather than the marketing on the lock body alone.
Q: Should I replace the seal strip when changing a latch? A: Not necessarily replace, but you must re check strip compression. The latch and strip are the two ends of one closure system: the latch supplies force, the strip converts it to sealing. Swapping only the latch without checking travel and compression may shift force and cause strip under or over compression; swapping only the strip without adjusting the latch may leave distribution unchanged. The correct step is to measure the closure pressure distribution and strip compression after replacement and confirm the whole ring is even before release. Retrofit should keep the original latch model and mount to avoid hole mismatch that lowers strength. For critical cases, put latch and strip replacement on one maintenance work order so system parameters stay consistent, and verify the seal as a system rather than approving either part in isolation. A practical habit is to mark the original compression depth on the shell or work order, then measure the same point after the change and compare, because a number makes drift visible where a glance sees nothing. If compression falls outside the strip's rated band, adjust latch travel or shim the mount before the case returns to service.