

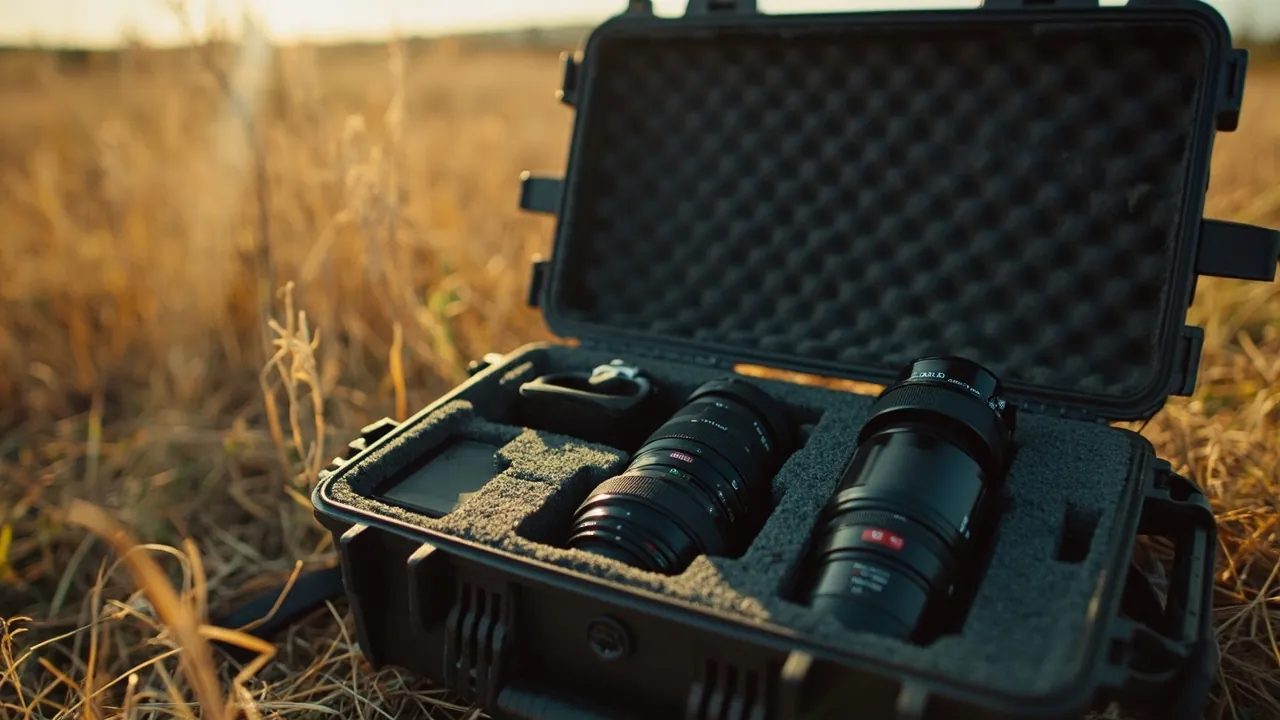
The selection logic for a photography equipment protective case can be reduced to one sentence: first work backward from your equipment list to derive the internal volume and compartment layout, then lock in the shell structure, sealing grade, foam insert and pressure equalization valve according to the four-level protection requirement of shock resistance, moisture resistance, dust resistance and crush resistance, and finally decide the case format, weight and carrying style according to how the case travels (carry-on, checked baggage, vehicle, or field hiking). The most fragile parts of a camera body and lens are not the outer shell but the optical element groups inside the lens, the focus motor, the image stabilization unit and the body mount. All of them are extremely sensitive to shock, continuous vibration and humidity: a single drop can crack a cemented lens group or shift the optical axis, while long-term high humidity grows fungus on lens surfaces, and fungal hyphae etch the coating irreversibly. A qualified photography protective case therefore has to do four things at once: resist drop and crush loads on the outside, seal the full perimeter against splash and dust, absorb impact energy and hold the equipment so parts never collide with each other, and keep internal humidity inside a safe band. Below we walk through this systematically in the order of risk identification, shock protection, moisture protection, insert design, case format, scenarios and mistakes.
Table of Contents
- What Risks Does Photography Gear Actually Face in Transit?
- Shock Protection: Buffering Principle, Foam Materials and Insert Structure
- Moisture and Sealing: Humidity Control, IP Ratings and Pressure Equalization Valves
- Case Format, Volume and Internal Layout: Working Backward from Your Kit
- Configuration Advice by Shooting Scenario and Common Mistakes
- Frequently Asked Questions (FAQ)
- Conclusion
- Further Reading
What Risks Does Photography Gear Actually Face in Transit?
To choose the right case, you first have to see clearly what your gear actually fears. Many people buy a camera case worrying only about whether everything fits, and overlook the four main causes of equipment failure.
Category One: Impact and Drop
A camera falling from a tripod, a table or a car trunk, or a case being thrown and struck during shipping, produces an instantaneous high acceleration. For the equipment, what really kills is not whether the case shell breaks but the peak acceleration transmitted to the gear. Plastic shell parts survive on toughness, but the lens element groups inside are held by cement layers, retaining rings and extremely precise mechanical clearances. Impact creates micro-cracks in cemented layers, deforms the focus group guide rails, and displaces the floating structure of the image stabilization unit. This kind of damage rarely shows up as "broken on the spot"; it shows up as reduced sharpness, back- or front-focus, and rattling stabilization. By the time you notice, it cannot be reversed.
Category Two: Continuous Vibration
Vehicle bumps, motorcycle rear seats, boat travel and long-haul drives in a production van are all low-amplitude but long-duration vibration. The harm of vibration is cumulative fatigue: screws loosen, mounts wear, element retaining rings shift microscopically, and electronic ribbon connectors work loose. Compared with a single drop, vibration is more insidious and depends more heavily on the damping behavior of the foam to suppress it.
Category Three: Moisture and Fungus
The long-term enemy of lenses and bodies is humidity. It is generally held that when relative humidity stays above 60 percent for extended periods, fungal spores have conditions to grow, forming hyphae on the lens coating and cemented layers. The metabolic products of hyphae etch the coating, leaving permanent spots and haze that remain even after cleaning. Seaside locations, rainforests, monsoon regions, ship cabins, and condensation when gear moves from cold outdoors into a warm room are all high-humidity situations. Condensation often happens the moment the case is opened: the gear inside is cold, warm humid air hits it, and water condenses on the glass immediately. So a protective case must not only resist moisture, it must also give the equipment a temperature buffering process.
Category Four: Dust and Salt Spray
Deserts, sandy ground, construction sites and coastal salt spray drive fine particles into zoom ring threads, mount contacts, shutter curtains and sensor cleaning mechanisms. Salt spray is also corrosive and accelerates oxidation of metal contacts and screws. Once this contamination gets inside a lens, the lens must be disassembled for cleaning, which is expensive and affects sealing.
String these four together and you get the core statement: a photography protective case is not "a hard box that holds a camera," it is a system that isolates shock, isolates water vapor, isolates dust and immobilizes the gear. Every selection point below follows from these four functions.
Shock Protection: Buffering Principle, Foam Materials and Insert Structure
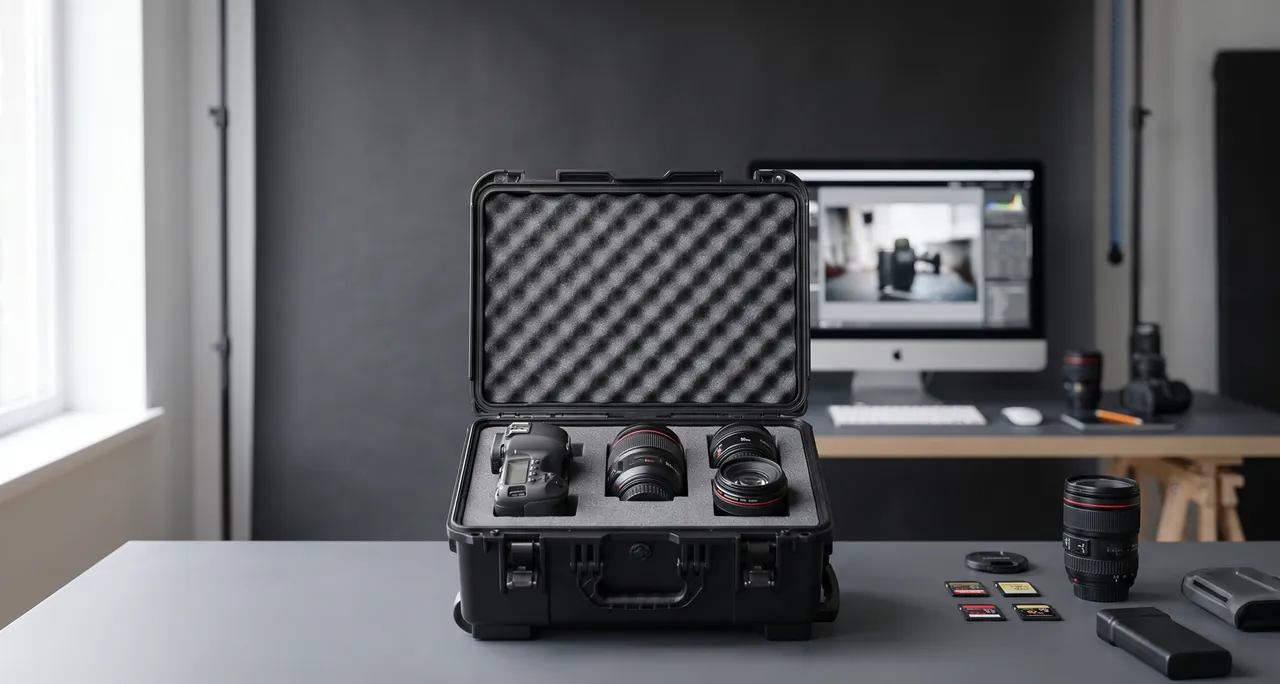
Shock protection is the first requirement of a camera case. To understand it, start from a basic physical relationship: when an impact occurs, the force the gear receives is inversely proportional to the deceleration distance. The role of foam is to stretch out the deceleration process: by compressing and deforming itself, the foam absorbs energy and brings the gear to a stop over a longer time and distance, lowering the peak acceleration.
Four Key Parameters of Cushioning Material
- Density (kg/m3): Higher density means more energy absorbed per unit volume, but also a firmer and heavier material. Camera cases typically use medium-density foam to balance support and cushioning.
- Compression strength and compression set: Whether the foam springs back after repeated compression. Foam with high compression set collapses over time, the gear loosens inside the case, and shock protection fails.
- Resilience and damping: Resilient material recovers its shape after absorbing energy; material with good damping converts vibration energy into heat and dissipates it, suppressing continuous vibration.
- Open-cell versus closed-cell structure: Open-cell foam (such as some PU sponge) breathes, feels soft and absorbs sound, but it also absorbs water. Closed-cell foam (EVA, PE, EPP) does not absorb water and resists moisture far better, making it the right choice for outdoor and humid environments.
Comparison of Common Insert Materials
| Material | Structure | Cushioning behavior | Water absorption | Weight | Best use in a camera case |
|---|---|---|---|---|---|
| --- | --- | --- | --- | --- | --- |
| EVA (ethylene-vinyl acetate) | Closed-cell | Good rebound, moderate damping, thermoformable | Very low | Medium | Custom molded trays, main lens bays |
| EPE (expanded polyethylene, pearl cotton) | Closed-cell | Soft, long cushioning travel | Low | Very light | Lightweight cases, wrapping layers, filler blocks |
| PU (polyurethane sponge) | Open-cell | Soft, conforms well | High, absorbs water | Light | General filler in dry environments; use with care when damp |
| PE (polyethylene foam) | Closed-cell | Firm, tear resistant | Very low | Medium | Dividers, structural support layers |
| EPP (expanded polypropylene) | Closed-cell | Survives repeated impact, recovers well | Very low | Light | Repeated-drop scenarios, high-value gear |
The first choice for a photography protective case is usually a closed-cell EVA or EPE combination: EVA supplies formability and support, EPE supplies lightweight long-travel cushioning, while open-cell PU sponge should be used cautiously outdoors or in humid conditions because it absorbs water.
Three Mainstream Insert Structures
- Pick and pluck foam: The foam is pre-cut into a grid of small cubes and the user pulls out cubes to match the gear outline. Advantages are no tooling needed, on-site adjustment and low cost. Disadvantages are that cube edges tear with frequent use, and the cushioning is stacked layers rather than one piece, so long-term durability is only average. Good for users whose kit changes often.
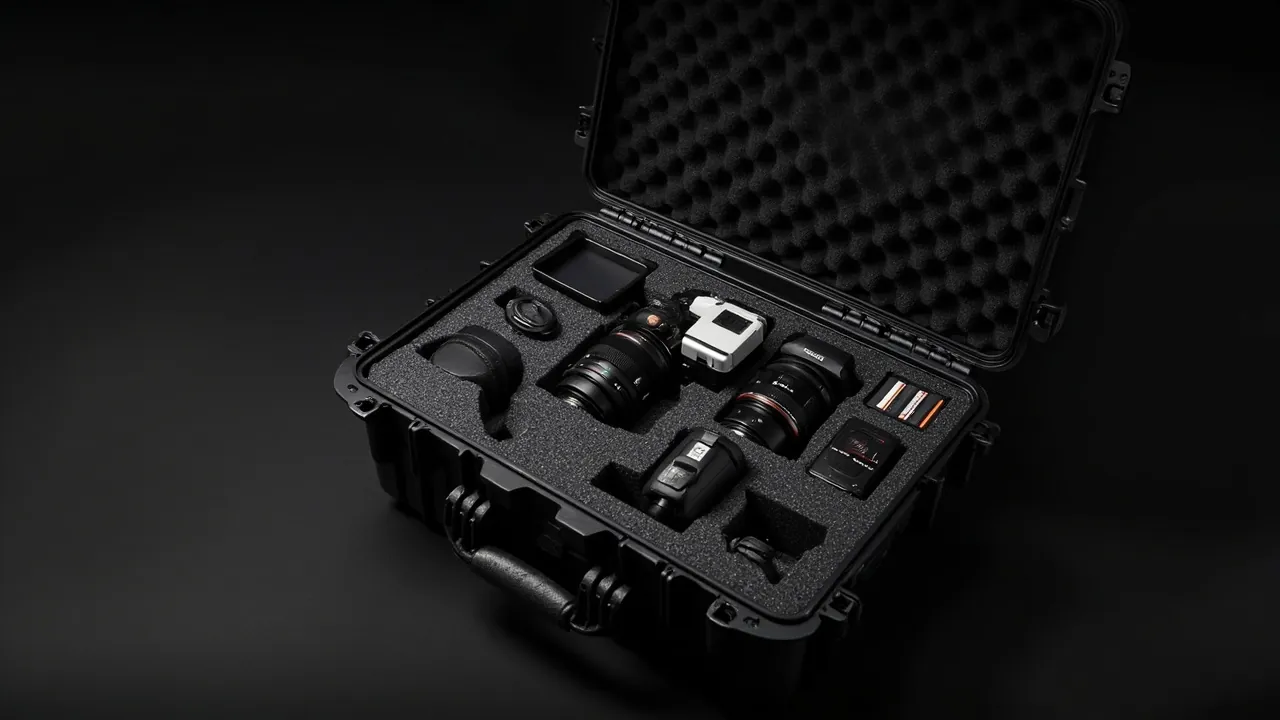
- Pre-cut or die-cut foam: Cavities are cut precisely with a die or CNC against a fixed equipment list. Advantages are high conformity, easy access and a tidy look. The disadvantage is that a change in the kit means redoing it. Good for teams with a fixed inventory.
- Custom molded insert: Cavities are thermoformed or CNC-carved to match the gear outline exactly. Advantages are the most stable fixation, a controllable cushioning path, and the ability to build finger access and layered tiers. The disadvantage is tooling cost, which suits batch and standardized configurations.
Four Practical Rules of Shock Design
- Let the gear float: Leave at least 20 to 30 mm of foam around every cavity, and the same cushioning layer at the bottom and top of the case. Letting gear touch the case wall is the most common mistake.
- No gear-to-gear contact: Lenses and bodies must be separated by foam walls so they cannot collide in transit.
- Keep the center of gravity central and heavy items low: Heavy telephoto lenses go in the lower part of the case to reduce tip-over risk.
- No movement when fully loaded: Close the lid and shake the case gently; the gear inside should not visibly shift. Movement means the cavity is too large or the foam density too low.
Moisture and Sealing: Humidity Control, IP Ratings and Pressure Equalization Valves
Moisture resistance and dust resistance are two faces of the same problem: cutting off the exchange path for air and water vapor between inside and outside. That depends on shell rigidity plus a full-perimeter elastic gasket plus sufficient latch compression force, all working together.
Shell and Gasket
Engineering plastics (PP, ABS, PC and their modified grades) are the mainstream shell materials for photography protective cases. Their advantages are high specific strength, good toughness, resistance to low-temperature brittleness, corrosion resistance, and the ability to injection mold reinforcement ribs and seal grooves in one piece. The gasket normally sits in a groove in the lid and is made of an elastomer such as EPDM, silicone or TPE; once the latches press the lid down, it compresses and fills microscopic gaps.
One point deserves emphasis: sealing comes from compression, not from covering. If the lid is merely placed on the case and the gasket is not flattened, water and dust still get in. When choosing a case, look at the number and distribution of latches: about two for a small case, about four for a medium one, six or more for a large one, spaced as evenly as possible. That is the precondition for uniform compression around the whole perimeter.
How to Read an IP Rating
The IP code (IEC 60529 / GB/T 4208) consists of two digits: the first is protection against solids (dust), the second against liquids (water). For camera cases the common grades are IP65, IP66 and IP67:
| Rating | Dust meaning | Water meaning | What it means for photography gear |
|---|---|---|---|
| --- | --- | --- | --- |
| IP65 | Dust protected (limited ingress, no harmful effect) | Low-pressure water jets | Handles rain and rinsing; not for immersion |
| IP66 | Dust protected | Powerful water jets | Handles waves and high-pressure washing |
| IP67 | Dust protected | Temporary immersion (30 minutes under specified conditions) | Baseline protection for accidental drops in water, wading and boats |
The JUNZHJIA protective-case line from KeXin New Materials offers IP67 capability and can be validated for environmental suitability against MIL-STD-810H, giving a verifiable protection basis for outdoor shooting, boat work and air freight. It should be noted that an IP rating is a test result on a new product under standard laboratory conditions; real protection life depends on gasket maintenance and the stability of latch compression.
The Pressure Equalization Valve: Critical for Air Travel and Altitude
Camera cases fly often. As an aircraft climbs, cargo-hold pressure drops; if the case were perfectly rigid and sealed, a pressure differential would build between inside and outside. That differential either pushes the lid harder onto the gasket or makes the case very hard to open on descent, and in extreme cases damages the gasket or deforms the lid. A pressure equalization valve (also called a vent or breathable membrane valve) uses a microporous membrane that lets gas through while blocking liquid water and dust, automatically balancing pressure while maintaining the seal.
The conclusion is unambiguous: whenever a camera case will be flown or used at altitude, a pressure equalization valve is mandatory, not optional. It also relieves the "hard to open" problem caused by temperature differences.
Three Pieces of In-Case Humidity Control
- Desiccant: Silica gel desiccant, dosed by case volume, replaced or regenerated by drying on a schedule. Indicating silica gel changes color so saturation is visible at a glance.
- Humidity indicator card or digital hygrometer: Turns humidity from a feeling into a readable number. Keep a small hygrometer in the case permanently and hold relative humidity below 60 percent, ideally between 40 and 55 percent.
- Dry-down before sealing: Put the gear and desiccant in and let it sit so the desiccant conditions the internal air. Keep each opening short, especially in damp environments.
Structure Details That Decide Long-Term Protection
Two cases that look equally tough can be in very different condition after two years, and the difference usually hides in these four structural details:
- Reinforcement ribs: The network of ribs on the side walls and lid raises bending stiffness substantially without adding much wall thickness or weight. A case without ribs visibly deforms under side compression, which pulls the case mouth out of shape and locally unloads the gasket. To judge, press the long side wall with both hands and watch how much it deflects.
- Rounded corners: The radiused transitions at the eight corners are not only cosmetic. A sharp corner is a stress concentrator and cracks easily on impact; a radius spreads impact energy along an arc and reduces scratches to vehicle interiors and other gear. Since camera cases are constantly maneuvered through tight car trunks and studios, rounded corners also simply avoid snagging and scraping hands.
- Latch seats and metal inserts: A latch must anchor into a sufficiently rigid area to deliver lasting compression. The quality approach is to mold metal nuts or studs into the wall during injection (insert molding) and screw the latch onto the insert, which allows repeated removal without stripping threads. The latch seat area also needs rib support, or radial cracks appear under long-term load.
- Hinge type: Camera cases open and close constantly, so hinge stability directly determines whether the lid lands accurately on the seal groove every time. Recessed hinges do not protrude and are hard to damage, making them the common choice for transport cases. When buying, check whether the hinge uses a metal pin or one-piece high-strength engineering plastic, and whether there is play in the opening action.
Together with the gasket and foam, these four areas form the long-term protection chain of a camera case. Cutting corners on any link will visibly degrade the whole case after a period of use.
Handling Condensation Correctly
When you come in from cold outdoors to a warm room, let the closed case acclimatize until the internal temperature approaches room temperature before opening. Opening immediately means warm humid air meets cold glass and condenses at once. As an emergency measure, move the gear into a sealed bag together with desiccant before transferring it.
Case Format, Volume and Internal Layout: Working Backward from Your Kit
Many people buy the case first and then cram gear in. The correct order is list the equipment first, then derive volume and compartments.
Volume Estimation Method
A practical estimation flow:
- List every item: number of bodies, every lens with its actual outer diameter and length including hood and tripod collar, flashes, batteries, chargers, filters, microphones, monitors and cables.
- Compute the bounding volume of each item as length times width times height. For lenses estimated as cylinders, use the hood outer diameter rather than the barrel diameter.
- Add the volumes and multiply by a margin factor of 1.4 to 1.8. The low end corresponds to tight packing with thin dividers; the high end to thick cushioning layers plus finger access space.
- Once you have the target internal volume, select the matching standard case size.
Case Recommendations by Common Kit
| Kit | Typical contents | Suggested insert | Suggested format |
|---|---|---|---|
| --- | --- | --- | --- |
| One body + two lenses | Body, 24-70, 70-200 | Pick and pluck or semi-custom pre-cut | Small to medium hand-carry case |
| Two bodies + four lenses | Two bodies, wide, standard zoom, telephoto, prime | Custom pre-cut, layered | Medium case with shoulder strap |
| Cinema package | Cinema camera, monitor, follow focus, batteries, drives | Custom molded tray plus dividers | Large case, trolley-wheeled option |
| Lighting package | Speedlights, triggers, softboxes, stands, batteries | Divider bays plus EPE filler | Deep format, watch stacking |
| Aerial package | Aircraft, controller, batteries, propellers, tablet | Custom pre-cut with isolated battery bays | Medium to large, waterproof first |
Five Rules of Internal Layout
- High-frequency items on top: Bodies and frequently used lenses go on the top layer or outermost position to reduce digging time.
- Heavy items low, center of gravity central: Telephoto lenses, battery banks and monitors go at the bottom.
- Isolate batteries: Lithium cells need their own bay so they cannot short against metal objects, and so you can present them quickly at security.
- Separate sharp and hard items: Filter cases and metal brackets should never share a bay with glass.
- Use mesh pockets or zip bags for cables and small parts: Store them on the lid interior or in a dedicated shallow bay so nothing loose scratches the glass.
Choosing the Carrying Style
- Hand carry: Compact format, manageable weight, generally under 15 kg, suited to city shooting and event work. Look at handle ergonomics and whether it is overmolded with soft-touch material.
- Shoulder carry: Long hikes and field work. Check whether strap anchors use metal inserts and whether the case has anti-slip feet.
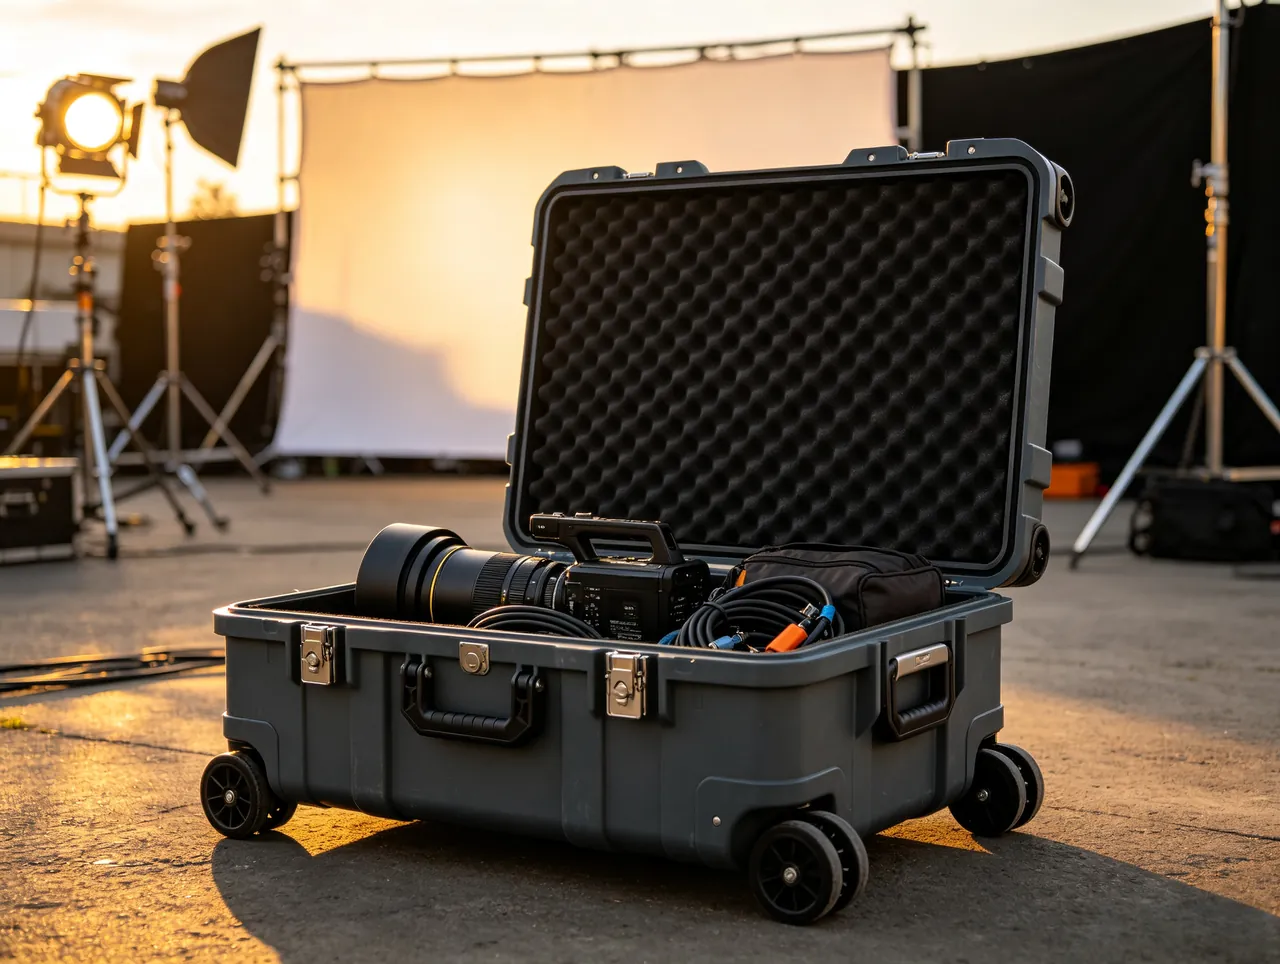
- Trolley-wheeled: Studios, airports and film crews. Check whether wheels are quiet and wear resistant, whether the handle is recessed, and whether cases can stack.
- Stacking and securing: When shipping multiple cases, look for stacking locators (mating bosses and recesses on top and bottom shells) so cases do not slide on a moving vehicle.
Configuration Advice by Shooting Scenario and Common Mistakes
Scenario Configuration Table
| Scenario | Main risks | Protection priority | Recommended configuration |
|---|---|---|---|
| --- | --- | --- | --- |
| Landscape and field hiking | Drop, rain, dust, cold | Sealing, low weight, cushioning thickness | IP67 shell plus closed-cell foam plus desiccant; shoulder or hand carry |
| Wedding and event | Frequent access, bumps, time pressure | Opening speed, clear bays | High-frequency items on top, lid-access insert, one-hand latch |
| Film and production | High count, high value, frequent moves | Stacking, wheels, standardized bays | Trolley-wheeled plus custom tray plus stacking locators plus label area |
| Aerial and drone | Pressure change, water, battery safety | Equalization valve, battery isolation | Waterproof case plus valve plus isolated battery bays |
| Underwater and boat | Immersion, salt spray | IP67, corrosion resistance, rinsable | High sealing grade plus stainless hardware plus fresh-water rinse design |
| Air freight | Throwing, pressure differential, cold hold | Crush resistance, valve, anti-open latch | Recessed latches plus pressure valve plus ribbed shell |
Common Mistakes
- Mistake one: a hard case equals good shock protection. A hard shell only solves crush and puncture; cushioning comes from the internal foam. A hard case without proper foam transmits impact straight into the gear.
- Mistake two: the tighter the foam cut, the better. Over-tight foam presses on focus and zoom rings and can raise mechanical resistance over time. The rule is immobilized, not compressed.
- Mistake three: look only at the IP rating and ignore maintenance. Aged or gritty gaskets and loose latches make an IP67 rating meaningless. Clean gaskets regularly, check elasticity, and replace when needed.
- Mistake four: put desiccant in and forget it. Desiccant saturates; once it changes color it must be dried or replaced, and in humid seasons the replacement interval shortens.
- Mistake five: protruding latches on a checked case. Protruding latches are easily damaged or hooked open on conveyor systems and in stacks. For checked bags prefer recessed latches and lockable hasps.
- Mistake six: ignoring condensation. Opening the case immediately after coming in from the cold is one of the top causes of lens fungus.
- Mistake seven: substituting an ordinary storage box for a protective case. Ordinary boxes have no full-perimeter seal, no cushioning insert and insufficient shell rigidity; they keep dust out but protect nothing else.
Incoming Inspection and Routine Maintenance Checklist
- Seal visual check: After closing, inspect along the lid edge to confirm the gasket is compressed evenly with no local gaps.
- Open and close feel: Latches should seat crisply with a clear self-lock; the feel should be consistent across a batch.
- Foam rebound: Press and release; the foam should recover without collapse or crumbling.
- Desiccant and hygrometer: Confirm they are fitted and the hygrometer reads normally.
- Pressure equalization valve: Confirm the body is intact and not blocked; a gentle puff of air can confirm it breathes.
- Hardware and feet: Metal parts free of rust, feet complete and not falling off.
- Routine care: After every outdoor shoot, clean sand and dust out of the case and dry it before closing for storage; wipe the gasket with clean water periodically and avoid strong solvents.
Frequently Asked Questions (FAQ)
Q: Does a photography equipment case really need to be IP67? A: It depends on the working environment. For everyday city shooting and indoor studios, IP65-level splash protection is usually sufficient. But as soon as field work, rain, boats, wading or air freight is involved, choose a case with IP67 capability. IP67 means the case withstands temporary immersion under standard test conditions, which covers low-probability, high-loss events such as an accidental drop into water. Bear in mind that an IP rating is a test result on a new product; long-term effectiveness depends on gasket care and latch compression.
Q: What humidity should a camera and lens be stored at over the long term? A: Keep relative humidity below 60 percent, with an ideal band of 40 to 55 percent. In environments persistently above 60 percent, fungal spores have conditions to grow, and hyphae etch lens coatings irreversibly. In practice, place enough desiccant and a small hygrometer in the case, read it regularly, and dry or replace the desiccant once it changes color. Avoid long, frequent openings, and after coming in from a cold environment let the case acclimatize before opening to avoid condensation.
Q: Should I choose pick-and-pluck foam or custom foam? A: If your kit changes often or you are still settling your configuration, pick and pluck is more flexible: you can pull cubes on site and it costs less. If the inventory is fixed and you access the case frequently, custom pre-cut or molded inserts give better conformity, durability and access speed. A middle path is to use pick-and-pluck as a base layer with a custom pre-cut layer on top for the current kit, which balances flexibility and tidiness.
Q: What should I watch for when checking a camera case on a flight? A: Three things matter most. First, the case must have a pressure equalization valve to balance the pressure differential created by the cargo hold, preventing lid deformation or a case that cannot be opened. Second, choose recessed latches or lockable hasps so the case cannot be damaged or hooked open on conveyors and in stacks. Third, lithium batteries are usually required in the cabin, so keep an isolated battery bay you can pull out quickly at security. It is also sensible to photograph the packed layout before check-in in case of a dispute.
Q: If the foam collapses with age, do I have to replace the whole case? A: No. Foam is a replaceable consumable; you only need to swap the insert, and the shell keeps working. When buying replacement foam, match the original density: too low and support is inadequate, too high and the cushioning travel shortens. If the original used a custom tray, ask the manufacturer to reproduce it to the original specification. That is the practical value of choosing a maker with in-house tray and liner capability.
Q: PP, ABS or PC for the shell: which should a camera case use? A: All three are engineering plastics with different emphasis. PP has good toughness, low-temperature resistance, impact resistance and low weight, suiting field and cold environments. ABS offers high rigidity, hard surface finish and good dimensional stability, suiting cases where appearance and dimensional accuracy matter. PC stands out for transparency and impact strength but costs more, and is usually used where extreme strength or see-through parts are needed. Camera cases most commonly use PP or ABS systems, and the choice should combine service temperature, drop risk and weight budget.
Q: Does a camera case need wheels? A: It depends on total weight and travel distance. Above about 15 kg, or when crossing airports, studios and long location moves, a trolley-wheeled case sharply reduces physical strain and drop risk. Under about 10 kg, or for urban short trips and hiking, hand or shoulder carry is more flexible and avoids the extra weight and bulk of wheels and handles. For multi-case production moves, also check that the cases have stacking locators so they can be stacked in a vehicle.
Conclusion
Choosing a photography equipment protective case is essentially system design around four risks: shock, humidity, dust and pressure change, not simply picking a hard box your camera fits into. The practical order should be: list the full equipment inventory, compute the bounding volume of each item, multiply by a margin factor of 1.4 to 1.8, and derive the internal volume and layout; then set the protection grade by risk level, choosing a full-perimeter sealed structure with IP67 capability for field and water work and always specifying a pressure equalization valve for air travel or altitude; then choose the insert form, pick and pluck for a changing kit, pre-cut or custom molded for a fixed one, with closed-cell EVA or EPE preferred to avoid water absorption; finally decide the carrying format by weight and distance, hand or shoulder under 10 kg, and a stackable trolley-wheeled case above 15 kg or for long moves. The usage side matters just as much: hold internal humidity below 60 percent and replace desiccant on schedule, let the case acclimatize before opening after cold exposure to avoid condensation, and clean and inspect the gasket and latch compression regularly. An IP rating is a test result on a new product under standard conditions; long-term effectiveness comes from maintenance. KeXin New Materials (Guangdong) Co., Ltd. was founded in 2014 and is located in Zhongshan City, Guangdong Province, with a factory of about 18,000 square meters, more than 80 machines and over 100 staff. Its protective-case line is marketed globally under the brand kexinMaterials and domestically under the JUNZHJIA product-line brand, covering more than 150 specifications, offering IP67 capability and environmental suitability validation against MIL-STD-810H. The company operates under ISO9001 and meets REACH, California Prop 65 and RoHS requirements, holds more than 20 utility model and design patents, and provides one-stop OEM and ODM customization from product design, mold manufacturing and injection molding through LOGO printing and tray and liner fabrication. For bulk quotation, specification sheets or customization cooperation, please book through the contact page or inquiry form on this site.
Further Reading
- What Does IP67 Mean for a Protective Case and Where Does It Apply?
- What Is Pick and Pluck Foam in a Protective Case?
- What Factors Matter When Customizing Protective-Case Foam?
- How to Choose Foam for the Inside of a Tool Box?
- How Does an Outdoor Protective Case Protect Internal Electronics?
- How Do Outdoor Protective Cases Handle Rain and Humid Environments?
- Why Is a Shockproof Tool Box Suited to Transporting Precision Tools?