

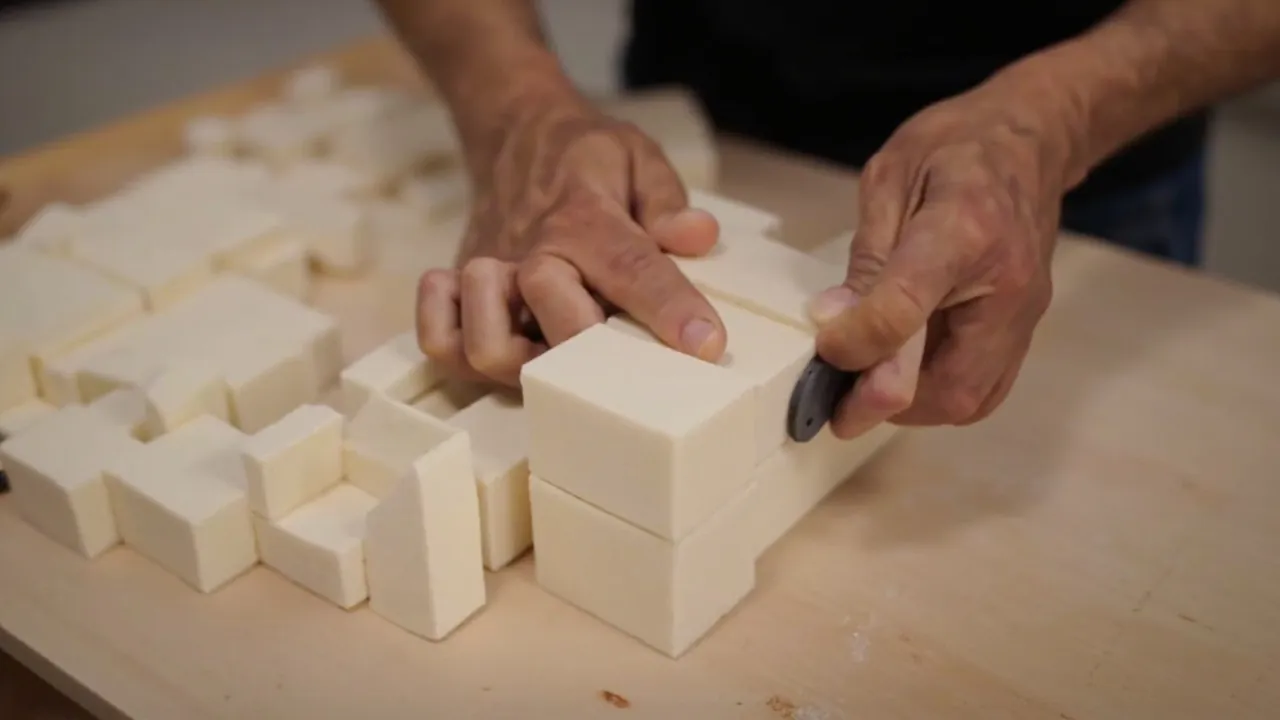
Pick-and-pluck foam (also called "grid-tear foam," "tear-strip foam," "cube foam") is a foam whose surface is pre-cut into regular small grids; the user only needs to gently tear out the grids corresponding to the equipment outline to "tear" out a fitting cavity. Its biggest feature is DIY flexibility: no CNC, no die, no manufacturer rework — the user shapes the foam to almost any equipment outline by hand, especially suited to irregular equipment, frequently changing lists, small quantities, or on-site temporary adjustments. Pick-and-pluck foam usually appears as "two pre-glued sheets inside the case" — the bottom sheet stays as support, the top sheet is torn by grid to form the enclosing cavity. Below we cover definition, grid-structure principle, step-by-step tutorial, pros and cons, comparison with pre-cut/custom foam, applicable scenarios, and common misconceptions, to fully explain "how to use pick-and-pluck foam."
Table of Contents
- Definition of Pick-and-Pluck Foam
- Why It Is "Magic": Grid-Structure Principle
- Usage Steps: Tear Out the Fitting Cavity Step by Step
- Core Advantages: DIY Flexibility, Irregular and Small-Quantity Equipment
- Limitations and Cautions: Grid Precision, Strength, and Crumbs
- Pick-and-Pluck vs. Pre-Cut vs. Custom Foam (Table)
- Scenarios Best Suited to Pick-and-Pluck
- Common Usage Misconceptions
- Coordination with Overall Case Protection
- KeXin New Materials JUNZHJIA Inner-Tray Capability
- Frequently Asked Questions (FAQ)
- Conclusion and Further Reading
Definition of Pick-and-Pluck Foam
Pick-and-pluck foam has its surface pre-cut into regular small squares (commonly about 13–15 mm per grid, an industry-common grid size; specifics per product), with weak connections between grids so the user can pull out a whole grid with a finger or blunt tool, "carving" a cavity matching the equipment outline. The English "pick-and-pluck" literally means "pick out, pull out" — very vivid.
Its biggest difference from pre-cut foam (factory-routed grooves) is "who completes the routing": pre-cut is done by the factory, ready to use on opening; pick-and-pluck is done by the user, who defines the shape. So pick-and-pluck is "deferred customization" — the liner is still a whole grid sheet when the case leaves the factory, and the real shape is decided by you on site. This feature makes it popular in: equipment lists changing every month, bizarre equipment outlines, small purchase quantities not worth a mold, or temporarily adding new accessories in the field. In the one-stop OEM/ODM capability of KeXin New Materials (Guangdong) Co., Ltd. (global brand kexinMaterials, domestic product-line brand JUNZHJIA), inner-tray/liner making can be pre-cut or provide pick-and-pluck for user self-adjustment, depending on equipment standardization.
Why It Is "Magic": Grid-Structure Principle
The "magic" of pick-and-pluck foam comes from its two-layer structure and grid weak-connection design:
- Two-layer structure: Usually two foam sheets. The base layer stays intact as the equipment's bottom support pad; the pluck layer is gridded, and the user tears out the grids covering above and around the equipment so the equipment is "walled" among the remaining grids.
- Grid weak connection: The pluck layer is cut into squares at manufacture, but between grids, and between grid and base, a very thin connecting web remains, ensuring the whole sheet does not scatter in transport yet lets the user remove grids one by one by finger without affecting neighbors.
- Size self-adaptation: Because the minimum unit is "one grid," theoretically any outline approximable by squares can be torn out — rounded corners by tearing a few more grids, protrusions by local deep tearing, irregular faces by combined grid tearing.
- Partial reversibility: If you tear too little you can tear more; but if you tear too much (pulling the grid that should stay), it cannot be restored, so the tutorial stresses "less rather than more, try-fit gradually."
From the cushioning principle, pick-and-pluck foam is essentially still closed-cell foam (mostly EVA or PE type) providing shock resistance and resilience; the grid only lets the user self-shape. After tearing grids, the remaining grids act like a "wall" blocking horizontal equipment shift, the base supports weight, and the residual pluck grids are compressed after closing, pressing the equipment from above, so in transport the equipment is fixed in the center of the "grid wall." This is a different implementation path from pre-cut protective-case foam which achieves fit by factory-precision routing, but the goal is the same: keep equipment from moving, scraping, or breaking in the case.
Usage Steps: Tear Out the Fitting Cavity Step by Step
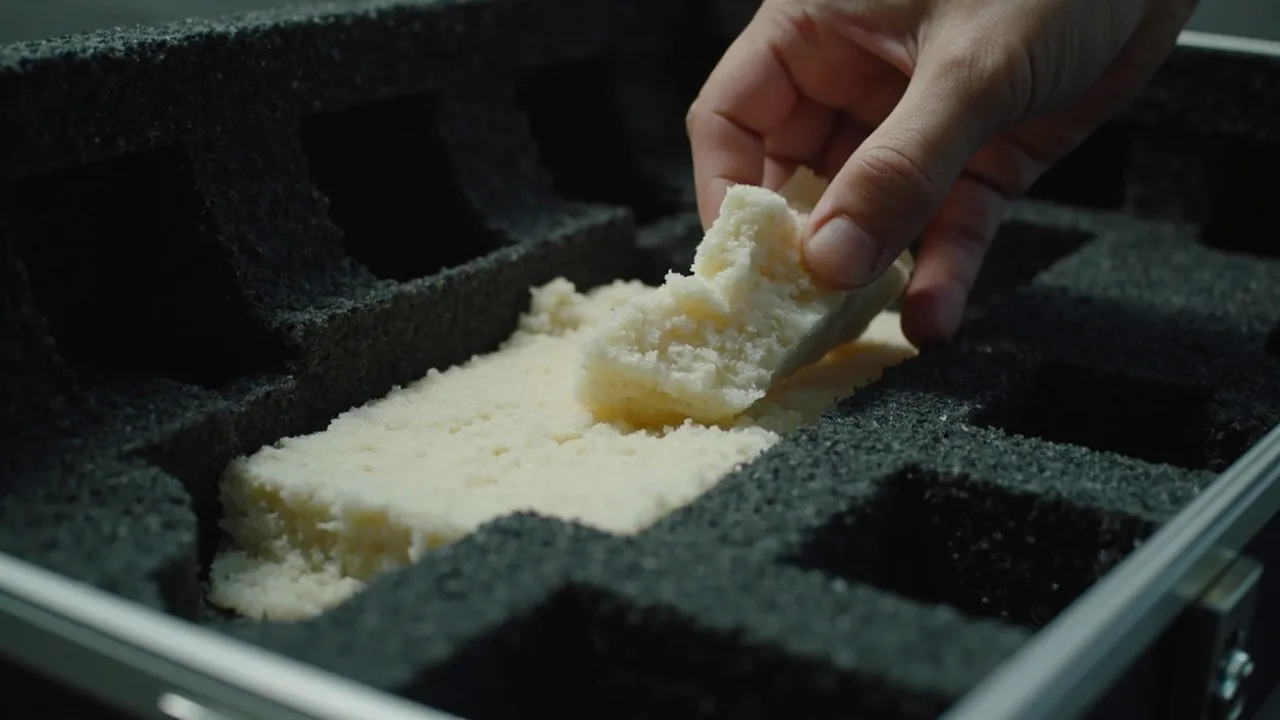
Below is a proven standard process; beginners following it basically will not fail:
Step 1 · Inventory the equipment to be cased. Lay out all devices, accessories, batteries, and cables to be loaded, sort by "largest to smallest volume, highest to lowest value," deciding who takes the main slot and who fills gaps. This step decides later tearing efficiency.
Step 2 · Position and mark on the foam. Place the equipment directly on the pluck foam, lightly press to leave a shallow imprint, or trace the outline with a wipeable pen. Heavy and fragile go in the middle, light and pressure-resistant toward the edge. Leave at least one grid (about 13–15 mm) "wall" between each item, don't let two touch faces.
Step 3 · Tear the top layer first, keep the wall. Starting above the equipment, pull out grids covering it one by one, tearing to near the equipment height; keep a ring of grids un-torn around the equipment as a wall. Remember: shallow before deep, less rather than more, try-fit after each tear.
Step 4 · Try-fit and fine-tune. Put the equipment in, see if it is loose. If it wobbles left-right, tear the adjacent ring of grids to deepen the wall; if the pluck still presses the equipment, continue tearing that area's grids downward until the foam slightly compresses after closing (about 5%–10% margin).
Step 5 · Fix the base and accessory grids. The base is usually pre-glued to the case bottom; loose small parts (batteries, screws, SD cards) can get a small torn pit or a separate bag to avoid mutual bump and loss.
Step 6 · Close and verify, label. Close the lid, fasten latches, invert and shake gently to hear no rattle; stick an equipment-list label on the foam edge or inside lid so others can also "match the slot."
Emphasis: pick-and-pluck precision is limited by grid size; the finer and smaller the outline, the larger the approximation error; for extremely precise single items still suggest the die-cut/thermoform path in the custom foam factors checklist.
Core Advantages: DIY Flexibility, Irregular and Small-Quantity Equipment
The reasons pick-and-pluck foam is widely adopted are direct:
- Zero-threshold shaping. No tools needed (finger only), no design file, no return to factory; fit new equipment in minutes on site.
- Fits irregular outlines. Equipment with handles, antennas, brackets, odd shells that pre-cut cannot make or is uneconomical to make, pick-and-pluck easily approximates by grids.
- List-change worry-free. Add one today, change model tomorrow, just tear a few more grids; pre-cut once shaped cannot change — its biggest advantage over pre-cut.
- Small-batch economy. Unlike die-cut needing a knife mold and CNC needing programming, pick-and-pluck single-piece cost is almost independent of quantity, suited to individuals, small teams, sample cases.
- Temporary emergency. In the field or at a customer site with one extra piece of equipment, tear a grid and put it in, no empty-handed return.
From the protection logic, pick-and-pluck foam also serves the "cushion-fix" layer of the three-layer protection, and like the other internal foam types it is a key link making "ready to use on opening" true.
Limitations and Cautions: Grid Precision, Strength, and Crumbs
Pick-and-pluck foam is not without cost; its flexibility comes from "grid approximation" and is also limited by the grid:
- Precision limited by grid pitch. Grid about 13–15 mm per square; outlines smaller than one grid or between grid lines can only be approximated, not the smooth fit of CNC pre-cut; extremely precise single items not advised to rely purely on pick-and-pluck.
- Limited wall strength. The remaining grid wall stands by the foam itself; under strong side impact it may tilt; heavy equipment walls should be thick and aided by base and body limit.
- Irreversible if over-torn. Once the grid that should stay is pulled, the foam is wasted, only a sheet replacement; so "less rather than more, try-fit repeatedly" is mandatory.
- Crumbs and cleanliness. Tearing produces debris; EVA/PE closed-cell foam debris is generally less, but electronics, optics, and medical scenarios still clean before loading; clean environments can choose low-dust IXPE.
- Long-term looseness risk. Repeated tearing and frequent access may loosen the grid web, the whole sheet gradually "falls apart"; replace the pluck sheet when large-area web breakage appears.
Therefore, when equipment is high-value, finely shaped, and long unchanged, pick-and-pluck often gives way to pre-cut or full custom; when changing a lot, odd-shaped, and small quantity, it is the optimal solution. On the "divider vs. foam" route debate see protective case divider versus foam liner.
Pick-and-Pluck vs. Pre-Cut vs. Custom Foam (Table)
Put the three liners in one table for clear selection:
| Dimension | Pick-and-pluck (tear grid) | Pre-cut (pre-routed) | Full custom die-cut/thermoform |
|---|---|---|---|
| --- | --- | --- | --- |
| Who shapes | User on site | Factory pre-routed | Factory by drawing |
| Ease | Low (finger) | Zero-threshold | Zero-threshold (finished) |
| Flexibility | High (any shape) | Low (fixed model) | Highest (dedicated design) |
| Outline precision | Medium (grid approx) | High (precision cut) | Highest |
| Re-shape cost | Very low (tear more) | Medium (reprogram/mold) | High (redesign) |
| Suitable qty | Small, changing | Standardized batch | High-value single/batch |
| Typical scenario | DIY, repair kit, mixed | Brand kit, inspection standard | Instrument factory, medical/military |
One-line memory: equipment often changes, odd-shaped, small quantity → pick-and-pluck; equipment fixed, needs consistency, batch issue → pre-cut; single extremely precise, perfect fit → custom. The three complement not exclude; many professionals mix "base pick-and-pluck + main-device pre-cut."
Scenarios Best Suited to Pick-and-Pluck
Combined with common protective-case applications (outdoor survey, military/police/fire, electronics, scientific exploration, aviation/communication), the scenarios where pick-and-pluck shines:
- Repair and commissioning tool kits: Electrician, communication, and metering repair tools change monthly; pick-and-pluck tears as used, always fitting current tools.
- Photo/video and drone field shoots: Camera, lens, drone, battery, filter mixed, odd shapes; tearing grids is easier than pre-cut.
- Sample and demo cases: Sales and pre-sales carry multi-model samples to clients; load whichever the client wants, adjust on site.
- Research and amateur expedition: Self-made instruments and sensor combos are not fixed; pick-and-pluck lowers modification threshold.
- Personal and home equipment: Fishing gear, medical devices, collectibles in small batches, mold not economical.
Conversely, if equipment is fully standardized and needs batch consistency (e.g., unit-issued same inspection kit), pre-cut foam is better in consistency and appearance.
Common Usage Misconceptions
The pitfalls users most easily hit when tearing grids:
- Misconception 1: Tear in one go. Beginners often tear along the outline in one breath, then cannot restore over-tearing. Correct: "tear in layers, try-fit often, less rather than more."
- Misconception 2: No wall left. Only tear above the equipment, tight on all sides, so the equipment has no wall and side-slips colliding in transport. Keep at least one grid wall.
- Misconception 3: Ignore the base. Only process the pluck, base uneven or not glued, equipment bottom floats and wobbles. Base must be flat support, firmly glued to case bottom.
- Misconception 4: Over-pack. One piece against another with no gap; pulling one moves a whole, easier damage. Each piece needs its own cavity, no contact.
- Misconception 5: No cleanup after tearing. Debris left in cavity gets into precision equipment gaps. Blow or wipe clean before loading.
- Misconception 6: Only foam, ignore the whole. However good pick-and-pluck, a non-sealing, non-compression body is useless; it only solves "cushion-fix," dust/water still rely on IP67 seal and shell.
Coordination with Overall Case Protection
Must repeat: pick-and-pluck foam is only the cushion-fix layer of the three-layer protection; it cannot replace the other two:
- Sealing layer: Full-perimeter gasket + multi-latch, decides dust/water rating (e.g., IP67 per IEC 60529). Foam is not waterproof; whether equipment gets water depends on the body seal.
- Pressure-balance layer: Air transport, high altitude, large temperature difference rely on the pressure-balancing valve to balance pressure difference and prevent lid suction-open. Foam is unrelated.
- Cushion-fix layer: That is pick-and-pluck (or pre-cut/custom), solving vibration shift and collision.
Only with all three is it a complete solution. This is why before upgrading the liner you should confirm the body's waterproof design and dustproof design are in place. Upgrading only foam, not the body, leaves protection crippled.
KeXin New Materials JUNZHJIA Inner-Tray Capability
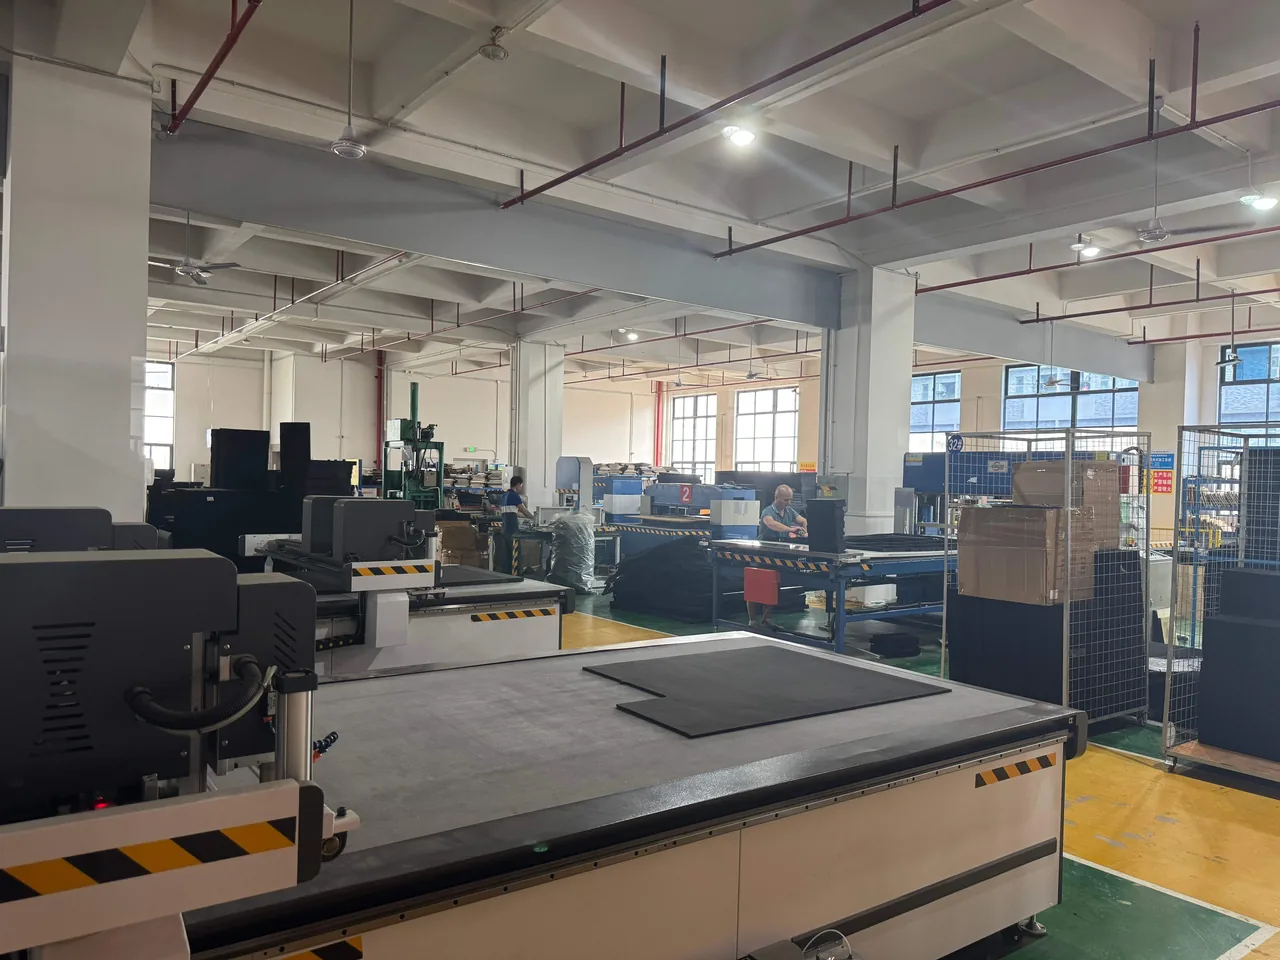
KeXin New Materials (Guangdong) Co., Ltd. operates the domestic brand "KeXin", the global brand kexinMaterials, and the protective-case product-line brand JUNZHJIA. Founded in 2014, the factory is in Zhongshan City, Guangdong (the Greater Bay Area), covering about 18,000 m², with 80+ machines and 100+ staff. The company holds more than 20 utility-model and design patents (each patent is traceable to the corresponding design and process record of the product line).
The product line covers more than 150 specifications across plastic tool boxes, safety protective cases, sealed cases, waterproof/moisture-proof cases, hardware tool boxes, machinery parts cases, and parts bins, applied in outdoor survey, military/police/fire, electronics, scientific exploration, and aviation/communication, exported to the United States, the United Kingdom, Germany, Canada, Japan, Russia, the Philippines, India, Hong Kong/Taiwan (China), and the Middle East. The company has one-stop OEM/ODM capabilities for product design, injection molding, mold manufacturing, LOGO printing, and inner-tray/liner making — The protective-case product line has IP67 capability and holds ISO9001, REACH, and California Prop 65 (certificates available on request); plastic cases in ABS/PP pass RoHS testing; the product line is validated for environmental adaptability under MIL-STD-810H (a product-line test basis, not a military certification). For bulk quotations, specification sheets, and customisation, contact us through the contact form on this site — the team replies within 1–3 business days.
Pick-and-Pluck Thickness, Density, and Grid Parameters
When self-supplying or purchasing pick-and-pluck, several key parameters decide final effect (foam industry common knowledge; specifics per manufacturer specification):
| Parameter | Industry common range (reference) | Selection meaning |
|---|---|---|
| --- | --- | --- |
| Grid size | About 13–15 mm per grid | Smaller grid finer but slower to tear; common ~14 mm |
| EVA foam density | About 30–80 kg/m³ | Higher density better support, stiffer wall; lower lighter/softer |
| Shore hardness | About 38A–60A (common) | Hard material wall stands better; soft wraps gently |
| Pluck thickness | By equipment height, common 25–50 mm | Decides tear depth, wall height |
| Base thickness | Common 10–20 mm | Support equipment, absorb bottom impact |
| Close compression margin | About 5%–10% | Fixed, not pressing lid |
Practical advice: taller equipment uses thicker pluck, tear deeper; heavier equipment chooses high density, medium-high hardness, thick wall; pressure-sensitive face can tear less there, keep thicker foam as soft pad. These parameters must coordinate with body net depth to avoid total foam thickness exceeding close space. On body wall-thickness and strength see protective-case wall thickness and strength.
Pick-and-Pluck Coordination with the Case Body (Positioning and Tolerance)
However flexible pick-and-pluck, it must "sit stable" to be effective:
- Base positioning firm. Base mostly glued to case bottom or locked by bottom limit ribs; clean the bottom before gluing, align once, avoid repeated peeling lowering adhesion.
- Small body tolerance. Large injection dimension drift makes foam skewed inside, wall and equipment misaligned. Regular manufacturers use virgin ABS/PP and control mold tolerance, ensuring stable internal dimensions.
- Do not block gasket and latch. Foam edge must leave gap from lid sealing groove and latch, not pressing the gasket or blocking latch after closing; otherwise it breaks the IP rating.
- Center of gravity centered, not one-sided. Heavy equipment at the body geometric center, avoid one-side tilt causing stacking lean. On stacking and load see protective-case stacking structure.
One line: pick-and-pluck's "flexibility" is built on stable body dimensions and firm positioning.
Pick-and-Pluck Acceptance Checklist (User Self-Check)
After tearing yourself or receiving finished pick-and-pluck, suggest checking by list:
- Match the slot: Each item fits without wobble or forced push, wall around.
- Access feel: Single-hand retrievable, no brute force; smooth close, normal latch.
- Compression margin: After closing foam slightly compressed (about 5%–10%), not pressing lid, no gap.
- No debris: No obvious foam debris in cavity, especially clean scenarios blow clean.
- Base firm: Invert and shake, base does not shift or flip.
- No interference: Foam does not press gasket, block pressure-balancing valve, or push latch.
- Backup pluck: Suggest keeping a same-size backup pluck; on big change replace directly, no whole-case redo.
Paste the list inside the lid or into the work instruction so every team member can stably restore the liner.
Typical Pick-and-Pluck Use in the Five Application Industries
Combined with common protective-case applications (outdoor survey, military/police/fire, electronics, scientific exploration, aviation/communication), typical pick-and-pluck use:
- Outdoor survey and scientific exploration: Self-made sensors and sampler combos are not fixed; pick-and-pluck tears as used, even adding new accessories on site; expedition transfer with altitude/temperature needs a pressure-balancing valve, foam only fixes.
- Military/police/fire: Mission equipment changes with duties; pick-and-pluck lets individual/squad cases flexibly reorganize; the product line can be validated for environmental adaptability against MIL-STD-810H (product-line-level description, not a single-product "military certification").
- Electronics repair: Electrician and communication tools change monthly; tearing grids is easier than pre-cut; precision probes use medium-high-hardness foam wall support.
- Aviation/communication: Airborne/vehicle equipment experiences vibration and pressure difference during takeoff/landing transfer; pick-and-pluck fixing reduces shift, paired with pressure-balancing valve for cargo-hold difference.
- Industrial metering: Gauges, standard blocks, spares mixed; tearing grids puts each in place, clear handover inventory.
Commonality: these scenarios have "often-changing list, varied shapes, unfixed quantity" — exactly pick-and-pluck's strongest range. On how protective cases protect electronics see protective case protecting electronics.
Transport and Storage Notes
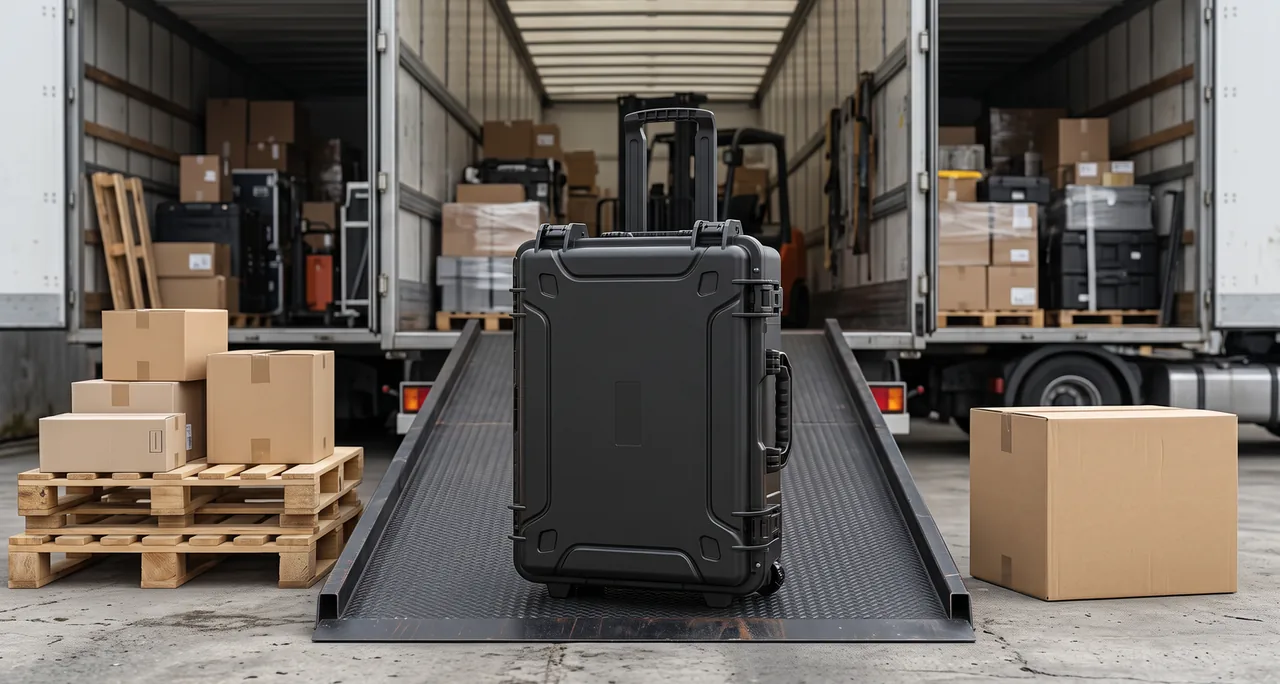
Pick-and-pluck maintenance is simple, but a few points make it more durable:
- Cool storage: Avoid long sun and high temperature; foam accelerates aging, hardens, sheds.
- Moisture-proof but not waterproof: Closed-cell foam does not absorb water, but long humidity may fail the adhesive; paired with IP67 body is more stable.
- No heavy pressure: A whole foam sheet long pressed by a heavy object on an odd shape may permanently collapse; store empty case flat, no load on top.
- Regular cleaning: Soft cloth or low-pressure air to remove dust; replace pluck on powdering or large-area web break.
- Spare management: Multiple same cases suggest a unified backup pluck; replace on change, lowering overall maintenance cost.
Common Pick-and-Pluck Mixes and Upgrade Paths
Professionals rarely "use only one"; more often mix pick-and-pluck with other liners by equipment zone:
- Main device pre-cut + accessory pick-and-pluck: Lock fixed items like camera body and host in factory pre-cut slots, batteries, cables, small accessories tear as used. Balances consistency and flexibility.
- Base pick-and-pluck + top custom: Base as general support, highest-value top goes custom die-cut for perfect fit of key items, rest still adjustable.
- Pick-and-pluck + adjustable divider: Bottom divider splits big zones (tools/electronics), pick-and-pluck fixes single items inside. Suited to comprehensive kits needing both classification and close fixing.
- Upgrade path: Individual/sample stage uses pick-and-pluck for fast prototyping → after list freezes upgrade to pre-cut for batch consistency → extremely precise single items locally custom. This path minimizes "trial cost" without missing batch consistency.
Which mix to choose returns to the judgment: is equipment standardized, high-value, frequently changing? Different weights give different plans. On the divider route itself see protective case divider versus foam liner.
How to Decide Whether to Use Pick-and-Pluck (Decision Checklist)
When unsure, self-ask by this checklist; two or three questions locate it:
- Is the equipment list fixed? Long unchanged, needs batch consistency → lean pre-cut foam; changes monthly → pick-and-pluck.
- Is the shape regular? Standard square model → pre-cut more precise; handle/antenna odd shape → pick-and-pluck easier.
- Is the quantity large? Single or very small batch → pick-and-pluck economical; hundreds → pre-cut or die-cut amortizes cost.
- High precision? Extremely precise single item needs perfect fit → go custom tray; general tools/instruments → pick-and-pluck enough.
- Who makes the liner? User does it, on-site adjust → pick-and-pluck; factory-finished, zero operation → pre-cut or custom.
In the five questions, if "changing, odd, small, self-made" dominate, choose pick-and-pluck; otherwise pre-cut or custom. This checklist can go into the purchase spec so beginners do not choose by feel.
Pick-and-Pluck Material, Color, and Anti-Static Notes
The "base" of pick-and-pluck is also usually closed-cell foam; material choice affects scenario:
- EVA (ethylene-vinyl acetate): Most common, good resilience, good shape retention, suited to grid pluck and base support.
- PE/EPE (polyethylene class): Light, low cost, even cushioning, suited to light equipment.
- IXPE (irradiation cross-linked PE): Denser, low-dust, smooth surface, suited to electronics, medical clean environments.
- Anti-static (ESD) foam: Conductive filler or anti-static treatment, for circuit boards, chips and other static-sensitive equipment; when choosing, distinguish "anti-static" from "conductive" grade by manufacturer test data, not by color.
Note: color (black, gray, blue, etc.) is only appearance, no direct relation to protection performance; clean or static-sensitive scenarios should focus on dust grade and anti-static grade, not color. Purchase single items by manufacturer material description, not by memory of fixed parameters.
Frequently Asked Questions (FAQ)
Q: About how big is one pick-and-pluck grid, and what to watch when tearing? A: Industry-common grid about 13–15 mm (specifics per product). Tear by "shallow before deep, less rather than more, try-fit repeatedly" to avoid irreversibly tearing too much; leave at least one grid wall around the equipment.
Q: Can pick-and-pluck be re-torn and changed? A: You can gradually tear deeper and adjust with equipment changes, but pulled grids cannot be restored; over-tearing only replaces the pluck sheet. So change conservatively, tear less first, try-fit then tear more.
Q: Which is more stable, pick-and-pluck or pre-cut foam? A: Pre-cut foam grooves are factory-precision cut with higher shape fit and more precise fixation; pick-and-pluck relies on grid approximation with slightly weaker wall strength. But pick-and-pluck wins in flexibility, suited to changing equipment. Extremely precise single items suggest pre-cut or custom.
Q: Does pick-and-pluck shed crumbs and dirty equipment? A: Closed-cell EVA/PE foam tearing debris is usually less, but electronics, optics, medical clean scenarios still clean after tearing; for low dust choose IXPE or low-dust EVA, and require material description.
Q: Can heavy equipment use pick-and-pluck? A: Yes, but the wall should be thick, base firmly glued, paired with body limit and centered gravity; if equipment is very heavy and transported long-term, pre-cut or custom die-cut support is often more reliable.
Conclusion
Pick-and-pluck foam (self-tear-grid foam) is a DIY liner where the user tears grids by equipment outline on site; its core advantage is zero-threshold, flexible, fitting irregular and small-changing equipment, with the biggest being limited grid precision, general wall strength, and irreversible over-tearing. Its correct use is "inventory the list → position and mark → tear the top shallow before deep → try-fit and fine-tune → fix base and accessories → close and verify," remembering "less rather than more." For selection: equipment often changes, odd-shaped, small quantity → pick-and-pluck; equipment fixed, needs consistency, batch issue → pre-cut foam; extremely precise single item → custom tray. Whatever the liner, it is only the cushion-fix layer of the three-layer protection and must coordinate with IP67 seal, shell rigidity, and pressure-balancing valve to form the complete "ready to use on opening, safe on closing" solution. For batch users, a manufacturer with one-stop OEM/ODM for product design, injection, mold, and inner tray (such as KeXin New Materials JUNZHJIA) can coordinate body and liner before leaving the factory, then smoothly upgrade from pick-and-pluck to pre-cut or custom as needed.
Further Reading
- What Is an Outdoor Protective Case and Where Is It Used?
- What Is Pre-Cut Protective-Case Foam (Routed Inner Tray)?
- What Are the Internal Foam Types for a Protective Case?
- What Factors to Consider for a Custom Protective-Case Foam Tray?
- Protective Case Divider vs. Foam Liner: Which to Choose?
- How to Choose Toolbox Internal Foam