

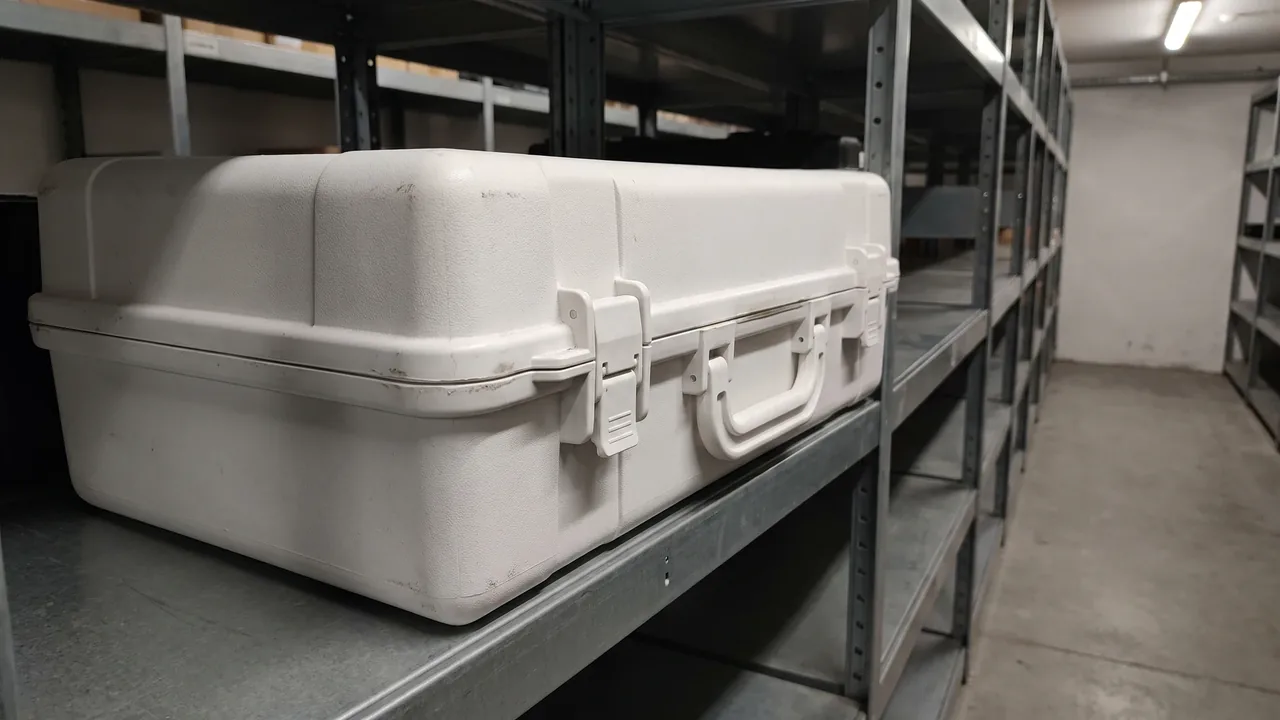
A broaching machine is a classic single-purpose asset: one horizontal broaching machine may spend its whole life cutting one family of parts, yet it changes broaches constantly. The broach itself is an extreme slenderness part. A two-metre round broach may carry a cutting diameter of only forty millimetres, giving a length-to-diameter ratio above fifty. Spline and keyway broaches are worse still, with tooth tips that behave like thin cantilevered slivers. Inside a workshop these tools are moved on wooden trestles and rope. Once they enter road freight or ocean container shipment, three failure modes arrive together: bending, edge chipping and corrosion.
The JUNZHIJIA position on broaching toolcases is that bending must be solved first, tooth protection second, and rust control only after both. Long broaches fail in a fixed order, because a bar that exceeds its straightness tolerance will cut a tapered, drifting keyway no matter how perfect the cutting edges remain. Restricting deflection therefore has to be the primary design objective, not an afterthought applied to a bar dropped into foam.
Table of Contents
- Why Broach Bars Bend: The Mechanics of Slenderness Ratio and Unsupported Span
- Keyway Broach Tooth-Edge Chipping: From Edge Geometry to Case Contact Points
- Three Pathways to Corrosion on Broaching Fixture Locating Faces
- Long-Pocket Liners: Choosing EPE versus EVA Channel Profiles
- Anti-Bow Support: Multi-Point Cradling and Axial Restraint
- Protecting Broach Shanks and Pull-End Faces
- Mixed Loading: Round, Spline and Keyway Broaches in One Case
- Compartmenting Expanding-Mandrel and Wedge-Type Fixtures
- Long-Case Stiffness and Stacking: Sizing the Bending Section
- Sealing and Humidity: Critical Relative Humidity for Alloy Tool Steel Broaches
- Transport Test Matrix: ISTA 3E and GB/T 4857 Applied to Long Cases
- Acceptance Criteria and Post-Transit Inspection: Straightness and Edge Condition
- Frequently Asked Questions FAQ
- Conclusion and Related Reading
Why Broach Bars Bend: The Mechanics of Slenderness Ratio and Unsupported Span
A broach bar is not crushed into a curve by stacking. It is shaken into one. During transport the case experiences random vibration and transient shock. If both ends of the broach are rigidly clamped while the middle span hangs free, the mid-span becomes a displacement amplifier. Treated as a simply supported beam, maximum deflection scales with the fourth power of span and inversely with the second moment of area. Compare a two-metre broach with a free span of 1200 mm against the same broach with a free span of 600 mm and the relative deflection under identical excitation differs by roughly sixteen times.
The greater danger in service is resonance. Once packed, the broach and its liner form a mass-spring system whose first natural frequency usually lands between 15 Hz and 40 Hz, while road freight concentrates its vibrational energy between 3 Hz and 20 Hz and ocean freight sits even lower. When the first mode falls inside that excitation band, a few hundred kilometres of pavement is enough to fold a long bar back and forth thousands of times.
| Unsupported span | Relative deflection | First-mode frequency | Verdict |
|---|---|---|---|
| --- | --- | --- | --- |
| Up to 300 mm | 1 | High, clears road energy | Preferred |
| 300 to 600 mm | 3 to 6 times | Moderate, verify liner stiffness | Acceptable with extra supports |
| 600 to 1200 mm | 10 to 30 times | Low, overlaps excitation | Prohibited |
| Above 1200 mm | Diverging | Very low, whip mode | Absolutely prohibited |
The conclusion is blunt. A two-metre broach needs at least four support points so that the largest free span drops below 400 mm. Broaches longer than three metres should use six points plus a removable anti-bow clamp at mid-length. Where the estimate needs confirming, the sweep procedure in vibration resonance testing for transport shows how to measure the packed assembly rather than trusting the calculation.
Keyway Broach Tooth-Edge Chipping: From Edge Geometry to Case Contact Points
The tooth tip of a keyway broach is the weakest feature on the entire tool. Tooth-top width is often under one millimetre, and the hardness that delivers wear resistance is bought at the cost of almost no toughness. Nine out of ten chipped teeth are not struck; they are rubbed. A relative slip of only 0.2 to 0.5 mm between liner and tooth tip is enough for foam fibres to abrade the edge repeatedly, producing micro-chipping invisible to the eye that later raises burrs on the keyway flank.
Three rules govern the contact design. The tooth tip must float, so the liner channel has to be two to three millimetres deeper than the full tooth height and must touch nothing. The load path must land on the broach back or the tooth-root fillet, meaning the reaction sits close to the neutral axis of the section instead of prying on the teeth. The bar must be unable to travel axially, because any residual axial freedom lets the tool slide along its channel during braking and drags the tooth tips across the foam.
A field check tells you whether a channel really floats the teeth. Seat the broach in its normal attitude and slide a 0.05 mm feeler gauge along the full tooth row. If the gauge passes freely the tip is clear and the channel passes. If it snags, that tooth is being carried by the liner and will abrade in transit. A second indicator appears after unpacking: a repeating row of marks inside the channel spaced at the tooth pitch means the tips were loaded, and the channel must be deepened or the load moved to the tooth root.
Three Pathways to Corrosion on Broaching Fixture Locating Faces
A broaching fixture earns its value entirely through its locating faces. Supporting faces set the runout of the clamped workpiece, and guide faces set the coaxiality between broach axis and workpiece bore. Once those faces corrode, even a thin and uniform film of surface rust is enough to shift location, because the rust layer is not uniform across the face.
Moisture reaches a fixture inside its case by three routes. The first is trapped vapour: a fixture packed while its surface is colder than the ambient dew point will be condensing water before the lid is even opened. The second is acidic off-gassing from wooden packaging, where inadequately dried plywood releases acetic acid and creates a mildly acidic atmosphere around machined cast iron and alloy steel faces. The third is handling, because bare hands transfer chloride ions that seed pitting.
Countermeasures map one-to-one onto those routes. Dry and record the surface before packing, holding relative humidity under 45 percent. Specify low-emission plywood or place an aluminium foil laminate between timber and liner. Apply a corrosion-inhibiting oil film and then a peelable protective film over critical guide faces. Vapour-phase inhibitor film can be added for high-grade locating faces, but compatibility with any copper-bearing components must be checked first.
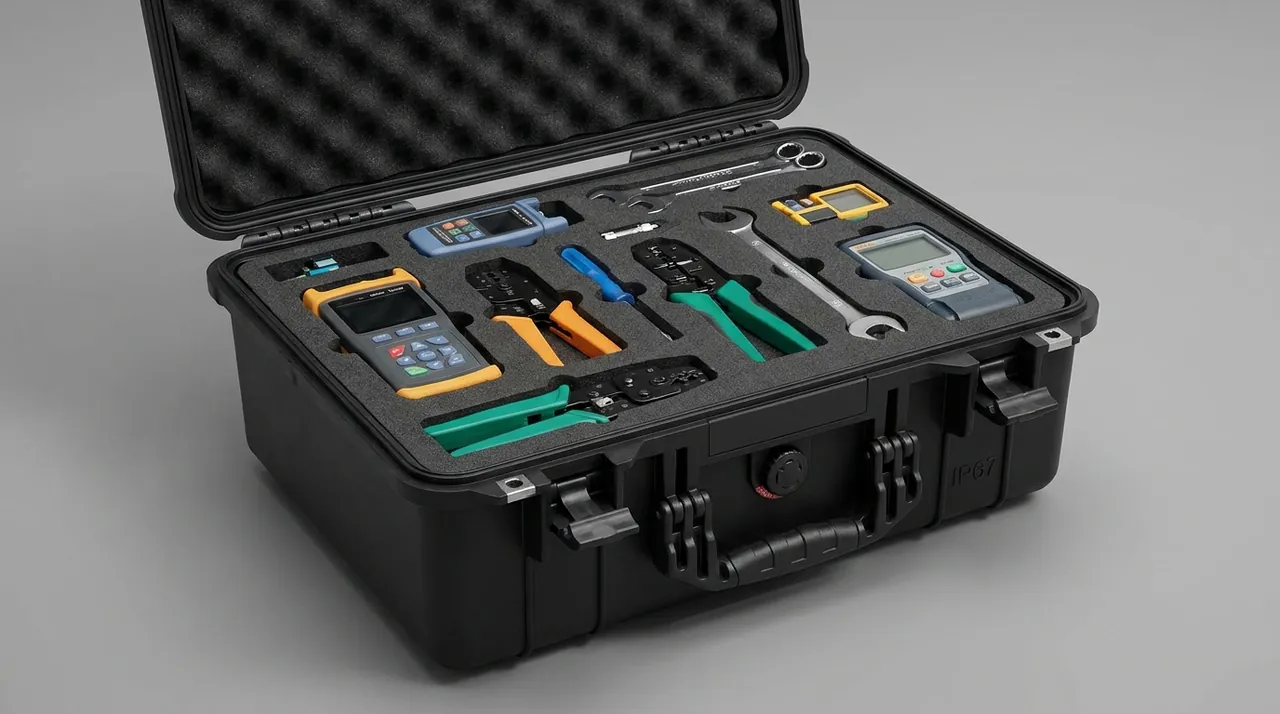
Condensation is the most underestimated of the three routes. Metal has high thermal inertia, so moving a fixture from an air-conditioned inspection room onto a summer loading dock can leave the surface five to eight degrees colder than the surrounding air, which condenses immediately whenever relative humidity exceeds seventy percent. The fix is not more desiccant but removing the temperature differential: let the fixture rest in the packing area until surface and ambient temperatures differ by only one or two degrees before oiling and sealing. When cycle time forbids that wait, forced warm-air circulation will equalise the part quickly, but open flame or high-temperature baking must never be used because both destroy the oil film.
Long-Pocket Liners: Choosing EPE versus EVA Channel Profiles
Liner selection for long tool cases normally comes down to EPE, EVA and IXPE. Expanded polyethylene is light, resilient and inexpensive, and works well as a long-span support pad. Ethylene vinyl acetate is denser with far lower compression set, which suits precision tooth stops. Irradiation cross-linked polyethylene foam has a dense skin that can contact finished surfaces directly but carries only limited load.
| Material | Typical density | Compression set | Contact with tooth tips | Best location |
|---|---|---|---|---|
| --- | --- | --- | --- | --- |
| EPE | 25 to 35 kg/m³ | Higher | Not advised | Undersupports, end buffers |
| EVA | 60 to 120 kg/m³ | Very low | Acceptable in stops | Tooth stops, fixture blocks |
| IXPE | 30 to 50 kg/m³ | Moderate | Preferred soft contact | Finished-face interface |
| Rigid PE foam | High | Negligible | No contact | Load base, divider substrate |
For channel geometry, a long broach is best carried by a V-block plus flat stop combination. The V-block contacts two generatrices of the bar body only and never the teeth, while the flat stop controls axial and lateral freedom. Cut channel width to a plus-half, minus-zero millimetre tolerance. A slightly loose fit is always preferable to interference, because interference turns every removal into a prying action that loads the teeth. A fuller comparison of foam grades for industrial cases is set out in internal foam types for protective cases.
Anti-Bow Support: Multi-Point Cradling and Axial Restraint
One rule of thumb governs support layout: the largest unsupported span should never exceed twenty times the bar diameter and must never exceed 400 mm in absolute terms. For a 40 mm round broach that ceiling is 400 mm. For slimmer keyway broaches with higher slenderness, tighten it further to between 250 and 300 mm.
Multi-point cradling can be built three ways. A monolithic cradle machined from a single EVA block with parabolic channels at each station is the simplest and stiffest. Removable support blocks allow one case to accept broaches of different lengths, at the cost of needing dowels to stop the blocks migrating. A hybrid aluminium cradle with EVA contact faces distributes load into the case floor ribs and suits the heaviest bars.
Support blocks themselves must be restrained. A block simply laid on the floor liner will creep along its channel under longitudinal vibration, relocating every support point within a few hours and silently destroying the anti-bow design. Three reliable fixes exist: a dovetail or spigot engagement between block and floor liner, nylon bolts into moulded-in inserts, or side stop rails that hold horizontal freedom under 0.5 mm. The three can be combined, and for broaches beyond three metres they should be.
Profile matters too. A 90 to 120 degree V-block gives two-line contact and dependable location for round broaches, concentrating stress but positioning precisely. Hollow or thin-walled bodies should use a curved saddle instead, spreading load over a wider area to avoid local crushing. Whether to add a soft pad between block and bar depends on the profile: a pad under a V-block only degrades location, while a saddle benefits from a two to three millimetre IXPE facing that damps high-frequency vibration and breaks galvanic contact.
Axial restraint is the neglected half of the problem. End stops must never press on shank threads or on the pull-end bore. They should thrust against a shank shoulder or a dedicated process groove. Size the end buffer at 1.5 to 2 times the tool mass for heavy bars.
Protecting Broach Shanks and Pull-End Faces
Both ends of a broach carry its datums. The shank side provides the clamping face gripped by the machine puller; the pull end provides the interface for the follow rest or rear support. A dent in either place produces clamping eccentricity that shows up directly as scatter in broached dimensions.
Protection of the shank focuses on the clamping taper or pull-stud groove. Hardened broach shanks are usually precision ground, and a light bruise on a taper is enough to increase repeat clamping runout. The practical answer is a full-cover EVA sleeve with an IXPE inner face. The operator keeps the sleeve on until the shank is inside the machine puller, then slides it off, so bare hands never touch the datum.
At the pull end the common defect is a deformed through-bore. On slender pull ends the liner must never apply a point load to that bore; use a saddle with surface contact instead. Where the pull end passes through a support block, the block bore should be at least one millimetre larger than the pull-end diameter with a radiused mouth, so insertion cannot score the surface.
Stowage attitude deserves a written rule as well. Laid horizontally, all shanks should face the same side so one sleeve specification serves the whole case. For shorter tools with room to spare, tilt the shank end two or three degrees upward so more of the mass rests on the mid-length blocks, which slows long-term compression of the end supports. Pull studs are removable wear items and should be taken off and bagged separately, since a stud deformed by side load will no longer match the machine puller.
Mixed Loading: Round, Spline and Keyway Broaches in One Case
One machine rarely owns a single broach. Round broaches are stiff, keyway broaches are the most fragile, and spline broaches carry complex tooth forms with support on both flanks. When they share a case, the worst possible layout rule is first-in, first-placed.
The governing principle is heavy outboard, fragile inboard, and stiff outboard, brittle inboard. Put the heaviest round broaches along the case walls near hinges and handles, where the case structure can absorb inertia directly. Place keyway broaches in a central row inside their own compartment. Spline broaches take a middle row with support on both sides. Dividers must run continuously from floor liner to lid liner; a half-height divider lets upper-layer vibration bypass it entirely.
| Broach type | Recommended position | Support points | Divider requirement | Note |
|---|---|---|---|---|
| --- | --- | --- | --- | --- |
| Round broach | Outboard against wall | 4 to 6 | Half height acceptable | High mass, needs restraint |
| Spline broach | Middle row | 4 | Continuous | Complex tooth form, avoid rubbing |
| Keyway broach | Middle or wall-adjacent, own compartment | 4 to 6 | Continuous | Most fragile, isolate |
| Helical broach | Dedicated compartment | 6 | Continuous | Helix angle sensitive to torsion |
Numbering matters as much as geometry. Every slot should carry an oil-resistant label placed on an edge that fingers rarely touch, and the slot numbers should map to the machine program numbers on a printed cross-reference sheet inside the lid. With that sheet, a missing or misplaced broach is found in under a minute.
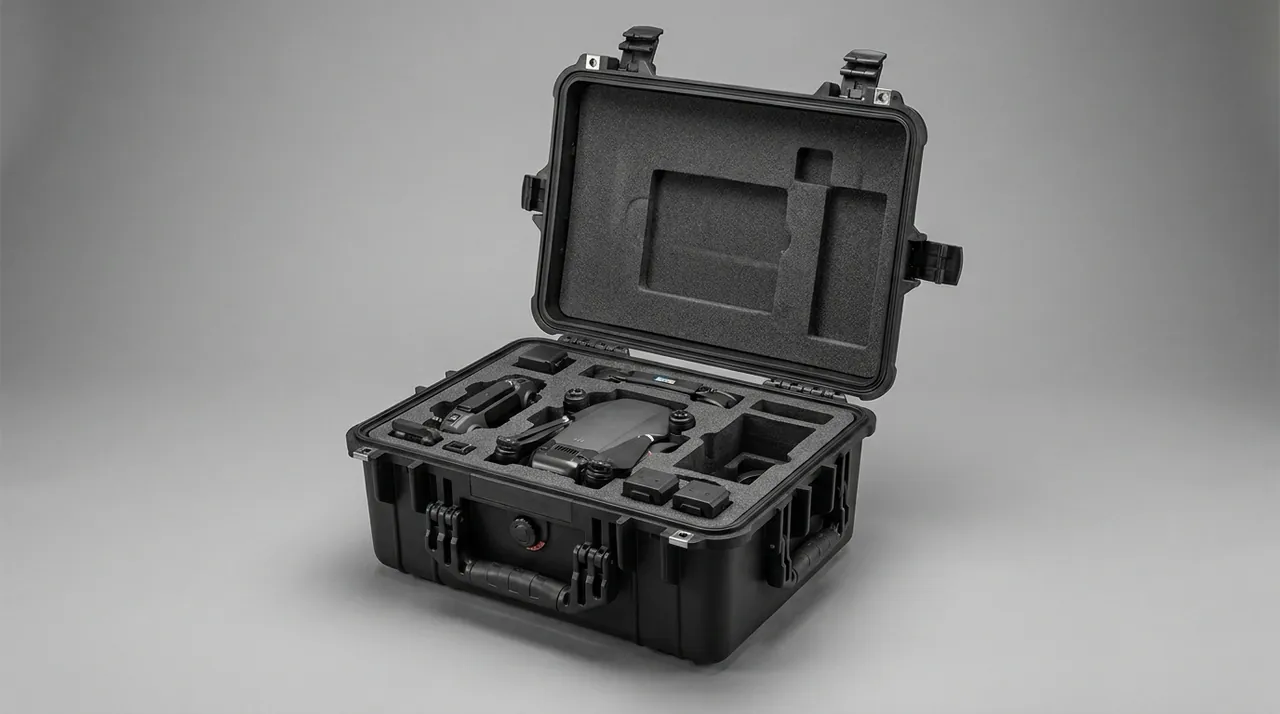
Compartmenting Expanding-Mandrel and Wedge-Type Fixtures
Broaching fixtures differ widely in how they locate. An expanding-mandrel fixture depends on a flange face and a locating spigot, and its worst outcome is a compression mark on the flange. A wedge-type fixture self-locks on inclined faces, and its worst outcome is a wedge face that corrodes solid or slips when released.
| Fixture type | Critical surface | Dominant failure | Compartmenting approach | Restraint method |
|---|---|---|---|---|
| --- | --- | --- | --- | --- |
| Expanding mandrel | Flange face, locating spigot | Marking, distortion | Own compartment, flange up | Axial clamp plus radial stop |
| Wedge type | Wedge face, adjusting screws | Corrosion, bent screws | Wedge up, screws removed and bagged | Side thrust blocks plus strapping |
| Spring collet | Internal collet taper | Taper scoring | Collet in cylindrical pocket | Stand vertically |
| Hydraulic fixture | Piston chamber, seals | Leakage, contamination | Ports plugged, upright | Anti-tip cradle |
One universal rule applies: wherever a fixture meets its compartment, support must avoid functional faces and bear only on process bosses or non-mating surfaces. This matters more for broaching fixtures than for most tooling because fixture mass often runs several times the broach mass, and indent depth scales with contact stress.
A pre-packing accessory audit is equally important. Adjusting screws, shims, dowels and clamp plates left attached to a fixture will loosen in transit, drop to the case floor and become impact sources. Removed and loose, they get lost. The standard treatment is one part, one bag, one pocket, with the bag marked for its parent fixture and the pocket adjacent to that fixture, plus an accessory checklist sticker inside the lid. This single discipline decides how quickly the fixture is back in production; the common complaint that a case arrived one shim short and the machine stood idle for a day traces directly to skipping it.
Long-Case Stiffness and Stacking: Sizing the Bending Section
A long case often fails before the tool does. The shell deflects during stacking or long-haul transport, the internal support datums settle with it, and only then does the broach follow. Bending stiffness is therefore not a cosmetic concern for long cases.
Two criteria are practical. Maximum deflection under rated static load should stay under one five-hundredth of case length, and the floor must not yield under forklift pickup and set-down shock. Ranked by cost effectiveness, the levers are: increase the height of longitudinal floor ribs, then wall thickness, then add an aluminium internal skeleton, then add a steel plate in the floor. Rotomoulded and injection-moulded cases normally use deep continuous longitudinal ribs, and rib height buys more second moment of area than rib width.
Stacking long cases layer-on-layer like ordinary boxes is a mistake. Either mould matching locating grooves in the lid and bosses on the base, or rule that long cases are stored single-layer and go on racking when multi-level. The general rib, board and interlock logic is covered in stacking structure design for protective cases. Where two-layer stacking is unavoidable, insert a full-area separation board between cases; never let an upper case rest on the hinges or latches of the one below.
Stacking height also has to match forklift practice. A long case has its centre of gravity at mid-length, but if the fork positions are asymmetric the case twists, and torsional stiffness is far lower than bending stiffness. Twisting loads diagonal supports and relaxes the other two, making it the hidden source of most bend damage. Mark the standard fork entry on the base and mould guide recesses so operators follow the marking instead of estimating. Lifting follows the same logic: a long case must never be slung from a single point, and where slings cradle the base, they should line up with the internal support stations so load passes straight into the floor ribs.
Sealing and Humidity: Critical Relative Humidity for Alloy Tool Steel Broaches
Broach bodies are usually high-speed steel, powder metallurgy high-speed steel, or carbide inserts brazed into a steel carrier. Above roughly 55 percent relative humidity, and with no oil film, these materials begin to spot with rust in tooth roots and body flutes. Flute corrosion is the hardest to remove and the easiest to overlook.
A protective case normally achieves its dust and water rating through a silicone or foamed gasket compressed by latches at the case mouth. Sealing alone, however, is not rust control. It slows the ingress of outside moisture while doing nothing about the moisture already inside.
The logic runs in three steps. First, control the packing environment, holding the packing area below 45 percent relative humidity so damp air is not sealed in with the tool. Second, size desiccant to the free volume left inside the case and the expected transit duration, typically 300 to 500 grams of adsorption capacity per cubic metre of free volume. Third, fit a visual humidity indicator card and read its colour before removing any tool.
Pressure equalisation must also be considered. Over a long journey the differential between inside and outside can reach tens of kilopascals. Without a breather valve the gasket deforms or the lid is vacuum-locked at destination. Choose a valve with a hydrophobic membrane so pressure equalises while liquid water and dust stay out. Gasket compounds with low compression set are preferable on long cases because the seal perimeter is long and clamp load distribution is less uniform than on a square box; the material comparison in protective case seal and gasket materials is a useful starting point.
Transport Test Matrix: ISTA 3E and GB/T 4857 Applied to Long Cases
A long tool case cannot simply inherit the test plan written for a cube-shaped box, because its dominant failure modes are bending and resonance. The following matrix is a workable baseline.
| Test | Reference | Long-case specific setting | Acceptance focus |
|---|---|---|---|
| --- | --- | --- | --- |
| Random vibration | ISTA 3E, ASTM D4169 | Extended duration covering low frequency band | Support settlement |
| Fixed-frequency vibration | GB/T 4857.7 | Sweep around estimated natural frequency | Resonance amplification |
| Drop | GB/T 4857.5 | Corner, edge, face sequence, ends first | End stop displacement |
| Compression stacking | GB/T 4857.3 | Load at maximum stack height | Case deflection limit |
| Tip-over | ISTA series | Lateral tip-over required for long cases | Internal shifting, tooth contact |
| Salt spray | GB/T 10125 | Duration matched to sea transit | Rust spotting in flutes |
Standard test sequencing and loading parameters should follow GB/T 4857 transport packaging testing. The critical discipline is that the case must be opened after vibration testing, not just inspected externally. The classic hidden defect on a long case is a broach that stayed straight while its support blocks compacted. Once those blocks take a permanent set, the second shipment no longer has the geometry the first one had.
Acceptance Criteria and Post-Transit Inspection: Straightness and Edge Condition
Incoming acceptance of a broach must go beyond counting pieces. A practical protocol is three looks and one measurement: look for shell distortion and abnormal gasket compression, look for displaced or collapsed support blocks, look for an intact oil film and the absence of rust spots, then measure round-broach runout and keyway-broach straightness.
Straightness is measured by resting the broach on two matched V-blocks and running a dial indicator along the full length, comparing the span of readings against the specification. A broach that has already bent must never be straightened by force on site. High-speed steel and powder metallurgy grades have high elastic limits but little plastic reserve, and forcing one straight almost always initiates micro-cracks at the tooth roots.
Where chipping is found, record position and count, and check whether damage is on one flank or both. Simultaneous chipping on both flanks of the same tooth usually points to lateral crushing in transit, while single-flank chipping is more characteristic of liner abrasion.
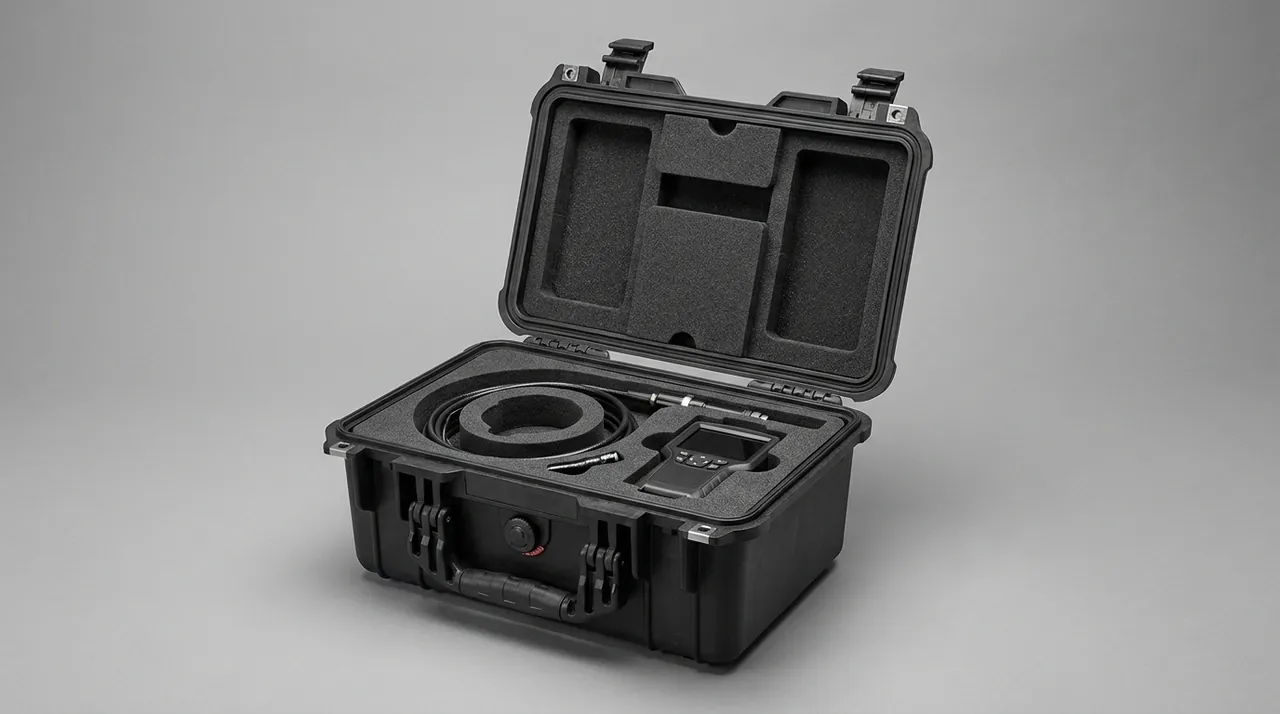
Inspection should also cover the liner, which fails more quietly than the tool. After every long shipment, measure the remaining thickness of key support blocks against their as-built value. EPE blocks creep under sustained load; a loss within five percent is normal, but beyond ten percent means contact stress is too high and the next revision should enlarge the bearing area or move to EVA. Powdering inside the channels is another warning, since foam debris adhering to an oiled tool forms an abrasive paste that accelerates tooth wear.
The final step is feeding results back into the packaging specification. Keep a packaging history card per broach recording length, mass, support station positions, liner material, desiccant quantity, routing and post-transit findings. After a few batches the pattern shows which broaches fail on which routes, and improvements become evidence-based rather than an annual guess at foam thickness.
Frequently Asked Questions FAQ
Q: How long can a broach be before multi-point support becomes mandatory, and why is two-point support unacceptable?
A: Two-point support turns the bar into a simply supported beam whose mid-span deflection scales with the fourth power of span, and with the second moment of area in the denominator, so a slender broach is punished twice over. Take a two-metre broach restrained only at its ends: the free span approaches two metres, so relative deflection under identical excitation runs into the hundreds of times the value seen with four supports limiting free span to 400 mm, and the first natural frequency simultaneously drops into the 3 to 20 Hz band where road freight concentrates its energy. A few hundred kilometres of pavement is then enough to produce permanent set. Two-point support is acceptable only for broaches under 800 mm with generous stiffness. Beyond 800 mm use at least three points, beyond 1500 mm use four or more, and always keep the largest free span below twenty times the bar diameter and below 400 mm in absolute terms.
Q: Is a chipped keyway broach tooth caused by impact or by abrasion, and how does the packaging change for each?
A: The signatures differ clearly enough to diagnose from a photograph. Impact chipping produces relatively large fractures with shell-like edges, and the damage clusters at the two ends or on the outermost flank, because the ends are the primary contact points whenever a case is dropped or shunted in a yard. Abrasion chipping produces fine fractures that run continuously along the tooth length and typically appear mid-row rather than at the ends, because liner-to-tip slip occurs uniformly over the full length during vibration. Under ten-times magnification the distinction is unmistakable: an impact fracture shows a single origin with radiating ridges, while abrasion shows many shallow origins on a rubbed, polished face. Washing and drying the tooth row before inspection also makes micro-chipping visible under ordinary workshop light. Separating the two is essential to fixing the case rather than guessing. Impact failure calls for thicker end buffers, a positive axial thrust stop and end-first drop testing. Abrasion failure calls for deepening the liner channel until every tip floats, restricting axial and lateral freedom, and where necessary adding a soft retaining strip that holds the bar down without touching the cutting edges.
Q: Why do broaching fixture locating faces need stronger corrosion protection than the broach body itself?
A: Because location faces carry tighter tolerances and are far less recoverable after damage. Light rust on a broach tooth can usually be removed by regrinding with a modest loss of tool life, whereas a fixture locating face is an assembly datum, frequently a final-machined surface with flatness measured in microns. Once pitting forms there, regrinding changes both the location height and the guide position, and in many cases the whole fixture is scrapped rather than repaired. Rust also causes problems long before it becomes visible, because a layer only micrometres thick is never distributed evenly, and the resulting tilt appears as locating error on the clamped workpiece. Humidity inside a fixture case should therefore be held below 40 percent relative humidity, supported by vapour-phase inhibitor material and peelable protective film on critical faces. Fixtures carrying both steel and non-ferrous components need the inhibitor formulation checked first, because amine-based chemistry that protects steel can discolour brass or copper alloy detail parts.
Q: Does timber packaging make broach and fixture corrosion worse?
A: Yes, mainly through acidic off-gassing and wood moisture content. Plywood or solid timber that has not been thoroughly kiln dried releases organic acids such as acetic acid, creating a mildly acidic atmosphere inside a sealed case that is particularly aggressive toward machined alloy steel and cast iron. Timber with moisture content above about 15 percent also releases water vapour as ambient temperature cycles, raising local relative humidity around the very faces the packaging was meant to protect. Practical countermeasures include specifying low-emission plywood grades, placing an aluminium foil laminate as a barrier between timber and liner, holding wood moisture content below 15 percent, and pairing desiccant with a humidity indicator card. For ocean freight or long-term storage, substituting a rotomoulded or injection-moulded engineering plastic case for a timber shell removes the problem at source instead of managing it. Where timber is unavoidable, fumigation and heat treatment requirements for export must be planned alongside the corrosion measures rather than after them.
Q: Is a pressure equalisation valve really necessary on a long broach toolcase?
A: For export cases travelling by sea or air, treat it as a required part rather than an option. There are two independent reasons. First, pressure differential deforms the gasket. A long case has a long seal perimeter, so clamp load is inherently less uniform than on a square box, and tens of kilopascals of differential is enough to roll the gasket locally or leave permanent set that destroys subsequent dust sealing. Second, negative pressure makes the case hard to open. An operator prying a vacuum-locked lid generates an instantaneous shock at the moment the lid releases, and the long broach inside shifts at exactly that moment, which is precisely when tooth tips get damaged. Select a valve fitted with a hydrophobic membrane, typically expanded polytetrafluoroethylene, so that air passes freely while liquid water and fine dust are blocked. Mount it in the lid away from the latch line, and check it whenever the case is cleaned.
Q: With broaches of very different mass in one case, what is a sound layout rule?
A: The core principle is heavy outboard, fragile inboard, stiff outboard, brittle inboard, with continuous dividers fully separating broaches of different stiffness classes. In practice, place the heaviest and stiffest round broaches along the case side walls near hinges and handles so their inertia loads pass straight into the case structure instead of through other tools. Put the most fragile keyway broaches in a central row or in their own compartment against a wall, never where a heavy neighbour can press on them during a braking event. Spline broaches take a middle row supported on both flanks. Dividers must run continuously from floor liner to lid liner, because a half-height divider lets upper-layer vibration route around it. Label every slot with an oil-resistant tag carrying the tool number so that counting and repositioning after delivery are quick and unambiguous. A matching cross-reference sheet inside the lid removes any argument about which broach belongs in which station.
Q: After transit a broach shows slight bend. Can it be straightened on site and put back into service?
A: On-site straightening is not advisable, however tempting the short-term saving looks. Broach bodies are generally high-speed steel or powder metallurgy high-speed steel with hardened and multiply tempered teeth, which means very high hardness combined with very little plastic reserve. Applying reverse force concentrates stress at the tooth-root fillet, the single worst location in the section, and micro-cracks that form there are invisible to the eye but propagate rapidly once normal broaching loads are applied. The outcome is usually tooth breakage that costs far more than the tool itself, and often a scrapped workpiece. The correct response is to record the deflection, note the routing, and return the broach to the maker, who can straighten it with purpose-built equipment followed by a stress-relief temper. Where deflection exceeds twice the straightness tolerance, scrapping is normally the right call. What should change instead is the free span and the stiffness of the supports that allowed the bend in the first place.
Q: How can a broaching tool packaging design be proven effective before full rollout?
A: Use a two-loop verification combining physical testing with a post-test teardown. The first loop is a packaged-item test following the long-case matrix: random vibration, fixed-frequency sweep, end-first drop and compression stacking. The sweep should be run in fine steps around the estimated natural frequency so that resonance amplification becomes visible rather than being averaged away across a wide band. The second loop is teardown inspection, and its focus is not whether the broach looks bent but the permanent compression set of every support block, the displacement of every end stop, and whether new tooth chips have appeared. If a support block loses more than ten percent of its original thickness, the design has failed even when this particular broach arrived within tolerance, because the next shipment starts from worse geometry. Record all findings on a packaging history card so the next revision is evidence-based. A repeat shipment on the same route is the cheapest confirmation that a change actually worked.
Conclusion and Related Reading
Broach packaging is a structural problem first: treat the bar as a beam, the tooth tip as a brittle edge, and every locating face as a measuring surface.
Related Reading