

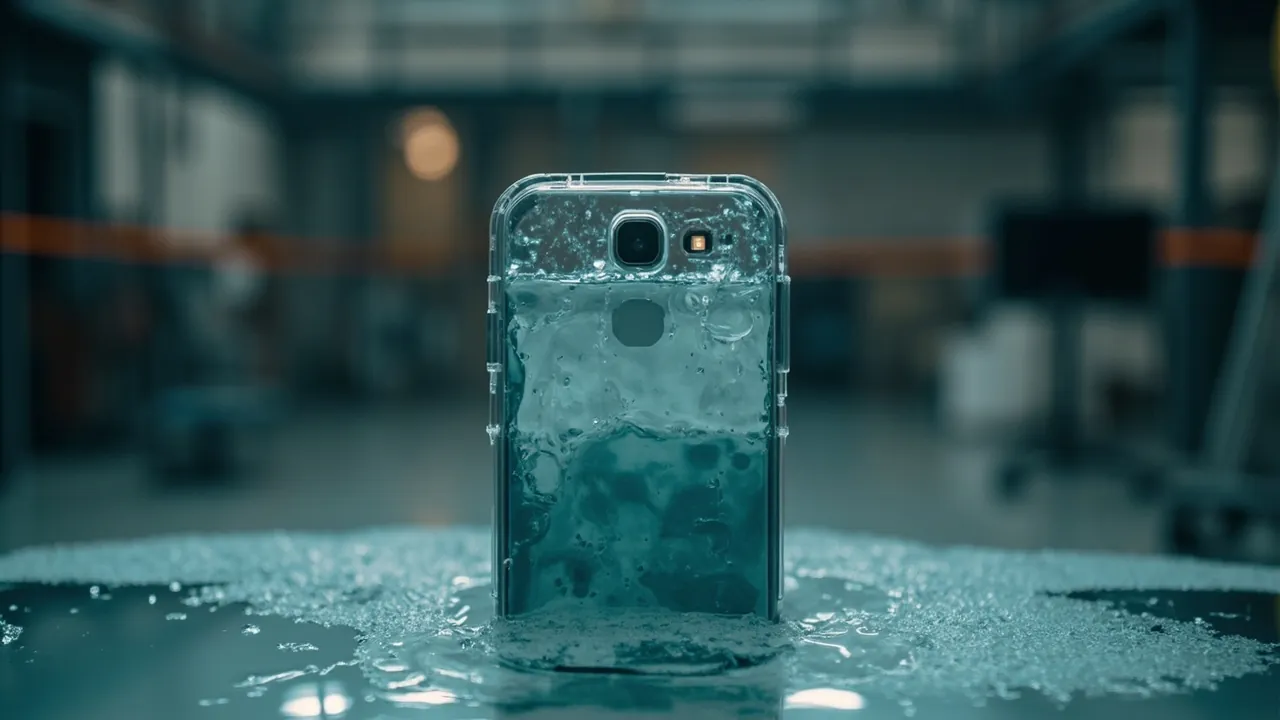
The short answer: before you ever fill a case with water, test its air tightness. Whether water gets in depends on one thing, namely whether the gasket around the case mouth forms a continuous, even compression seal, and that can be reproduced in any workshop with a low-pressure bubble test, a vacuum-bag test, or a pressure-hold decay test. The cheapest practical setup is to feed a low-pressure air supply into the case (typically 5 to 20 kPa, about 0.05 to 0.2 bar of slight positive pressure) and then either brush leak-detection fluid around the case mouth, latches, hinges, inserts and valves, or submerge the case and watch the outside surfaces. A steady stream of bubbles is a leak; no continuous bubbles means the seal is holding. One caveat must be stated up front: a self-test only answers whether there is an obvious through-leak. It never replaces a formal IP67 or IP68 type test report issued against IEC 60529 or GB/T 4208.
Water resistance in a protective case is not a fixed property measured once. It decays. The gasket takes a permanent set and hardens with age. The flatness of the case mouth drifts after drops, stacking and sun exposure. Latch clamping force falls as hinges wear. The membrane in a pressure-equalisation valve can become clogged with oil or start seeping in reverse. None of this is visible at the factory gate, yet all of it tends to surface at once during a rainy season, as a cluster of customer complaints. Buyers want to know whether the batch in hand can survive the next sea shipment. Factories want to screen obvious defects before packing. Distributors want to locate the fault quickly on a returned unit. All three need a method that takes half an hour, uses a few hundred dollars of tooling, and does not depend on an external laboratory. That is the scenario this guide is written for.
The article walks from simplest to most advanced through five air-tightness methods you can build yourself. For each one it explains the principle, the tools, the procedure, the limits and the risk of misjudgement. It then sets out pass thresholds, a leak-point checklist, the dividing line at which you must send a sample to a third party, and how to embed self-testing into incoming inspection, in-process checks and final release. Every pressure, time and temperature figure given here is a typical or empirical industry value. Binding decisions should follow the product specification and the released standard.
Contents
- The five airtightness methods you can run yourself
- Why air tightness is a valid proxy for water resistance
- Method 1: low-pressure bubble test with leak-detection fluid
- Method 2: vacuum-bag test with negative pressure
- Method 3: pressure-hold decay test with a gauge
- Method 4: clean-water immersion with absorbent paper
- Method 5: smoke and tracer-gas detection
- Preparing the test: environment, sample and instruments
- Setting pass thresholds and decision criteria
- Comparison table of the five methods
- Common misjudgements and traps
- The leak-point checklist people forget
- When a third-party IP verification is mandatory
- Frequently Asked Questions
- Conclusion and Related Reading
The five airtightness methods you can run yourself
Ranking the methods by tooling cost and by the strength of the conclusion lets teams of different sizes pick what they need. A small assembly shop with nothing but a bench can start with Method 1. A factory with basic measuring instruments can add Methods 2 and 3. A brand that has already completed type testing and wants to track production can use Method 5 for quantitative trending. The underlying idea is always the same. Use gas instead of water, and let pressure difference or bubbles stand in for the outcome of water ingress. Gas molecules are far smaller than clusters of water molecules. In theory a path that passes gas will not necessarily pass water. In sealing practice, however, a case that can hold a 10 kPa differential without leaking will normally also survive a static immersion of one metre for thirty minutes. That is the engineering basis on which airtightness testing works as a fast screening tool.
- Low-pressure bubble test. Add slight positive pressure, brush the joints with leak fluid, watch for bubbles. Lowest tooling cost, most direct conclusion, ideal for single-unit troubleshooting.
- Vacuum-bag test. Seal the whole case in a vacuum bag and evacuate it. Watch for the film being sucked in or for vacuum that will not hold. Best for coarse screening of the case shell itself.
- Pressure-hold decay test. Inflate to a set pressure, close the supply, and record the pressure drop over time. The only method that gives a quantitative pass or fail.
- Clean-water immersion with absorbent paper. Sink the case with dry paper inside, wait, then inspect the paper. Closest to the real failure mode, but the least sensitive.
- Smoke and tracer gas. Use a smoke generator or a helium leak detector to find very small leaks. Highest sensitivity, highest equipment cost.
The one-line selection rule: use bubbles or smoke to find a leak, use pressure hold to judge pass or fail, and use water immersion to show a customer. The three purposes are different and must not be substituted for one another.
Why air tightness is a valid proxy for water resistance
Water resistance in a protective case means, in essence, preventing liquid water from crossing the sealing interface under the combined action of pressure difference and time. Water reaches the interior by two routes. The first is through the material of the shell itself, which for injection-moulded engineering plastics is negligible. The second is through the sealing interface between lid and body, and through latch holes, hinge pins, threaded inserts, pressure valves, label windows and cable ports. The second route accounts for the overwhelming majority of failures. All of these features share one characteristic. They are either a contact face formed by a rubber seal, or a joint formed by an interference fit or an adhesive bond. If a continuous micro-channel exists across any of them, the same defect will show both as gas passing and as water passing.
The relationship between air tightness and water resistance can therefore be stated simply.
- Air tight holds, therefore no continuous macro-channel exists, therefore water will normally not enter within a conventional immersion time. This is why air testing works as a screening tool.
- Air tight fails, therefore a connected path definitely exists, therefore immersion will eventually leak. This is why air testing is reliable as a rejection tool.
- Air tight holds, but that does not guarantee IPX7 or IPX8. The standard test specifies immersion depth, duration, water temperature and preconditioning, and requires the sample to remain compliant even after drops and vibration. A self-test cannot cover those conditions and cannot issue a report.
Surface tension and capillary action deserve special attention. Some fine gaps appear sealed in still water because surface tension bridges them, yet fail under high-pressure spray such as the hot-water jet of IP69K, under sudden temperature change that alters compression, or after repeated opening and closing that drags and twists the gasket. A self-test conclusion should therefore be phrased as "no through-leak detected", not as "fully waterproof". For the formal definition of IP ratings and how they are tested, see what the IP67 rating means, and for the immersion procedure itself see how the IP67 submersion test is run.
Method 1: low-pressure bubble test with leak-detection fluid
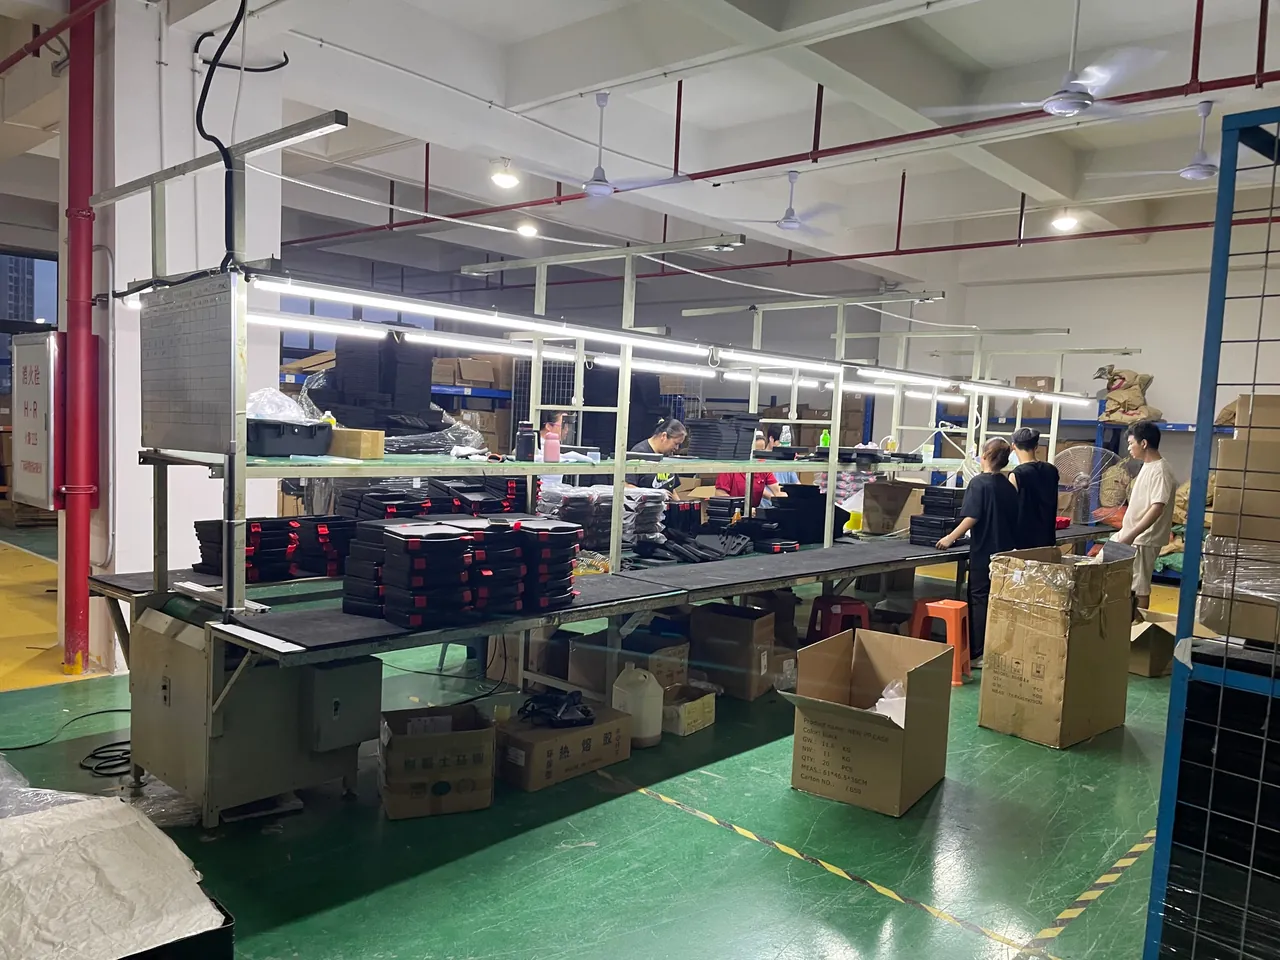
This is the lowest-cost and easiest method to adopt. The principle is simple. Create a small pressure differential across the sealed cavity. Where a leak exists, gas escapes through it and blows the leak fluid applied on the outside into bubbles. The location of the bubbles is the location of the leak, and how continuously they form indicates how severe it is.
Equipment needed
- Low-pressure air source: a hand pump, a foot pump, or shop compressed air fitted with a regulator. Never connect shop air directly without a regulator.
- Pressure reduction and stabilisation: a small regulator with a gauge, ideally 0 to 50 kPa range.
- Pressure measurement: a gauge accurate to about plus or minus 1 kPa, or a digital manometer.
- Leak fluid: commercial foam leak detector, or a neutral dish soap diluted roughly one part to ten. Do not rely on dish soap long term, since residue can affect rubber components.
- Plugs and blanking plates for the pressure valve, cable ports and any other openings.
- Cloths, clean water and an air chuck.
Procedure
- Clean the case mouth and gasket, removing grit, fibres and old grease. A single grain of sand creates a local area with no compression.
- Close and latch the case fully, following the sequence the product specifies, usually centre first then the sides, or diagonally opposite, so that compression is even.
- Plug the pressure valve and other ports. If the design allows inflation through the valve, connect the air chuck there.
- Pressurise slowly to about 10 kPa (empirical value) and watch the gauge. Run a coarse whole-case check first. If pressure cannot be established at all, there is a large leak.
- Once stable, close the supply valve and brush leak fluid around the entire case mouth, around each latch, at both ends of each hinge, at insert threads, at valve roots and along label window edges.
- Observe for 30 to 60 seconds. Continuous bubbling means a leak. A single bubble that stops is usually air trapped during brushing, so wipe clean, reapply and retest.
- Record the position, number and intensity of leaks, photograph them, then repair or replace the gasket and retest.
Where it fits
The low-pressure bubble test is good at answering whether an obvious leak exists. Its sensitivity to sub-millimetre leaks is moderate and it depends on the operator's eyes. It is unsuitable as the sole basis for full final inspection, but it is excellent as an incoming-inspection sampling tool and for locating the fault on a returned unit. For the design logic behind gasket geometry, see how a protective case seal ring is designed.
Method 2: vacuum-bag test with negative pressure
This works in the opposite direction. The bubble test blows outward from inside; the vacuum bag pulls inward from outside. Place the whole case inside a transparent vacuum bag and evacuate it. The film clamps onto the case. If a through-leak exists, atmospheric pressure pushes the film into a visible dent at that point, or the vacuum cannot be established and decays quickly.
Key points
- Use a food-grade or dedicated leak-test vacuum bag, sized comfortably larger than the case so the corners cannot puncture the film.
- Evacuate to about minus 20 to minus 40 kPa gauge (empirical values), then close the valve and let it stand.
- Watch for two to five minutes. A clear loss of vacuum, the film being visibly sucked into a joint, or abnormal denting of the lid all indicate a need for closer investigation.
- The greatest value of this method is screening the shell body itself for through-defects such as pores in the wall, cracks at insert roots, or unfused weld and bond lines, rather than screening the case-mouth gasket.
Limits. The vacuum bag is weak at judging the case-mouth gasket, because negative pressure pulls the lid down harder and masks insufficient compression. It complements the bubble test rather than replacing it. For a case designed with pressure equalisation, negative pressure may be compensated automatically by the valve, so the valve cracking differential must be understood first. See pressure valves and pressure equalisation.
Method 3: pressure-hold decay test with a gauge
The first two methods give qualitative answers. The pressure-hold test gives a quantitative one, which makes it the best choice for pass or fail decisions and for production sampling. The idea is straightforward. Treat the case as a closed pressure vessel, inflate it to a set pressure, isolate the supply, and record how pressure changes with time. The smaller the decay rate, the better the seal.
Recommended parameters (empirical, adjust by volume and specification)
- Inflation pressure: 10 to 20 kPa, about 0.1 to 0.2 bar.
- Stabilisation time: 30 to 60 seconds after inflation before timing starts, to let temperature and stress equalise.
- Observation time: 60 to 300 seconds, shorter for small cases and longer for large ones.
- Recorded data: start pressure, end pressure, elapsed time, ambient temperature, case model and gasket batch.
Decision approaches
- Absolute decay. Specify that pressure must not fall by more than a given amount within a given time. Simple and suitable for a production line.
- Relative decay. Judge on the decay ratio, that is decay divided by start pressure as a percentage, which reduces the effect of different inflation pressures.
- Reference comparison. Test a known-good golden sample at the same time and compare the decay of the unit under test against it within a permitted band.
The critical warning: temperature is the biggest enemy of this method. Gas heats up as it is compressed and then cools toward ambient, so pressure falls naturally. If you read the gauge immediately after inflation, you will almost always misjudge normal cooling as a leak. Stabilise in a constant-temperature room first, or use a digital leak tester with temperature compensation. The method must also allow for case volume. A larger case produces a slower decay from the same leak, so limits must be set in volume bands.
Method 4: clean-water immersion with absorbent paper
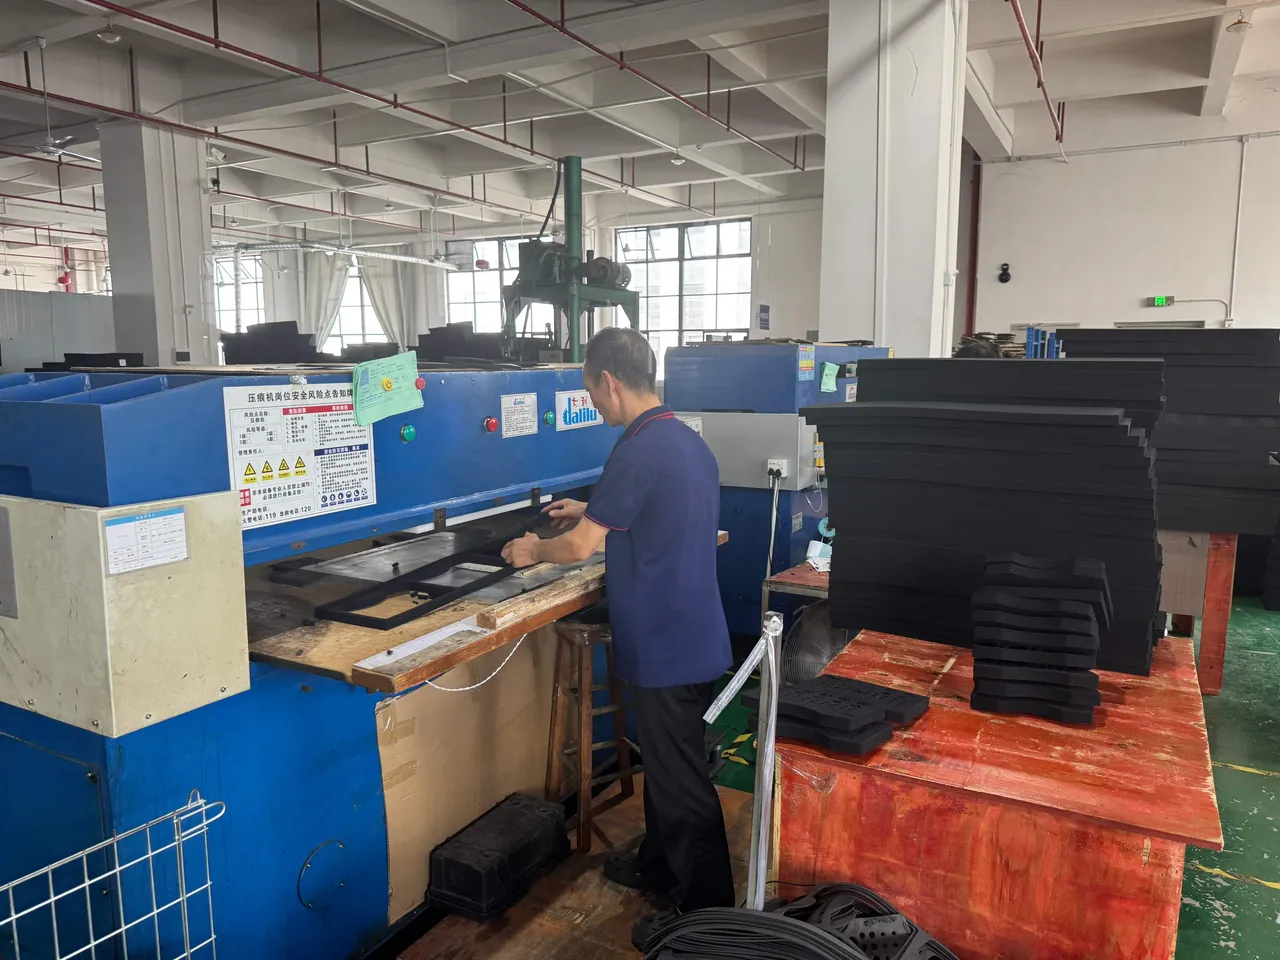
When a customer or an internal team needs a visible before-and-after result, immersion is the most persuasive option. Its sensitivity is low, but it is intuitive, repeatable and needs no air supply.
Procedure
- Lay two layers of dry paper towel or absorbent sheet inside the case, covering the corners and the floor. A light dusting of talc or salt on the paper makes water marks easier to see.
- Latch the case fully as specified, so the sample is in the state a customer would actually use.
- Sink the whole case in clean water with the surface at least 100 mm above the top of the case (empirical value) and leave it for 30 minutes. Keep the water close to room temperature. Do not use hot or icy water, which adds a thermal expansion variable and destroys attribution.
- Remove the case, dry the outside, then open it and inspect the paper. Water marks, damp patches or discoloured fibres mean water entered.
- Grade the ingress, from dry, to damp, to visible marks, to standing water, and record the location so the leak path can be traced.
Limits that must be stated. This method only performs a static soak. It cannot represent failure after drops, vibration, high-pressure spray, thermal cycling or long-term ageing. The formal IPX7 and IPX8 tests additionally require specified preconditioning and stricter criteria. Immersion is therefore suitable for internal reproduction and customer communication only, and must not be used to claim IP67 compliance. For the formal route, see how to verify an IP67 certificate.
Method 5: smoke and tracer-gas detection
When a leak is too small for bubbles or the eye, or when sealing designs need to be compared, tracer methods are the answer.
- Smoke. Place a small smoke generator, or a dedicated smoke cartridge, inside the case, close it, and watch the exterior for escaping smoke. Good for larger leaks, low cost, and requires a non-corrosive, residue-free smoke source.
- Helium leak detection. Fill the case with a helium mixture and scan the joints with the sniffer probe of a mass-spectrometer leak detector. Sensitivity reaches extremely low leak rates, the standard approach in semiconductor, medical and aerospace work, but it demands proper equipment and trained operators.
- Long-duration differential decay. Use a high-resolution micro-differential manometer to log the decay curve over hours or tens of hours. This is used to study slow creep of the gasket under sustained pressure.
The value of these methods is not in the pass or fail verdict but in telling you what to change. If the same case model is built with gaskets of two different hardness values and the smoke test locates the leak, you can tell directly whether the cause is insufficient compression or a mismatched groove fill ratio, and feed that into the design. For seal materials and ageing, see seal ageing and replacement cycles.
Preparing the test: environment, sample and instruments
Roughly eighty per cent of a self-test's credibility comes from preparation. Fix the following conditions and write them into your internal work instruction.
| Preparation item | Recommended practice | What goes wrong if ignored |
|---|---|---|
| --- | --- | --- |
| Ambient temperature | Constant room, typically 20 to 25 C, variation within 3 C | Temperature drift is read as a leak, or masks one |
| Sample state | As the customer configures it: liner fitted, accessories in place, latches closed | An empty case passes, a loaded case fails to compress |
| Gasket state | Record batch and installation date, test new and aged parts separately | You cannot separate a design fault from an ageing fault |
| Cleanliness | Case mouth and gasket free of grit, oil and hair | One grain of sand leaks and condemns a whole batch |
| Blanking | Plug valves, ports and label holes as appropriate, and record what was plugged | A designed opening is mistaken for a leak and reworked repeatedly |
| Instrument calibration | Calibrate gauges, vacuum gauges and timers on a schedule and keep certificates | Data is untraceable and the customer will not accept it |
Sample size also needs a rationale. Testing one unit proves only that unit, not the batch. Sampling should be stratified by batch and by mould cavity, covering at least the first shot, the last shot and an intermediate shot, with the sampling rule recorded. Otherwise, when a batch problem appears, there is no way to bound its scope.
Setting pass thresholds and decision criteria
Thresholds must not be guesswork. Set them in this order.
- Define the purpose. Is this outgoing screening for defects, or research to find a problem? Screening must be loose, fast and repeatable. Research must be tight, slow and diagnostic.
- Establish a baseline. Take a batch of known-good cases, ideally ones that have passed formal IP testing, and run the baseline test to obtain the mean and spread of the decay distribution.
- Set the limit. Use the baseline mean plus a multiple of the spread, so that good batches are not widely rejected while clear defects are still caught.
- Validate the limit. Manufacture known leaks deliberately, for example by laying a fine filament under the gasket or by applying a thin smear of petroleum jelly locally to alter compression, and confirm that the limit rejects them.
| Test purpose | Recommended method | Typical criterion (empirical) | Strength of conclusion |
|---|---|---|---|
| --- | --- | --- | --- |
| Fast outgoing screening | Pressure-hold decay | Under the baseline mean plus band within 60 seconds | Medium, reproducible |
| Incoming sampling | Low-pressure bubble | No continuous bubbles | Medium, operator dependent |
| After-sales fault finding | Bubble plus smoke | Leak located to a specific joint | High, drives improvement |
| Customer demonstration | Immersion with paper | Paper stays dry | Low, corroborative only |
| Design comparison | Helium detection or long decay | Leak-rate comparison and curve trend | High, guides material choice |
Phrase the verdict properly as well. Write something like "inflated to 15 kPa, stabilised for 60 seconds, observed for 120 seconds, decay 0.8 kPa, airtight to specification", rather than a bare "pass". Recording conditions alongside readings is the only way a customer or a colleague can reproduce the result.
Comparison table of the five methods
| Method | Tooling barrier | Sensitivity | Quantitative | Best suited to | Main limitation |
|---|---|---|---|---|---|
| --- | --- | --- | --- | --- | --- |
| Low-pressure bubble | Very low | Medium | No | Single-unit leak location, incoming sampling | Operator dependent, misses fine leaks |
| Vacuum bag | Low | Medium | No | Detecting through-defects in the shell | Weak on the case-mouth gasket |
| Pressure-hold decay | Medium | Medium to high | Yes | Outgoing decisions, batch sampling | Strongly affected by temperature and volume |
| Immersion with paper | Low | Low | No | Customer communication, internal reproduction | Insensitive, does not equal IP compliance |
| Smoke and helium | High | Very high | Yes | Design comparison, very small leaks | Expensive, needs trained operation |
Suggested combination: for production use pressure-hold to judge and bubbles to locate; for development use smoke to locate and pressure-hold to quantify; for customers use immersion to reproduce. Running all three in parallel costs little in tooling and keeps the conclusions credible.
Common misjudgements and traps
Trap one: reading the gauge immediately after inflation. Compressed gas heats up, so pressure first rises then falls. The decay you read instantly is thermal equalisation, not a leak. Always stabilise before timing. This is the most common systematic error in pressure-hold testing.
Trap two: blasting shop air straight into the case. Shop air often sits at 0.6 to 0.8 MPa, dozens of times the recommended level. At best it displaces the gasket, at worst it bulges the shell and permanently distorts the case mouth, ruining a good case. Always pass the supply through a regulator.
Trap three: ignoring what the pressure valve is for. Many cases have a pressure equalisation valve whose purpose is to let internal and external pressure equalise slowly. Mistaking it for a leak, or forgetting to plug it in the right direction, inverts the conclusion completely.
Trap four: treating soap residue as harmless. Alkaline cleaner residue accelerates ageing in some rubbers, so habitual use can genuinely degrade the gasket. After detection, wipe clean with water and dry.
Trap five: testing only an empty case. An empty case lets the lid seat easily. Loaded with weight, the body bulges slightly, the case-mouth flatness changes, latch travel shifts and gasket compression drops. Test in as realistic a loading state as possible.
Trap six: letting one result speak for a batch. A single pass does not prove the batch, and a single failure does not condemn it. Follow a stratified sampling rule.
Trap seven: ignoring the time factor. Some leaks only appear after the differential has been held for hours, as the gasket creeps under load. If you suspect this class of problem, extend the observation time or switch to a long-duration decay test.
The leak-point checklist people forget
In descending order of observed frequency, work through the following every time.
- Gasket corners and moulded joints. The joint in a moulded profile seal is a natural weak point.
- Latch base to shell interfaces. Screw holes frequently pass through the wall, so a sealing washer or a blind-hole design is required.
- Hinge pin bores. The clearance between pin and bore can connect the interior and exterior cavities.
- Insert roots, such as threaded brass nuts. Weld lines around a moulded insert are a classic channel.
- Pressure and relief valves. The membrane, the seating face and the body thread are three separate possible leaks.
- Label windows, name plates and light pipes on the lid. Bonded or ultrasonically welded interfaces readily form micro-channels.
- Cable glands and connectors. The gland itself may be fine, but insufficient thread engagement or a missing gasket still leaks.
- Liner fasteners. A screw driven through the wall without a seal is a hidden leak.
- The shell wall itself. Porosity, cold slugs and unfused weld lines are moulding defects that create through paths.
Turn this list into a checklist and walk it in order each time. It dramatically reduces the "rework three times and it still leaks" experience. For preventive design at the structural level, see designing and validating an IP67 case.
When a third-party IP verification is mandatory
The boundary between self-testing and formal verification must be drawn clearly. A third-party laboratory with the right accreditation is required in the following situations.
- Marketing an IP rating. If a product page, manual or tender document states IP67, IP68 or IP69K, there must be a supporting report.
- Customer-specified standard or body. When the customer requires a report to IEC 60529 or GB/T 4208, or one carrying CNAS or CMA accreditation.
- Certification and compliance processes. Entering certain markets or bidding on certain contracts requires independent proof of ingress protection.
- New product release and major change. Any change to seal material, case-mouth geometry, latch structure or wall thickness should trigger re-verification.
- Complaints and claims. A cluster of water-ingress complaints needs a formal test to bound responsibility and scope.
State the following explicitly when submitting a sample: the standard and its revision, the IP code such as IPX7 or IPX8, immersion depth and duration, water temperature, sample state loaded or empty, preconditioning such as prior drop or vibration, and the post-test acceptance method, including whether any internal moisture film is permitted. If these are left vague, the report's comparability suffers badly.
Frequently Asked Questions
Q: Can I airtight-test a case by blowing into it, without a pump? A: You can use it for an extremely rough first impression, but never as a basis for a decision. Breath pressure cannot be controlled or repeated, so no stable differential or reading is possible. Exhaled air carries moisture and heat, which alters the result. Pressure from the lungs can also easily exceed a few kPa and may displace the gasket rather than test it. Most importantly, oral pressure cannot be sustained, and there is no reliable correlation between feeling resistance and having a good seal. The practical low-cost alternative is a hand pump plus a small pressure gauge. A hand pump is a low-pressure device by nature, and combined with a 0 to 50 kPa gauge and a closable valve it delivers exactly the pressure-hold test described in Method 3. If even a pump is unavailable, fall back on the immersion method with absorbent paper, while accepting that it only demonstrates the absence of an obvious leak and says nothing about a marginal one.
Q: If the case is airtight, does it automatically pass IP67? A: It normally means there is no obvious through-leak, but that is not the same as passing IP67. The formal test has defined boundary conditions, including immersion depth and duration, water temperature, the state of the sample before and after the test, and in some schemes a preconditioning step. A self-test is usually run at room temperature, for a short time and at a low differential, so it cannot cover those conditions. Three situations in particular can pass an air test and still fail IP. First, at low temperature the behaviour of water and of the seal material differs from room temperature, the gasket hardens and compression falls. Second, after a drop or vibration the case mouth deforms locally and a previously seated face opens a gap. Third, a long immersion gives water enough time to migrate along capillary paths. Use airtightness testing as a daily screening tool and IP testing as the means of public claim and design validation, and let the two corroborate each other.
Q: What pressure should I use for a pressure-hold test? A: As low as practical. The empirical range is 5 to 20 kPa, that is 0.05 to 0.2 bar. There are three reasons. First, a case gasket is designed around external water pressure, and one metre of water in IPX7 corresponds to about 10 kPa, so testing at a similar level reflects the real condition. Second, excessive pressure pushes the lid up and bulges the shell, changing the load state on the sealing interface entirely and risking irreversible distortion. Third, at high pressure the contact stress between gasket and groove changes so much that a genuine micro-leak can be squeezed shut, producing a false pass. Use a regulated supply, stabilise at the set value, then observe decay. Choose the value in relation to the equivalent water depth in the product specification, and for large-volume cases lower the pressure and extend the observation time.
Q: Why does the same case leak in winter and hold in summer? A: This is usually not random test error but a real difference caused by the temperature behaviour of materials. Most rubber sealing materials become harder and less resilient as temperature falls, so compression set and conformability both change. At the same time the plastic shell contracts, so case-mouth geometry and groove fill ratio shift. Together these can reduce contact stress at the seal and produce the winter leak, summer pass pattern. The reverse also occurs. Some materials soften and creep at high temperature, and after prolonged heat they return to ambient with insufficient compression. Airtightness testing must therefore record ambient temperature, ideally run in a controlled room, and the product should state the temperature range within which the rating is maintained. To establish the real temperature boundary, retest sealing after thermal cycling, as described in seal ageing and replacement cycles and high and low temperature testing of cases.
Q: Do gaskets need replacing, and how often? A: Yes, and the interval should follow the material and the intensity of use rather than a single calendar rule. Factors include the ageing resistance of the compound, exposure to ultraviolet light and ozone, contact with chemicals such as oils, cleaners and salt spray, the number of open and close cycles, compression set under long-term load, and whether the case lives through repeated thermal cycling. A more reliable engineering approach is condition-based replacement. Record pressure-hold decay trends over time, treat the decay rate as a health indicator, and replace when it rises clearly above the new-part baseline rather than waiting for water ingress. JUNZHJIA can supply matching gaskets by model and provide replacement guidance, and for volume customers it can state the recommended inspection interval and decision criteria so that distributors can set up a simple annual inspection routine on the after-sales side.
Q: How long is long enough for a clean-water immersion test? A: For a self-test, 30 minutes is the common empirical duration, chosen to mirror the short-term immersion condition of IPX7 while staying efficient. Three points matter. First, the water surface should be at least 100 mm above the top of the case, otherwise the pressure at the top is too low and edge sealing problems are masked. Second, keep the water close to room temperature, because hot or icy water introduces thermal expansion as a competing variable and destroys attribution. Third, clean the case mouth and gasket and latch in the correct sequence before immersion. If the real application involves prolonged immersion or greater depth, a self-test cannot represent it and a formal test to agreed IPX8 conditions is required. Note also that immersion is insensitive to slight seepage. If the paper is only faintly damp, that may be condensation formed at the moment of opening rather than a leak, so cross-check with a pressure-hold test before drawing a conclusion.
Q: How do I put airtightness testing into a production line? A: Do it in three steps so that research-grade rigour does not slow the line. Step one, establish a baseline. Take several units from a batch that has passed formal IP testing, run the pressure-hold test at controlled room temperature, and record the decay distribution to set the limit and write it into the work instruction. Step two, build a fast screening station. At the end of the line, set up an inflation station with a regulator and digital gauge, and use a three-fixed rule of fixed pressure, fixed stabilisation time and fixed observation time to read and judge, keeping each unit to one or two minutes. Step three, close the loop on non-conformity. Route rejects to a bubble-test station to locate the leak, record the position, summarise weekly, and feed frequent locations back into mould and assembly improvements. This protects outgoing quality while steadily turning data into design input. For volume customers with specific requirements, JUNZHJIA can agree the test items, the decision wording and the record format.
Q: If I find a slight leak, can I just patch it with silicone or tape? A: Patching should not be treated as a repair for delivered product, though it is acceptable as a temporary field measure. A protective case seals through a mechanical system of compression, groove fill ratio and material resilience. An external bead of sealant takes no part in that compression and cannot survive repeated opening, thermal cycling and high-pressure spray. It will lift or crack soon and become a new hidden leak. The correct response on a production item is to locate the root cause. If the gasket is aged or flattened, fit a new one of the same specification. If groove dimensions or compression are wrong, revise the mould or the structure. If a through-defect exists at an insert or hinge, add a sealing washer or convert the feature to a blind design. Only in field emergencies or temporary after-sales handling should neutral silicone or waterproof tape be used, and the customer must be told clearly that it is temporary and a proper repair is required.
Q: What records should I keep so I can trace a problem later? A: Keep six categories at minimum. First, sample identity, including model, batch, mould cavity, gasket batch and installation date. Second, environmental conditions, including room temperature and humidity, and water temperature if relevant. Third, test parameters, including method used, inflation pressure or vacuum level, stabilisation time and observation duration. Fourth, readings and criteria, including start pressure, end pressure, decay value and the limit applied. Fifth, conclusion and location, that is pass or fail, and if failing the leak position with photographs. Sixth, disposition, including which parts were replaced and whether a retest passed. Collecting these six into a single form supports internal trend analysis and gives you an evidence chain the moment a customer raises a question. For OEM and ODM customers, JUNZHJIA can agree the record format and retention period so that it plugs into their quality system.
Conclusion and Related Reading
Back to the question in the title. You can water-test a protective case yourself, provided you separate screening from formal judgement. Use the low-pressure bubble test to find leaks, the vacuum-bag test to screen the shell for through-defects, the pressure-hold decay test to quantify pass or fail, clean-water immersion to reproduce a visible result, and smoke or helium to locate the smallest leaks. Together these five form a toolbox that runs from low cost to high sensitivity. They share one principle, namely that airtightness proxies for water resistance. They share one precondition, namely disciplined preparation and controlled temperature. And they share one boundary, namely that none of them replaces a formal IP report issued to IEC 60529 or GB/T 4208.
Three actions you can take immediately. First, write the pressure-hold test into your work instruction, fixing pressure, stabilisation time and observation duration, and deriving limits from baseline data so that results are reproducible. Second, turn the leak-point list into a checklist covering the case mouth, latches, hinges, inserts, valves, label windows and ports, so you stop fixing the same failure by trial and error. Third, keep self-testing and formal testing in separate roles, using the former for daily defect control and the latter for design validation and public claims, and prepare submission documents in line with how the IP67 submersion test is run and how to verify an IP67 certificate.
JUNZHJIA, manufactured by KeXin New Materials (Guangdong) Co., Ltd., produces protective cases, tool cases, military-specification storage cases and waterproof junction boxes for wholesale, distribution, OEM and ODM supply worldwide. We can supply matching gaskets by model, provide structural documentation and test records, and help customers agree airtightness screening items and decision criteria based on their destination market and operating conditions.
Related Reading