

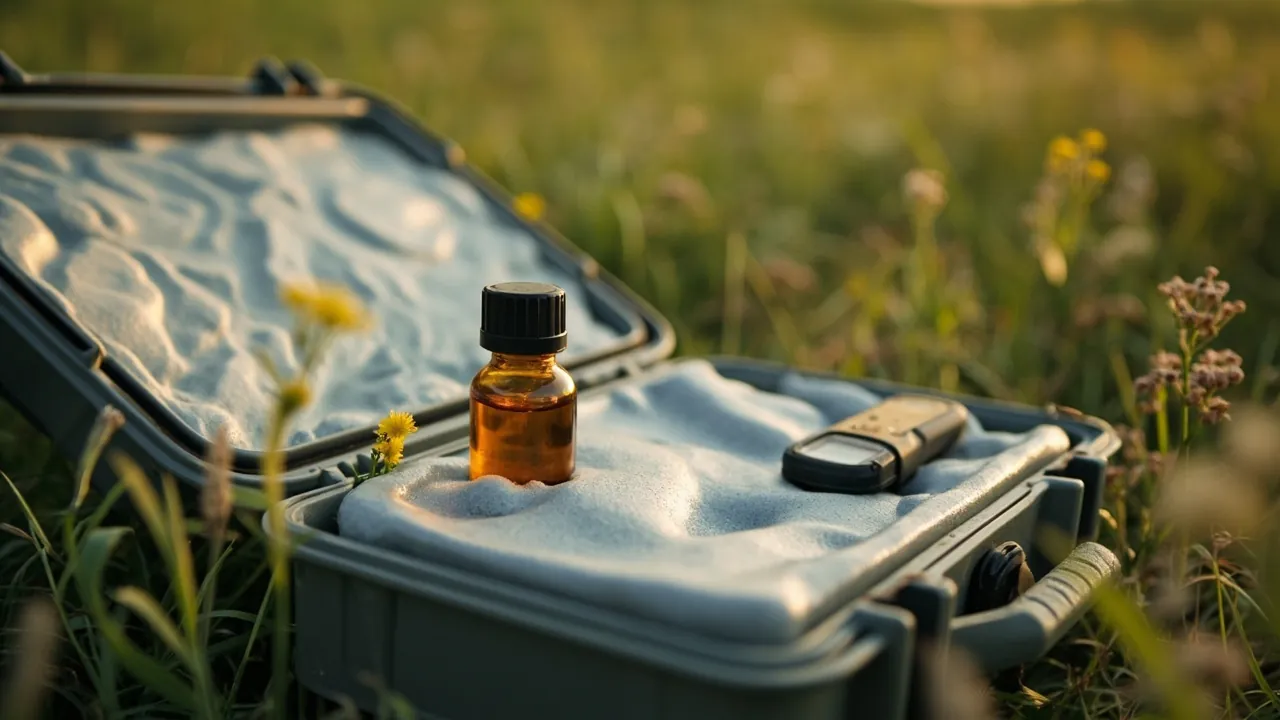
Choosing a field research sampling case comes down to one sentence: define the preservation requirements from the sample type first, deciding which of cold chain temperature, light exclusion, breakage protection and cross-contamination control are hard constraints; then design cushioning and fixation around the actual sampling containers so every bottle has its own bay and none of them touch; finally bind case number, sample number and record sheet into a traceable closed loop. The big difference between a sampling case and an ordinary outdoor case is that what it protects is not equipment but the carrier of data. A broken instrument can be replaced; a batch of samples that degraded, broke or lost its numbering invalidates the entire survey, and it usually cannot be resampled, because the site may be frozen, flooded or seasonally gone. The design logic of a sampling case therefore has to run backward from how samples fail, not forward from how big the box is. Below we work through failure modes, preservation requirements, design by sample type, record management, transport, decontamination and inspection, and mistakes.
Table of Contents
- Four Ways Field Samples Fail: Degradation, Breakage, Contamination and Mislabeling
- Preservation Requirements: Temperature, Light Exclusion, Sealing and Shock
- Designing the Case and Insert by Sample Type
- Record Management: Numbering, Labels and the Traceability Chain
- Transport and Transfer: Vehicles, Air Freight and Cold Chain Handover
- Decontamination, Inspection and Maintenance Routines
- Frequently Asked Questions (FAQ)
- Conclusion
- Further Reading
Four Ways Field Samples Fail: Degradation, Breakage, Contamination and Mislabeling
Category One: Degradation
Between collection and the laboratory, a sample is always on a degradation countdown. Microbial activity, enzymatic breakdown, oxidation, volatilization and light all alter its physical, chemical and biological character. What makes degradation frightening is that it leaves no visible trace: a water sample left at ambient temperature for too long has already changed in dissolved oxygen, nutrients and microbial community structure, while looking exactly the same. The first duty of a sampling case is therefore to slow or stop that countdown, using temperature control, light exclusion and shorter transfer times.
Category Two: Breakage
Glass sampling bottles, serum bottles, petri dishes and centrifuge tubes break far more often in the field than in a laboratory, because field transport combines shock, from vehicle bumps and drops, with continuous vibration, and glass has almost no capacity to absorb either. A single broken bottle does not just lose that sample; it contaminates every other sample and the insert, and if a chemical fixative is involved it can create a safety problem as well.
Category Three: Cross-Contamination
This is the most underestimated and most damaging failure. It has three common sources. First, the container or tool is not clean, for example a metal sampler introducing trace metals that distort soil or water element analysis. Second, transfer between samples, for example sharing a wide-mouth jar or a closure that does not seal, so liquid leaks. Third, people and the environment, bare-hand contact, gloves not changed between sites, or bottles picking up dust in an open vehicle bed. For trace analysis such as environmental DNA, an extremely small amount of foreign material is enough to distort results.
Category Four: Mislabeling
Faded numbers, labels falling off, a notebook soaked by rain, contents that do not match the list: these failures involve no physical damage, yet they strip the sample of scientific value. A sample that cannot be traced to a site, a time and a collector is an unlabeled unknown in the laboratory. A sampling case must therefore provide the physical means to carry labels and lists.
Preservation Requirements: Temperature, Light Exclusion, Sealing and Shock
Temperature: The Cold Chain Is the Most Common Hard Constraint
Preservation temperatures vary widely by sample type. Common practice is ambient dry storage for soils, rocks and dried plant specimens; refrigeration at roughly 4 degrees Celsius for short-term holding of water, microbial and fresh tissue samples; and freezing at about minus 20 degrees or colder where enzymatic and microbial activity must be suppressed, such as tissues, filters and environmental samples. The actual temperature should always follow the sampling plan and the laboratory requirement.
The key point to understand is that a protective case does not generate cold; it supplies structure and sealing. A cold chain is built by putting insulation and a cold source, ice packs, phase-change material or dry ice, inside a case that already provides rigidity, sealing and insulation. When choosing, look at:
- Whether the cavity can hold insulation plus cold source: Cold sources occupy real volume, so they must be included when you size the case, not added afterward.
- How sealing relates to insulation: Sealing stops outside warm air from exchanging in, which is the precondition for insulation to work. An aged gasket degrades thermal performance noticeably.
- Material behavior in the cold: The shell, latches and gasket must not embrittle or crack at freezing temperatures, which is exactly where low-temperature toughness matters.
- Temperature monitoring: Put a data logger or an indicator label in the case so whether the chain broke becomes verifiable data rather than an assumption.
Light Exclusion: The Hidden Requirement for Photosensitive Samples
Some samples, including certain water parameters, photosensitive compounds, algae and pigment samples, must be kept dark. An engineering plastic shell is opaque and satisfies this by itself. If a translucent design or a viewing window is used, put light-sensitive samples into an opaque inner container or a foil bag.
Sealing: Protection in Both Directions
Sealing in a sampling case works both ways: water, dust and insects cannot get in, and liquid or vapor from inside cannot get out. The latter matters greatly when chemical fixatives are used, because a leak contaminates other samples and can become a transport safety issue. Whenever liquids or fixatives are involved, use a secondary container: seal the bottle into a leak-proof bag or a screw-top vessel before placing it in its fixed position.
Shock: How to Hold Glass
Glass protection rests on three things: bottles must not touch each other, there must be cushioning between bottle and wall, and the bottle must stand upright and not tip. In practice this means foam bays cut to the bottle profile, or dividers with slots, so each bottle is supported independently, plus some restraint at the cap so screw closures cannot work loose in transit.
Designing the Case and Insert by Sample Type
| Sample type | Typical container | Main risks | Preservation priority | Insert advice |
|---|---|---|---|---|
| --- | --- | --- | --- | --- |
| Soil and sediment | Zip bags, wide-mouth jars, core rings | Crushing, damp and mold, metal contamination | Dry, dark, individually sealed | Rigid dividers, layered by site |
| Water | Glass or plastic sampling bottles | Breakage, temperature drift, light | Secondary container, cold chain, dark | Foam bays cut to bottle profile |
| Plant and insect specimens | Plant presses, specimen jars, paper triangles | Crushing, mold, insect damage | Dry, protected from pressure | Layered dividers, nothing heavy on top |
| Tissue and filters | Cryovials, centrifuge tubes, filter cases | Degradation, temperature excursion | Frozen, dark, fast transfer | Tube array bays with a cold source |
| Rock and mineral | Sample bags, core boxes | High weight, sharp edges, mixing | Individual wrapping, no mixing, control weight | Reinforced dividers, split heavy loads |
| Ice core and snow | Insulated vessels, bottles | Melting, temperature drift | Strong cold chain, fast transfer | Deep case with ample cold source and insulation |
| Air and deposition | Filter cassettes, sampling canisters | Contamination, leakage | Clean sealing, dark | Separate clean bay, never with soil |
Soil and Sediment: Dry and Individually Sealed
The most common problems with soils are damp, mold and cross-contamination. Samples should go into clean containers and be sealed promptly, while those intended for moisture content must be kept as collected and delivered quickly. Inside the case, organize by site in layers and by profile depth in cells, one unique number per bag or jar, never mixed. For metal analysis, pay particular attention to the material of the sampling tool so no foreign metal is introduced.
Water: Cold Chain and Light Exclusion First
Water is the most time- and temperature-sensitive matrix. Glass suits some parameters and plastic others, depending on the analytical method. In transport: keep bottles upright and fixed, use a secondary container against leaks, add a cold source when required, and exclude light throughout. The window between collection and delivery should be defined in the sampling plan and recorded honestly.
Tissue, Filters and Environmental Samples: Cold and Clean
These usually require low temperature to suppress degradation and are extremely contamination-sensitive. Work with single-use consumables, wear gloves and change them often, wipe the outside of tubes before they go in the case, maintain freezing with phase-change material or dry ice, and keep a temperature logger inside. For trace analysis, give clean samples a dedicated zone in the case and never put them in with soils or sediments.
Rock and Mineral: Manage the Weight
Rock samples are heavy per piece and sharp edged, so the main risks are scratching the walls, crushing other samples and overloading a single case. Wrap and cushion each specimen individually, use reinforced dividers that carry the load, and when necessary ship rock in its own case rather than mixed with light samples. Keep the loaded weight of one case within what a person can move safely.
Record Management: Numbering, Labels and the Traceability Chain
Numbering Scheme
The sample number is the primary key of the whole exercise. A practical number usually contains project code, site code, sample sequence and collection date, with depth or horizon added when relevant. Fix the rule before departure, write it into the sampling plan, apply it uniformly, and never change it midway.
Three Durability Requirements for Labels
Field labels fail far more often than laboratory labels, for three reasons:
- Not water resistant: Rain, condensation and meltwater blur ordinary paper labels and inkjet printing. Use synthetic waterproof labels or thermal-transfer printed polyester labels.
- Not solvent resistant: Bottles immersed in alcohol or other fixatives dissolve ordinary adhesive and print. Use solvent-resistant label stock with a matching ribbon, and label both the body and the cap.
- Not low-temperature resistant: Adhesives fail and labels drop off in freezing conditions. Use low-temperature labels applied wrap-around, and add a second tag inside the bag mouth or under the tube cap.
The notebook itself must also be waterproof: field notes are traditionally written in pencil, because pencil does not run when wet, whereas fountain pens and some gel pens do. That is the same principle as waterproof labels, applied twice.
Binding Case, Sample and Record
Beyond physical protection, management determines whether a sample is usable. Recommended practice:
- One card per case: Case number, the range of sample numbers inside, sampling area and responsible person, placed in the external holder so the case can be checked without opening it.
- An internal list: Item-by-item correspondence with the contents, so handover only requires checking number ranges and counts.
- Double counting: Count cases before loading the vehicle and again on return to base. Count case numbers and number ranges, not individual items.
- Anomaly logging: Record and photograph any breakage, leakage or temperature excursion immediately as the basis for later data acceptance decisions.
- Seals and latches: Where you must prove samples were not opened or swapped, use single-use seals or a latch with a lock hole to complete the evidence chain.
External Marking and Stackability
When many cases move together, external label holders, stacking locators and a unified size system decide how efficiently a vehicle or aircraft loads. Cases in one size system stack like modules, any damaged case can be swapped instantly, and spares and inserts are interchangeable.
Two Configuration Models: Solo Carry and Team Split
The way a survey is organized determines how cases should be configured:
| Model | Character | Case format and size | Management focus |
|---|---|---|---|
| --- | --- | --- | --- |
| Solo carry | One person samples and records, total load is limited | One or two small to medium cases holding containers, notebook and small instruments | Internal zones must cover the whole workflow; labels and pencil carried on the person; cold source separated from samples |
| Small group by task | Team divided by sample type, each owning one category | Dedicated case per sample type, uniform sizes for stacking | One case per category with its own list; handover checks by case number |
| Large team operation | Many sites, many types, many batches | One size system with external labels and number ranges | Case number bound to sampling area, one card per case, double counting, seal registration |
The key to large operations is turning the case into a management unit rather than a container: each case maps to a fixed sample type, number range and responsible person, so handover only needs the case number and seal instead of opening everything. That cuts handover time and localizes errors to a specific step.
Transport and Transfer: Vehicles, Air Freight and Cold Chain Handover
| Stage | Main risks | Key controls | Case and configuration |
|---|---|---|---|
| --- | --- | --- | --- |
| Backpacking on foot | Drops, jolting, sun | Weight, carry system, cushioning, dark | Small to medium case, carried close to the back, cold source isolated from samples |
| Vehicle transfer | Continuous vibration, sliding under braking, heat | Stacking locators, straps, temperature logging | Uniform sizes stacked and strapped, logger inside |
| Rail and long haul | Long duration, temperature swing | Cold source margin, sealing, seals | Increase cold source ratio, register seal numbers |
| Air freight | Pressure differential, cold hold, throwing, declaration | Pressure valve, recessed latches, early declaration | Ribbed shell with valve; declare chemicals and cold sources per rules |
| Laboratory handover | Number mix-up, broken temperature chain | List reconciliation, logger download | Check seal and list before opening, then download temperature data |
Compliance Notes for Cold Sources and Controlled Items
When using dry ice, chemical fixatives or other controlled reagents, declare them in advance to the carrier and pack them as the applicable transport rules require. General principles:
- Keep an isolation layer between cold source and samples so nothing freezes incorrectly or becomes contaminated by the cold source.
- Liquid samples need a secondary container plus enough absorbent material to contain a leak.
- Chemical fixatives must be sealed, clearly marked and isolated from other samples.
- For air transport, the pressure differential and cold hold require a pressure equalization valve and recessed or lockable latches.
Specific limits and declaration procedures should always be confirmed with the carrier against the current rules rather than handled from memory.
Judging Whether the Cold Chain Broke
The value of a cold chain is being able to prove it did not break. So place a temperature logger with the samples, start it when sampling begins, and download the data at handover. If the record shows an excursion outside the plan, note it honestly and let the analysis stage decide whether results are affected, instead of assuming all is well.
Planning the Transfer Window
Every sample has a window between collection and analysis inside which its properties are still representative, and the window is set by the analytical method rather than by the case. Cold chains and dark storage extend that window, they do not remove it. Practical planning means working backward: fix the arrival deadline at the laboratory first, subtract the transport and handling time, and what remains is the time actually available for sampling in the field. If the remaining time is too short, the answer is not a better case but a different logistics plan, a closer laboratory, an intermediate freezing point, or a smaller sampling area. Cold source quantity should then be sized against the full planned duration plus a margin for delays, because a cold source that fails two hours before handover fails the whole batch.
Decontamination, Inspection and Maintenance Routines
Cleaning and Decontaminating the Case and Insert
A sampling case repeatedly contacts soil, water, biological tissue and reagents, so decontamination is the key step against cross-contamination:
- Empty and sort: Dispose of single-use consumables as waste and collect reusable containers separately.
- Remove visible contamination: Use water or a neutral detergent to remove soil and residue; avoid strong solvents that damage the shell and gasket.
- Targeted decontamination: For trace-analysis work, follow the decontamination procedure and reagents specified in the plan and record what was done.
- Rinse and dry: Rinse thoroughly, then leave the lid open in a ventilated place until completely dry with no detergent residue.
- Handle the insert: Foam absorbs liquid, so replace it entirely when heavily contaminated; divider inserts can be removed and washed separately.
- Reset the desiccant: Once dry, put desiccant back before closing.
Incoming Inspection Checklist
- Shell: No cracks, ribs intact, corner radii even, no sign of embrittlement in cold use.
- Sealing: After closing, check along the lid edge that the gasket is compressed evenly with no local gaps.
- Latches and hinges: Crisp seating with a clear self-lock; no play in the hinge; the lid lands accurately on the seal groove.
- Insert: Bays match the sampling containers; a bottle should neither rattle nor be forced in.
- Stacking and marking: Stacking locators mate properly; external label holders and card slots present.
- Lock hole and seal position: For sealed cases, confirm the lock hole works and the seal surface is flat.
- Pressure equalization valve: For air transport, confirm the body is intact and breathing.
- Cold source fit: Confirm the cavity accepts the insulation and cold source the plan requires, with a separation layer between them.
Routine Care
- Decontaminate and dry thoroughly after every mission; never close a damp case for storage.
- Wipe the gasket with clean water regularly and avoid strong solvents; replace it once elasticity is lost or cracks appear.
- Foam is a replaceable consumable; swap it to the original specification when it collapses, tears or becomes heavily contaminated.
- For long-term storage, empty, dry and release the latches, and keep the case out of sun and heat.
Common Mistakes
- Mistake one: assume the protective case insulates by itself. It supplies structure and sealing; the cold comes from a cold source, and its volume must be planned in.
- Mistake two: use ordinary paper labels. Rain, alcohol and freezing all destroy them; choose label stock for the environment.
- Mistake three: share containers between samples. Cross-contamination distorts trace analysis and cannot be fixed afterward.
- Mistake four: ignore temperature logging. A cold chain without temperature data is not a cold chain, because nothing is proven.
- Mistake five: pack rock with light samples. Weight and sharp edges crush and scratch, and the case becomes too heavy.
- Mistake six: close the case before it is dry. Residual moisture molds and contaminates the next batch.
- Mistake seven: fail to declare controlled chemicals. Fixatives and dry ice are regulated; confirm the rules with the carrier in advance.
Frequently Asked Questions (FAQ)
Q: Does a sampling case need built-in insulation, or is an ordinary protective case with ice packs enough? A: It depends on the required storage temperature. Soils, rocks and dried specimens stored dry at ambient temperature are fine in an ordinary sealed protective case. Water, tissue and filter samples that need chilling or freezing require insulation and a cold source inside the case. Remember that the case does not generate cold; it provides rigidity, sealing and insulation while the cold comes from ice packs, phase-change material or dry ice. So size the case to include the cold source volume, and put a temperature logger inside to prove the chain never broke.
Q: How do I protect glass sampling bottles during field transport? A: Three things: bottles must not touch each other, there must be cushioning between bottle and wall, and each bottle must stand upright and not tip. In practice this means foam bays cut to the bottle profile or slotted dividers that support each bottle independently, plus restraint at the cap so screw closures cannot loosen. It is also worth putting each glass bottle into a leak-proof secondary container, so that if it does break the spill stays contained instead of contaminating other samples and the insert.
Q: How do I keep labels from falling off in alcohol or freezing conditions? A: Choose the label stock for the environment. Bottles immersed in alcohol or fixative dissolve ordinary adhesive and print, so use solvent-resistant polyester labels with thermal-transfer printing and label both the body and the cap. In freezing conditions adhesives fail, so use low-temperature labels applied wrap-around and add a second tag inside the bag mouth or under the cap. Keep field notes in pencil, because pencil does not run when wet, which is the same principle applied twice.
Q: How do I prevent cross-contamination between samples? A: Block three sources separately. Tools and containers: use appropriate tool materials for metal analysis and prepare containers according to the plan so no foreign material enters. Transfer between samples: seal each sample individually and reliably, give liquids a secondary container, and never share a wide-mouth jar. People and environment: wear gloves and change them often, avoid bare-hand contact, and do not expose bottles to dust in an open vehicle. For trace analysis, keep a dedicated clean zone in the case and never store it with soils or sediments.
Q: What should I watch for when air-freighting samples that need a cold chain or dry ice? A: Three things matter most. Declare in advance: dry ice and chemical fixatives are regulated items under the applicable rules, and limits, packaging and marking follow the carrier and current regulations rather than habit. Configure the case: the cargo-hold pressure differential and cold temperature require a pressure equalization valve, and latches should be recessed or lockable so the case cannot be forced open on conveyors or in stacks. Preserve evidence: use single-use seals, record the seal number on the list, keep a temperature logger inside, and download the data at handover.
Q: Does a sampling case need a lock or a seal? A: It depends on whether you must prove the case was not opened. For work that needs a complete evidence chain, third-party testing, environmental compliance sampling or inter-institutional handover, use a latch with a lock hole plus a single-use seal, record the seal number on the list and verify it at handover. For routine research sampling, a lock mainly prevents the case being opened in transit and scattering or contaminating samples, which is reason enough to fit one.
Q: How should an insert be handled after it is contaminated by a sample? A: Start by identifying the contamination. Light contamination can be washed with water or neutral detergent and then dried thoroughly. Contamination involving chemical fixatives or biological material should follow the decontamination procedure specified in the sampling plan, with a record of what was done. Foam absorbs liquid, so replace it entirely when contamination is heavy or when a broken sample has soaked it, rather than keeping it in service. Divider inserts can be removed and washed separately. In every case, ventilate and dry completely before closing, or residual moisture will mold and contaminate the next batch.
Q: Should a field sampling case be IP67? A: A case with IP67 capability is recommended, for two reasons. Field sampling regularly meets rain, river crossings and boat transfers, and IP67 means temporary immersion is withstood under standard test conditions, which covers an accidental drop into water. Sealing also works in both directions: it keeps out water, dust and insects, and it contains any internal leak or vapor. Bear in mind that an IP rating is a test result on a new product, so long-term effectiveness depends on gasket care and latch compression; clean and inspect the seal after every mission.
Conclusion
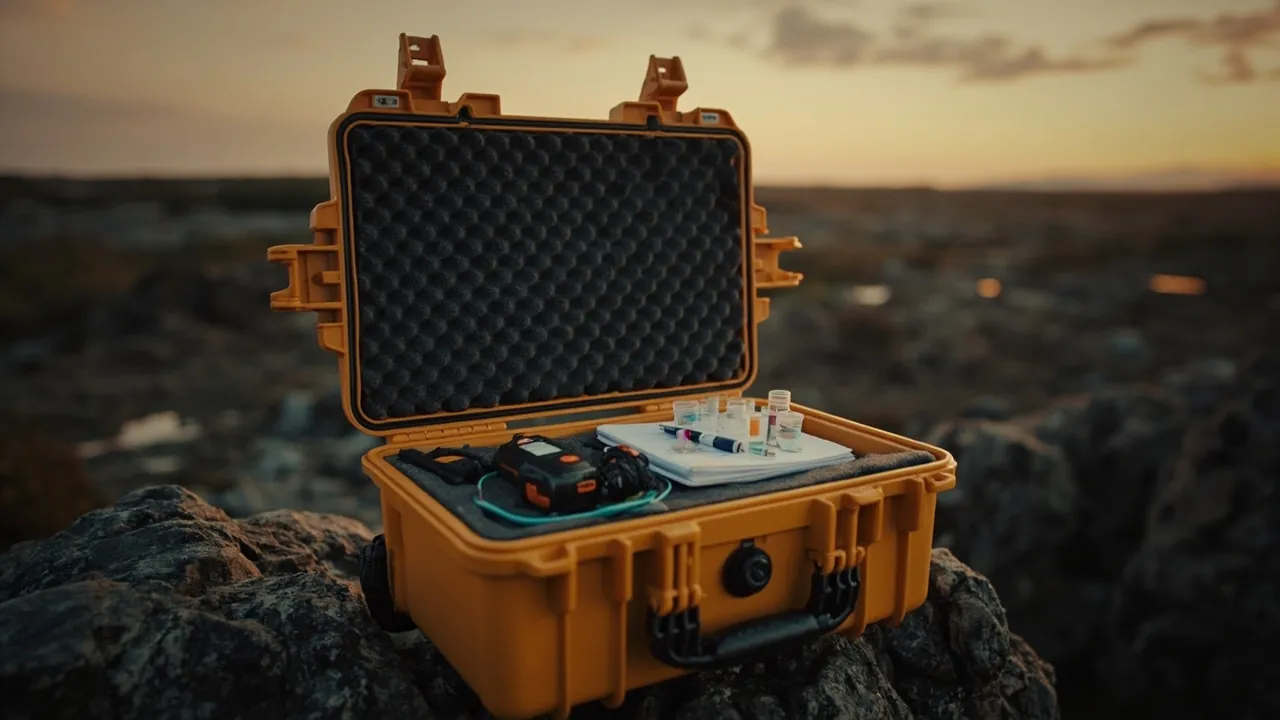
Choosing a field research sampling case is essentially engineering two things, sample preservation and record traceability. The order should be: define the hard preservation constraints by sample type, temperature from ambient to chilled to frozen, light exclusion, breakage protection and cross-contamination control, remembering that the cold chain is the most common and most error-prone element, that the case supplies structure and sealing while the cold source supplies the cold, and that cold source and insulation volume must be planned into the case size; then design the insert around the real containers, foam bays cut to bottle profile for glass so bottles never touch, rigid dividers layered by site for soils and specimens, rock shipped in its own case to control weight, and a dedicated clean zone for trace-analysis samples; then close the record loop, unified numbering, label stock matched to the environment for water, solvent and low temperature, pencil in the notebook, one card per case, double counting at handover, a temperature logger running throughout, and seals where an evidence chain is needed; finally institutionalize decontamination and inspection so one batch cannot contaminate the next. The point of all this is not any single high parameter, it is that every sample remains identifiable, traceable and provably unaltered from the moment it is taken. KeXin New Materials (Guangdong) Co., Ltd. was founded in 2014 and is located in Zhongshan City, Guangdong Province, with a factory of about 18,000 square meters, more than 80 machines and over 100 staff. Its protective-case line is marketed globally under the brand kexinMaterials and under the JUNZHJIA product-line brand, covering more than 150 specifications, offering IP67 capability and environmental suitability validation against MIL-STD-810H. The company operates under ISO9001 and meets REACH, California Prop 65 and RoHS requirements, holds more than 20 utility model and design patents, and provides one-stop OEM and ODM customization from product design, mold manufacturing and injection molding to logo printing and tray and liner production. For bulk quotations, specification sheets or customization, please reach us through the contact page or inquiry form on this site.
Further Reading
- What Does IP67 Mean for a Protective Case and Where Does It Apply?
- Why Is a Shockproof Tool Box Suited to Transporting Precision Tools?
- How Does an Outdoor Protective Case Protect Internal Electronics?
- How Do Outdoor Protective Cases Handle High and Low Temperature Environments?
- Why Does a Protective Case Need a Stacking Structure?
- Are Internal Dividers or Foam Better for a Protective Case?
- What Factors Matter When Customizing Protective-Case Foam?
- How Do Outdoor Protective Cases Improve Transport Safety for Equipment?