

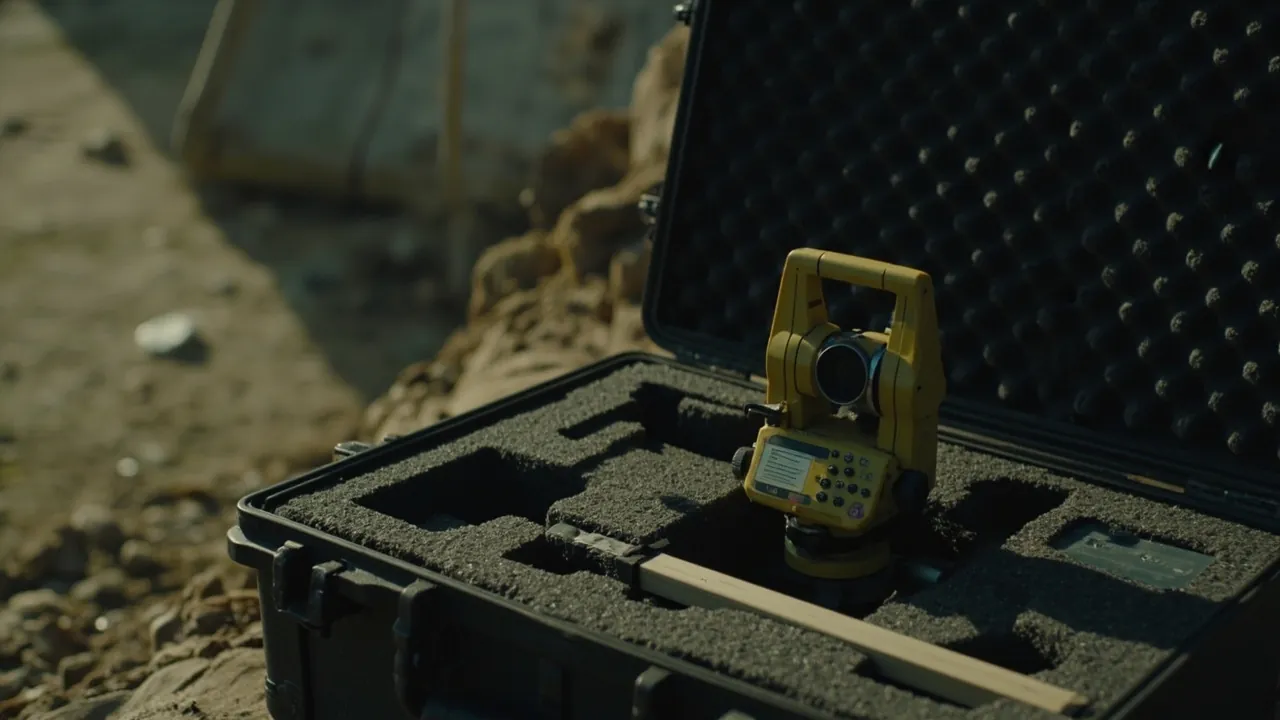
The selection logic for a precision instrument protective case runs like this: first identify where the instrument's sensitivity to accuracy actually lies, whether mechanical axes, optical references, sensor zero points, reference standards or precision connectors, then configure the solution along four lines, which are cushioning, fixation attitude, environmental control and labeling for traceability. That means using closed-cell foam of the right density and thickness to bring the peak acceleration of an impact down, using a purpose-built insert to hold the instrument in the correct attitude without compression or deformation, using desiccant and a hygrometer to hold relative humidity below 60 percent, and using label slots and inventory management so every calibration, loan and return can be traced. The most critical point, and the one most easily missed, is this: precision instruments rarely become broken; they become inaccurate. A metrology calibrator may show no external damage after a severe impact and still pass its startup self-test, while internal reference drift, changes in axis relationships or a shift in sensor zero have already occurred. If that inaccuracy goes unnoticed, it propagates through the measurement system and affects every downstream instrument calibrated with it. The real objective of this work is therefore preserving the credibility of the measured value, not simply keeping something from breaking. The sections below cover sensitivity points, cushioning principles, fixation attitude, environmental control, transport and calibration management, and then selection, mistakes and incoming inspection.
Table of Contents
- What Precision Instruments Really Fear: Five Sensitivity Points
- The Core Principles of Shock Protection: Peak Acceleration, Natural Frequency and Cushion Thickness
- Insert Structure: Three Formats and the Rule of Immobilized but Not Compressed
- Environmental Control: Temperature, Humidity, Cleanliness and Pressure
- Transport and Calibration Management: Traceability, Inventories and Intermediate Checks
- Selection Process, Common Mistakes and Incoming Inspection Checklist
- Frequently Asked Questions (FAQ)
- Conclusion
- Further Reading
What Precision Instruments Really Fear: Five Sensitivity Points
Different precision instruments have very different weak points. Before choosing protection, identify what it is that would make this particular instrument inaccurate once it moves. That judgment matters more than any case specification.
Five Common Sensitivity Points
| Sensitivity type | Representative instruments | Symptoms after disturbance | Direct implication for protection |
|---|---|---|---|
| --- | --- | --- | --- |
| Mechanical axes and guideways | Coordinate measuring machines, length measuring machines, optical comparators, micrometer-class instruments | Changed geometric relationships between axes, such as squareness and parallelism; scoring of guideways | Fix the attitude, prohibit compression, avoid carrying at an angle |
| Optical reference and light path | Interferometers, spectrometers, microscopes, laser measuring instruments | Optical axis shift, micro-displacement of dispersive elements, unstable readings | Vibration isolation, protection against condensation, separate lens protection |
| Sensor zero and sensitivity | Pressure sensors, load cells, accelerometers, temperature and humidity standards | Zero drift, sensitivity change, degraded linearity | Avoid long exposure to drop impact, avoid abrupt temperature change |
| Reference and calibration artifacts | Gauge blocks, standard cells, standard resistors, reference weights, calibration sleeves | Surface scoring, oxidation, dimensional change | In-place fixation, isolated storage, no contact with other items |
| Precision electrical connectors | Multimeter calibrators, standard sources, frequency counters, nanovoltmeters | Changed contact potential, fluctuating contact resistance, unstable readings | No load on ports, dust and moisture protection, fewer mating cycles |
Why Inaccuracy Is More Dangerous Than Breakage
The difference between the two is detectability. When equipment fails outright it reports an error on startup, the user stops using it and sends it for repair. Degraded accuracy, by contrast, usually enters a grey zone: the instrument works, the screen displays, the self-test passes, and only the measurement result deviates from the true value by an amount the user cannot perceive. Every data point produced during that interval is untrustworthy, and it has often already been used to decide whether products pass.
This leads to a principle that is extremely practical: after any event that could cast doubt on accuracy, including a drop, violent jolting, immersion or exposure to extreme temperature, the instrument should be rechecked or resubmitted rather than continuing to be used on its existing certificate. The cost of following that principle is far lower than tracing nonconforming product afterwards.
The Core Principles of Shock Protection: Peak Acceleration, Natural Frequency and Cushion Thickness
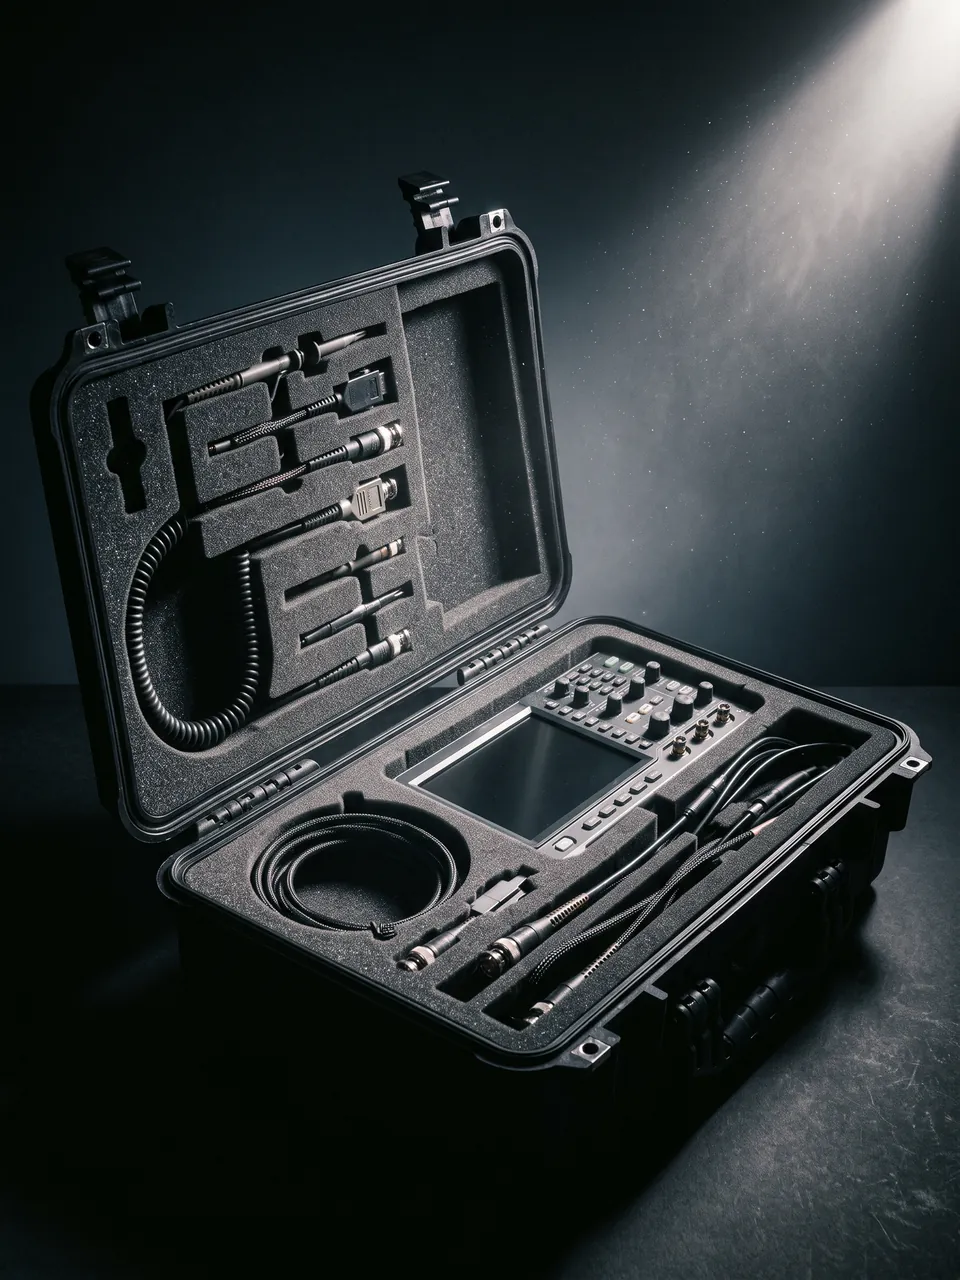
Once the goal of protecting accuracy is understood, we arrive at the technical core. Shock protection is not simply wrapping things thicker; it rests on three quantifiable variables.
Variable One: Peak Acceleration
The harm an instrument suffers in an impact depends mainly on the peak acceleration transmitted to it, and that follows a simple physical relationship: at the same impact energy, the longer the deceleration distance, the lower the peak acceleration. The job of foam is to provide that deceleration travel. As the instrument sinks into the foam, energy is absorbed by the material's compression and deflection, the deceleration is stretched out, and the peak is flattened. This is also why brute strength is never the answer: a hard case without foam transfers the impact to the instrument almost undiminished.
Variable Two: Cushion Thickness and Density
Thickness determines how much travel is available. Halve the cushion layer or cut the cavity too tight and the travel runs out, so peak acceleration rises noticeably. Density determines how much energy is absorbed per unit volume: too low and support is inadequate so the instrument moves inside the case; too high and the material is hard, cushioning travel shortens, and the result is equally poor.
A widely used engineering criterion is that a sound cushion design keeps the transmissibility low across a wide energy range. Two practical rules follow from it:
- Minimum foam thickness around the load should be no less than 20 to 30 millimeters, with cushioning layers of the same order at the base and under the lid. The instrument must not touch the case wall.
- Enough contact area. Size the contact against the allowable pressure on the contact surface; fragile areas such as lenses, display windows and optical ports need larger contact area or a soft contact surface.
Variable Three: Natural Frequency and Vibration Isolation
The first two variables address single impacts. The third addresses continuous vibration, which means vehicle transport, sitting next to running power equipment, or standing beside a machine tool. The danger of continuous vibration is resonance: when the external excitation frequency approaches the natural frequency of the foam-plus-instrument system, amplitude multiplies several times over, which is far worse than ordinary jolting.
The general approach to isolation is to make the natural frequency of the system well below the dominant excitation frequency, and engineering practice commonly uses a frequency ratio above 2.5. In selection terms: instruments that are sensitive to continuous vibration and have greater mass need softer, thicker foam with better damping so the system's natural frequency is pushed lower; very light instruments need a corresponding reduction in cushion stiffness, to avoid pushing the natural frequency up into the band where road input lives. That is also why the same foam cannot serve every instrument; it has to be matched to the instrument's mass and its sensitive frequency band.
One Easily Missed Detail: Material Fatigue After Repeated Impact
Transport is not one impact but hundreds or thousands of small ones, which demands resistance to repeated impact and good compression recovery from the foam.
Three practical checks make this manageable day to day. First, look at compression set: press the foam close to its limit and release it; the faster it recovers the better, and material that no longer recovers fully has reached the end of its useful life. Second, look at rebound speed: material that springs back crisply has a good balance of damping and resilience, while soft and sluggish rebound usually indicates low density. Third, look at the edges: obvious tearing, collapsed corners or crumbling at a cavity edge means that spot has taken more friction and impact than it was designed for, so the insert should be replaced rather than kept in service. Inserts for precision instruments are consumables, and replacing one costs far less than checking and recalibrating an instrument, so putting them on a scheduled replacement list pays for itself.
Insert Structure: Three Formats and the Rule of Immobilized but Not Compressed
Once principles are set, implementation comes down to how the insert is made. For precision instruments there are three bottom lines: immobilized but not compressed, gentle contact surfaces, and correct attitude.
Comparing Three Insert Formats
| Format | How it is made | Advantages | Limitations | When to use it for precision instruments |
|---|---|---|---|---|
| --- | --- | --- | --- | --- |
| Pick and pluck foam | Pre-cut grid of cubes pulled out on site | No tooling, adjustable at any time, low cost | Edges tear easily, only average long-term shape retention, limited load capacity | Temporary circulation or when loaned models vary |
| Pre-cut foam | Die-cut or CNC-cut against the inventory | High conformity, easy access, tidy appearance | Any change in inventory means redoing it | Calibration teams with a fixed inventory |
| Custom molded insert | Thermoformed or CNC-carved | Cavities match exactly, finger access and tiers possible, pockets for desiccant and reference artifacts can be designed in | Tooling required, suited to batches | First choice for high-value, standardized management |
Why Immobilized but Not Compressed Is Hard
This is the central difficulty of precision instrument inserts, and people often miss it in both directions.
- Too loose: the instrument shifts and rotates inside the case, taking small impacts during transit, and the axes and connectors are loaded repeatedly.
- Too tight: once the lid is closed the case applies continuous pressure, which causes three problems. Slight deformation of the case transfers directly into the flatness of the instrument base. Pressure lands on knobs, keys or lenses and causes mechanical damage. Long-term pressure creates creep between foam and instrument that leaves abrasion marks on surfaces.
The correct acceptance feel is: the instrument goes in and comes out smoothly, and with the case lying flat after closing there is no internal movement when you shake it gently, yet it does not feel as though force is needed to latch the lid. That is a tactile criterion which can also be reproduced consistently at incoming inspection.
Two Empirical Rules for Attitude and Stacking
- Heavy items and center of gravity low. Put the heaviest, least crush-sensitive items in the lower part of the case, typically reference artifacts and accessory boxes, and the most delicate main instrument in the middle or upper layer. This lowers tipping risk and also prevents heavy upper items from bearing down on instruments below.
- Never let cases be stacked on top of a case holding precision instruments. When shipping several cases together, the one holding precision equipment belongs on the top layer or occupying a position of its own, never underneath other cases.
Four Things Worth Paying Extra For in a Custom Insert
- Dedicated pockets for reference artifacts. Gauge blocks, standard cells, standard resistors and calibration sleeves must have their own pockets with covers or protective edges, never sharing a pocket with tools.
- Finger access and removal channels. Provide two symmetrical finger wells per pocket so users never pry, lever or yank.
- A desiccant pocket. Reserve one in a case corner so desiccant bags cannot slide around and strike the instrument.
- Label slots. Leave a labeling area beside each pocket for the equipment number and calibration expiry, embedding management into the physical structure.
Environmental Control: Temperature, Humidity, Cleanliness and Pressure
The other great enemy of precision instruments is the environment. Shock protection solves transport; environmental control solves storage.
Humidity: Why It Comes First
Two reasons put humidity first. The first is corrosion: at elevated relative humidity the adsorbed water film on metal surfaces becomes thick enough to support electrochemical processes and the corrosion rate climbs sharply. The second is condensation: opening the case immediately after returning from cold into warmth makes humid air condense at once on cold optical surfaces, which is the most direct and fastest route to damage.
Hold relative humidity below 60 percent, ideally in the 40 to 55 percent band, and keep a small hygrometer plus enough desiccant permanently in the case. Desiccant saturates; once it changes color, dry or replace it, and shorten the interval in humid seasons.
Temperature: Short-Term Drift and Long-Term Aging
Temperature acts on two levels. In the short term it produces thermal drift, where readings move with temperature. Over the long term it produces aging, as seals, foam, adhesives and electronic components degrade with time. The short-term remedy is thermal settling: after moving a cold instrument into a warm site, let the closed case come up to near ambient temperature, then leave it further so the instrument body stabilizes, and only then begin measuring. Never take readings while a temperature gradient still exists inside the instrument.
Cleanliness: Control at the Source
Dust entering guideways, threads and optical surfaces of precision axes becomes an abrasive, which is especially damaging for instruments with fine mechanical motion such as coordinate measuring machines and micrometers. Three controls apply: the case itself needs full-perimeter sealing and an adequate dust rating; instruments that have not been cleaned must not go straight in; and avoid leaving the case open for long periods in dusty conditions.
One additional practice worth adopting is a clean bench habit: designate one clean surface as the only place an instrument is set down before it returns to its pocket, and keep a lint-free cloth and, where the manufacturer permits it, a suitable solvent next to it. Most contamination does not arrive from the environment during transport; it arrives because instruments were placed on a workbench, a vehicle floor or a measuring plate that was already dirty. Removing the instrument from the case is therefore the moment of highest exposure, and controlling that step protects the case investment better than any additional specification on the case itself.
Pressure and Differential Pressure
Air transport and high-altitude transfers bring pressure change, and a differential between inside and outside makes the lid hard to open or loads it abnormally. Any instrument case that may be flown as checked baggage or shipped at altitude should be fitted with a pressure equalization valve, a differential regulator using a microporous membrane that lets gas pass while blocking liquid water and dust. It bears repeating that it equalizes pressure rather than humidity, so desiccant remains necessary.
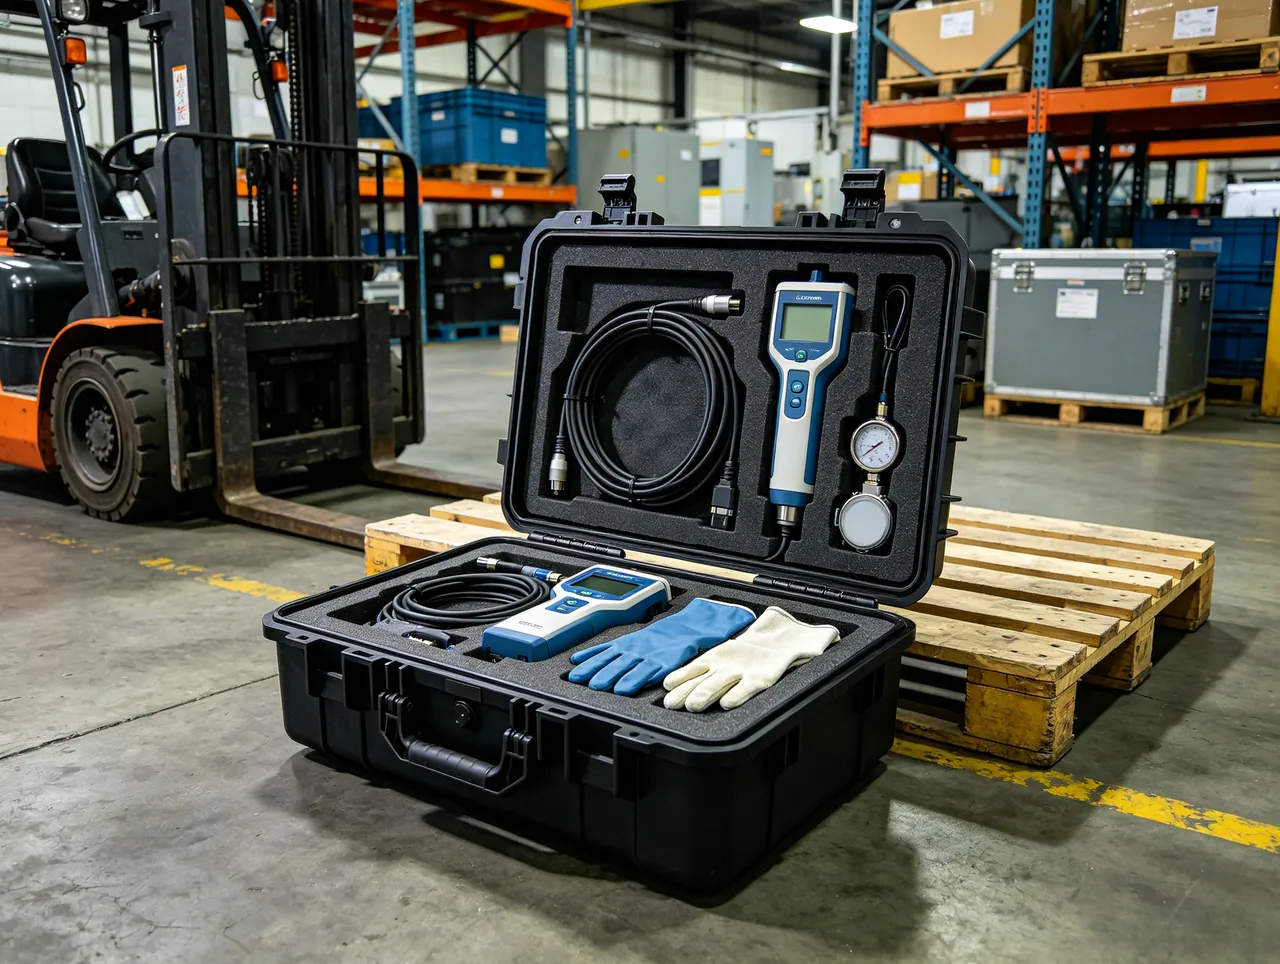
Transport and Calibration Management: Traceability, Inventories and Intermediate Checks
Every technical measure above finally lands on management, and that step decides whether the whole scheme really preserves credible values.
Three Stages and Three Records
A minimal viable management system is three records.
| Stage | What to record | Purpose |
|---|---|---|
| --- | --- | --- |
| Removal or loan | Equipment number, calibration expiry, visual condition, operator, date | Establish the starting point of responsibility |
| Return or repacking | Whether any drop, immersion or abnormal temperature event occurred, visual recheck, accessory completeness | Identify whether a recheck is needed |
| Event log | Description of any event that could affect accuracy and the decision taken | Ensure every suspected-accuracy event is closed out |
What Belongs on the Inventory Card
The inventory card inside the lid deserves a little care, because it is what turns routine handling into traceable handling. List the equipment number, the calibration expiry date and pocket location for every item, then add three short prompts: check the desiccant color before closing; note any drop, immersion or temperature event rather than assuming someone else saw it; and confirm every latch has self-locked before lifting the case. Keep the card writable or replaceable so it ages with the kit instead of becoming stale. Teams that adopt this card usually find that missing accessories and unlogged events, the two most common sources of attributed inaccuracy, drop away within a few weeks of use.
Why Intermediate Checks Matter
Holding a calibration certificate does not mean an instrument is permanently trustworthy between two calibrations. The practice of an intermediate check is to measure periodically against a stable check standard between formal calibrations and judge from the trend whether the instrument remains under control. That is the same logic as the earlier statement that any suspected event calls for a recheck: do not rely on trust, verify.
Three Situations That Call for Immediate Withdrawal and Recalibration
- The case or instrument has suffered an obvious drop, tip-over or immersion.
- Deviation between readings and the check standard shows a step change or a systematic trend.
- Visible damage or contamination appears on axes, optical windows or reference artifact surfaces.
Selection Process, Common Mistakes and Incoming Inspection Checklist
A Six-Step Selection Process
- Identify sensitivity points. Establish precisely what would become inaccurate if it moved.
- Estimate mass and outside dimensions. Measure with covers, knobs and connectors in place.
- Set the cushion scheme. Choose foam material and thickness by mass and sensitive frequency band, with no less than 20 to 30 millimeters all around.
- Set the insert format. Pick and pluck for a changing inventory, pre-cut for a fixed one, custom molded for standardized management.
- Set environmental control. Desiccant, hygrometer, settling procedure, and whether to fit a pressure valve.
- Set the management structure. Dedicated artifact pockets, finger access, label slots and three records.
Common Mistakes
- Mistake one: judging only whether everything fits. The first criterion for a precision instrument case is cushioning and fixation, not whether the volume is just right.
- Mistake two: the tighter the foam, the safer. Excessive tightness applies continuous pressure, which harms accuracy and can cause mechanical damage.
- Mistake three: treating a calibration certificate as blanket assurance. A certificate proves the state at the time of calibration; reliability between calibrations depends on intermediate checks.
- Mistake four: letting reference artifacts travel loose with the main unit. Once a reference artifact is scored or contaminated, the whole traceability chain breaks, so it must be fixed in place and stored separately.
- Mistake five: unpacking and reading immediately on arrival. Taking readings before temperature settles introduces drift error; let it settle first.
- Mistake six: putting the precision instrument case at the bottom of a stack. Long-term loading affects the case mouth and the insert shape.
- Mistake seven: continuing to use an instrument after a drop because it looks fine. This is precisely the high-risk behavior described here; recheck before further use.
Incoming Inspection and Routine Maintenance Checklist
- Foam density and thickness. Consistent with the specification; recovers after pressing with no crumbling.
- Insertion and removal feel. Smooth with no binding; no force needed to close the lid.
- Shake test. Hold the closed case level with both hands and shake gently; there should be no internal movement sound or sensation.
- Artifact pockets and finger access. Correctly positioned so nothing has to be pried out.
- Desiccant and hygrometer. Fitted correctly and reading normally.
- Pressure equalization valve, if fitted. Body intact and breathing normally.
- Label slots and inventory card. Writable and erasable, with numbers and expiry dates filled in.
- Routine care. Check against the inventory before and after every use, and log any abnormal event immediately, applying the withdrawal rule.
Frequently Asked Questions (FAQ)
Q: Why is a custom molded insert recommended for precision instruments rather than pick and pluck foam? A: The fundamental difference is whether it can achieve immobilized but not compressed. Pick and pluck approximates the outline by pulling cubes, so edge accuracy is limited, and the stacked-layer construction tears and collapses after long-term use, letting the instrument loosen gradually. A custom molded insert is a one-piece cavity machined to the instrument's outline, giving precise location, controllable load area and the ability to build in finger access, tiers, a desiccant pocket and artifact pockets, with the best long-term shape stability. For high-value instruments that circulate repeatedly, one tooling cost is usually lower than tracing the consequences of one accuracy incident. If models are not yet fixed or are still in flux, start with pick and pluck and move to custom once the inventory stabilizes.
Q: How thick should the cushioning foam actually be? A: A widely adopted practical criterion is a minimum of 20 to 30 millimeters around all sides, with cushioning layers of the same order at the base and under the lid, and no contact with the case wall. That is only a lower bound: the real figure depends on matching instrument mass to foam density. Instruments of greater mass with lower sensitive frequency bands need thicker and softer foam to push the system's natural frequency down, while lighter instruments need a corresponding reduction in cushion stiffness. The more reliable route is to run sample drop tests at representative drop heights, such as typical hand-carry and loading heights, and verify with measured data rather than deciding by feel and experience alone.
Q: The instrument took a drop with no visible damage. Does it still need recalibration? A: Treat it as a suspected-accuracy event: withdraw it, then check or resubmit it. Damage to precision instruments shows up as inaccuracy rather than breakage: internal reference drift, changed axis relationships and sensor zero shift may leave no external trace and cannot be caught by routine self-test. The procedure is to log what happened, inspect the exterior and the reference artifacts, run an intermediate check against a stable check standard, and if the deviation exceeds the allowable limit send it to a qualified body for recalibration. If the check passes and you retain the record, it can return to service. Compared with later finding a batch of product data unreliable, this step costs very little.
Q: What humidity should the case interior be held at, and how is that achieved? A: Keep relative humidity below 60 percent, ideally between 40 and 55 percent. Three things work together: keep enough desiccant permanently in the case, dosed by case volume; keep a small hygrometer or humidity indicator card so humidity becomes a number rather than a feeling; and shorten open periods, closing the case promptly after each use. Desiccant saturates, so dry or replace it once it changes color, shortening the interval in humid seasons. Also, do not open the case immediately after coming from cold into a warm room; let it acclimatize closed to near ambient temperature to avoid condensation.
Q: Where should artifacts such as gauge blocks and standard cells be stored? A: They need their own dedicated pocket in place, kept as isolated as possible: not sharing a pocket with tools, screwdrivers or metal accessories, to avoid scoring and contamination; protected by edges or covers so they cannot fall out when the lid opens or closes; and for items with special storage requirements, such as certain standard cells with attitude constraints, positioned as specified and noted on the label. The reason is simple: reference artifacts are the origin of the entire traceability chain, and once one becomes inaccurate, every instrument calibrated with it shifts along with it, making it the most concentrated risk point in precision measurement.
Q: Does a precision instrument case need a pressure equalization valve? A: Yes, whenever air shipment or transport between high and low altitude is possible. It balances internal and external pressure so the lid cannot become hard to open or be deformed by differential pressure, and so the gasket is not left carrying abnormal load. Note that flow through the valve is very small and only handles slow pressure change; it cannot act as drying equipment, so desiccant still controls humidity. Also keep the membrane away from strong solvents and oils, and confirm it breathes both on delivery and during service.
Q: Can I rely on a calibration certificate? A: A certificate proves the state at the moment of calibration; it does not cover all the time until the next one. The reliable practice is intermediate checking: measure periodically against a stable check standard, record results on a trend chart and judge from the trend whether the instrument remains under control. That is the same principle as rechecking after any suspected event: the certificate is the baseline assurance, and continuous verification in between is where real reliability comes from. Watch the expiry date as well and schedule recalibration in advance, so you never issue reports on an expired certificate.
Conclusion
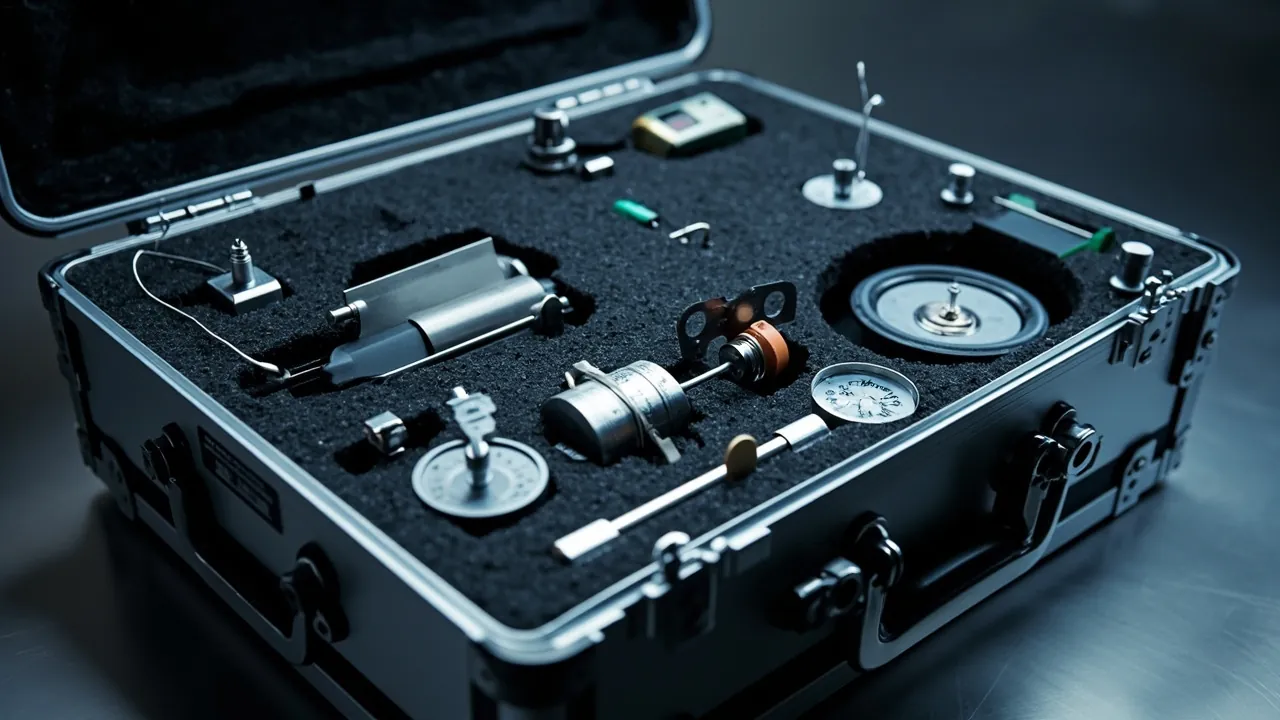
Selecting a precision instrument protective case is fundamentally about protecting the credibility of measured values, not merely preventing the contents from breaking. The practical order runs as follows. First, identify where this instrument's sensitivity to accuracy lies, whether mechanical axes, optical references, sensor zero, reference artifacts or precision connectors, since that judgment governs everything after it. Second, configure along the four lines of cushioning, fixation, environment and traceability: use closed-cell foam of adequate thickness and correct density to bring peak acceleration down, with no less than 20 to 30 millimeters all around; use pre-cut or molded inserts to achieve immobilized but not compressed; use desiccant and a hygrometer to hold relative humidity below 60 percent; and embed management into the structure through dedicated artifact pockets, label slots and three records. Third, fit a pressure equalization valve wherever air shipment or high-altitude transfer is involved, and never let a case holding precision instruments sit at the bottom of a shipping stack. Finally, the point most often missed: after a drop, immersion or severe temperature excursion, do not judge by appearance; treat it as a suspected-accuracy event, withdraw for checking, and recalibrate if needed. Precision also means treating the insert as a consumable and replacing it on schedule, because foam age is measured in recovered thickness, not in years. KeXin New Materials (Guangdong) Co., Ltd. was founded in 2014 and is located in Zhongshan City, Guangdong Province, with a factory of about 18,000 square meters, more than 80 machines and over 100 staff. Its protective-case line is marketed globally under the brand kexinMaterials and domestically under the JUNZHJIA product-line brand, covering more than 150 specifications, offering IP67 capability and environmental suitability validation against MIL-STD-810H. The company operates under ISO9001 and meets REACH, California Prop 65 and RoHS requirements, holds more than 20 utility model and design patents, and provides one-stop OEM and ODM customization from product design, mold manufacturing and injection molding to logo printing and tray and liner production. For bulk quotations, specification sheets or customization projects, please schedule through the contact page or inquiry form on this site.
Further Reading
- Why Is a Shockproof Tool Box Suited to Transporting Precision Tools?
- What Types of Foam Are Commonly Used Inside Protective Cases?
- What Factors Matter When Customizing Protective-Case Foam?
- Why Do Protective Cases Often Use Pre-Cut Foam?
- How to Choose Foam for the Inside of a Tool Box?
- How to Choose Internal Cushioning Material for an Outdoor Protective Case?
- Are Dividers or Foam Better for the Inside of a Protective Case?
- How Do Outdoor Protective Cases Handle High and Low Temperatures?
- What Does IP67 Mean for a Protective Case and Where Does It Apply?