

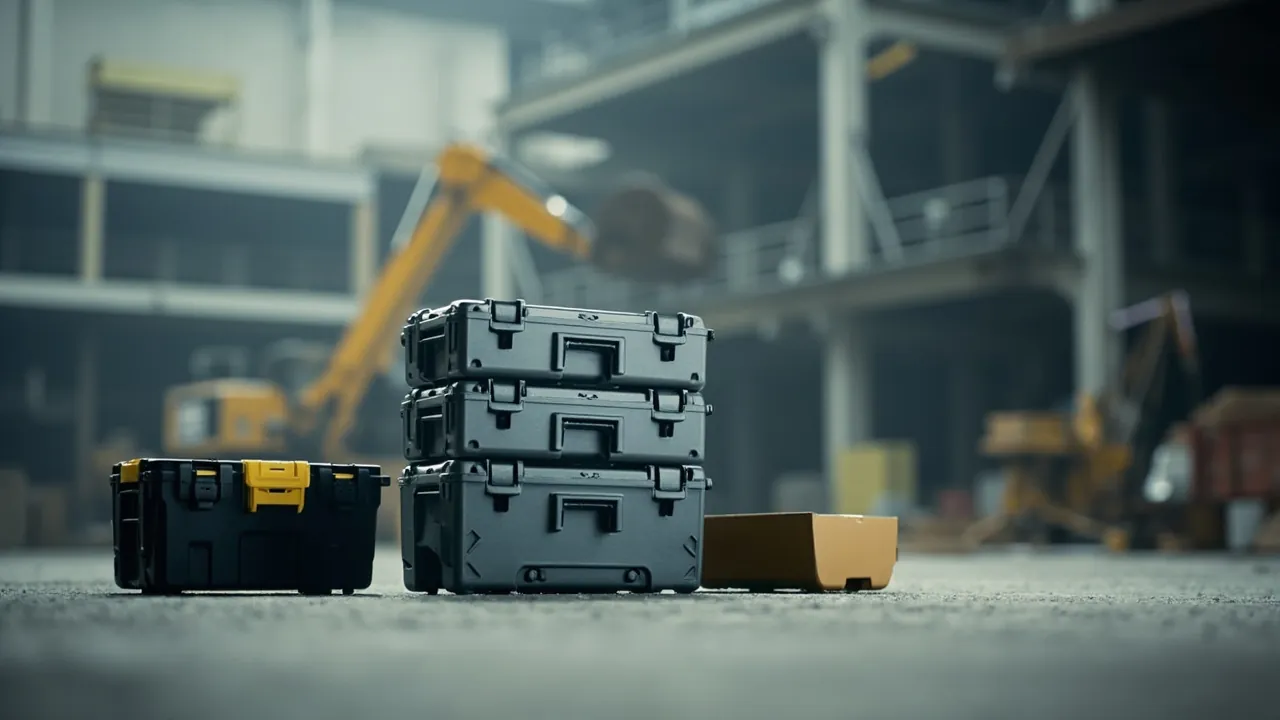
Verdict first: stackable design solves three problems — it converts floor area into cubic storage when standing still, converts multiple trips into one when carrying, and converts a pile of anonymous boxes into a system that can be combined, counted and extended. All three depend on one precondition: the interlock must be reliable, the stacking strength sufficient and the centre of gravity controllable. A widespread misunderstanding holds that "cases that sit on top of each other are stackable". Resting one flat-bottomed case on another merely adds weight to the lower one, and the first hard brake sends it sliding. Genuine stacking design creates geometric constraint between units — interlocking bosses and recesses, dovetails, rail locks — so lateral movement is absorbed by geometry itself rather than by friction or straps. That distinction separates "can be stacked" from "can be stacked safely".
In practice the value of stacking is more often squandered than used. Organisations buy interlocking products and then treat them as ordinary boxes because combination rules were never defined, components do not match, or stacking height spirals out of control. This article therefore covers not only the structure but how to use it: safe height boundaries, restraint methods per vehicle type, the conflict between stacking and ingress protection, and where modularity should be preferred to stacking. It closes with an eight-point acceptance checklist and complete configurations for three scenarios: site crews, camper vans, and warehouse logistics.
It is written for procurement and engineering staff specifying tool storage systematically: tool management for main and sub-contractors, vehicle kit standardisation for outsourced maintenance fleets, camper conversion and outdoor equipment channels, and tool rotation in warehouses. Whether you are equipping a fifty-person crew or planning accessories for a product line, the logic is identical: define the module unit, then the combination rules, then the restraining method.
Table of Contents
- Verdict first: the three problems stacking actually solves
- Three basic forms: self-stacking, rail systems and frame mounting
- The mechanics of interlocks: stacked versus safe
- Metric one: how to calculate stacking strength honestly
- Metric two: safe height limits and centre of gravity
- Metric three: stability in transit across vehicle types
- Metric four: where stacking conflicts with ingress protection
- Modularity versus stacking: where each belongs
- Scenario one: unitised combinations for site crews
- Scenario two: camper vans, camping and overland builds
- Scenario three: warehousing, logistics and workshop rotation
- Acceptance checklist: eight checks before you buy
- FAQ
- Closing remarks and related reading
Verdict first: the three problems stacking actually solves
Stacking value has three layers, each with different benefits and different acceptance methods.
Layer one, space efficiency. The most obvious one. Identical floor area converted from spread-out cases into a vertical stack multiplies usable volume immediately. For a fifty-person crew, tools that once filled three rows of shelving may fit in one corner of a bay. Quantify it simply as usable litres per square metre of floor (L/m²). Note that this layer is frequently underestimated: in many stores, cases occupy far more valuable space than the tools they contain.
Layer two, carrying efficiency. The largest benefit and the hardest to quantify. Stacking allows several modules to move together — a wheeled base plus two upper units, for example — turning what once took five trips into two. The saving is multiplicative: fewer trips means less time and also fewer repeated entries into hazardous areas. Quantify it as trips per task and elapsed time.
Layer three, management visibility. The layer most often ignored and yet the most valuable long term. Once cases become standard modules they can be numbered, located, colour-coded by function, and instantly missed when absent. A system where you can see at a glance that module three, unit two is missing beats a system where everybody rummages. Quantify it as average retrieval time and stock-take duration.
One counter-lesson deserves emphasis: chasing excessive stack height destroys layer two. A five-high stack is neither easy to move nor easy to pick from, so users spontaneously dismantle it and every carefully engineered benefit evaporates. Industry experience therefore holds that practical value peaks somewhere between two and four layers, beyond which marginal benefit falls away quickly (empirical, depending on unit mass and ergonomics). Rather than specifying "stacks six high", specify "any of the lower three layers can be accessed in seconds".
Three basic forms: self-stacking, rail systems and frame mounting
Stacking is not one thing. Three implementations dominate, each with its own envelope.
Form one, self-stacking. Each case carries complementary geometry top and bottom — usually bosses and recesses, dovetail grooves, or a perimeter step. Stacked units interlock to create in-plane constraint. Advantages are simplicity, no accessories required, and any two units of the same model stacking together, ideal for standardised product families. The downside is demanding moulding accuracy and warp control: if the fit is loose, or dimensions shift with temperature, stack stability drops noticeably.
Form two, rail or frame systems. Case sides carry standardised rail profiles that slide into a frame or into each other. Typical implementations include dovetail tenons plus side locking catches, or upper and lower side channels plus dedicated locking plates. Benefits are much higher lateral constraint, the ability to lock several side-by-side cases into one assembly, and compatibility with wall panels or vehicle interior rails, which underpins most professional in-vehicle systems. The cost is accessories and management complexity.
Form three, frame mounting. Here the cases do not carry each other; they hang on an external frame — common in in-vehicle modular equipment systems, tool walls beside benches and rack drawer units. It maximises space utilisation and gives the most direct access, typically drawer-style, but it surrenders the ability to carry the whole set away. Best for fixed locations, weak for mobile work.
| Dimension | Self-stacking | Rail systems | Frame mounting |
|---|---|---|---|
| --- | --- | --- | --- |
| Typical stack height | 2–4 units | 2–5 units | Set by the frame |
| Lateral constraint | Moderate, from geometry | High, includes locks | High, frame carries it |
| Can the whole set be carried | Yes | Yes | No |
| Accessories required | None | A few locks | Complete frame |
| Suits mobile work | Strong | Strong | Weak |
| Storage density at fixed sites | Moderate | Moderate to high | Highest |
| Fits vehicle conversions | Fairly | Well | Best, usually with interior liners |
The choice compresses into one sentence: if it travels with the person, self-stacking or rail; if both people and cases stay put, frame mounting; if you need both, combine a fixed frame with removable units — which is exactly how many professional vehicle systems work: a frame lives in the vehicle and units detach and go with the crew.
The mechanics of interlocks: stacked versus safe
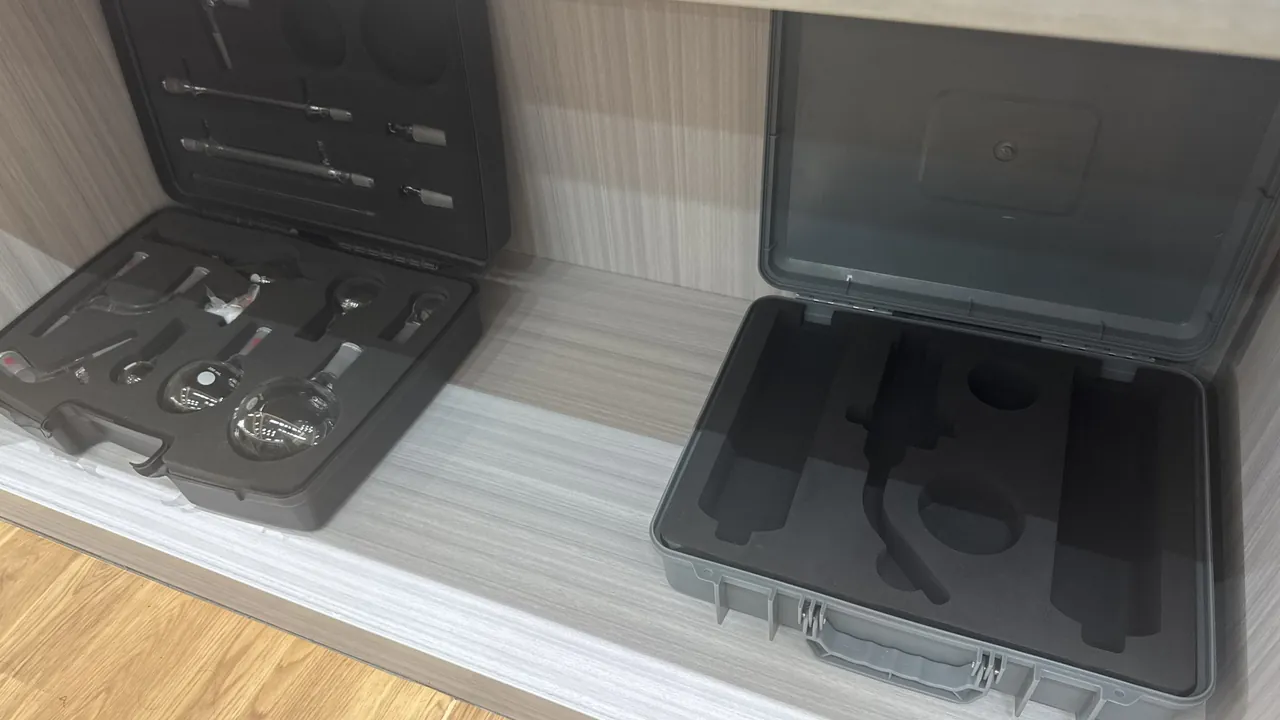
This is the technical core, and understanding it explains why some apparently sturdy systems are not safe.
Start with a basic fact: stacking almost never fails by crushing; it fails by sliding, toppling and separating. Failure acts laterally, not vertically, because static vertical load is calculable and stable while lateral load comes from acceleration and braking, cornering forces, emergency stops and incidental knocks during handling — all frequently larger than gravity.
Given that, reliability rests on three things.
One, engagement depth of the interlock feature. This sets the geometric limit resisting lateral slip; a two-millimetre engagement jumps out easily under side impact. Good practice combines adequate engagement depth with generous lead-in chamfers so units self-locate as they are placed, with actual figures depending on product scale as workshop experience. A useful field test: stack two empty units, push the upper one sideways with your foot, and watch whether it is blocked by geometry or rides up and out. Riding up means the depth or lead-in angle is wrong.
Two, presence of positive locking. Gravity and geometry alone still permit hop cycles over rough ground. A genuine interlock also constrains vertically, typically through side latches, spring clips or rotary locks strong enough to resist upward relative movement. Test it simply: lift the assembled stack and shake gently; if nothing separates, vertical locking exists.
Three, stability of the contact surfaces. Many systems interlock only at four corners, leaving the middle unsupported, which invites the risk that long-term load sags the mid-panel and changes how the interlock points carry load. Better solutions make the bearing surface continuous or distributed over multiple points, placing bearing points on vertical load paths, meaning near side walls rather than across the unsupported middle of the base or lid. This mirrors the load-path principle set out in high-strength enclosure structures.
One further point is easily missed: wear and tolerance accumulation. Interlock features are plastic sliding on plastic; repeated stacking and separating wears them and slackens fit. Good designs therefore use replaceable inserts at the interlock, or harder material at the critical wear faces — a genuinely valuable life measure for high-frequency professional systems.
Metric one: how to calculate stacking strength honestly
"How much can it carry" is the most asked and most vaguely answered question. Here is a workable method.
Step one, define stack load. Stacking strength normally means the total weight carried by the lowest case from everything above it. That is the bottom layer's load, not a single case's capacity. Four layers at twelve kilograms each means the bottom layer sees three times twelve, plus the effect of self-weight.
Step two, apply a dynamic factor. Static storage differs completely from transport, where vertical excitation comes from the road. Typical dynamic factors sit in the 1.5 to 2.5 band (empirical, depending on suspension, road surface and speed), so thirty-six kilograms should be treated as fifty-four to ninety kilograms in transit. Skipping this step explains many cases of "five layers in the lab, three falls apart on the road".
Step three, apply a temperature deration. At indoor ambient, use room-temperature figures; in hot service — summer vehicles, outdoor yards — material stiffness falls, so stacking capacity must be derated. The exact factor depends on material, but a conservative habit is to raise the safety factor one notch for hot duty.
Step four, state a safety factor. Requirements differ by industry, but a sound practical target is that the demonstrated capacity of the lowest layer is at least 1.5 times the calculated load (empirical), written into the acceptance criteria.
Step five, decide how to verify. The stack test itself is simple: stack the specified number of units, load to the specified mass, hold for an agreed duration at an agreed temperature, then check for permanent deformation, interlock damage and whether lids still open. Always record the allowed residual deformation, or the test cannot be accepted.
| Parameter | Calculation | Example values |
|---|---|---|
| --- | --- | --- |
| Loaded mass per unit | Case plus tools | 12 kg |
| Number of layers | User defined | 4 |
| Static load on bottom layer | (4 minus 1) times 12 kg | 36 kg |
| Dynamic factor | Chosen for transport duty | 2.0 |
| Calculated load including dynamics | 36 kg times 2.0 | 72 kg |
| Suggested demonstrated acceptance load | calculated load times 1.5 | Not less than 108 kg |
| Temperature condition | Ambient or elevated | Verify both ambient and 50 °C |
Request a stacking test report and confirm it states test load, duration, ambient temperature, number of layers and final residual deformation. With that document, reliability claims have a foundation.
Metric two: safe height limits and centre of gravity
The second metric is height, which governs both safety and efficiency.
Why height matters: the combined centre of gravity rises, and moments caused by wind, impact and uneven ground increase accordingly. Toppling tendency scales broadly with centre-of-gravity height, whether in a truck bed, on scaffolding or on a sloping campsite.
Three practical boundaries.
Boundary one, when carried by one or two people, the assembly should not exceed roughly chest height (empirical). Above that line, sight lines are blocked, the centre of gravity sits high, posture degrades and risk climbs steeply — especially wherever stairs are involved.
Boundary two, for static loading in vehicles or camps, keep the combined centre of gravity low relative to the support footprint. Practically, two simple measures help a great deal: place the heaviest unit at the bottom, and keep the footprint of the units similar, avoiding both top-heavy and reverse-taper arrangements with overhangs.
Boundary three, anything beyond three layers or above roughly one metre needs supplementary restraint. The three common methods are ratchet straps, proprietary stack locks, and external frames or racking. Never rely on friction, however smooth the road looks.
One further practical issue is routinely overlooked: height affects retrieval. At four layers, reaching the bottom means moving everything above. Truly usable systems therefore combine stacking with side-opening or front-drawer unit designs, discussed in modular internal structures. If only top-opening cases are available, put frequently used items in the accessible middle and upper layers and reserve the bottom for heavy infrequently needed items.
Metric three: stability in transit across vehicle types
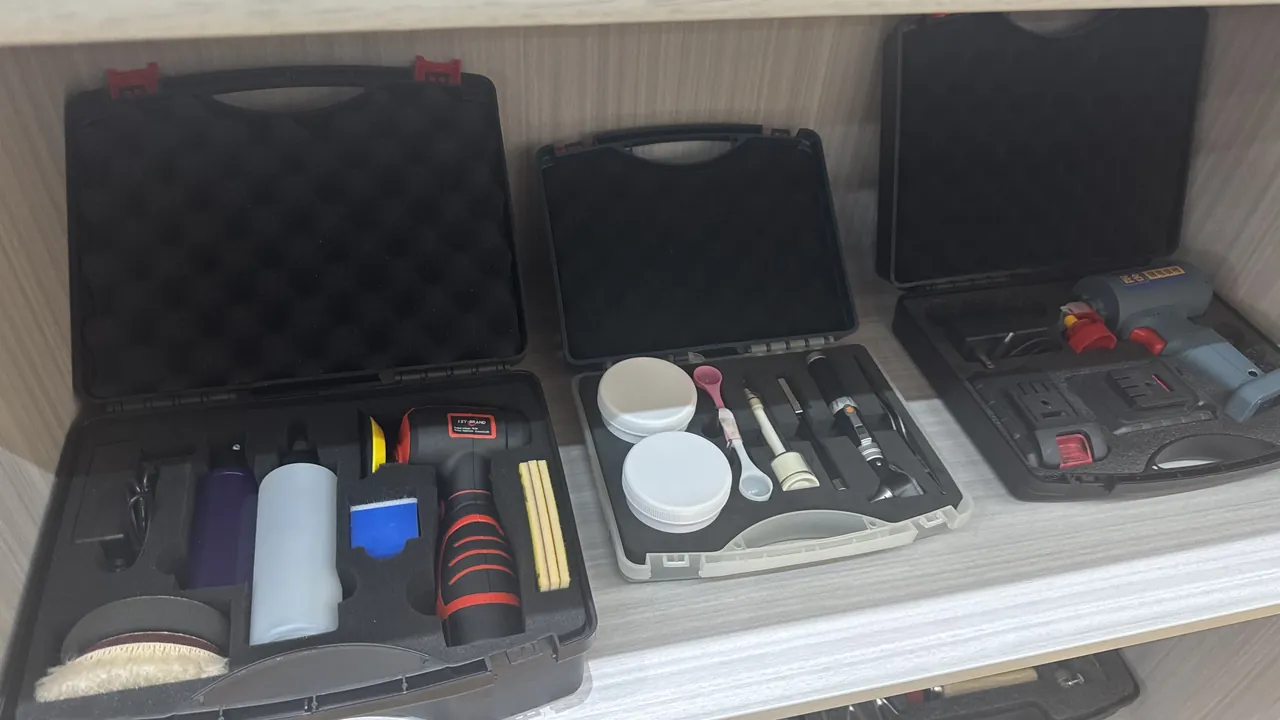
Transport is the toughest test of any stack. Three common carriers differ greatly:
| Carrier | Dominant inputs | Typical risk | Recommended practice |
|---|---|---|---|
| --- | --- | --- | --- |
| Closed box van | Vertical road input, braking inertia, cornering force | The whole stack surges forward or tips sideways | Load against the bulkhead and strap down; reduce layers or use racking |
| Open pickup bed | As above plus wind, rain and dust | Blowing over, soaking, theft | Fit a bed cover or rack; strap to low anchor points |
| Camper or overland vehicle | Long corrugation input, resonance on unpaved roads, gradients | Interlock wear, loosening and migration | Mount inside a fixed frame; add rubber isolation; check fixings daily |
| Hand trolley transfer | Start and stop inertia, joints in the floor | Tip-over, cases popping open | Use a platform trolley with sides; maximum two layers |
Three recommendations apply across all carriers.
One, always strap. Interlocks provide combination; straps provide restraint. They complement rather than replace each other. Use ratchet straps rather than bungee cords, since elastic cords relax under sustained vibration.
Two, anchor correctly. The usual mistake is looping a strap horizontally around the top of the stack, which constrains nothing against forward movement. Build a complete restraint triangle instead: pull diagonally from one side to a vehicle anchor, repeat from the other, forming an X or triangle. Also add corner protectors between strap and case to prevent local crushing of the walls.
Three, remember temperature. Long-distance transport combined with heat measurably reduces shell stiffness, as analysed in toolbox heat deformation in vehicles. On summer hauls, drop a layer or spread load across racking rather than chasing maximum stack height at full load.
Metric four: where stacking conflicts with ingress protection
This problem appears constantly in the field and rarely appears in specifications: stacking can invalidate the product's IP rating.
The reason is direct: an IP rating is a type-test conclusion about a single unit in factory condition. Once cases are stacked and compressed, extra load deforms the sealing faces, which can tighten the seal but can equally break seal-line continuity if the lid bows locally — and the second outcome is the risk. Four situations deserve attention.
Situation one, load bearing on a weak part of the lid. If an upper case's feet land on the middle of a lid's unsupported span, the lid bends, the flange joint opens, and no declared IP rating survives. The correct behaviour is to route upper load through the lower case's side walls, never through the centre of its lid — the same load-path principle stated earlier.
Situation two, lateral compression from straps. Overtightening side straps bows walls inward and can equally disturb how the seal seats. Tension straps only enough to stop lateral movement, not as tight as possible.
Situation three, drainage paths destroyed by stacking. Outdoors, contact faces, recesses and interlock grooves can collect water, and if that pool sits next to a sealing edge, capillary action draws it along the joint. Design drainage channels or stand-offs into the stacking system so water drains away naturally.
Situation four, mixing models. The most dangerous and most common case: stacking different models with different footprints scrambles load paths and concentrates load far beyond design at some points. Specify explicitly that only identical models may be stacked, or stack strictly to the supplier's compatibility matrix.
Where rating must survive stacking, the safe route is to request verification data for the stacked condition rather than relying solely on the single-unit report. Single-unit verification principles are covered in IP67 protective case practice.
Modularity versus stacking: where each belongs
These two approaches are easily confused. Both pursue combination flexibility, but by different means.
Stacking changes the relationships between cases, combining several independent units vertically. It excels because every unit remains complete in itself, usable alone, carried alone and protective alone; it suffers because reaching lower items always means moving upper ones.
Modularity changes organisation inside a case or inside a system, using standard drawers, plug-in bins and movable partitions. It excels at dense internal classification with direct access; it suffers because total capacity is bounded by the host case and parts generally cannot be used independently.
| Dimension | Stacking route | Modular route | What the choice depends on |
|---|---|---|---|
| --- | --- | --- | --- |
| Capacity growth | Strong, add units | Limited by host case | Uncertain growth favours stacking |
| Independent use | Every unit stands alone | Parts depend on the host | Split working favours stacking |
| Retrieval convenience | Lower layers need clearing | Direct | High-frequency picking favours modular or drawer designs |
| Space efficiency | Vertical growth, small footprint | Dense internal zoning | High ceilings favour stacking |
| Transport integrity | Can be carried whole or split | Usually carried whole | Whole-set carrying favours stacking |
| Unit cost | Higher per unit | Cost concentrated in the host | Phased budgets favour stacking |
The important practical conclusion is that the two are complements, not alternatives. The strongest configurations combine stacking for capacity growth with modularity for internal organisation: each unit uses modular zoning internally, while several stacked units form the set. Plan total capacity with the method in toolbox capacity calculation.
Sequence the decisions carefully: choose a sensible unit size first, driven by payload and ergonomics; then define internal modular zoning; only then fix the stacking rules. Reversing the order produces the familiar outcome — a five-layer system bought, but a single unit is too heavy when loaded, so it gets stacked empty.
Scenario one: unitised combinations for site crews
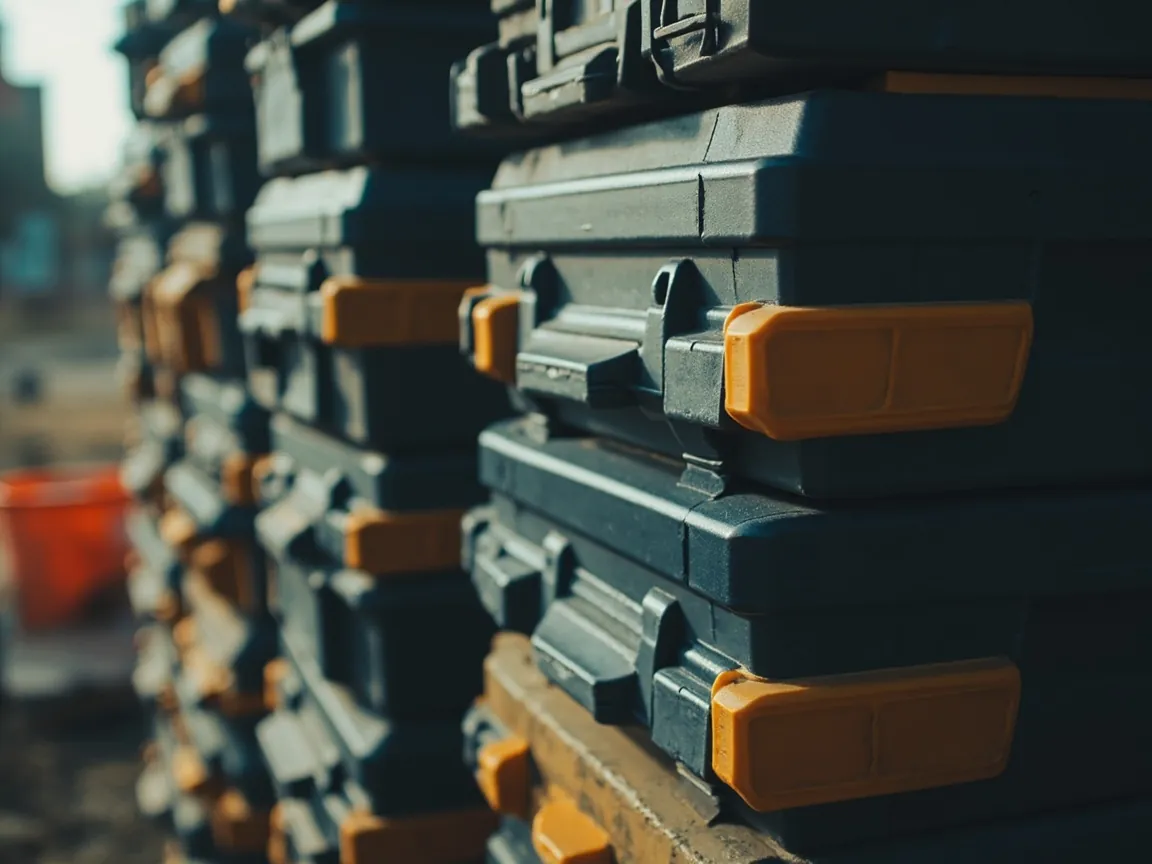
Construction sites show both the highest value and the highest failure rate for stacking systems. Here is a complete configuration.
Requirement profile: many tool categories grouped by trade — electrical, plumbing, carpentry — often deployed across several points, with carrying routes including stairs and scaffolding, in dusty environments with occasional water.
Recommended structure: adopt a three-layer combination: a wheeled heavy-duty base holding the heaviest items such as rotary hammers and cutters, a standard tool unit in the middle for everyday hand tools, and a light upper unit for consumables, screws and terminals. This satisfies both the heavy-at-the-bottom rule for centre of gravity and the common-things-within-reach rule for efficiency.
Internal zoning: give each unit modular zoning, using milled foam for the units with many small tools so shadow management reveals missing items at a glance. Where budget is tight, use foam at least in the heavy unit and any instrument unit; see EPE versus EVA foam for the selection logic.
Small crews versus large crews: for three to five people, issue each person a set of two to three units. For crews above ten, mix shared units with personal units — heavy shared tools living in wheeled base units, personal tools in each person's light unit.
Stacking and moving: for short moves across a level site use a platform trolley with sides and stack no more than two high; always break the stack down when moving between floors, written into the safety procedure rather than left to individual judgement.
Numbering and checks: number every unit and attach the contents list to the end face, not the top, since the top is hidden by the unit above. Run a weekly check. This small discipline is what decides whether a site stacking system keeps working; without numbering and inspection it degrades rapidly into a pile of similar-looking cases whose contents nobody knows.
Scenario two: camper vans, camping and overland builds
The second high-value scenario has a completely different requirement profile.
Requirement profile: loaded once and left for days or weeks, irregular interior geometry created by wheel arches, equipment and bed platforms, a wider vibration spectrum from unpaved surfaces, and reliance on a limited set of anchorage points.
Recommended structure: a hybrid of frame mounting plus removable units. Install a fixed frame in the vehicle — side racks, under-bed drawer frames or rear equipment frames — carrying suitably sized units, and lift the whole group out when needed at camp. This reconciles two apparently contradictory demands: fitting awkward interior spaces and carrying the set away.
Three points deserve particular attention.
One, mass distribution. Camper loading directly affects handling and braking. Concentrate tool units low and close to the middle of the wheelbase, avoiding roof racks and the far rear, which noticeably degrade handling and increase the risk of the tail breaking away.
Two, vibration fatigue. Sustained corrugation input wears interlocks, loosens straps and fatigues bracket bolts. Mitigate with rubber isolation pads between frame and case — minimal cost, large benefit — locknuts or thread-locking compound on every bolt, and a fixing check before each trip.
Three, humidity management. Large diurnal swings inside a camper raise condensation risk where cases sit sealed. Use cases with modest ventilation or leave gaps between stacked units to avoid stagnant damp zones, and carry desiccant — the same principle applied in selecting toolboxes for outdoor work.
A practical reminder: camping usually needs both the space saving of stacking and immediate access to cooking gear and equipment. Adopt a rule of everyday items outside or in the easy-access layer, emergency kit such as tools, first aid and spares lower or further in, and confirm the restraint is sound before every departure.
Scenario three: warehousing, logistics and workshop rotation
The third scenario has a different core tension: here the goal is space efficiency and throughput at scale, not one set's portability.
Requirement profile: tens to hundreds of cases, stable location management, possibly pallet trucks or forklifts, with explicit floor loading and fire safety requirements.
Recommended structure: standard unit sizes plus racking or pallets. In warehouses, do not rely on cases self-stacking many layers high; place them on standard racking shelves with defined per-shelf capacity, or stack them on pallets and wrap the whole pallet. Three benefits follow: each shelf carries a defined load, avoiding long-term crush load on cases; visibility and picking efficiency improve; and counting and transfer get easier.
Floor loading and fire safety: floor stacking must consider floor capacity and stability — total weight should not concentrate over a small area — and stacks must not block fire routes or sit too close to sprinkler heads, which normally require clearance. Although these are warehouse management matters, the configuration should account for them from the outset.
A quick floor-loading check:
This looks tedious, yet it is exactly the analysis that prevents cracked or collapsed floors beneath long-standing concentrated loads.
- Compute total stack mass: unit mass times quantity, plus pallet mass.
- Measure actual contact area, remembering that feet make it far smaller than the outline area.
- Divide mass by real contact area for pressure, and compare against the floor's permitted loading, normally obtained from the landlord or operator.
Identification and rotation: use barcodes or QR codes plus location numbers, with a large flat labelling area on the case — again best on the end face. Give fast-moving items fixed locations, so the stacking area does not become the source of visual chaos on the floor.
Acceptance checklist: eight checks before you buy
The whole article condenses into eight items to tick before ordering:
| No. | Item | Requirement | How to verify |
|---|---|---|---|
| --- | --- | --- | --- |
| 1 | Engagement depth and lead-in | Adequate engagement plus generous chamfer | Side push test with no ride-out |
| 2 | Vertical locking | Feature resisting upward relative movement | Lift the assembly and shake; nothing separates |
| 3 | Stacking strength | Bottom layer capacity at least 1.5 times calculated load | Stacking test report citing temperature and duration |
| 4 | Load path | Upper load carried by side walls, not the lid centre | Visual plus loaded lid deformation check |
| 5 | Compatibility rules | Identical models only, or a published matrix | Supplier provides stacking compatibility table |
| 6 | IP validity when stacked | Verification in stacked condition where required | Request data or run an on-site spray check |
| 7 | Strap and fixing interfaces | Defined strap channels or corner protection | Fit to the real vehicle or a mock-up |
| 8 | Spares and expandability | Interlocks replaceable, model continuity committed | Supply years and spares list in the contract |
Three further contractual suggestions: write maximum stack height into the instructions and have suppliers mark it permanently on the case, since many incidents begin with the assumption that more layers are always allowed; commit continuous supply of the same model for a defined period, because a stacking system missing one unit is awkward to complete later; and for large programmes run a six-unit pilot for a month in real conditions before scaling. On bulk supply programmes JUNZHJIA generally works to a pilot, feedback, then volume cadence, writing stacking rules, numbering schemes and spares lists into the technical agreement at the outset.
FAQ
Q: What is stackable toolbox design actually good for, or is it just marketing? A: Not marketing, but its value only appears once combination rules are genuinely followed. Stacking solves three concrete problems. One, space efficiency: converting spread-out storage into vertical stacking multiplies usable litres per square metre, valuable wherever stores are tight or vehicle space is limited. Two, carrying efficiency: moving several units in one go instead of repeated trips saves time and reduces repeated entry into hazardous areas. Three, management visibility: once cases are standard units they can be numbered, located and colour-coded by purpose, so anything missing is obvious. Conversely, if you buy interlocking cases but never define combination rules, numbering or height limits, the value really does collapse into marketing. A simple test of whether a system is working: ask any user what is in the third layer, and if they can answer within ten seconds or find it on a list, the system earns its keep.
Q: How many layers can you stack, and is more always better? A: No; practical value typically peaks between two and four layers, then falls away quickly (empirical, depending on unit mass and ergonomics). Four limits apply. Safety: each layer raises the centre of gravity and therefore the overturning moment. Retrieval: every lower-layer pick means moving everything above, so penalties compound. Realistic weight: even where the structure tolerates several layers, a fully loaded unit often exceeds what one or two people can move safely. Space: many truck beds and vehicle interiors physically cannot take tall stacks. So instead of asking "how many can it take", ask "given that we must carry it, pick from it and use it, how many layers suits us" — which for most crews means three: a wheeled heavy base below, everyday tools in the middle, light consumables on top, with any stack beyond three layers needing supplementary restraint.
Q: Does a stacked assembly keep its original ingress rating? A: Not automatically, and this is a frequent source of trouble. The reason is that an IP rating concludes a type test on one unit in factory condition, while stacking introduces three new variables: upper load landing on the unsupported centre of a lid can bow it and break seal-line continuity; overtightened side straps can bow walls inward and disturb how the seal seats; and interlock grooves, feet and contact faces can collect water, which capillary action draws along the joint to the seal edge. Where protection is required in the stacked state, do three things: route upper load through the lower case's side walls rather than onto its lid; tension straps only enough to stop lateral movement; and request verification data for the stacked condition rather than relying on the single-unit report. One further caution: mixing models in one stack is the most dangerous practice, at best scrambling load paths and at worst causing local overload and cracking. Where mixing is unavoidable, obtain the supplier's compatibility matrix first.
Q: Self-stacking or a rail system with lateral locks — how do we choose? A: Decide whether the system travels with its user. Self-stacking, where every case carries bosses and recesses and any two units of the same model stack directly, is simple, needs no accessories and keeps every unit fully independent — ideal for dispersed site work, personal kits and ad hoc combinations. Its limitation is that lateral restraint depends on geometric engagement, which holds less well under severe shaking. Rail systems with lateral locks are stronger, lock several cases into one assembly, and integrate better with vehicle interiors or wall panels — at the cost of accessories that must not get lost. Frame mounting maximises density and gives the most direct access but surrenders portability, suiting fixed benches or permanent vehicle installations. Mobile workers get one of the first two; fixed sites get the third; anyone needing both adopts a hybrid frame plus removable units, which is exactly how many professional vehicle systems are arranged.
Q: Will a stack in a pickup bed fly forward under hard braking, and how should it be secured? A: Without restraint yes, and this is the most common accident mode for stacked systems on the road. The key insight is that interlocks provide combination while straps provide restraint; they complement rather than replace each other. Relying on engagement alone, inertia can lift upper units clear of their features. Three correct practices: use ratchet straps rather than bungee cords, since elastic cords relax under sustained vibration and store energy dangerously if they fail; build a restraint triangle, because a single horizontal loop over the top constrains nothing fore and aft — instead pull diagonally from one side to a bed anchor and repeat from the other, forming an X or triangle; and add corner protectors between strap and case to avoid local crushing that deforms walls and seal faces. Two more habits help: place the stack against the cab end, where wind is lower and anything ahead of it will take the first impact, and recheck strap tension after every long run and every load change. Where possible, fit a bed cover or dedicated rack so the stack restrains to low tracks.
Q: Must every case in one stack be the same model, or can large and small mix? A: Strongly favour identical models, or work strictly to the supplier's compatibility matrix. Three reasons. Load path: with matched units, upper load transfers evenly into lower side walls; mixing lets an upper unit's small feet press on the unsupported centre of a lid, deforming it, breaking the seal or cracking it. Interlock effectiveness: different models rarely align their recess positions and sizes, so the stack may only touch at one or two points and slides apart under the first sideways push. Stability: larger over smaller creates overhang and eccentricity; smaller over larger is stable but wastes space and lets upper units slip. If sizes genuinely must combine — say a small consumables box on a standard unit — use the supplier's purpose-made adapter plate or dedicated top tray, never the small case directly. Make the compatibility matrix a mandatory deliverable and require drawings showing the permitted combinations in the manual.
Q: What specifically should we watch when choosing stacked tool storage for a camper conversion? A: Three things differ from other applications: mass distribution, vibration fatigue and humidity. Mass distribution: camper loading directly affects handling and braking, so mount tool units low and close to the middle of the wheelbase, avoiding roof racks and far-rear positions that degrade handling and encourage the tail to slide. Vibration fatigue: prolonged corrugation input wears interlocks, loosens straps and fatigues bracket fixings; fit rubber isolation pads between frame and case — tiny cost, large benefit — use locknuts or thread-locking compound, and check fixings before every journey. Humidity: large diurnal swings make sealed interiors prone to condensation, so leave gaps between stacked units, carry desiccant and avoid direct contact with the vehicle's inner panels. You must also reconcile saving interior space with needing things at hand: use frame mounting with removable units, putting everyday items in easily reached layers and tools, first aid and spares lower or further in.
Q: What tests should we run when accepting a batch of stacking cases? A: Five low-cost, site-executable tests. One, side push: stack two empty units and push sideways with moderate force, watching whether the upper unit is blocked by geometry or rides up and out; riding up means engagement depth or lead-in angle is wrong. Two, lift test: raise the assembled stack and shake gently to check nothing separates, which validates vertical locking. Three, stack load test: load to maximum layers and rated mass at elevated temperature, around 40 to 50 °C, hold for several hours, then unload and measure residual deformation and whether lids still open. Four, real installation: fit to the actual vehicle or a mock-up and run a route, checking for movement, noise and strap slackening. Five, retrieval drill: have a user fetch something from the bottom layer and time it, since this best reflects real usability. Alongside these, request the stacking test report, compatibility matrix and a diagram showing how the assembled system is strapped, and make them part of the acceptance file.
Closing remarks and related reading
To answer the title: what is stackable toolbox design for? Its purpose is not the act of piling cases up, but turning loose boxes into a system that can grow, travel and be managed — three benefits layered together, often the highest return available from any change to tool management. Everything rests on four preconditions, however: reliable interlocks, sufficient stacking strength, controlled height and centre of gravity, and verification that protection survives stacking. Miss any one and the system degrades in real service into an ordinary pile of cases.
Five actions for engineering and procurement teams. One, fix a sensible unit size first, derived from payload and ergonomics as described in how to choose toolbox size, before discussing how many layers stack. Two, demand a compatibility matrix and a stacking test report, and write engagement depth, positive locking and load path into acceptance. Three, state the maximum number of layers and have it permanently marked on the case. Four, establish numbering, lists and inspection discipline at the same time, since an unmanaged stacking system always degrades. Five, pilot six units for a month before committing volume. On bulk programmes JUNZHJIA typically follows a pilot, feedback, then scale cadence, writing stacking rules, numbering and spares lists into the technical agreement from the start to keep later expansion cheap.
Related reading