

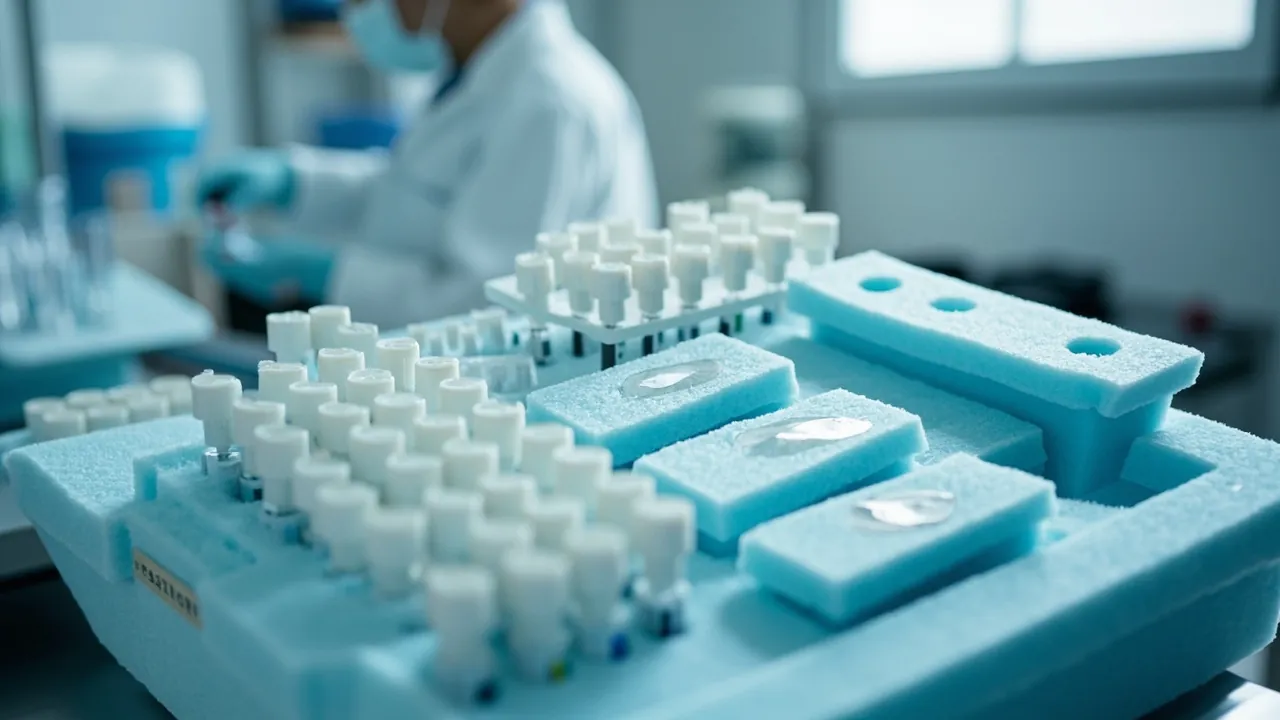
In one sentence: the selection logic for a laboratory sample transport case is to fix the risk level from the sample type first, then lock in five case capabilities from that risk level. The five are secondary containment, so that a leak inside does not escape and is easy to clean; temperature maintenance across chilled, frozen or ambient requirements; shock protection and restraint so that glassware and centrifuge tubes neither break nor tip over; zoning and identification so that samples are neither confused nor cross contaminated; and easy cleaning plus disinfectability in the shell and insert materials. Of the five, the one most often overlooked and most likely to cause an incident is secondary containment. The majority of sample transport incidents are not cases being dropped and broken but a tube cracking or leaking inside, liquid running along the insert to the wall and then seeping out through the latch or hinge gap, contaminating the vehicle and other cargo. A qualified sample transport case is therefore first of all a case that can hold liquid and be wiped clean, and only second a case that cushions and insulates.
Safety and compliance note: this article discusses only the box product technology itself, covering material, structure, insert, sealing and identification management as general engineering questions. It is not compliance advice on the transport of hazardous chemicals, biological specimens or medical samples, and it provides no dangerous goods handling instruction. Where hazardous chemicals, infectious substances, radioactive material or medical specimens are involved, follow strictly the laws and regulations of the country or region concerned, the applicable industry standards such as those for dangerous goods transport and biosafety, and the internal procedures of the institution, and confirm detailed requirements with the competent authority and professional bodies.
Table of Contents
- Identify the Risk First: What Samples Actually Meet in Transit
- Capability One: Secondary Containment, Keeping a Leak Inside
- Capability Two: Temperature Maintenance across Chilled, Frozen and Ambient Needs
- Capability Three: Shock Protection and Restraint for Glassware and Tubes
- Capability Four: Zoning and Identification to Prevent Mix Ups and Cross Contamination
- Capability Five: Easy Cleaning and Disinfectability in Shell and Insert Materials
- Selection Matrix by Sample Type
- Packing to Receipt: Procedure and Checklists
- Common Mistakes
- Frequently Asked Questions (FAQ)
- Conclusion
- Further Reading
Identify the Risk First: What Samples Actually Meet in Transit
Sample transfer usually crosses several stages: from the bench to a holding refrigerator, along an internal corridor to a vehicle, and from the vehicle to another building or another city. The distances look short, but the risk points are dense.
Risk one: container breakage
Glass tubes, glass bottles and ampoules are the most common sample containers and the most fragile. Drops during handling, vehicle jolting and pressure from closing the lid can all cause breakage. The consequence is not only loss of the sample: broken glass cuts the insert, and leaked liquid brings contamination and clean up cost.
Risk two: leakage and seepage
Even an intact container can loosen its cap under vibration and temperature change, and a flexible container will weep when squeezed. The danger of a leak is its spreading behaviour: liquid travels along the insert and the wall and finally escapes through latches, hinges and the lid seam.
Risk three: loss of temperature control
Enzymes, antibodies, cells, nucleic acids and some biochemical reagents are temperature sensitive. Loss of control does not always show as obvious spoilage; very often it appears as reduced activity or degradation that is only discovered at the experimental stage, at a cost far exceeding the freight.
Risk four: mix ups and cross contamination
With multiple batches and multiple projects in one case, numbering errors, labels falling off and contact between samples all make results untrustworthy. Cross contamination is insidious because it is not always visible.
Risk five: cleaning blind spots
A transport case is a reusable asset. If the shell and the insert have blind spots such as deep holes, seams or fabric linings, residue from one transfer becomes the contamination source for the next.
Mapping these five risks onto case capabilities gives exactly the five capabilities discussed below.
Capability One: Secondary Containment, Keeping a Leak Inside
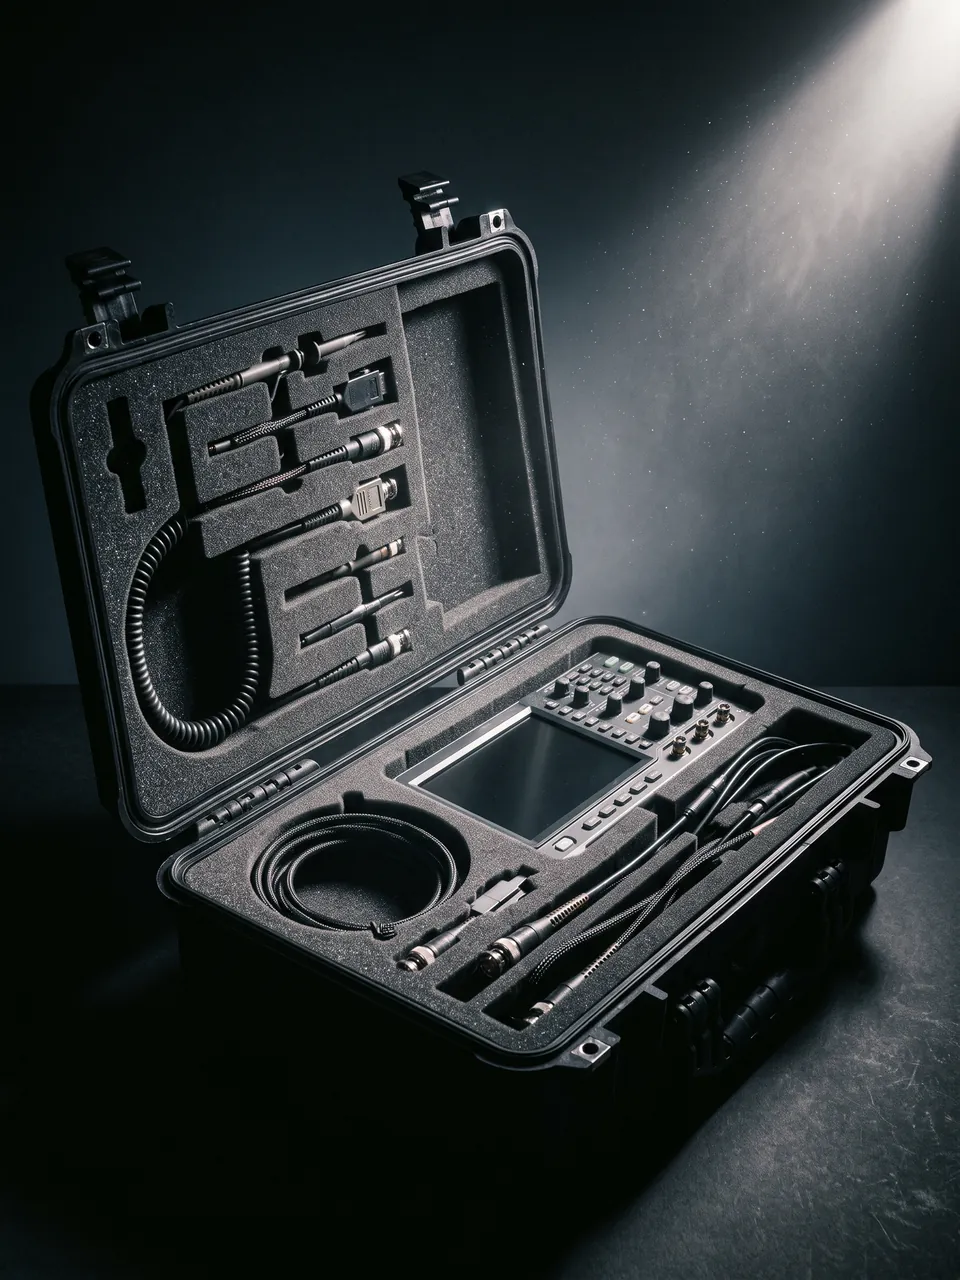
Secondary containment is the feature that distinguishes a sample transport case from an ordinary shockproof case. Its definition is this: when the inner packaging, a tube or a reagent bottle, breaks or leaks, the case confines the spill inside and allows thorough clean up.
Three structural elements that deliver it
- A one piece moulded shell. The transition between the floor of the cavity and the side walls should be continuous, with no joints, no screw holes and no through drain holes. An injection moulded engineering plastic shell has this advantage by nature: formed in one piece, with no seam to leak through.
- Full perimeter sealing plus dependable latch compression. The seal between lid and body keeps outside liquid out and equally stops inside liquid getting out. A sealing structure with IP67 capability indicates, under standard test conditions, both resistance to external immersion and the integrity of the rim sealing face. See What Does IP67 Mean for a Protective Case and Where Does It Apply?.
- An insert that lifts out as a whole. The insert should be removable in one piece so that after a leak it can be taken out for cleaning or replacement rather than being wiped locally inside the case.
Containment design in the insert
- Leave a sump at the bottom of the cavity. Tube holes should not be through holes. Use a blind hole with a sump at the base so that a small leak is caught at the bottom.
- Choose a closed cell insert material. Closed cell foams such as EVA, EPE, PE and EPP do not absorb water, so liquid does not travel through the material. Open cell sponge behaves like a sponge, drawing liquid in and spreading it through the whole lining, and it cannot be cleaned thoroughly. This matters especially in sample transfer.
- An absorbent layer. A replaceable absorbent mat can sit under the insert or on the case floor as a backstop. Treat the mat as a single use consumable and replace it once contaminated.
To be clear, secondary containment is a passive physical capability, not a response plan for a hazardous chemical spill. Where hazardous chemicals are involved, package grade, absorbent material and emergency response must follow the applicable regulations and institutional procedures.
Capability Two: Temperature Maintenance across Chilled, Frozen and Ambient Needs
Case approach by temperature band
| Band | Typical samples | Case approach | Key configuration |
|---|---|---|---|
| --- | --- | --- | --- |
| Chilled, around 2 to 8 degrees Celsius | Enzymes, antibodies, some reagents, routine specimens | Passive insulation plus cold source | Insulating liner, cold source bay, recorder position |
| Frozen | Cells, nucleic acids, some biological specimens | Passive insulation plus low temperature cold source | Thick insulation, strengthened sealing, condensation control |
| Ambient | Mineral samples, solid specimens, consumables | General protection | Light exclusion, moisture protection, ventilation |
| Controlled, strict band | High value or highly sensitive samples | Active temperature control equipment | Requires dedicated temperature controlled transport, beyond an ordinary protective case |
One point needs emphasis: an ordinary protective case is a passive insulating container. It offers a degree of thermal insulation but has no active cooling and no precise temperature control. Where a sample has strict temperature band requirements, use dedicated temperature controlled transport equipment; a protective case works better there as an outer protective and containment shell.
Three engineering points for passive insulation
- Insulation thickness and continuity. Insulation performance depends on thickness and on whether the layer is continuous. The lid is the easiest place for a thermal bridge to form, so confirm that the lid carries insulation too, not just the side walls.
- Separate the cold source from the samples. A cold source such as an ice pack or phase change material pack should not touch sample containers directly, since local over cooling can freeze the sample or embrittle the container. Provide a dedicated cold source cavity in the insert and isolate it with a partition.
- Reduce openings. Every opening loses cooling. External marking and a contents list let the receiver verify the shipment without fully opening the case.
Why duration and ambient conditions matter
Passive insulation is always a race against time and surroundings. Three variables decide the outcome: how much cold mass is carried, how effective the insulation is, and how hot the environment is along the route. Because of this, a configuration that works for a twenty minute trip across a campus may fail on a two hour journey in summer, and a case left on a loading dock in direct sun behaves completely differently from the same case kept in an air conditioned vehicle. Practical responses are to size the cold source for the longest realistic duration rather than the average one, to precondition both the case and the cold source before packing, to keep the case out of direct sun, and to shorten dwell time at every handover point. Where the same route is run repeatedly, recording internal temperature over a full trip and reviewing the curve is the simplest way to confirm whether the passive configuration is genuinely adequate.
Temperature recording
Place a temperature logger in the case in a position that is easy to remove. The contribution of the case is to provide a fixed bay and protection for the logger so that it is not crushed or displaced in transit.
Dealing with condensation
Moving from a cold environment into a warm one produces condensation on cold surfaces inside. The handling matches that for precision equipment: let the case acclimatize while closed until the internal temperature approaches ambient, then open it, so that condensate does not land on containers and labels. See How Does an Outdoor Case Cope with Rain and Humid Conditions? and How Does an Outdoor Case Cope with High and Low Temperatures?.
Capability Three: Shock Protection and Restraint for Glassware and Tubes
The buffering principle: deceleration distance decides impact force
As with any precision item, the peak force on a glass container during impact is inversely proportional to the distance over which it stops. Insert foam supplies that deceleration distance and lowers peak acceleration. The principle is explained further in Why Is a Shockproof Toolbox Right for Precision Tool Transport?.
Insert design points by glassware type
| Container | Risk | Insert design points |
|---|---|---|
| --- | --- | --- |
| Glass tube or centrifuge tube | Side wall crushed, base broken by impact | Round cavity, depth more than half the tube length, continuous wall, sump at the base |
| Glass reagent bottle | Body impact, cap loosening | Square or round cavity slightly larger than the bottle outside diameter, relief for the cap |
| Ampoule | Very fragile, neck snaps | Dedicated fine hole array, thicker walls between holes, no mutual contact |
| Petri dish | Sliding and crushing when stacked | Shallow layered cavities, separator between layers, limited stack height |
| Pipette or small precision instrument | Knock causing calibration loss | Custom cavity avoiding pressure on buttons and tips |
Three practical restraint criteria
- No rattle. After closing, rock the case gently; nothing inside should rattle or shift.
- No compression. Containers must lift out smoothly. Glass in particular must not be held tightly, since a cavity that is tight at room temperature adds squeeze when the insert contracts under a cold source, raising breakage risk.
- No contact. A complete wall must separate containers; glass must never touch glass.
The upright principle
Keep sample containers upright wherever possible. Being upright brings two benefits: the liquid surface does not touch the cap, lowering seepage risk, and containers are stable when the case is opened, making them easy to remove one by one. Cavity depth should support a good proportion of the container height so that nothing is top heavy.
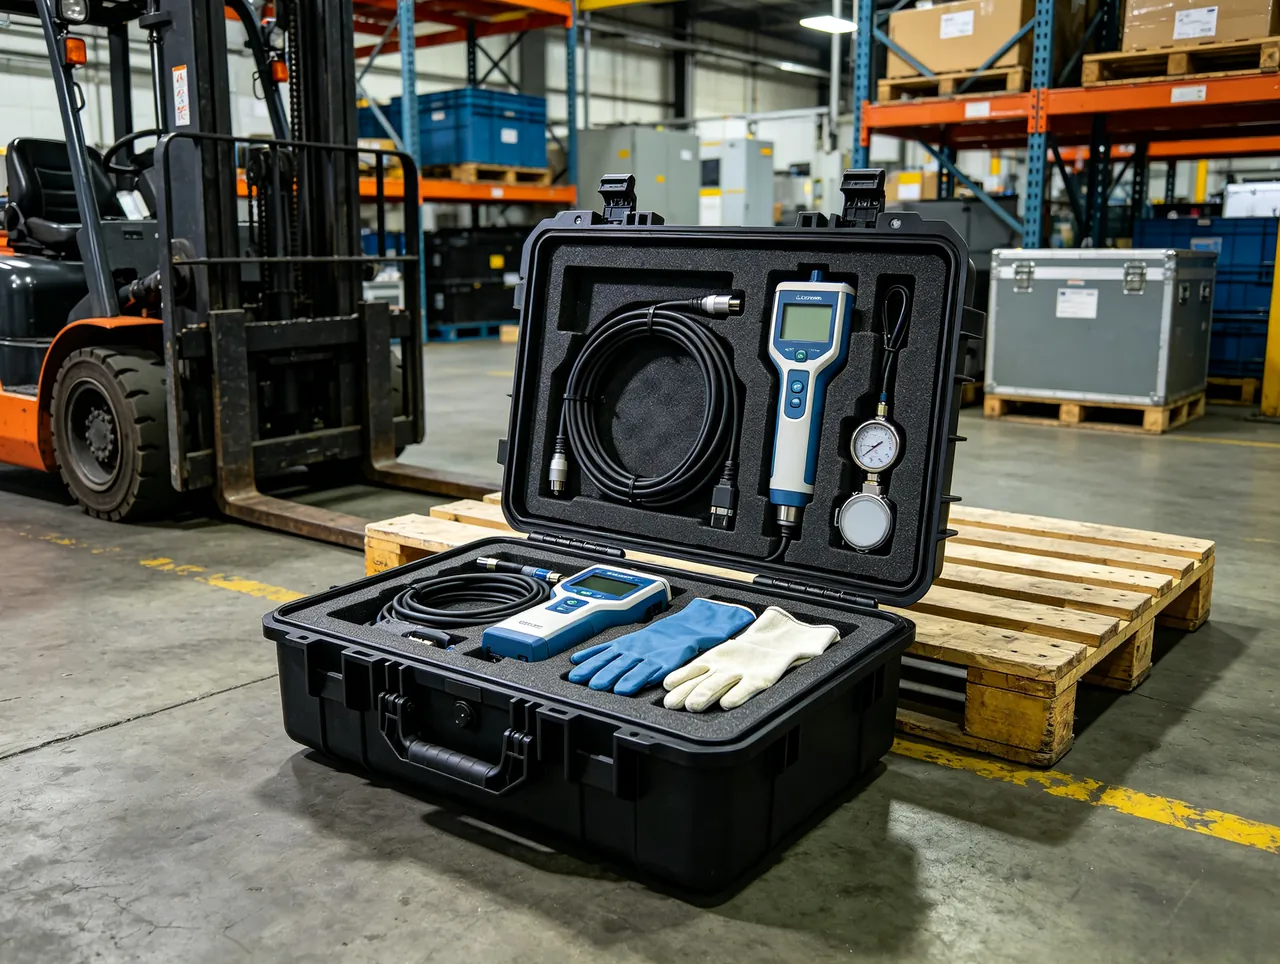
Capability Four: Zoning and Identification to Prevent Mix Ups and Cross Contamination
Three dimensions of zoning
- By project or batch. Separate different projects and batches with partitions or individual insert cells rather than mixing them.
- By status. Pending, tested, positive or negative, awaiting review and similar states should be physically zoned, not distinguished by label alone.
- By risk level. Samples needing extra attention deserve a separate zone with conspicuous marking.
Four layers of identification
- Case number. A unique number per case tied to the record, applied by a durable process such as laser marking, silkscreen printing or a plate.
- External marking area. States the contents category, responsible person and precautions so that the receiver has basic information before opening.
- Internal list holder. Carries the sample list for item by item checking, preventing missed or misdirected items.
- Sealing position. Important samples can use a single use seal, with number and integrity checked at handover.
For the choice between partitions and foam, see Case Dividers or Foam: Which Suits Better? and Why Does a Toolbox Need Modular Internal Design?.
Colour management
Colour coding inserts and partitions by zone is a low cost, high yield error prevention method: a different colour for each project or status is instantly readable and reduces the chance of taking the wrong item.
Capability Five: Easy Cleaning and Disinfectability in Shell and Insert Materials
A transport case is a reusable asset, and cleaning plus disinfection is mandatory after every transfer. The design question is not whether it looks clean but whether it can be wiped clean.
Shell surfaces
- Smooth beats textured. A gloss surface has no pits and no blind spots when wiping; a heavy texture traps dirt.
- Radiused beats square. Internal corners should be radiused to avoid cleaning blind spots. This structural feature also serves impact resistance, so the two requirements align.
- Corrosion resistance. Engineering plastics such as PP and ABS tolerate most routine cleaners and disinfectants. Confirm compatibility against the disinfectants that will actually be used, and write it into the purchase specification.
Insert materials
- Closed cell foam first. EVA, EPE, PE and EPP do not absorb liquid or trap it and can be wiped with a damp cloth. Open cell sponge absorbs liquid, cannot be cleaned thoroughly and does not suit sample transfer.
- Removable for washing. The insert should lift out as a layer for washing and air drying as a whole.
- Replaceable when necessary. The insert is a consumable; if it is contaminated beyond thorough cleaning, replace it rather than keep using it. This is why the ability of a manufacturer to reproduce an insert to the original specification matters.
Hardware
Metal latches and hinges corrode in humid and disinfectant environments. Pay attention to hardware material and surface finish when selecting; in aggressive environments consider corrosion resistant materials or plastic component solutions.
Cleaning and drying routine
- Clean as soon as possible after transfer so residue does not dry out.
- Remove the insert and clean shell and insert separately.
- Use cleaners and disinfectants compatible with the case material, avoiding strong solvents that can cause stress cracking in engineering plastics.
- Dry thoroughly before closing and storing, so that moisture does not support microbial growth.
- Check gasket resilience and latch condition and record them in the maintenance log.
Selection Matrix by Sample Type
| Sample type | Main risk | Protection priority | Recommended configuration |
|---|---|---|---|
| --- | --- | --- | --- |
| Glass tubes, centrifuge tubes | Breakage, leakage | Shock restraint, secondary containment | Round hole closed cell insert, blind holes with sump, absorbent mat |
| Reagent bottles, general chemical reagents | Leakage, corrosion, vapour | Secondary containment, corrosion resistance, sealing | One piece shell, closed cell insert, marking area |
| Chilled biological specimens | Temperature loss, mix ups | Temperature maintenance, zoning | Insulating liner, cold source bay, list holder |
| Frozen specimens | Temperature loss, condensation | Thick insulation, condensation control | Thick insulation, full perimeter sealing, acclimatization routine |
| Solid samples, minerals, soil, materials | Dust, mixing | Zoning, easy cleaning | Partition zoning, gloss cavity, numbered marking |
| Small precision instruments | Knock causing drift, moisture | Shock protection, moisture protection | Custom cavity, sealing, desiccant position |
| Multi project mixed loads | Mix ups, cross contamination | Physical zoning, colour management | Multi zone insert, colour coded partitions, external list |
To repeat: where hazardous chemicals, infectious substances or radioactive material are involved, package requirements, marking requirements and emergency response must follow the applicable regulations and institutional procedures; case selection is only the physical layer of that.
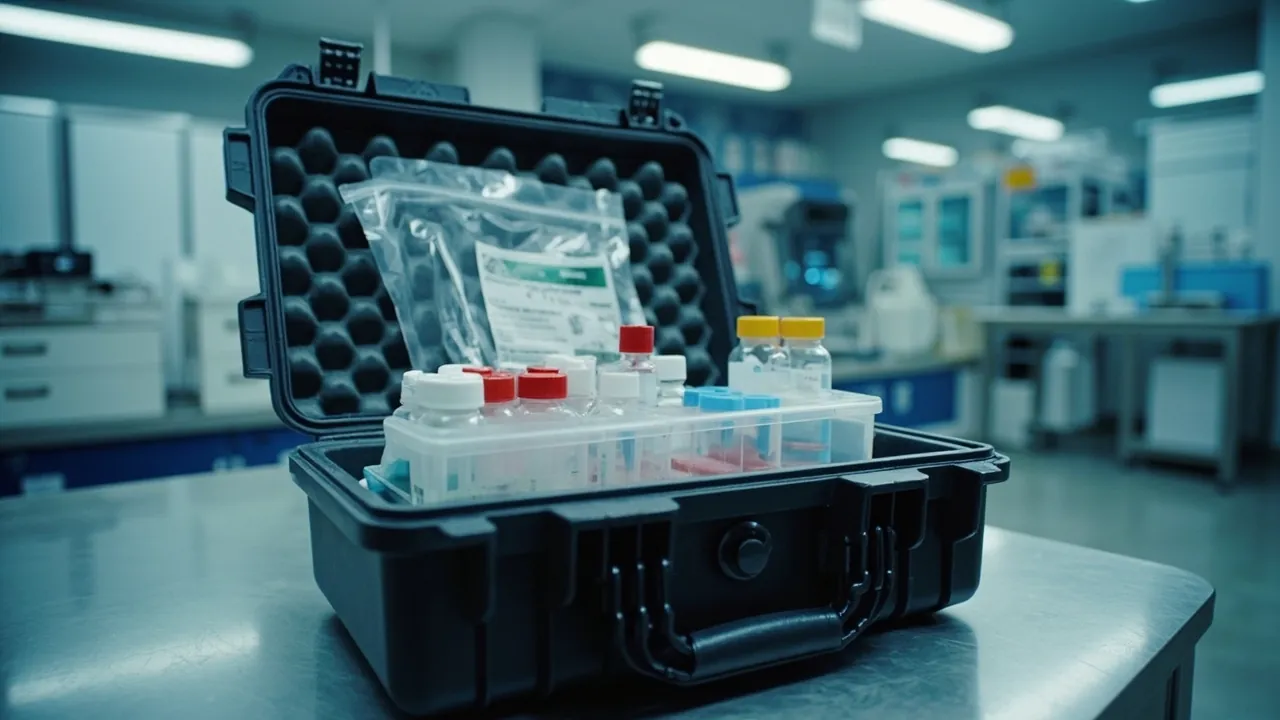
Packing to Receipt: Procedure and Checklists
The following steps cover packing and handover operations at the case level only, and do not include sample processing, reagent preparation or dangerous goods handling.
Six packing steps
- Check the sample list. Verify number, quantity and condition item by item, confirming that containers are visually sound, caps are tight and labels are secure.
- Check the insert condition. Confirm no collapse, no tearing and no residual liquid; replace any contaminated insert first.
- Place the cold source if needed. Put it in its dedicated cavity, isolated from samples by a partition so there is no direct contact.
- Load container by container. Place each container upright in its cavity and push lightly to confirm it does not move and lifts out smoothly.
- Place the list and the logger. Put the list in the holder and the temperature logger in its fixed bay.
- Close and check. Confirm the gasket is compressed evenly, all latches are engaged and external marking is legible; where required, apply a single use seal and record its number.
Receiving checklist
| No. | Check | Pass criteria |
|---|---|---|
| --- | --- | --- |
| 1 | Outer case | No damage, no distortion, no sign of liquid escaping |
| 2 | Seal, if used | Number matches the handover document, not broken |
| 3 | Opening environment | Acclimatized as required, condensation avoided |
| 4 | Cavity condition | No pooled liquid, no unusual odour |
| 5 | Container condition | No breakage, no leakage, labels legible |
| 6 | Temperature record | Within the acceptable band, judged by project requirements |
| 7 | Quantity check | Matches the list |
| 8 | Cleaning and return | Insert cleaned, dried and replaced; entry made in the log |
Minimum fields for the maintenance log
Case number, model and size, insert version, applicable temperature band, latest cleaning date, gasket condition, latch condition, insert replacement record. These fields make the question of which case is due for maintenance answerable by query.
Common Mistakes
- Mistake one: focusing on shock protection and ignoring secondary containment. The most common form of sample transport incident is an inner container breaking and leaking outwards, not the case being dropped and broken.
- Mistake two: using open cell sponge for the insert. Open cell sponge absorbs and spreads contamination and cannot be cleaned; insist on a closed cell system for sample transfer.
- Mistake three: cutting cavities as tight as possible. Under a cold source the insert contracts, so an over tight cavity adds squeeze and increases breakage risk for glass.
- Mistake four: letting the cold source touch the samples. Direct contact causes local over cooling, freezing the sample or embrittling the container; provide a separate cavity and a partition.
- Mistake five: opening immediately after cold exposure. Condensation lands on containers and labels; acclimatize first, then open.
- Mistake six: ignoring cleaning blind spots. Heavy texture and non removable inserts are the main sources of repeat contamination.
- Mistake seven: treating a protective case as temperature control equipment. An ordinary case offers passive insulation only, with no active cooling and no precise control.
- Mistake eight: mixing samples from different projects. Loss from mix ups and cross contamination usually exceeds the freight cost, so zone physically and manage by colour.
Frequently Asked Questions (FAQ)
Question: What is the biggest difference between a laboratory sample transport case and an ordinary shockproof case? Answer: Secondary containment. An ordinary shockproof case cares about not transmitting external impact to the contents, while a sample transport case also has to handle the contents themselves breaking or leaking, keeping liquid inside and allowing thorough clean up. That calls for a one piece seamless cavity, full perimeter sealing with dependable compression, an insert that lifts out as a whole, and a non absorbent closed cell lining. The second difference is cleanability and disinfectability: a sample case needs a gloss cavity, radiused corners and a removable washable insert to suit the cleaning routine after every transfer.
Question: Should the insert be foam or partitions? Answer: The two work well together. Foam delivers cushioning and restraint and suits glass tubes and reagent bottles, which need accurate cavities and shock absorption. Partitions deliver zoning and flexibility and suit mixed loads across projects and batches with varying sizes. A typical arrangement uses closed cell foam formed into container cavities for shock protection and restraint, plus partitions to divide project zones for management. See Case Dividers or Foam: Which Suits Better?.
Question: Can an ordinary protective case with ice packs handle chilled samples? Answer: It can serve as a passive solution for short durations where temperature control is not strict, but understand three limits. An ordinary protective case provides passive insulation only, with no active cooling and no precise control, so internal temperature drifts with ambient conditions and duration. The cold source must not touch sample containers directly, needing a separate cavity and a partition to avoid local over cooling. And the lid must carry insulation, or a thermal bridge forms. Where a strict temperature band is required, use dedicated temperature controlled transport equipment.
Question: How deep should tube holes in the insert be? Answer: Support enough, remove easily. Depth should support a good proportion of the tube length so the tube is not top heavy and cannot tip or snap, while the base stays closed with a sump rather than being a through hole, so a small leak is caught instead of spreading. Cavity walls should run continuously to the bottom, with enough wall thickness between holes to keep tubes from touching. Determine the exact depth from tube size, case height and the way items are picked out.
Question: How should a transport case be cleaned and disinfected? Answer: Five points. Clean as soon as possible after transfer so residue does not dry out. Remove the insert and clean shell and insert separately to avoid blind spots. Use cleaners and disinfectants compatible with the case material, avoiding strong solvents that can stress crack engineering plastics, and confirm compatibility with the supplier. Dry thoroughly before closing and storing so moisture does not support microbial growth. Check gasket resilience and latch condition and enter them in the log. Replace any insert that is contaminated beyond thorough cleaning.
Question: Can the case be opened immediately after coming in from the cold? Answer: It is not advisable. Let the case acclimatize closed until the internal temperature approaches ambient, then open it. A cold case meeting warm air condenses rapidly on cold surfaces, and condensate lands on sample containers and labels, potentially removing labels, contaminating container surfaces and even affecting experimental results. In an emergency, move samples and containers together in a sealed state to reduce contact with humid air.
Question: How can mix ups be avoided when samples from several projects travel together? Answer: Use four measures together. Zone physically, separating projects and batches with partitions or individual insert cells rather than by label alone. Manage by colour, assigning a colour of insert or partition to each project for instant visual recognition. Use the list holder inside the lid and check item by item. Mark externally with contents category and responsible person, and where appropriate apply a single use seal with the number recorded on the handover document.
Question: Can a protective case replace dangerous goods transport packaging? Answer: No. A protective case delivers physical shock protection, restraint, secondary containment and a marking carrier, which is one link in the transport safety chain. It cannot replace the compliance requirements for a dangerous goods package, classification and marking, the declaration obligation or the carrier acceptance conditions. Where hazardous chemicals, infectious substances or radioactive material are involved, follow strictly the laws and regulations of the country or region, the applicable industry standards and the internal procedures of the institution, and confirm detailed requirements with the competent authority and professional bodies.
Conclusion
Selecting a laboratory sample transport case can be executed as a five step check. Step one, secondary containment: is the cavity one piece with no joints, is there full perimeter sealing with dependable compression, does the insert lift out as a whole, and is the lining a non absorbent closed cell system. This is the core that separates sample transport from ordinary shock protection. Step two, the temperature plan: establish whether the requirement is chilled, frozen or ambient, decide whether ordinary passive insulation can satisfy it, and move to dedicated temperature controlled equipment where a strict band is required; also confirm that the cold source has its own cavity isolated from samples and that the lid carries insulation. Step three, shock protection and restraint: determine the cavity form from the container type, tube, reagent bottle, ampoule, petri dish or small precision instrument, apply the three criteria of no rattle, no compression and no contact, and keep containers upright. Step four, zoning and identification: zone physically by project, status and risk level, apply colour management, and provide a case number, external marking area, internal list holder and optional sealing position. Step five, cleaning and disinfection: gloss cavity, radiused corners, removable washable insert, engineering plastics tolerant of cleaning agents, and a supply of replacement inserts reproducing the original specification.
Two boundaries are worth restating. An ordinary protective case is a passive insulating container without active cooling or precise temperature control. And a protective case is a physical protection link that cannot replace the compliance requirements for dangerous goods packaging or the declaration obligation. Where hazardous chemicals or biological specimens are involved, follow strictly the laws and regulations of the country or region and the internal procedures of the institution.
KeXin New Materials (Guangdong) Co., Ltd. was founded in 2014 and is located in Zhongshan, Guangdong, with a factory of about 18000 square meters, more than 80 machines and more than 100 employees, and a range covering more than 150 specifications. Its protective case line is marketed under the JUNZHJIA brand within the global kexinMaterials brand. The line has IP67 capability and can undergo environmental suitability verification with reference to MIL-STD-810H. The company is certified to ISO9001, meets REACH, California Prop 65 and RoHS requirements, holds more than 20 utility model and design patents, and provides one stop OEM and ODM customization from product design and tooling to injection moulding, logo printing and insert manufacturing. For bulk enquiries, specification sheets or customization cooperation, please use the contact page or enquiry form on this site.
Further Reading
- Why Is a Shockproof Toolbox Right for Precision Tool Transport?
- Case Dividers or Foam: Which Suits Better?
- What Factors Matter When Customizing Protective Case Foam?
- What Foam Types Are Commonly Used Inside Protective Cases?
- Why Does a Toolbox Need Modular Internal Design?
- How Does an Outdoor Case Cope with High and Low Temperatures?
- How Does an Outdoor Case Cope with Rain and Humid Conditions?
- What Does IP67 Mean for a Protective Case and Where Does It Apply?
- What Happens When a Protective Case Gasket Ages?
- How to Judge a High Quality Protective Case from Its Structural Details