

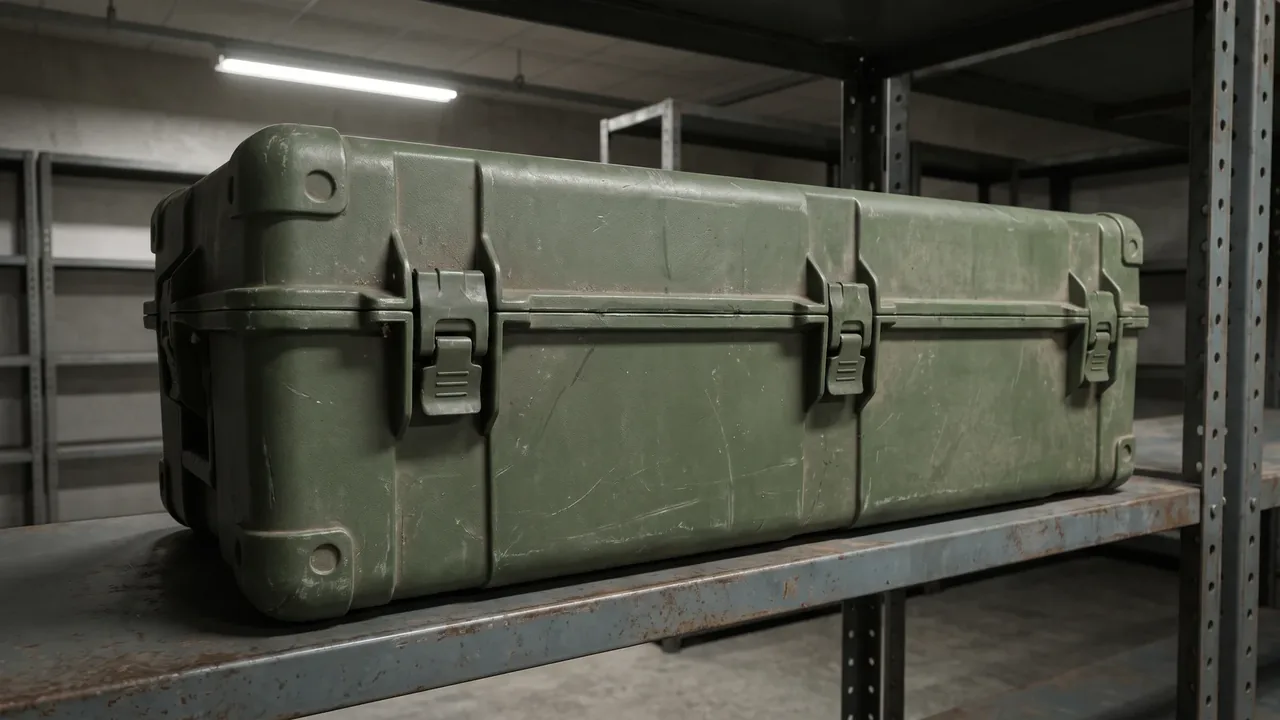
Among all the containers that travel to a job site, the portable tool box is probably handled more often and judged less rigorously than anything else in the kit. Users rarely complain in engineering language. They say it will not hold everything, or that it is too heavy to carry. Those two complaints sound contradictory but point at exactly the same problem: empty weight and usable volume pull against each other, and every litre of added capacity has to be paid for in mass, while every gram saved has to be paid for somewhere in structural margin. As a protective container supplier, we see far more field failures caused by this tension being left unmanaged than by any single specification being outright wrong.
Our approach at JUNZHJIA is to translate "portable" out of the realm of feel and into quantities that can be calculated and tested. Carry weight, usable volume, handle position, centre of gravity, wall thickness and stiffness, ingress rating, stacking duty: these variables are coupled, so changing one moves several others. This article looks at the portable tool box as a product family and works through the structural trade-offs, the reasoning behind material choices, liner and restraint options, sealing requirements, transport and stacking behaviour, inspection and acceptance, and the failure modes that show up most often in service. It deals with the container only.
Where the Design Problem Actually Starts
Draw the constraints of a portable tool box as a diagram and every line converges on two numbers: the mass that somebody has to lift, and the net volume that has to be occupied by tools. Total mass is the sum of shell weight and payload weight; usable volume is the external envelope minus the space claimed by walls and minus whatever the liner and organiser consume. The obvious way to gain capacity is to grow the envelope, but a larger envelope at constant wall thickness means more material and a heavier shell, and external dimensions are anyway capped by vehicle boots, shelf clearances, and aircraft cargo doors, so size cannot simply be expanded.
The second route is to reclaim volume from inside, thinning the walls and trimming the liner. This runs into the fact that stiffness and sealing both depend on that same material: past a certain point the case visibly flexes when it is lifted full, the compression on the gasket becomes uneven, and the ingress rating survives only on paper. The third lever is material density. Swapping to a lighter polymer reduces mass without touching geometry, but usually raises cost and shifts weather resistance or impact performance. These three levers are entangled, which is why a portable tool box is a compromise product by nature rather than something that can be optimised to the limit on every axis at once. For the wider taxonomy of tool storage products and the materials used in them, the Tool Box Guide: Types, Materials and Selection Criteria article provides the broader framing.
Breaking Down Carry Weight
Before balancing anything, it helps to know where the mass sits. A loaded portable tool box splits into three portions: the tools, the shell and hardware, and the liner plus organiser accessories. In a small hand-carried unit the tools dominate, and shell weight looks minor; as the case grows, or as the payload shifts toward light but bulky tools, the shell and liner share climbs quickly, and that is where weight reduction actually pays.
One frequently ignored point is that handle loads greatly exceed static weight. When the case is lifted one-handed, the load funnels through the handle into two attachment points, which experience a combination of local bearing stress and bending. If the case swings while the user walks, dynamic load can approach twice the static figure. So shell mass cannot be judged in grams alone; where that mass is concentrated matters. Mass placed near the handle and hinges has to be reinforced locally, and reinforcement adds weight again, producing a small feedback loop. We recommend that buyers state two figures at the requirements stage: loaded case mass, and the distance a single person is expected to carry it. The first drives structural selection, the second decides whether the product must move from hand carry to shoulder carry or towed transport.
Handles and Straps: Moving Load to the Shoulders
Ergonomics is not a bonus feature on a portable tool box; it decides whether the product gets used for years or abandoned after a season. Hand carry is the shortest load path and the simplest structure, but the force concentrates in the fingers, and grip strength fades during long carries. Shoulder carry moves load onto the shoulder and torso, extending practical carry time significantly, at the cost of a strap, buckles, and dedicated load points on the shell. Towed transport puts the load onto the ground and nearly eliminates vertical carrying, but introduces wheels, a telescopic handle, and questions of ground compatibility.
The conventional compromise is tiered: hand carry below a certain mass, an optional shoulder strap above it, towing considered further up. There is no universal threshold, because it depends on the operator, the duration of the task, and whether the case geometry allows it to sit against the body. The principle worth holding firmly is that the handle must align with the centre of gravity, or two grip positions must be provided for the empty and loaded states. When the grip is offset from the centre of gravity, the case rotates the instant it is lifted, and the user has to resist that rotation with wrist strength, wasting effort while the handle mounts carry torsion they were never designed for. The quantitative version of this argument is set out in How to Carry a Portable Toolbox with Least Effort: Balancing Handle Design, Weight and Capacity.
Wall Thickness, Ribs and Stiffness: Where to Cut Weight
In structural practice, weight is almost never removed by thinning material uniformly; it is removed by moving material to where it does more work. The base and lid of a portable tool box are large flat panels, and flat panels are inefficient in bending, so a small reduction in thickness produces a visible sag once the case is lifted full. Transferring part of that material into ribs raises bending stiffness while lowering total mass. Two rules govern rib layout. First, run ribs along the shorter span, because shortening span beats thickening every time. Second, let the ribs terminate into a continuous skeleton at the corners and at the hinge and handle mounts, so no rib ends in the middle of a panel and becomes a stress riser.
Stiffness also governs sealing, and this link is routinely underestimated. If the lid bends under a stacking load or a tensioned strap, the gap along the joint varies around the perimeter, compression on the gasket drops where the shell has deflected, and moisture enters through precisely that region. The plainest way to check whether stiffness is adequate is to load the case to its rated stacking condition, hold it there, and measure how much the joint gap changes; a design whose gap change exceeds what the gasket can absorb will almost certainly generate leakage complaints in service. This matters most in cold storage, wet outdoor work, and humid warehouses, because those environments add a pressure differential across the shell on top of the mechanical deflection.
Choosing Shell Material: PP, ABS, PC and Rotomoulded PE
Portable tool box shells are built from four polymers in the main, with a small number of metal and composite constructions alongside. Polypropylene offers good toughness, strong chemical resistance and low cost, and suits high-volume injection moulding; its weaknesses are modest stiffness and surface hardness, creep under sustained load, and rising brittleness at low temperature. ABS beats PP on stiffness and surface finish, handles impact in a balanced way, and can be moulded into complex geometry, which makes it the usual choice for small and mid-size cases; its weather resistance is ordinary and needs stabilisers to survive long ultraviolet exposure. Polycarbonate delivers the strongest impact performance and can be supplied transparent for applications that need to see inside, at the cost of price and scratch resistance.
Rotomoulded polyethylene belongs to a different process family. Rotational moulding produces a double-wall shell with an air gap between outer skin and inner liner, which improves both impact behaviour and thermal insulation; tooling cost is friendlier at low and medium volumes, wall thickness can be varied by region, and the process handles large custom formats well. There is no universally correct choice. The deciding combination is volume, ingress rating, production quantity and service life: low volume, large size and high protection point toward rotomoulding, while high volume, complex geometry and moderate protection point toward injection moulding. The practical differences are compared in Plastic Tool Box vs Metal Tool Box: What Is the Difference? and PP Tool Box vs ABS Tool Box: What Is the Difference?.
Nominal Capacity versus Usable Volume
The capacity figure a buyer receives is normally derived from external dimensions, and the volume genuinely available for tools is considerably smaller. The gap comes from three sources: the space taken by walls and ribs, the space taken by liners and trays, and the void created when tool shapes do not match the interior envelope. A case rated at twenty litres may offer only two thirds of that as net usable space once a moulded foam liner is installed; if the contents are irregular loose items, the void fraction rises further.
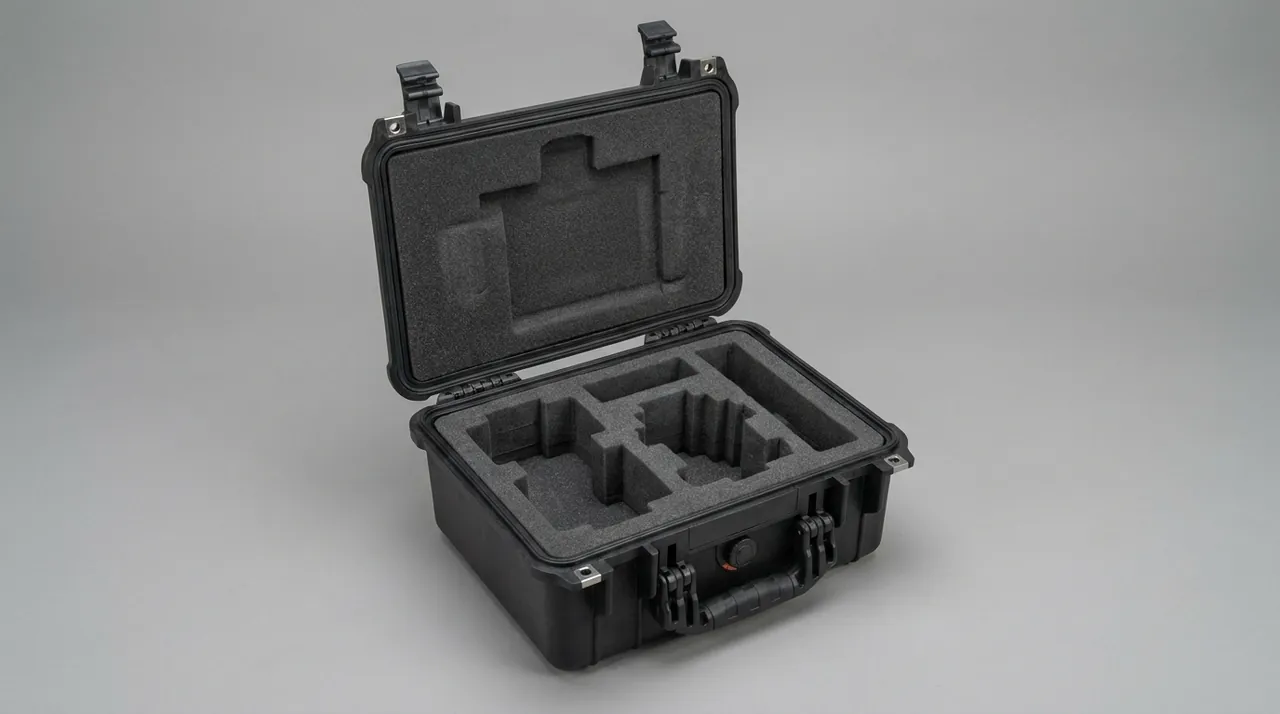
A more dependable engineering measure is the effective loading ratio: the proportion of the envelope actually occupied after a representative tool set is packed and measured. Our advice to buyers is to hand over their own typical tool list with dimensions and weights, and ask the supplier to state the effective loading ratio and the resulting loaded mass using measurement or simulation, rather than quoting the external envelope alone. There is a second benefit to this approach. Once the list is fixed, liner cavities can be cut to the real tool outlines, which reduces void fraction and reduces how far tools can shift in transit, improving both problems at once. The underlying method is explained in How Should Tool Box Capacity Be Calculated?.
Zoning, Layering and Centre of Gravity
Filling the volume effectively is a layout problem, not a size problem. Interior zoning has to satisfy three goals together: tools must not interfere with one another, retrieval must not require unloading the whole case, and the loaded centre of gravity must sit near the geometric centre and as low as practical. These goals conflict at times. Putting heavy tools at the very bottom lowers the centre of gravity but forces the user to clear the upper layer before reaching them, which costs time on every access.
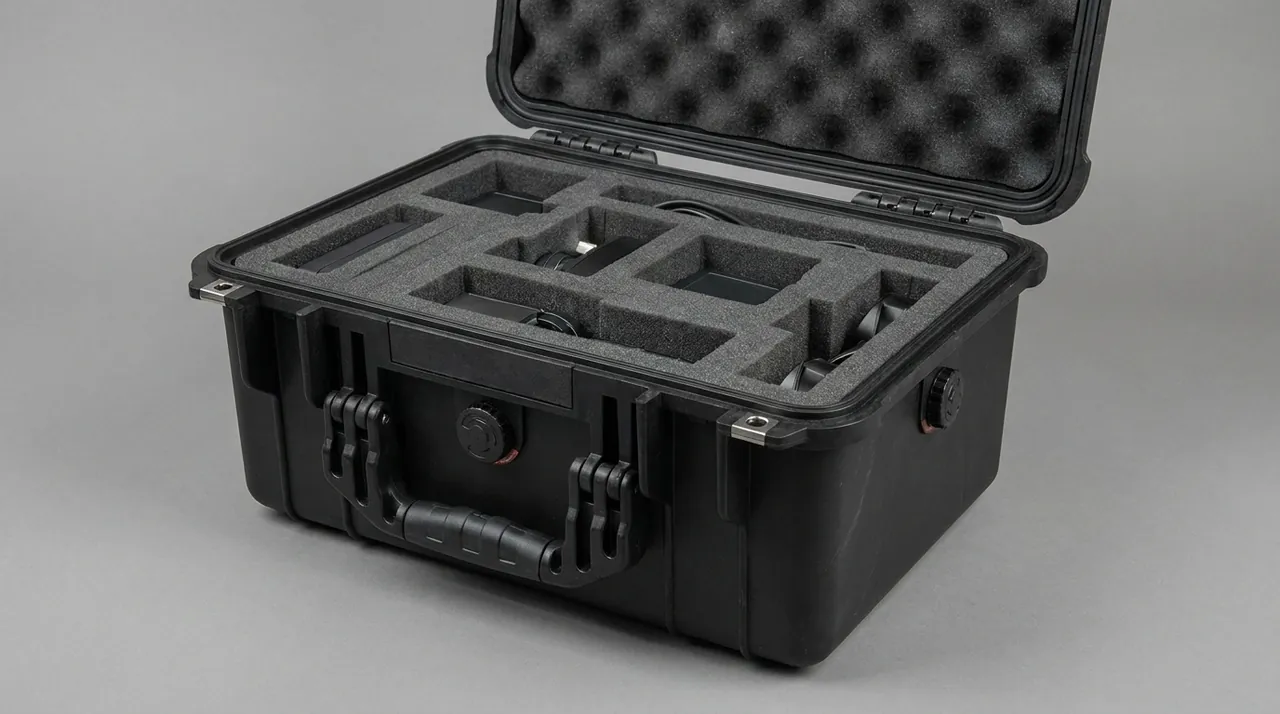
The usual resolution is layering combined with a lift-out or hinged tray. Frequently used and lighter tools go into the upper tray, heavy tools into a fixed lower zone, producing a mass distribution that is heavy at the bottom and light on top, with locating features preventing the tray from sliding in transit. Too many compartments is a mistake: four to six functional zones cover the access sequence of most field tasks, while finer division leaves every compartment underfilled and lowers the loading ratio. A comparison of interior layout schemes is available in How to Lay Out a Toolbox Interior: Multi-Layer Design That Maximises Usable Space.
Liner Options: Moulded Trays, EVA Cavities and EPE Cushioning
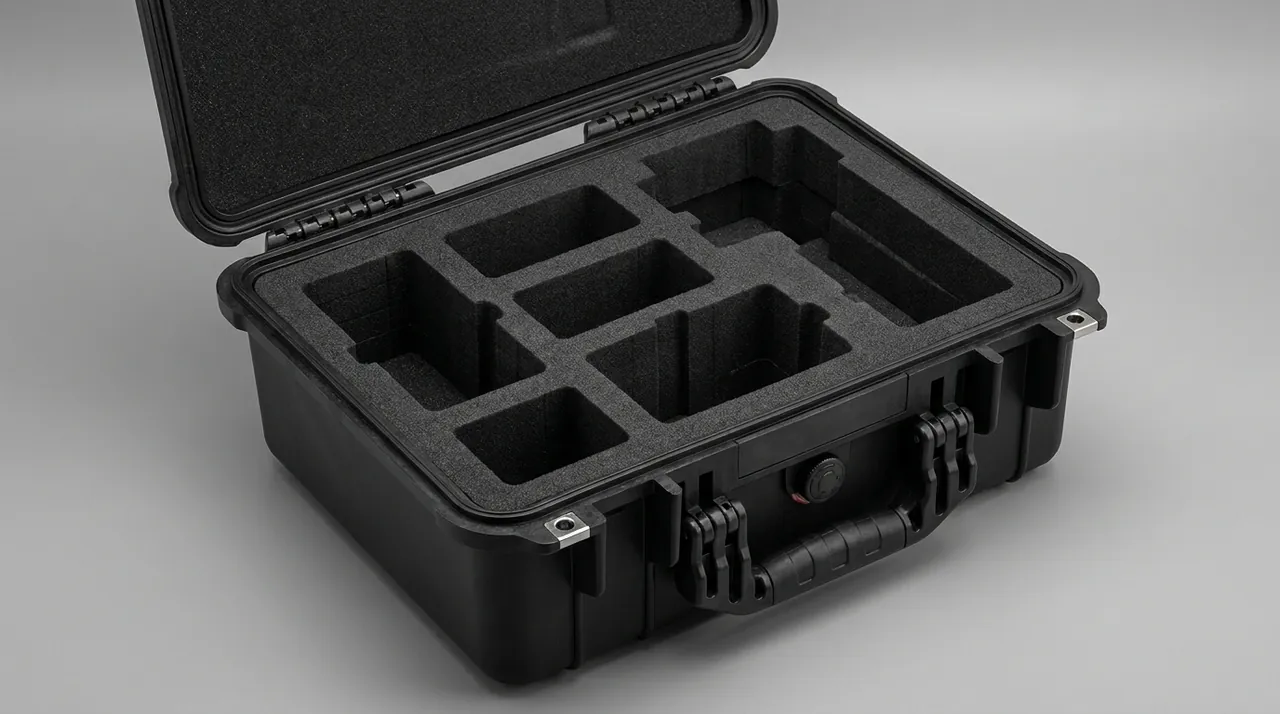
The liner decides access efficiency and protection level, and three families dominate. Moulded plastic trays suit tool sets that are uniform in shape and stable in composition; they locate precisely, can be cleaned repeatedly and last a long time, but the tooling is expensive and cannot adapt when the tool list changes. EVA liners cut on a CNC router match tool outlines accurately and look tidy, which makes them a strong choice for precision tools and impact-sensitive contents; the caveats are water uptake and compression recovery, which need formulation adjustments, and the offcuts that cavity cutting generates. EPE foam leans toward cushioning rather than location: low density, good compression recovery, low cost, well suited to base cushioning and void fill, but weaker at holding position.
Real products usually combine all three: EPE at the bottom to cushion, EVA in the middle to locate, and a thin tray above to stop parts from bouncing. The decisive selection input is the fragility of the contents together with the transport profile, not appearance. Where fragility is low and the case travels frequently, cushioning layers must be thicker; where tools are uniform and rarely change, a moulded tray is often the more economical answer. The trade-offs between liner materials are examined in EPE Foam vs EVA Foam in a Tool Box: What Is the Difference?.
Typical Failure Modes of Latches, Hinges and Handles
More than eighty percent of after-sales problems on portable tool boxes concentrate in three components. Latches fail in two ways: compression decays and the case opens unintentionally. Plastic catches take a permanent set after repeated cycling, compression falls away, and the gasket is under-loaded; a single-direction latch with no secondary retention can pop open when the case is jolted or squeezed by adjacent cargo. Hinges fail by pin loosening and by cracking at the root. Where a hinge seat is fixed to the shell with self-tapping screws alone, repeated opening and closing generates micro-cracks in the hole walls that propagate steadily. Handles fail by tearing out at the mounts, most often under the combined condition of full load, low temperature and an aged shell.
Countermeasures differ for each. For latches, specify wide-body catches with adjustable engagement so an aged gasket can still be brought back under load, plus a secondary retention feature. For hinges, integrate the seat with the shell or anchor it through metal inserts so the force spreads into reinforced material. For handles, thicken the mounting area locally and arrange the load path so it passes through the shell skeleton rather than the panel. The structural reasoning behind these three components is described more fully in What Do the Hinge, Latch and Gasket on a Toolbox Actually Do?.
How Far to Take the Ingress Rating
An IP rating carries two digits, the first for solid particles and the second for water. Portable tool boxes are typically offered at IP54, IP65 and IP67. IP54 resists dust and splashing from any direction, adequate for indoor work and sheltered semi-outdoor positions. IP65 adds complete dust protection and resistance to water jets, which covers outdoor work in rain. IP67 adds short-duration immersion, appropriate where the case may fall into standing water or needs to be hosed down. Higher ratings demand more elaborate sealing and greater gasket compression, and opening and closing usually becomes less convenient, which is why pushing the rating to the maximum is not automatically right for a carried product.
The real risk is substituting a static rating for the actual duty cycle. An IP rating is measured under laboratory conditions, while in service the case is dropped, stacked, strapped down and cycled through temperature changes, and the shell deflects momentarily under those loads, breaking contact along the joint and defeating the nominal rating at exactly the moment it matters. The pragmatic route is to select the rating from the working environment and then require combined evidence, such as spray or immersion testing superimposed on vibration or drop, instead of accepting a stated grade on its own. The boundary conditions for choosing a grade are set out in How to Read IP Ratings on a Toolbox: What IP54 and IP65 Actually Mean for Tool Storage.
Vehicle Mounting, Stacking and Short-Haul Transfer
Once a portable tool box leaves the hand, it spends most of its life inside a vehicle or on a shelf, and those two environments demand something quite different from ergonomics. In a vehicle the governing risks are sliding and collision: under braking the case travels forward, and over rough ground it bounces, so it needs restraint or anti-slip features. Practical measures include a base surface profiled to increase friction against a vehicle mat, or strap channels moulded into the shell so the user can tie the case to an anchor point. On a shelf the governing risks are creep and joint loading: a case sitting for months under other cases may see its lid slowly deflect and its gasket keep compressing until it loses resilience.
Stacking capability belongs in the technical requirement as a specific load and layer count, not as a verbal promise. The check is straightforward: hold the stated load at the stated temperature for a defined period, then measure lid deflection and compare it with the gasket's absorption capacity. Short-haul transfer also mixes lifting and manual handling, so load points on the shell should work for both a strap and a hand in a similar direction, avoiding the situation where a case can be strapped but tears when lifted. General methods for stacking and load planning appear in Stackable Container: Stacking Strength and Space Efficiency.
Inspection and Acceptance, From Sample to Batch
Acceptance for a portable tool box splits into structural and functional groups. The structural group checks the shell for cracks and sink marks, verifies wall thickness distribution, confirms that ribs and corner pieces are complete, checks whether hinge and handle seats carry metal inserts, and confirms that latch engagement is adjustable. The functional group checks that the loaded case opens and closes smoothly, that the gasket compresses evenly around the perimeter, that ingress testing has been passed, and that no abnormal flex or noise appears when the loaded case is lifted. Among these, the one most often skipped and most damaging is perimeter gasket compression uniformity, because it determines real-world protection and cannot be judged by eye.
Batch consistency is the second focus. Injection-moulded parts need dimensional and colour variation checked between lots; rotomoulded parts need wall thickness distribution and interior surface quality verified; liner parts need cavity positions checked against the measured tool outlines. For a liner built to a specific list, acceptance should include a full load-and-retrieve cycle using the actual tools, with time recorded and any need for tools to assist noted. That step cannot be replaced by drawings. We advise buyers to require inspection records for critical dimensions and test reports in the shipment, particularly original data for ingress and stacking tests, rather than a summary statement of conformity.
Procurement Pitfalls to Avoid
The first pitfall is choosing on external capacity without knowing the effective loading ratio, which produces a larger, heavier case that carries little more. The second is treating a laboratory IP rating as a field guarantee and ignoring the momentary deflection caused by drops and stacking. The third is neglecting handle and centre-of-gravity alignment, where a sample feels acceptable but long loaded carries become exhausting. The fourth is cutting liner cavities from drawings rather than the actual tools, so that delivered tools either do not fit or rattle. The fifth is leaving the stacking layer count undefined, which leads to lid creep complaints in the warehouse.
Avoiding these problems is not complicated. Provide the real tool list and a description of the working environment at the enquiry stage, and ask the supplier to state loaded mass, effective loading ratio, handle type and centre-of-gravity position, ingress rating with its test method, and stacking load and layer count as quantified figures, then write the acceptance method into the contract. Once portability has been expressed as numbers, comparing proposals becomes far easier, and real gaps are harder to conceal behind vague language.
Frequently Asked Questions
Q: What loaded mass is reasonable for a portable tool box? A: There is no absolute figure, because the answer depends on how the case is carried and for how long, but a tiered approach works well. Where one-handed hand carry is the primary method, most users begin to tire noticeably after walking more than a few tens of metres, so a comfortable ceiling for single-hand carry sits in a relatively low band; beyond that, a shoulder strap or a towed configuration should be offered. For work that involves long walks, stairs or frequent movement through confined spaces, shoulder carry becomes the main method and a somewhat higher total can be tolerated, provided the strap and the shell load points are engineered rather than simply adding a length of webbing. When evaluating, list empty shell mass, liner mass and tool mass separately, because each offers different reduction opportunities. Shell weight is reduced through structure, liner weight may come down by questioning whether full-area cavities are needed, and tool weight is largely a decision for the user. Write the loaded mass limit, the primary carry method and the expected continuous carry distance into the requirement so the supplier can design against real conditions.
Q: Can the shell simply be made thinner to reduce weight? A: Thinning the wall uniformly is the riskiest way to save weight, because it weakens stiffness, impact performance and sealing at the same time. The base and lid are large flat panels with inherently low bending efficiency, and the deflection caused by reduced thickness does not fall linearly; it often accelerates sharply near a particular thickness, producing a visible sag when the case is lifted full. A sounder method is to move material out of the flat panels and into ribs and a continuous skeleton: run ribs along the shorter span and terminate them into the corner structure and the hinge and handle mounts, so bending stiffness rises while total mass falls. Regional thickness allocation is a further step, keeping concentrated loads and mounting zones thicker while trimming large unstressed areas, a technique rotational moulding handles particularly well. The way to decide whether thinning has gone too far is direct: load the case to its rated stacking condition, hold it, and measure the change in the joint gap. If the change exceeds what the gasket can absorb, the thickness is unacceptable no matter how many grams it saved.
Q: Does a portable tool box need to reach IP67? A: Not universally, and the grade should follow the working environment rather than the appeal of a larger number. IP54 resists dust and splashing from all directions, which covers indoor workshops, sheltered semi-outdoor positions and light rain during transfer. IP65 adds complete dust protection and resistance to directed water jets, suitable for outdoor work in rain and for washdown. IP67 adds short-duration immersion, appropriate where the case may land in standing water or needs to be rinsed as a whole. Each step up needs stronger gasket compression, stiffer latches and more elaborate construction, and on a carried product it makes routine opening harder, which can reduce how willingly the case is actually used. What deserves more attention than the number is the duty cycle behind it: an IP grade is a static laboratory result, while the case in service is dropped, stacked, strapped and temperature-cycled, and momentary shell deflection can open the joint exactly when protection is needed. The practical approach is to pick the grade from the environment and then require combined spray or immersion testing with vibration or drop, so evidence replaces a claim.
Q: Should the liner be a moulded tray or EVA cavities? A: The choice turns on how uniform the tools are, how stable the list is, and how the budget is structured. A moulded tray is formed to the tool outlines as a single piece, locates precisely, can be cleaned repeatedly and lasts a long time, and allows almost no relative movement between tools and tray, which suits tool sets that are uniform in shape, fixed in composition and required to behave consistently over years. Its upfront cost sits in the mould, so the unit economics only work above a certain volume, and once the list changes the tray generally cannot be modified. EVA cavities are considerably more flexible: a CNC router can cut any outline, and a change to the list means recutting rather than retooling, which suits varied, low-volume work and precision tools. The caveats are water uptake and compression recovery, since a cavity that stays loaded or gets damp will change dimensions and lose locating accuracy. Most real products combine layers, using EPE underneath for cushioning, EVA in the middle for location, and a thin tray on top to stop movement. The most reliable selection input is tool fragility and the number of transport stages, and a trial fit with the actual tools before purchase settles most arguments.
Q: How should a portable tool box be secured in a vehicle? A: Vehicle restraint has to address two directions. Longitudinally, the case slides forward under hard braking and will strike the seats or other cargo if nothing blocks it, so every case needs a restraint method. Friction is the simplest layer: a base profile that grips a vehicle mat raises the sliding threshold. A more dependable layer is a strap channel at the sides or corners, allowing a bungee or ratchet strap to tie the case to a vehicle anchor point. Vertically, rough ground makes the case bounce, and prolonged bouncing wears the base, shakes tools loose inside and lets stacked cases migrate out of position; for users who regularly stack, an interlocking stacking feature that locates one case on the one below is far better than relying on flat friction alone. Whichever method is used, the practical test at delivery is to load the case as it will be used and run a braking or emergency-stop trial, then confirm there is no displacement and no noise. Cases that pass that check are unlikely to become projectiles in an incident.
Q: Will the shell degrade if the case lives outdoors? A: Polymer shells do age outdoors, and the main mechanism is ultraviolet radiation breaking molecular chains, which shows up as surface chalking, colour change, falling toughness and fine surface cracks. The rate depends on the formulation, radiation intensity, temperature and humidity, so conditions vary widely between regions and duty levels. Three countermeasures matter. First, ultraviolet absorbers and light stabilisers in the compound, which is the most effective and most basic line of defence. Second, structural design that avoids stress concentration, because aged material cracks first where stress concentrates. Third, replaceable items at the wear and exposure points, such as protective corner caps and feet that can be renewed without scrapping the shell. Buyers should ask whether the compound includes a UV stabilisation system and whether xenon-arc or ultraviolet ageing testing has been carried out. Ageing is never uniform, and the exposed faces and loaded corners show symptoms first, so routine inspection should focus on corners, handle mounts and hinge seats; fine cracks there warrant an assessment rather than waiting for a through-crack to appear.
Q: What matters when moving from a hand-carried case to a towed one? A: Moving to towing transfers the load to the ground but introduces an entirely new set of failure modes, so it is not a matter of bolting wheels onto an existing shell. The first item is handle-to-shell strength: a telescopic handle experiences repeated bending and torsion during towing, and a connection fixed with screws into a small patch of wall will generate cracks at the holes and propagate them; the sound design moulds metal inserts into the shell or forms an integral reinforced structure. The second is ground compatibility: small hard wheels roll efficiently on smooth floors but catch on gravel, kerbs and joints, while larger softer wheels roll over obstacles better at the cost of drag and weight. The third is stability: a towed case tilts, and a high centre of gravity tips easily, so heavy tools should sit close to the base and the axle line. The fourth is the knock-on effect on sealing: mounting holes for wheels and handle can break the closed envelope of the shell and degrade water resistance unless sealing is designed into those locations. A loaded towing trial on rough ground, including a kerb step, belongs in the prototype phase rather than the field.