

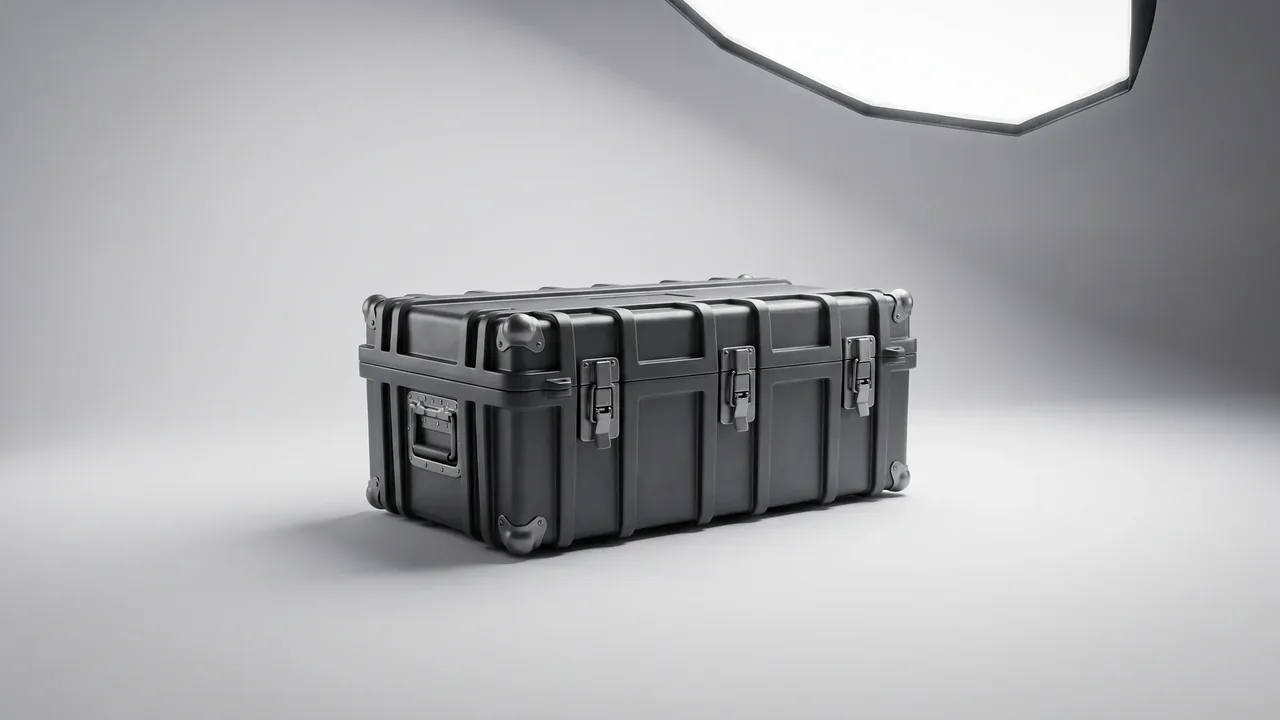
Between the march order and the moment work actually begins, most time is not spent moving — it is spent unloading, counting, searching and assembling. A deployable hard case attacks exactly that final hundred meters: it is not merely a container that escorts equipment from the staging area to the operational site, but an interface for unpacking that has been choreographed back at packing time. The order in which the lid opens, the position of every liner cavity, the identification marks on the shell — all of it is arranged so that the case is "ready to work the moment it is opened." For rapid deployment units and emergency response teams, arriving hours early and then spending half a day hunting for gear is a worse outcome than a delayed convoy. A hard case system pre-packed along task logic compresses that chaos to minutes.
It is worth stating up front that a deployable hard case is not one product model but a container engineering paradigm. Within one force, the command, communications, medical and maintenance units may use cases of completely different sizes and internal volumes, yet they share one numbering scheme, one color card, one latch specification and one opening drill. Because those interfaces are shared, the case group runs as a system. This article unpacks the engineering behind that idea — compartmenting, first-open sequencing, identification, carrying, latching, intermodal fit and reset — for procurement and integration readers.
What a Deployable Hard Case Really Is: From Carrying to Unfolding
An ordinary protective case has one mission: hold the load and survive the trip. Items go in, the shell resists shock, vibration and moisture, and the user decides at the destination how to retrieve things. A deployable hard case adds a temporal property on top of that — the case itself is part of the deployment plan. Two enclosures with identical external dimensions can behave completely differently depending on who sits next to whom inside, which face travels upward, and which latch group is opened first.
That property drives three concrete changes. First, the liner stops being mere packaging and becomes a flow chart: EVA compartments exist not only to cushion but to place the first item to be drawn right at the opening edge. Second, the shell stops being printable and becomes readable: color fields, unit numbers and QR labels carry distribution instructions for the whole site. Third, acceptance criteria shift from "arrived intact" to "operational on arrival": start a stopwatch when the case hits the ground, and measure how long the task unit needs to enter working status.
The stopwatch framing changes procurement conversations, too. Instead of arguing shell thickness and latch brands in the abstract, buyers and suppliers walk a timed unpack together and watch where the seconds go — hunting, untangling, re-lifting, waiting for a second pair of hands. Every one of those losses traces back to a design decision made months earlier, which is exactly what makes the category interesting: the case is the deployment, packed in advance.
Compared with a single-soldier tactical enclosure, a deployable hard case is typically larger per unit and leans harder on mechanical handling and multi-tier stacking; the selection logic for the smaller sibling is covered in tactical protective case selection. Compared with a shelter, it preserves the flexibility of being moved by hand and transferred by any truck. The sensible positioning is the "standard container unit" of an equipment system: a few case sizes, with mission variety achieved through quantity and liner changes rather than a bespoke box per mission. That is what keeps rotation, repair and inventory tractable.
Pre-Packing: Moving Deployment Actions Back to Packing Time
Pre-packing is the discipline of doing, in a calm rear base, all the sorting, kitting and checking that would otherwise be done at a noisy, dark, understaffed site. Packing time is generous: there is lighting, a workbench, a checklist and time to verify. Unpacking time is none of those things. Whatever can be finished in the calm environment should never be left to the tense one.
Operationally, pre-packing rests on three documents. The first is the task breakdown table, which splits a deployment into task units, each mapped to one case or one case group. The second is the packing diagram, which fixes the position and orientation of every item in the box; the packer works from the diagram and the opener works it in reverse. The third is the sealing record, which captures packing date, packer identity, seal number and the item revision inside — so that whenever any case is opened, anyone can know who sealed it and in what state.
Digital versions of these documents pay off in one specific way: revision control. When the packing diagram rides in the case's QR payload, an updated version automatically invalidates the old one everywhere, eliminating the classic failure of a warehouse holding one drawing while the cases hold another. Those documents should also survive personnel rotation: a new or borrowed team member can execute packing and unpacking from the current revision alone, which keeps the deployment logic from living only in someone's memory.
Pre-packing also turns a case into a contract between units. When the command element hands its case group to a relief detachment, both sides verify seal numbers, diagram revision and QR records instead of rummaging through contents. The same discipline is well proven on emergency command cases and communications emergency cases; a deployable hard case system simply extends it across the entire deployment chain, turning a handover that once meant a full physical count into a two-minute check of numbers and versions.
There is a training dividend, too. Because every retrieval order is fixed by the diagram, a unit that has never worked together can unpack together: the case teaches the sequence, and the sequence teaches the layout of the position. Units report that this shortens the first-hour friction of ad hoc task organizations more than any amount of briefing, which is precisely why pre-packing belongs on the training schedule rather than in the logistics annex alone.
Compartment Logic Organized by Task Unit
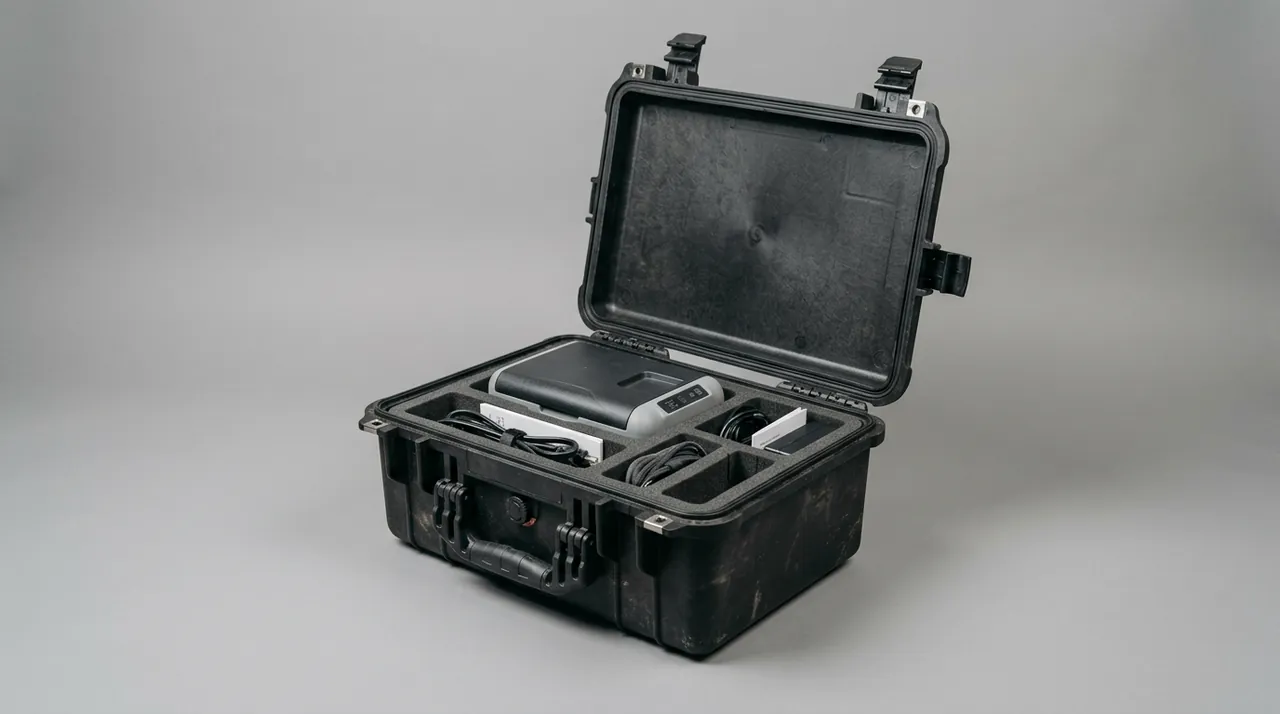
Compartments are the spatial expression of pre-packing. The most common partitioning mistake is dividing by item category — cables in one case, instruments in another, tools in a third — which forces every work position to open three or four cases simultaneously. Task-unit compartmenting inverts that: everything one work position needs lives in one case or one case group; open it, and the position comes alive.
Good compartment design answers three questions. What is the minimum independent work kit for this task unit? A communications node kit, for instance, must carry antenna, main unit, cables, grounding hardware and a quick-reference card in the same box; if any one is missing the node cannot be established. Which items carry retrieval-order constraints? Whatever is loaded first must be retrieved last, so the vertical layering inside mirrors the deployment sequence. Which items need isolation? Vibration-sensitive electronics and frequently drawn tools each need their own cavity with cushioning and positive location, so they never share a wall they can damage.
Granularity matters as much as membership. Too coarse and the compartments do nothing; too fine and packing becomes a jigsaw puzzle. A workable rule is one cavity per retrieval motion — whatever a user draws in a single reach occupies one cavity, separated by visible dividers or color contrast. The same logic underpins the internal layout of tactical gear boxes, so layout experience transfers well between the two categories.
Low-value, high-frequency consumables deserve their own plan: cable ties, fuses, wipes and spare batteries are too small to justify a cavity yet must be within arm's reach. A flat mesh pocket or shallow tray on the inside of the lid keeps them apart from precision items and stops them migrating in transit. Feedback from fielded systems shows up exactly here — how loose parts are housed is the real maturity test of a compartment scheme.
Where the mission changes, prefer replaceable block liners over sculpted one-piece foam: re-cut the modules and the case keeps serving, which cuts both cost and the number of spare cases a unit must hold.
First-Open Layout: Sequencing the Unpacking Experience
First-open layout describes what a user sees and in what order when the lid comes off, and it is the most immediately visible difference between a deployable hard case and a generic one. The design goal: any person, without reading a manual, drawing items in the natural top-down, near-to-far order, produces exactly the sequence the deployment requires.
Several rules earn their keep. The first item out should be the guiding one — a deployment flow card, a contents map, or the component that must go up first — because it tells the user what happens next. Heavy items sit toward the hinge side and light items toward the opening edge, so a hovering lid never tips the box. Cables stow vertically in flat slots rather than coiled flat, so they pull out without untangling. Every cavity carries a visible tag that maps one-to-one to a line on the packing diagram.
First-open layout also has a hidden dimension: orientation. Which way the opening side faces when the case lands on a truck bed or apron decides whether the user draws forward or reaches around. The packing diagram should fix the placement rule — opening side out, label face left, every case of a convoy on the same heading — so simultaneous unpacking at multiple points never interferes. In tight quarters the rule extends upward: leave lid-swing clearance above every parking position, because a case pushed under a rack or against a bulkhead cannot be opened at all without a second relocation nobody budgeted time for.
And it must survive interruption. Halting an unpack halfway and closing the lid is normal, so the remaining order has to stay legible after reopening. That demands no buffer voids: any empty space should be a deliberately empty cavity, never a random gap left by shifted items. The cheapest validation is a stranger test — one person who did no packing, a stopwatch and a contents list. Errors and elapsed time will speak for the design.
Orientation planning pays a second dividend at vehicle level. When every case in a convoy loads with the same heading, a crew working down a row of cases moves in one direction with one motion pattern, and a second crew working the opposite row never crosses the first. The diagram fixes that heading at packing time, so no decision about which way a case faces is ever made under pressure at the ramp.
Rapid Identification: Color Codes, Labels and QR Systems
When many cases arrive together, the identification system has one job: let a person find the case they are supposed to open within seconds. Mature practice stacks three layers. The first is color: one hue per task unit or functional domain — command, communications, power, medical — applied in fields large enough to read at distance, ideally a full side panel rather than a small patch. The second is large numbering with pictograms, formatted as unit-case-of-total, so C2-03/05 reads as case three of five in the command unit and the reader knows at a glance whether more follow. The third is a QR code or RFID tag that yields the packing list and item revision on one scan, serving handover checks and stock takes alike.
The color system must be planned globally, not painted case by case. One force should hold one color card; repeat purchases must reuse the exact existing hues, or the palette loses its meaning as the fleet grows. Labels belong in in-mold, recessed or engraved executions with a wear-resistant topcoat, so abrasion in the field never erases the code. QR payloads should be one case, one code, full lifecycle: packing, dispatch, receipt and return all scan the same code and the asset ledger assembles itself.
Two proven disciplines map directly onto this stack. Color-coded visual management supplies the spatial rule — which color means what and where it stands — while label-based asset tracking supplies the data rule of one item, one code, scan-and-know. Embedding the case serial, the packing-diagram revision and the responsible unit into a single code value lets any scanner complete a basic check with no network at all, which matters more than any other feature in weak-coverage terrain; the QR tracking pattern behind that is documented in asset-level QR case tracking. Plan the decode failure path as well: every code carries a printed human-readable fallback of the same three fields, because batteries die and screens crack but printed digits keep working.
Multi-Modal Carrying: Handles, Wheels, Forklift and Lifting
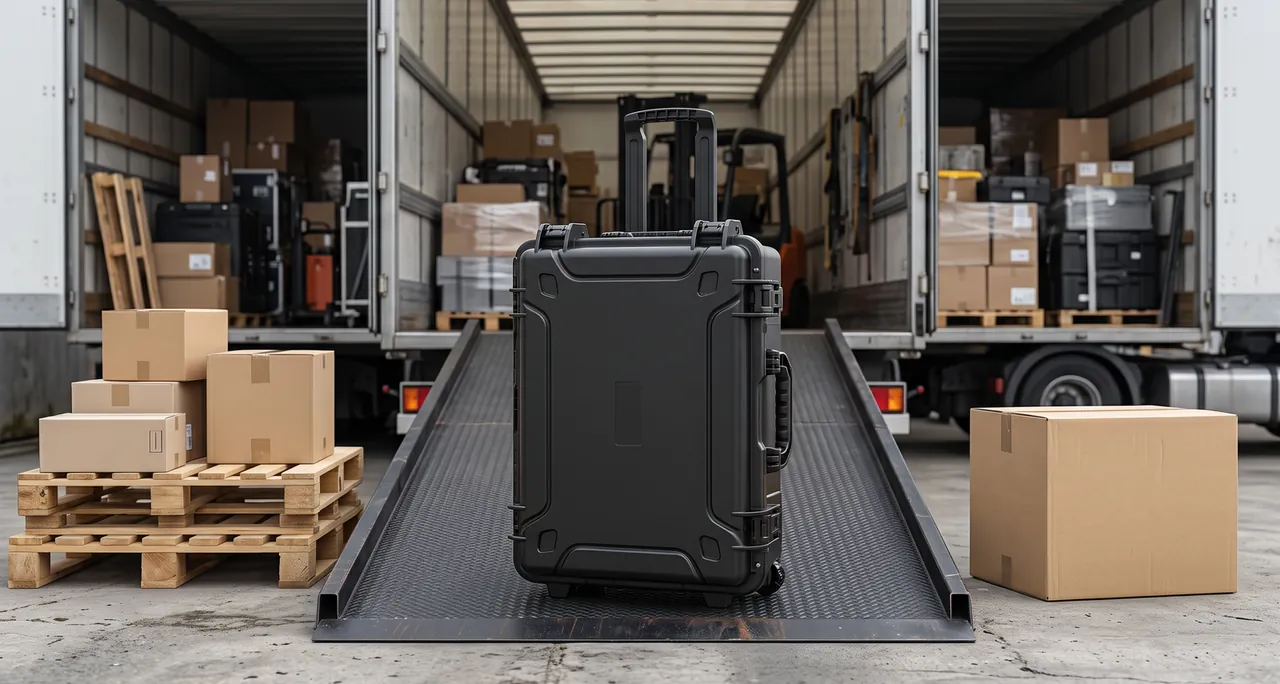
A deployable hard case has to support four carrying scenes — two-person carry, one-person tow, forklift entry and sling lift — because each can occur alone somewhere along the deployment chain. Short single-person moves rely on wheels and a pull handle, where wheel diameter and bearing quality decide performance on dirt, aprons and deck plating. Two-person carries rely on side handles wide enough for gloved palms, aligned so the lift force passes through the loaded center of gravity and the case does not roll to one side. Mechanized handling relies on fork pockets or skids at the base, with pocket spacing matched to common fork gauges. Lifting relies on top or upper-edge lugs arranged so the case hangs level at full load and slings never bear against the shell.
These four modes must be planned as one interface zone, not accreted. Wheels proud of the base raise stacking height and break stack alignment; lifting lugs that crowd the fork pockets let slings press on pocket edges during the lift. Disciplined layouts concentrate wheels and pockets at the base, lugs and handles along the upper edge, with corner guards at all four corners to absorb knocks and to give stacked cases a stable bearing face. For units that relocate constantly, choose deliberately between a wheeled variant and a palletized flat variant; forcing one case to optimize every scene usually optimizes none.
One deployment-specific factor deserves more attention than it gets: gloves. Cold-region and mechanical-trade users keep gloves on all day, so every hand-contact feature — handle grip, handle release button, latch paddle — must be checked for size and operating force with gloves on. Case families that skip this check consistently score poorly with cold-region and engineering units. The underlying hardware trade-offs are analyzed separately for the wheel-and-trolley assembly and for handle load paths, and both analyses apply here unchanged.
Fast-Open Latches Balanced Against Tamper-Evident Seals
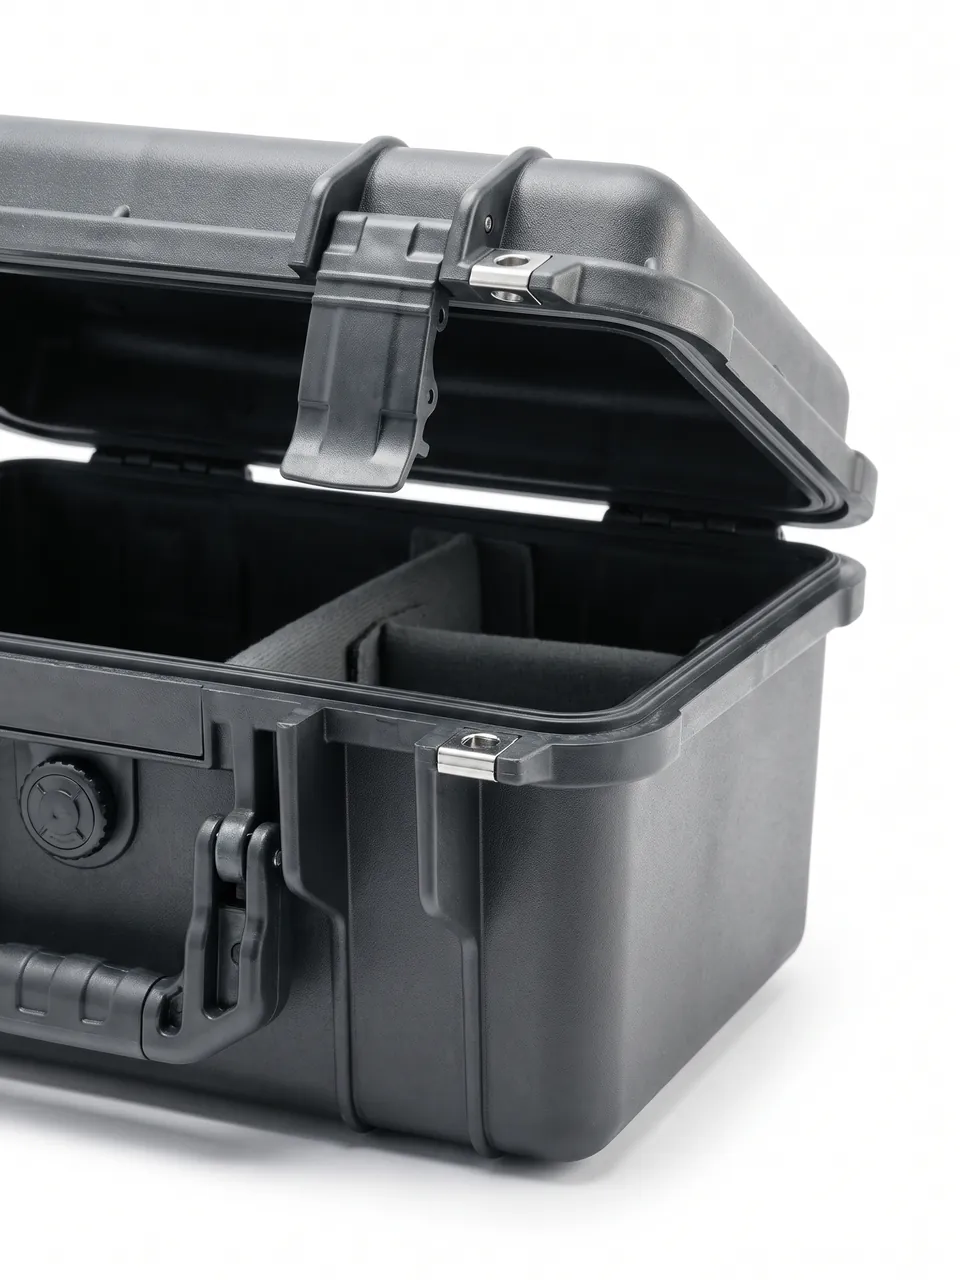
Latches are the highest-frequency interaction a user has with the case and the direct bottleneck of unpacking speed. The configuration principle for a deployable hard case: as few latches as possible, as simple an action as possible, one-handed operation. Full draw-pull latches beat twist-then-lift combinations for speed but give back some resistance to accidental opening; paddle latches with an over-center detent hold better under vibration. Keep one lid to four latches or fewer, placed symmetrically, so the lid never binds no matter which corner releases first. The hinge side must survive the full open-close cycle plus the occasional boot, with a life matched to the latches.
Seals carry a double duty in deployment: tamper evidence — proof that nobody opened the case after sealing — and status marking, where seal colors signal sealed-for-transit, inspected-on-arrival or reset-pending-check. Seals and latches work in series, not in place of each other: latches own mechanical safety, seals own the chain of custody. Seal numbers bind to the sealing record, and acceptance checks the number before the cut. Seal holders must not shadow the latch working face or protrude from the shell outline, or stacking and lashing will shear them off. On our layouts the seal holder sits with the latches along the opening edge, so cutting the seal and working the latches is one continuous motion rather than a separate chore.
Sand is the field's quiet latch killer: grit inside a paddle mechanism produces a closed-feeling but unlocked latch. Drill the habit of pressing each latch positive-seated, and specify latches in standard, locally procurable specifications so a broken paddle is a five-minute field replacement rather than a factory return. The selection criteria behind that specification are laid out in the latch selection guide, and they interact with hinge durability more than most buyers expect — a hinge that outlives its latches is money spent twice.
Sealing, Pressure Equalization and Environmental Endurance
Transit throws temperature swings, rain, salt fog and altitude at a case, so the sealing system has to be designed as a system. The gasket — one continuous foam ring around the case mouth — delivers IP67-grade immersion resistance once compressed; its cross-section and compression are set at mold stage and maintained over the years by replacement, not hope. A pressure-equalization valve handles the differential that airfreight and altitude create: after a climb or a plateau crossing, negative pressure glues the lid shut and a forced opening tears hardware, while the valve equalizes pressure first and its membrane still blocks the water path.
Material endurance is the other half. Rotomolded HDPE shells hold up well against cold impact and UV aging, and UV-stable pigments keep outdoor storage from chalking the surface. Metal hardware — latches, hinges, lifting lugs — should be stainless or coated against salt spray. Inside, desiccant and VCI anti-rust media protect electronics with fine contacts. All of it rolls up into an environmental test frame in the MIL-STD-810H style: thermal cycling, rain, dust, salt fog, vibration and drop, item by item, and the tested configuration becomes the configuration the packing diagram permits. Compliance with export controls and local regulations applies as appropriate; this article discusses the packaging container only.
The two specialist components each have their own body of practice — the valve in the pressure-equalization guide and the test framework in the MIL-STD-810H compliance overview — so one caution closes the section instead: passing the test once is not lasting the service life. Gaskets are consumables, and the inspection-and-replace cycle between deployments is what actually keeps a case at IP67 across the years — a line item that belongs in the annual maintenance budget, not the one-time purchase order.
Multimodal Transport: Airfreight and Road Compatibility
The starting dimension of a deployable hard case is usually not how much it holds but which transport cell it fits. For airfreight, the external envelope must clear cargo doors and fit standard pallets, with stacking height leaving margin to still enter the hold; for road and rail, width is back-solved from pallet modules and container interiors so two cases side by side exactly fill one pallet position. A case family that satisfies both constraint sets changes mode without repacking.
Stacking and restraint are the other two pillars. Mating features on lid and base keep each tier located; the bottom case of a full stack must be checked against the worst-case load; lashing points sit on lower-edge structural members aligned with cabin tie-down tracks — never on the lid or the handles. Wheels are locked or bracket-fixed before air loading so a tilted case never rolls on its own during handling. Weight, center-of-gravity marks and stacking limits print on the side wall per transport marking practice, so ramp crews can load correctly without opening anything. None of this is glamorous, but every mode change audits it — and on poorly adapted cases, nearly all the damage happens at the hub, not at the front.
The airfreight requirements and the pallet-planning arithmetic each run deeper than a section can carry, so they are documented in the air-transport case guide and in stack-and-pallet planning for case fleets. One sequencing habit ties the transport layer back to the packing layer: load last-to-deploy first and first-to-deploy last, in trucks and in aircraft, mirroring the first-open logic inside each case. The whole chain — hold to shell to liner — is one reverse unfolding diagram. Train it, and the order in which cases come off the ramp becomes the order in which positions come alive.
Ergonomics and Safety at the Unpacking Site
The act of opening carries its own safety and efficiency ledger. Lids should hover under their own weight or ride a damper and restraint strap, so a large lid never slams down in a gust. Latch operating force must fall inside one gloved hand, and low temperatures must not embrittle the paddle. Lid edges and case mouths get radiused corners and finger-relief grooves. Night work is the norm rather than the exception, so identification marks earn retroreflective or luminous elements and latches get a contrasting color the hand can find blind.
Ergonomics extends to the carry path: the distance from transport deck to working position should be short and step-free, the tow handle height set for the median user, the loaded center of gravity steady behind the wheels with no side wander. When several people unpack together, the lid needs two honest modes — fully removable, or reliably propped — since propping saves ground space in calm weather while removal is the safer answer in wind. Sound trivial? Watch a crew in gusty weather improvise a lid prop from spare crates and sandbags, then decide whether the strap and prop lug belong on the drawing.
Organization finishes what hardware starts. Assign an opening owner to every case: verify the seal number before opening, count contents immediately after, record any exception on the handover sheet at once. That one minute of discipline buys a clean accountability chain, where any missing item traces to a specific link and time instead of dissolving into a vague "transit loss." And sketch the site itself during rehearsals: which case opens where, which way every lid leans, where the forklift lane runs. Ten minutes into a multi-case unpack, lid panels, liner trays and drawn equipment will claim every flat surface in reach — teams that never rehearsed the floor plan learn this the hard way.
Reset and Repacking: A Manufacturer's Perspective
When the mission ends and the cases come home, they enter reset — and from a manufacturer's perspective the reset line should run like production: empty, clean, inspect, swap consumables, restore liners, reseal. Cleaning uses neutral detergent and soft brushes, never a high-pressure jet aimed at gaskets or the equalization valve. The inspection sheet covers gasket compression set, latch and hinge fastness and wear, wheel rotation, lug inserts, and shell cracks or distortion. Consumables — desiccant, VCI bags, seals — change on schedule, not on appearance.
After reset, the packing diagram re-aligns with reality: what this deployment consumed or added enters the list, the QR item revision bumps, and the case takes a fresh status seal into storage. A short service card per case — cycle count, inspections, replacements — flags units that have reached their allotted cycles for demotion to light duty or retirement. Rotomolding's advantages concentrate exactly here: a seamless one-piece shell repairs locally, hardware swaps as modules, and one purchase outlasts sheet-metal assemblies by years, a point the rotomolded protective case overview develops in full. Where damage does occur, repairability depends on the process route — a rotomolded monocoque case is far more serviceable than a fabricated panel build, and the repair-and-spare-parts planning guide covers that judgment in detail. Recurring defects found at reset — one batch of gaskets aging early, one paddle position cracking repeatedly — should flow back to the manufacturer as next-generation inputs; that feedback loop is the cheapest quality mechanism a case fleet can run, and it is what makes pre-packing genuinely reusable across missions.
A Selection Checklist for Deployable Hard Cases
A one-page checklist makes comparisons honest. Protection: IP67 immersion and MIL-STD-810H or GJB vibration and drop evidence; a pressure-equalization valve and replaceable gasket. Unfolding: packing-diagram templates and first-open layout support from the supplier; replaceable modular liners; single-hand latches in sane quantities. Identification: a global color card, unit-case numbering format, one-case-one-code traceability. Carrying: fork pockets, lifting lugs, handles and wheels present as needed and free of mutual interference; located stacking faces. Transport: envelope compatible with the target aircraft pallets and standard pallet modules; lashing points matched to common cabin tracks. Reset: standard consumables, individually purchasable spares, and service-record guidance.
No case needs a perfect score, but the critical lines — sealing, first-open layout, traceability, lashing — should not be traded away. Whether a vendor can produce written evidence for each dimension — test reports, sample packing diagrams, a spare-parts price list — says more about their real depth in this category than any product photograph.
One field technique makes the checklist bite: hand every candidate vendor the same task breakdown table and ask for a paper packing exercise, then compare whose task-unit partitioning, first-open sequence and load plan actually fits the flow. The disagreements a paper exercise exposes are worth more than everything a showroom can show. And the closing thought returns to where this article began: a deployable hard case earns its keep not by being tough but by turning unfolding — the most underrated event in the whole chain — into something designed, verified and repeatable. The shell protects equipment; pre-packing protects time. With both in place, a force is finally equipped to be fast.
Frequently Asked Questions
Q: What separates a deployable hard case from an ordinary transport case at its core? A: An ordinary protective case targets "arrived intact," leaving sorting and retrieval entirely to the user, while a deployable hard case targets "operational on arrival" — the case is itself part of the deployment plan. The difference lands in three places. The liner is compartmented by task unit and mirrors the deployment sequence rather than simply wrapping contents for cushioning. The shell carries color fields, unit numbering and QR codes that function as distribution instructions for the whole site, rather than decorative printing. And acceptance is measured by the time from opening the case to entering working status, not just by transit damage rates. In practice the two categories also diverge in volume and handling: ordinary cases optimize around individual carry, while deployable systems optimize around pallets, forklifts and simultaneous multi-case unpacking. When procuring in this category, ask the supplier for packing-diagram design and first-open layout capability alongside the protection test reports, because that sequencing capability is where the real engineering value of the product lives, and it is the part most easily faked by a well-photographed but ordinary box.
Q: At which point in the task flow should pre-packing begin? A: As early as possible — ideally the moment the equipment list is finalized. A packing diagram is the spatial form of the task breakdown: only after a deployment is split into task units and each unit's contents are fixed do compartmenting and ordering even become discussable. If packing design waits until the equipment is physically present, the case ends up bending around the items, and both the first-open layout and the identification scheme suffer. Good practice runs two joint iterations between the user organization and the case supplier: the first pass derives case types and quantities from the task breakdown, and the second refines compartments and labels against the actual equipment, after which the diagram freezes. When equipment or mission subjects change, the diagram revisions in step with a version number, so the interior never silently drifts from real requirements. The bonus is training cost: newcomers execute packing and unpacking straight from the current revision without apprenticing to a veteran's memory, which is why units that treat the diagram as a living document redeploy faster with less-experienced hands.
Q: How do you keep compartment design from becoming compartmenting for its own sake? A: The test is whether every dividing wall can name a functional reason. Three reasons are legitimate. Retrieval-order constraints: first loaded must be last retrieved, so layers must be separated. Cushioning needs: vibration-sensitive items and frequently drawn tools each deserve their own positively located cavity so they never damage each other. Isolation needs: moisture-sensitive, contamination-sensitive or separately protected items require their own sealed cavity. A wall with no reason behind it is pure cost — it wastes volume and slows every retrieval. The second safeguard is granularity: define one cavity per retrieval motion, so whatever a user draws in a single reach occupies one cavity, marked by a visible divider or color contrast. The third is modularity: prefer replaceable block liners over sculpted one-piece foam, so when the mission subject changes, only the liner modules are re-cut while the case itself continues in service. As a review habit, walk the finished layout cavity by cavity and ask what breaks if that wall is removed; walls that survive that question are earning their space, and walls that do not should come out before the mold is cut. That single choice does more for long-term cost than almost any other compartment decision.
Q: How can a first-open layout be verified against the real deployment sequence? A: Run the stranger test. Give one person who took no part in the packing only the in-case aids — the flow card, the cavity tags, the contents map — a time limit, and the instruction to either inventory the case or draw items in sequence. Record elapsed time and every error. If the tester repeatedly tips the box to hunt for items, draws them in an order that conflicts with deployment, or cannot restore the order after closing and reopening the lid, the layout has defects. On the design side, audit the same three signals: whether the first item out is genuinely guiding, whether heavy items sit on the hinge side, and whether every empty space is a deliberately empty cavity rather than a random gap left by shifted contents. Repeat the test with gloves on and in poor light, because both conditions are field normal and both change where hands reach first. Run one round per packing-diagram revision and freeze only after the test passes — the cost is minutes and the payoff is a layout that holds up under field conditions.
Q: Do color codes and QR labels actually survive field conditions? A: The failure risk sits in the process, not the concept. Color fields that are surface printing or applied film will fade and flake within a mission cycle or two under sandblast and ultraviolet exposure, so specify in-mold coloring, through-tinting, or engraved-and-filled executions, with fields large enough to read at distance and covering the full side panel. Paper QR labels fare no better outdoors; use laser engraving, in-mold inserts or etched metal plates, and duplicate the code at two or more positions on the shell. The data layer matters as much as the medium: adopt one case, one code, full lifecycle, so packing, dispatch, receipt and return all scan the same value and the asset ledger assembles itself without a separate reconciliation effort. Also carry a printed human-readable fallback for every code, because batteries and screens fail but stamped digits keep working in the rain. At procurement, simply demand wear and weathering test evidence for the label process — vendors who have solved this can produce it in minutes, and those who have not will change the subject, which is itself the answer.
Q: Are wheels useless on rough terrain? A: It depends on wheel specification and honest expectations. Small hard wheels are highly efficient on pavement, aprons and deck plating and genuinely poor on soft soil or broken rock — that is a scene mismatch, not a wasted feature. The design compromise is well understood: larger diameters with sealed bearings to survive gravel and shallow grass; wheel positions recessed or shielded so impacts cannot jam them; and wheels coexisting with fork pockets or skids, so hard ground is handled by forklift or two-person carry while paved surfaces get the tow. Bearing seals matter as much as diameter, since a wheel that soaks at a river crossing and corrodes over the next month has quietly cancelled its own benefit. Across most real deployment chains, the high-frequency surface is apron, pier and hardened camp ground, and the wheel earns its keep precisely on that last hundred meters. The discipline is to state the primary terrain at selection time and configure for it, rather than buying a wheeled case and then blaming it for the one landscape it was never meant to cross.
Q: Which airfreight loading details are most often overlooked? A: Four recur in incident reports. First, door and envelope margin: a case that complies singly no longer fits once the stacking allowance is consumed, so stacked height must be checked against the door, not the floor plan. Second, center-of-gravity marks missing or stale after a refit, which forces load planners to estimate balance by hand and slows the whole ramp. Third, lashing points placed on non-structural members such as lids or handles, so tie-down tension itself damages the case. Fourth, an equalization valve taped over or left closed, so the lid sits under negative pressure after landing and the opening turns destructive. Runners-up include unlocked wheels letting a case slide during tilted handling and protruding seal holders sheared off by lashing straps. A fifth, quieter failure is paperwork: weight statements that no longer match the contents after a mission refit, discovered only when the load plan refuses to balance. The remedy is unglamorous: put every one of these on a multimodal check card that travels with the cases, and rehearse one full load against the target aircraft type before the first real move.
Q: What sequence should reset and repacking follow after a mission? A: Run the fixed five steps. Empty and clean with neutral detergent and soft brushes, keeping high-pressure jets away from gaskets and the equalization valve. Inspect item by item, focusing on gasket compression set, latch and hinge wear, wheel rotation, lifting-lug inserts and shell cracks. Replace consumables on schedule — desiccant, VCI media and seals go by calendar and cycle count, never by appearance. Restore the liners against the latest packing-diagram revision, fold everything the deployment consumed or added into the list, and bump the QR item revision. Reseal, register the seal number, apply the status label and return the case to storage. Keep a service card per case with cycle counts and maintenance history, and demote or retire cases that reach their allotment. Two bottom lines hold the whole process honest: inspections read instruments, not impressions, and consumables change by schedule, not by look. Run that way, reset quality stays reproducible and the case fleet stays trustworthy across missions.
Related Reading
Closing
A deployable hard case turns unfolding into designed, verified, repeatable engineering. The shell protects equipment; pre-packing protects time — with both in place, rapid deployment finally holds.